










DIY Backyard Games: Easy to Make Outdoor Fun for the Whole Family
There’s something really special about stepping into a backyard that’s been turned into a playground full of handmade games. DIY backyard games have a way of bringing people together that store-bought stuff just can’t match — there’s a personal touch to them that makes every gathering feel a little more memorable. Whether you’re throwing a summer barbecue, celebrating a birthday, or just trying to lure the kids away from their screens for a few hours, building your own outdoor games might be one of the most fun and satisfying weekend projects you ever take on.
What makes building your own games so great goes beyond just saving money. You get to call all the creative shots — match the colors to your outdoor space, tweak the sizing for your players, and rope the whole family into the process. Even little ones who’ve never touched a power tool can sand wood, paint numbers, or stuff bean bags, which means the fun actually starts before anyone takes their first turn.
From classic ring toss to towering Jenga sets, there’s no shortage of projects to choose from. This guide walks you through some of the most popular and beginner-friendly options, with tips on materials, how to put everything together, and how to build games that hold up through seasons of heavy use. So roll up your sleeves — your backyard is about to become everyone’s favorite hangout spot.
Why DIY Backyard Games Are Worth Making
When you stack up the cost of a nice store-bought lawn game against building your own, the difference is pretty eye-opening. A commercial giant Jenga set can easily run sixty dollars or more, but cutting one from two-by-four lumber might only set you back fifteen to twenty dollars depending on where you buy your wood. That kind of savings means you could build a whole backyard game station for roughly what you’d spend on a single boxed set at a big-box store.
But honestly, the money is only part of it. There’s a real sense of pride that kicks in when guests start asking where you bought those gorgeous wooden cornhole boards — and you get to tell them you made them yourself. That reaction never gets old, and it has a funny way of inspiring the people around you to start their own projects. Before you know it, your little DIY hobby is spreading through the neighborhood.
You also get a level of durability that mass-produced games just can’t offer. When you’re the one sourcing the materials, you can pick exterior-grade wood, weather-resistant finishes, and heavy-duty hardware that would never show up in something factory-made. That means your games can sit outside through rain, blazing heat, and countless rowdy matches without warping, fading, or falling apart. Take care of them with a little seasonal maintenance and they could easily last a decade or more.
Essential Tools and Materials for Getting Started
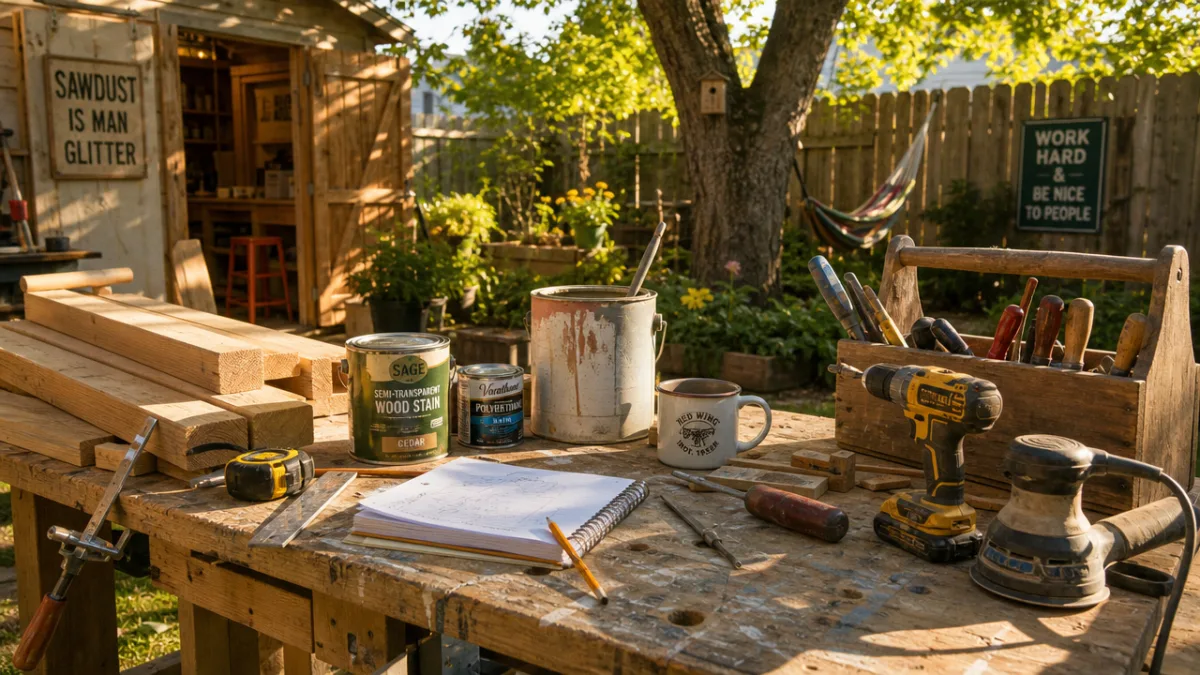
You don’t need a full woodworking shop to build great backyard games, but a few basic tools will make your life a whole lot easier. A circular saw or miter saw handles most straight cuts, and a drill with a good set of bits is essential for making holes and driving screws. You’ll also want a sander — either a power orbital sander or just a sanding block — to smooth everything down and keep splinters out of the game.
For materials, pressure-treated or cedar lumber is a solid choice for outdoor projects since both naturally resist moisture, insects, and rot. Standard two-by-four and two-by-six boards will cover most of what you need for the projects in this guide. Stock up on exterior wood screws, outdoor-rated wood glue, and a good exterior paint or stain to protect your finished pieces and give them a clean, polished look.
Don’t skip out on finishing supplies either — they make a bigger difference than you might expect. A quality exterior polyurethane or spar urethane sealer locks in your paint and creates a hard, water-resistant shell over the wood. Foam rollers and small brushes give you a smooth, streak-free finish, and painter’s tape is a lifesaver when you’re trying to get crisp lines on decorative designs or numbers. Getting all of this together before you start means you can just enjoy the process instead of making constant supply runs.
Giant Jenga: The Crown Jewel of Lawn Games
Giant Jenga might be the most impressive thing you can build for your backyard, and the best part is that it’s way easier than it looks. All you need is a standard two-by-four cut into uniform pieces about ten and a half inches long — aim for at least fifty-four blocks for a proper game. The secret to a satisfying Jenga tower is consistency, so take your time making sure every single block comes out the same size. It pays off the moment that tower starts swaying.
Once your blocks are cut, sand every surface in two passes — start with eighty-grit to knock off the rough spots and saw marks, then finish with one-twenty or one-fifty for a silky-smooth feel. Wipe everything down with a tack cloth to clear the dust, then apply two coats of exterior sealant, letting each coat dry fully before adding the next. A coat of wood stain in a warm color before sealing is a nice touch that gives the finished set a really handsome, rustic look.
For a little extra fun, try writing challenges, dares, or trivia questions on some of the blocks before you seal them. It turns a regular Jenga game into a total party game — perfect for family reunions or get-togethers where you want people mixing and laughing. A wood-burning tool gives you a permanent, old-school look, or you can just use a permanent marker and let the sealant lock it in. Toss the finished blocks in a canvas carrying bag and you’ve got a complete, portable set ready to go anywhere.
Cornhole Boards: A Backyard Staple Made by Hand
Cornhole is about as classic as backyard games get, and building your own set is one of those projects that lets you really put your stamp on something. Regulation boards are two feet wide by four feet long, with a six-inch hole centered nine inches from the top edge. The playing surface is typically half-inch plywood, supported by a two-by-four frame underneath that props the board at the right playing angle — roughly four inches high at the front and twelve at the back.
Cutting and assembling everything is pretty straightforward and totally manageable in a single afternoon. Start with your plywood panels, then cut the frame pieces: two long side rails and two crosspieces for each board. Attach the legs with carriage bolts and wing nuts so they fold flat — you’ll thank yourself later when it’s time to pack up and haul them to a friend’s place. Screw the plywood top down, fill the screw holes with wood filler, and you’re ready to paint.
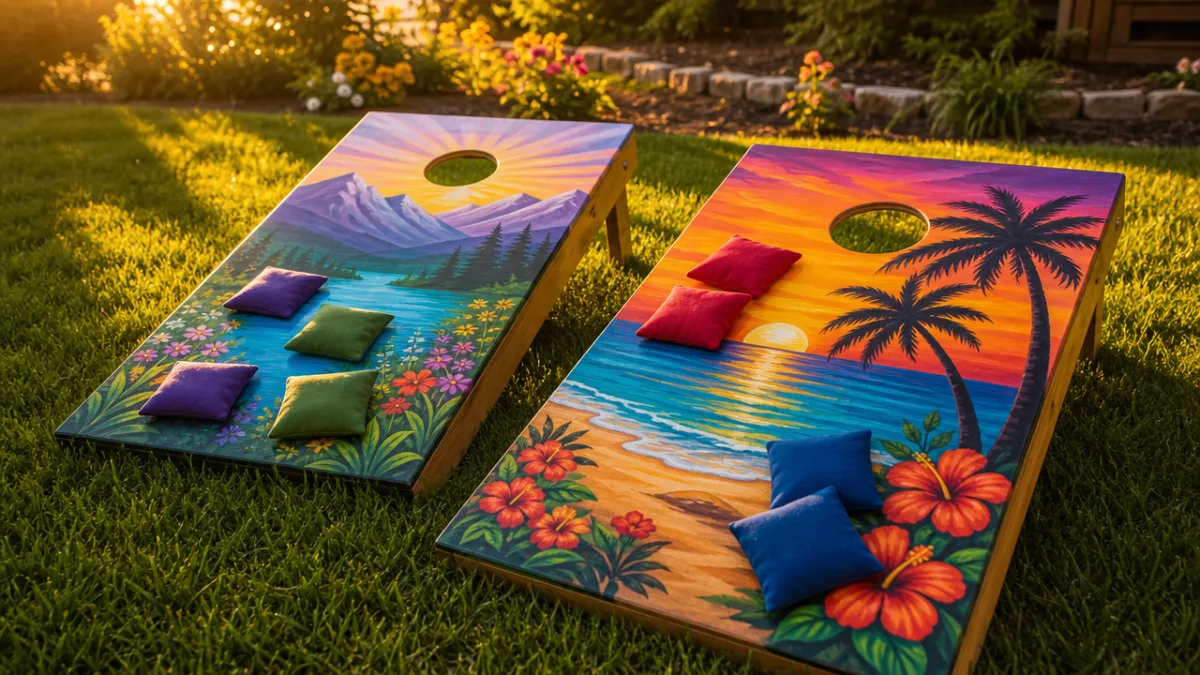
The decorating phase is honestly where the real fun begins. Families paint their boards in team colors, college logos, or completely custom designs that say something about who they are. A projector or stencils make it easy to trace detailed artwork onto the surface before you pick up a brush. Once you’re happy with the design, seal everything with several coats of exterior polyurethane — it needs to stand up to scuffing, sun, and rain. Sew up eight bean bags in two contrasting colors, four per team, and you’ve got a game set that will be the centerpiece of every backyard party for years.
Ring Toss, Ladder Ball, and More Quick DIY Projects
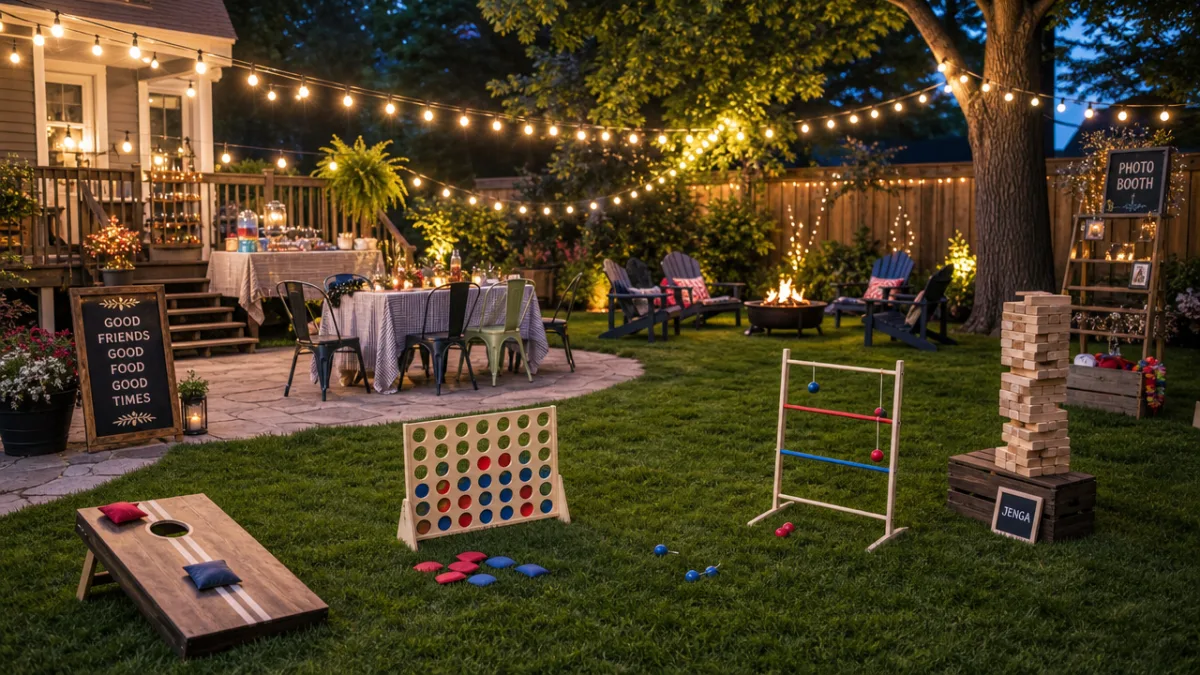
Not every backyard game has to be a weekend-long build. Ring toss is one of those projects you can knock out in under an hour with a scrap of plywood, a handful of wooden dowels, and some rope rings made from nylon rope or pool noodles. Cut a square base, drill holes for the dowels at different distances, assign point values to each one, and you’re done. The rings are just lengths of nylon rope with the ends joined using heat shrink or a tight wrap of electrical tape — simple, cheap, and surprisingly fun for all ages.
Ladder ball — sometimes called ladder toss or hillbilly golf — is another crowd-pleaser that goes together fast. The frame is three horizontal rungs between two uprights, all built from one-inch PVC pipe and elbow fittings that press together without glue, so the whole thing breaks down easily for storage. Hit it with some bright spray paint, label each rung with its point value, and you’re set. The bolas are just golf balls tied together with nylon cord, and the whole game costs next to nothing to put together.
If you’ve got younger kids around, a DIY bean bag toss board with big cutout shapes adds a fun, carnival feel to the backyard. Cut a large plywood panel, use a jigsaw to cut out stars, circles, or animal shapes, paint everything in bold cheerful colors, seal it well, and prop it up with a simple kickstand brace. These smaller, quicker projects are perfect starting points if you’re new to DIY — the results are immediate and gratifying, and they’ll give you the confidence to tackle bigger builds without hesitation.
Tips for Keeping Your DIY Games in Top Shape
Building your games well is only half the story — a little ongoing care is what keeps them safe, good-looking, and fun to play for years down the road. At the end of each outdoor season, go through everything and check for cracks, warping, or peeling finish. Catch the small stuff early with a light sanding and a fresh coat of sealant, because a five-minute fix now can save a beloved game set from becoming unsalvageable after a few seasons of neglect.
Where you store your games matters a lot too. A garage, shed, or covered porch is ideal during the off-season or whenever you’re in for a stretch of wet weather. If you have to leave things outside, pick up some waterproof covers or heavy-duty tarps and fasten them down tight. It also helps to get your games up off the ground — setting them on pallets or wooden blocks keeps moisture from wicking into the wood from below.
A few simple habits each year will keep everything looking nearly as good as the day you built it. At the start of each season, wipe surfaces down with mild soap and water to clear off any dirt or mildew before it has a chance to set in. Check for any spots where the finish looks dull or worn thin — especially at edges and corners — and touch those up with a thin coat of exterior sealant. It’s a small time investment, but it means your handmade games will keep delivering laughs and good memories for everyone who plays with them.
Involving the Whole Family in the Building Process
One of the most underrated things about DIY backyard game projects is what they do for the family. When you give everyone an age-appropriate job, a solo workshop project turns into something you all build together — and it builds a lot more than just the game. Little kids can measure and mark cut lines with some supervision, stir paint, or brush sealant onto finished surfaces. Older kids and teenagers can learn to use a drill, make guided cuts, or take full ownership of the decorating — and most of them love that kind of responsibility.
Before you even pick up a tool, try holding a family design meeting where everyone gets a say in the colors, themes, and details they want to see in the finished game. It gets people genuinely excited and invested in a way that makes the actual building sessions feel like working toward something together rather than just getting through a to-do list. Sketch out ideas, vote on color schemes, and let each person claim one part of the project as their own contribution. That sense of ownership makes the whole thing so much more meaningful.
The skills kids pick up during these projects carry way further than the backyard, too. Learning to measure carefully, follow instructions, and problem-solve through hands-on building leaves a mark that shows up later in school, sports, and eventually work. And when parents build alongside their kids, they’re modeling something really valuable — patience, persistence, and the willingness to try things and learn from mistakes, all in a setting that’s relaxed and genuinely enjoyable. When you finally set the finished game up and everyone gathers around it for that first round, the pride on every face is a pretty powerful reminder of what’s possible when a family works together toward something they all care about.








What do you think?
It is nice to know your opinion. Leave a comment.