










Crochet Shorts Tutorial: Make Comfy Summer Shorts
Introduction to Crocheting Summer Shorts
There is something deeply satisfying about wearing a garment you have made entirely with your own hands, and crochet shorts are one of the most rewarding summer projects you can take on. Whether you are a seasoned crocheter looking for your next wearable project or an intermediate crafter ready to step beyond scarves and dishcloths, making your own shorts opens up a world of creative possibility. You get to choose your yarn, your colors, your fit, and your style — all while building a skill that will serve you for years to come.
Crochet shorts have surged in popularity over the last few summers, and it is easy to understand why. They strike the perfect balance between bohemian charm and practical comfort, working beautifully as beach cover-ups, festival wear, or casual loungewear around the house. Unlike knitted garments, crocheted fabric has a natural stretch and breathability that makes it ideal for warm-weather clothing, especially when you choose the right fiber. The texture and drape of a well-made crochet short can rival anything you might find in a boutique, at a fraction of the cost.
This tutorial will walk you through everything you need to know to create your own pair of comfy crochet shorts from start to finish. We will cover the materials you need, how to take your measurements, which stitches work best for this type of garment, and how to assemble everything into a finished piece you will be proud to wear. Even if you have never attempted a wearable crochet project before, this guide is designed to give you the confidence and clarity to succeed. So grab your hook and your favorite yarn, and let us get started.
Materials and Tools You Will Need
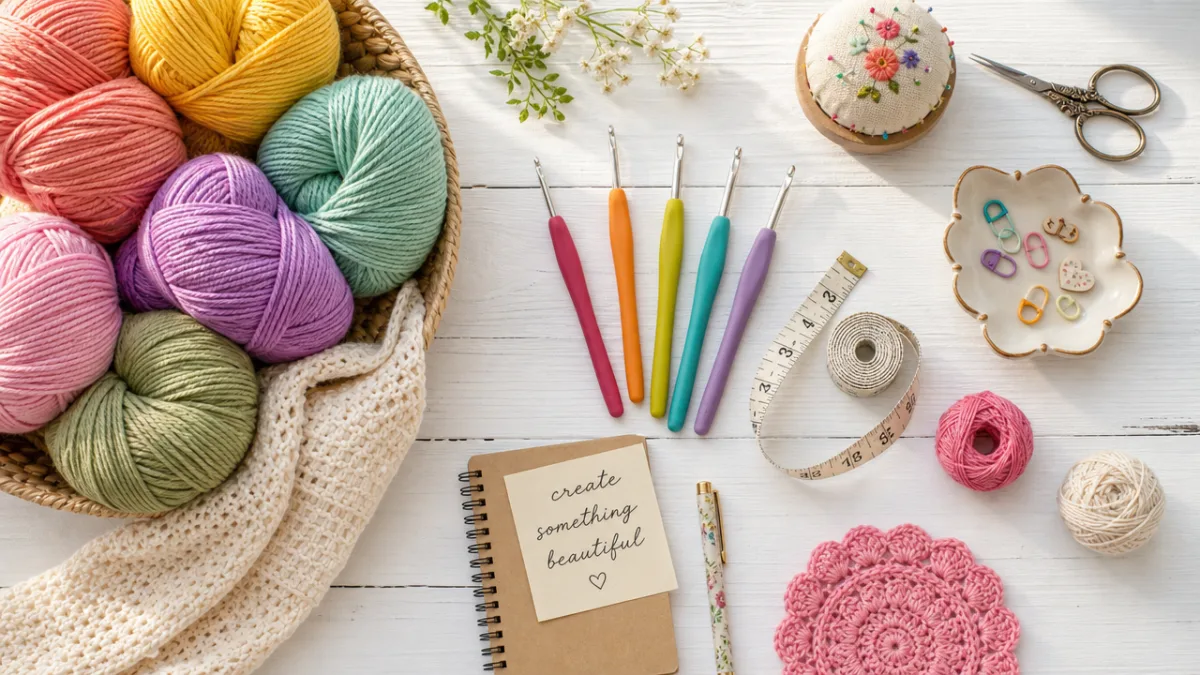
Before you pick up a hook, it pays to gather all your materials and understand what each one contributes to the final garment. The most important decision you will make is your yarn choice. For summer shorts, you want a fiber that is lightweight, breathable, and has a pleasant drape. Cotton yarn is the classic choice because it is soft against the skin, washes easily, and holds its shape well over time. Look for a DK weight or light worsted cotton, or consider a cotton-linen blend, which adds a beautiful natural luster and extra drape to the finished fabric.
The amount of yarn you will need depends on your size and the length of the shorts, but a general estimate for a medium adult size is between 400 and 600 yards of DK weight cotton. It is always a good idea to purchase a little extra yarn from the same dye lot to avoid color mismatches if you need to add more fabric. For your hook, a size 4mm to 5mm aluminum or bamboo hook is typically recommended for DK to light worsted weight cotton, but always check the yarn label and do a gauge swatch before committing to a full project.
Beyond yarn and a hook, you will need a few additional tools to make the process smooth and enjoyable. A flexible measuring tape is essential for taking accurate body measurements and checking your gauge swatch. Stitch markers will help you keep track of rounds and important construction points. A yarn needle with a large eye is needed for weaving in ends and seaming if required. You may also want a length of elastic for the waistband, typically three-quarters of an inch wide, cut to your waist measurement, as well as a sewing needle and thread to secure it. Having scissors, a notepad, and a row counter nearby will also save you a great deal of frustration as you work through the pattern.
- DK or light worsted weight cotton yarn (400–600 yards for a medium size)
- Crochet hook, size 4mm to 5mm (check your gauge swatch)
- Flexible measuring tape
- Stitch markers in at least two colors
- Large-eye yarn needle for finishing
- Three-quarter inch wide elastic cut to your waist measurement
- Scissors, row counter, and notepad
Taking Measurements and Swatching for the Perfect Fit
Fit is everything when it comes to wearable crochet, and taking accurate measurements before you begin is the single most important step you can take to ensure a successful finished garment. You will need four key measurements: your waist circumference, your hip circumference at the fullest part, your rise (measured from your waist down to where you want the shorts to begin at the top of the leg), and your inseam length (how long you want the leg portion to be). Write these down clearly and refer back to them throughout the project.
Once you have your measurements, it is time to make a gauge swatch. This small rectangle of crocheted fabric is perhaps the most skipped step in all of crochet, and skipping it is also the most common reason garments do not fit. To make a swatch, chain at least 20 stitches and work your chosen stitch pattern for 4 inches in height. Fasten off, wet the swatch lightly, block it flat, and let it dry completely before measuring. Count how many stitches and rows fit into a 4-inch by 4-inch square. This number is your gauge.
Compare your gauge to the pattern’s stated gauge and adjust your hook size if necessary. If you have more stitches per inch than the pattern calls for, go up a hook size to loosen your fabric. If you have fewer stitches, go down a hook size to tighten things up. It may feel tedious to make multiple swatches, but getting your gauge right before you begin the actual shorts will save you from the heartbreak of a garment that is too tight or so large it will not stay up. Think of swatching as an investment in your time and your yarn — it always pays off.
Understanding the Stitch Patterns and Construction Method
Crochet shorts can be constructed in several different ways, and understanding the method you choose will help you follow the pattern with confidence. The most beginner-friendly approach is working in the round from the waist down. You begin by crocheting a tube for the waist and hips, then split the work to create two separate leg openings. This method requires minimal seaming and produces a clean, continuous fabric that fits the body naturally. Another method involves crocheting two flat panels — a front and a back — and seaming them together at the sides and crotch, which can give more precise shaping but requires more finishing work.
For this tutorial, we will focus on the in-the-round method, which is both more intuitive and more forgiving for newer garment makers. The most popular stitch for summer shorts is the half double crochet, which produces a dense yet flexible fabric with a beautiful drape. Alternatively, a mesh or lace stitch such as the granny stitch or a simple chain-and-double-crochet network creates an airier fabric that is especially lovely for beach cover-ups. Both approaches work beautifully in cotton yarn, and the choice comes down to how much coverage and stretch you want in the finished garment.
A key construction detail to understand before you begin is the crotch shaping. Unlike a simple tube, shorts need a gusset or an increase section at the lower hip to allow room for movement and comfort. Many patterns handle this with a series of short rows or directional increases worked at the center front and back of the tube before the legs are divided. Pay close attention to this section in any pattern you use, as getting the crotch shaping right is what separates a pair of shorts that are comfortable and flattering from a pair that pulls, gaps, or bunches in uncomfortable places.
- Chain the foundation row to match your hip circumference plus ease, and join to work in the round.
- Work even in your chosen stitch for the waist and hip section, adding a turning channel at the top for your elastic waistband.
- Work the crotch shaping increases at center front and center back over several rows.
- Divide the work in half and work each leg separately in the round to your desired inseam length.
- Finish each leg opening with a row of single crochet or a simple border stitch.
- Weave in the elastic through the waistband channel and secure both ends together.
- Weave in all remaining yarn ends and block the finished shorts.
Working the Pattern: Step-by-Step Construction
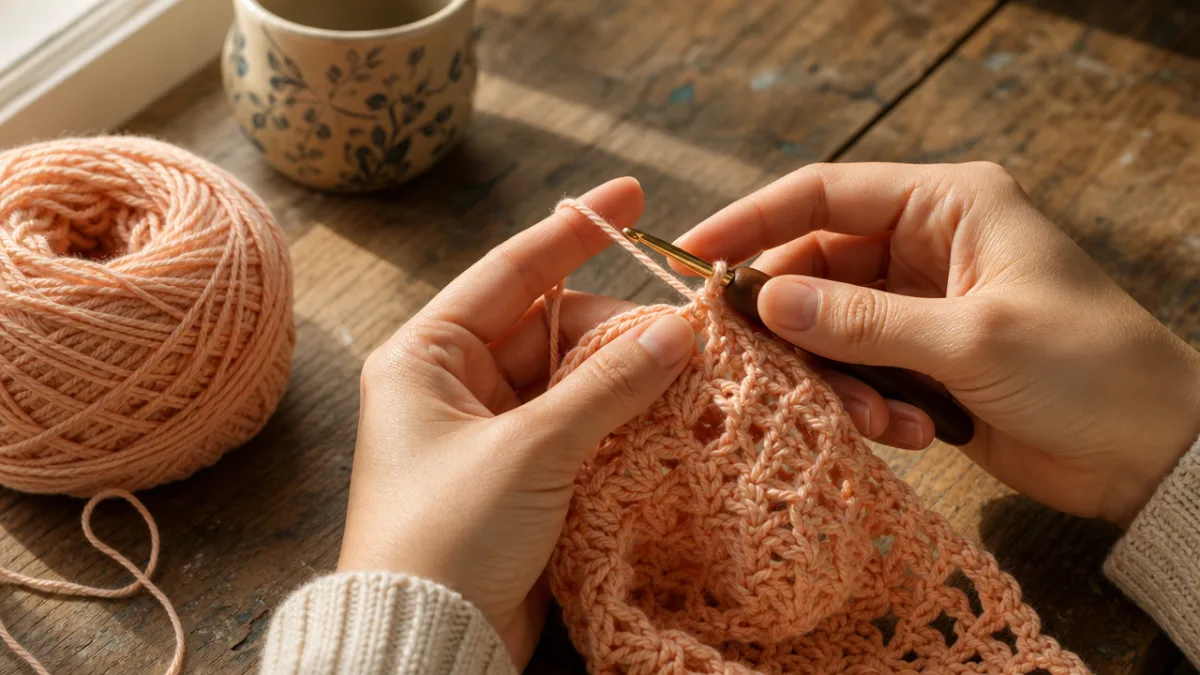
Begin your shorts by creating a slip knot and chaining a foundation chain long enough to fit around your hips with two to four inches of ease. For most medium adult sizes working in half double crochet at a gauge of 16 stitches per 4 inches, this will be approximately 80 to 90 chains. Join the chain to form a ring with a slip stitch, being careful not to twist it. Place a stitch marker at the join to mark the beginning of each round, and chain two to begin the first round of half double crochet stitches.
Work even rounds of half double crochet, joining each round with a slip stitch and chaining two to begin the next, until your work measures about one inch from the foundation. At this point you will create the waistband casing by working one round of single crochet followed by two rounds of slip stitch, which creates a tight channel just large enough to thread your elastic through later. Return to working rounds of half double crochet for the main body section until the piece measures from the top of the waistband down to your rise measurement, typically 8 to 12 inches depending on your body and your preferred rise height.
Now comes the crotch shaping. Work to the center front of your round, place a marker, and begin working increases on either side of the marker over the next several rounds. A common approach is to increase one stitch on each side of the center front marker and the center back marker every round for 4 to 6 rounds, adding a total of 16 to 24 extra stitches. This creates a gentle curve in the fabric that allows the shorts to sit comfortably around the body without pulling or riding up. Once your shaping rounds are complete, you are ready to divide the work into two legs.
To divide for the legs, work across the front half of your stitches to the side seam marker, then chain 4 to 6 stitches to bridge the crotch gap, and join to the beginning of the front panel to work the first leg in the round. Work the first leg in rounds of half double crochet until it reaches your desired inseam length, then finish with two rounds of single crochet for a neat hem and fasten off. Rejoin yarn at the opposite side seam to begin the second leg, picking up the bridge chain stitches as you go. Work the second leg to match the first exactly, and fasten off.
Finishing Techniques and Customization Ideas
Finishing a crochet garment properly is what transforms a nice project into a truly polished piece, and it deserves just as much care as the crocheting itself. Begin by weaving in all your yarn ends securely using your yarn needle, working each tail through several stitches in different directions so it will not come loose during wear or washing. Take your time with this step — loose ends that work free during the first wash are one of the most disheartening experiences in garment making, and they are entirely preventable with a little patience at the end.
Thread your elastic through the waistband casing using a large safety pin attached to one end to guide it through the channel. Once the elastic emerges from the other side, overlap the two ends by about three-quarters of an inch and sew them securely together using a sewing needle and thread, stitching a small square of thread and an X through the center for maximum hold. Gently tug the waistband all the way around to distribute the elastic evenly inside the channel, then close the opening in the casing with a few slip stitches using your yarn needle and a short length of matching yarn.
Blocking your finished shorts is the final and most transformative finishing step. Wet blocking cotton garments is highly effective: submerge the shorts in cool water, gently squeeze out the excess without wringing, then lay them flat on a clean towel and shape them to your measurements. Use rust-proof pins to hold the edges in place if needed, and allow them to dry completely before wearing or storing. Blocking evens out any uneven tension in the fabric, relaxes the fibers, and helps the garment hold its shape beautifully over time.
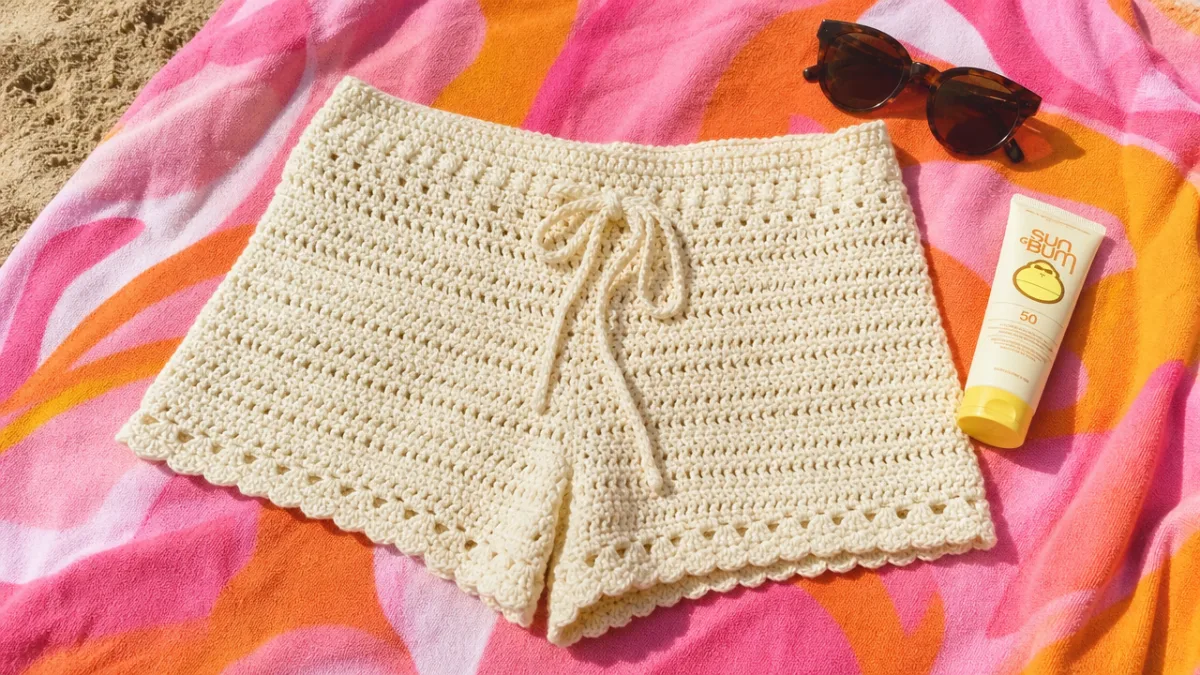
Once you have mastered the basic pattern, the customization possibilities are practically endless. Consider adding a lace border to the hem of each leg, or working a row of shell stitches for a romantic, feminine finish. You can create a striped effect by changing colors at the start of each round, or work the legs in a contrasting color for a bold, graphic look. Adding small crochet tie-bows at the sides or a drawstring through the waistband instead of elastic gives the shorts a beachy, relaxed feel. You might also experiment with surface slip stitch embellishments or crochet appliqués to add personality and make your shorts completely one of a kind.
Care, Storage, and Wearing Your Crochet Shorts
Taking proper care of your handmade shorts will ensure they last for many summers to come and continue to look and feel their best. Cotton crochet garments are generally quite durable and easy to care for, but a little attention goes a long way. Always wash your shorts in cool or lukewarm water using a gentle detergent formulated for delicates. While most cotton yarns can technically be machine washed on a gentle cycle, hand washing is always the safest option for handmade garments, as it prevents stretching, snagging, and the slow degradation of the stitches over time.
Never put your crochet shorts in a tumble dryer, as the heat can cause cotton to shrink significantly and the agitation can distort the fabric structure. Instead, gently reshape them while damp and lay them flat on a clean dry surface away from direct sunlight, which can fade dyes over time. Once fully dry, store your shorts folded rather than on a hanger, as hanging a crochet garment over long periods can cause it to stretch out under its own weight, particularly at the waistband. A breathable fabric bag or a clean drawer shelf is ideal for seasonal storage.
Wearing your handmade crochet shorts with confidence is arguably the best part of the entire process. They pair beautifully with a simple fitted tank top for a casual daytime look, or with a flowy linen blouse and sandals for an effortlessly chic summer outfit. Layered over a swimsuit, they make a stunning beach cover-up that is far more interesting than anything you could buy off the rack. Every time someone compliments your shorts and you get to say that you made them yourself, you will feel that special pride that only comes from handmade clothing — a feeling that is worth every stitch.
As you grow more comfortable with this pattern, you may find yourself wanting to push further into garment crochet. The skills you have practiced here — reading a pattern, swatching for gauge, working in the round, shaping a garment, and finishing with care — transfer directly to countless other wearable projects. Crochet skirts, tops, cardigans, and even dresses all draw on the same fundamental techniques. Your crochet shorts are not just a finished object; they are a foundation for an entire wardrobe of handmade clothing that reflects your taste, your creativity, and the quiet, satisfying magic of making something beautiful with your own two hands.








What do you think?
It is nice to know your opinion. Leave a comment.