










DIY Industrial Pipe Shelf: Build Your Own Rustic Storage Masterpiece
Industrial pipe shelves have become one of the most sought-after home décor trends in recent years, blending raw, utilitarian aesthetics with practical storage solutions that work in virtually any room of the house. Whether you’re outfitting a modern loft, a farmhouse kitchen, or a minimalist home office, these shelves deliver a striking visual statement while keeping your space organized and functional. The good news is that building your own industrial pipe shelf is a surprisingly achievable weekend project, even for beginners with limited DIY experience.
The appeal of industrial pipe shelves goes far beyond their rugged good looks. They are extraordinarily durable, capable of supporting significant weight when properly anchored to wall studs. Unlike flat-pack furniture that often looks flimsy after a few years, galvanized or black iron pipe fittings age beautifully, developing a natural patina that actually enhances their character over time. Paired with the right wood, they create a warm contrast between hard metal and organic grain that interior designers charge a premium to replicate with store-bought alternatives.
This comprehensive guide will walk you through every step of the process, from selecting your materials and planning your layout to cutting, staining, and mounting your finished shelf. By the time you’re done reading, you’ll have everything you need to build a custom industrial pipe shelf that looks like it cost several hundred dollars from a boutique furniture store, but will have cost you a fraction of that price and given you the deep satisfaction of having made it yourself.
Materials and Tools You’ll Need
Gathering the right materials before you begin is one of the most important steps in any successful DIY project. For industrial pipe shelves, the two primary components are the wood planks that form the shelf surface and the pipe fittings that act as both structural supports and decorative brackets. The most popular wood choices include reclaimed lumber for an authentic vintage feel, pine boards for an affordable and easy-to-work-with option, or solid oak for a more refined, upscale finish. Most builders opt for boards that are 1 to 1.5 inches thick to ensure adequate rigidity across longer spans.
For the pipe components, you’ll be working with threaded black iron pipe, which is widely available at hardware stores like Home Depot or Lowe’s. Black iron pipe has a dark, matte finish straight out of the box that pairs perfectly with wood staining, though some builders prefer galvanized pipe for its silver sheen. You’ll need floor flanges to anchor the pipe to both the wall and the wood shelf, standard pipe nipples in your desired length (typically 6 to 8 inches for standard shelf depth brackets), and elbow fittings to create the L-shaped bracket structure. Make sure all your pipe components share the same nominal diameter — three-quarters of an inch is the most commonly used size for shelving projects.
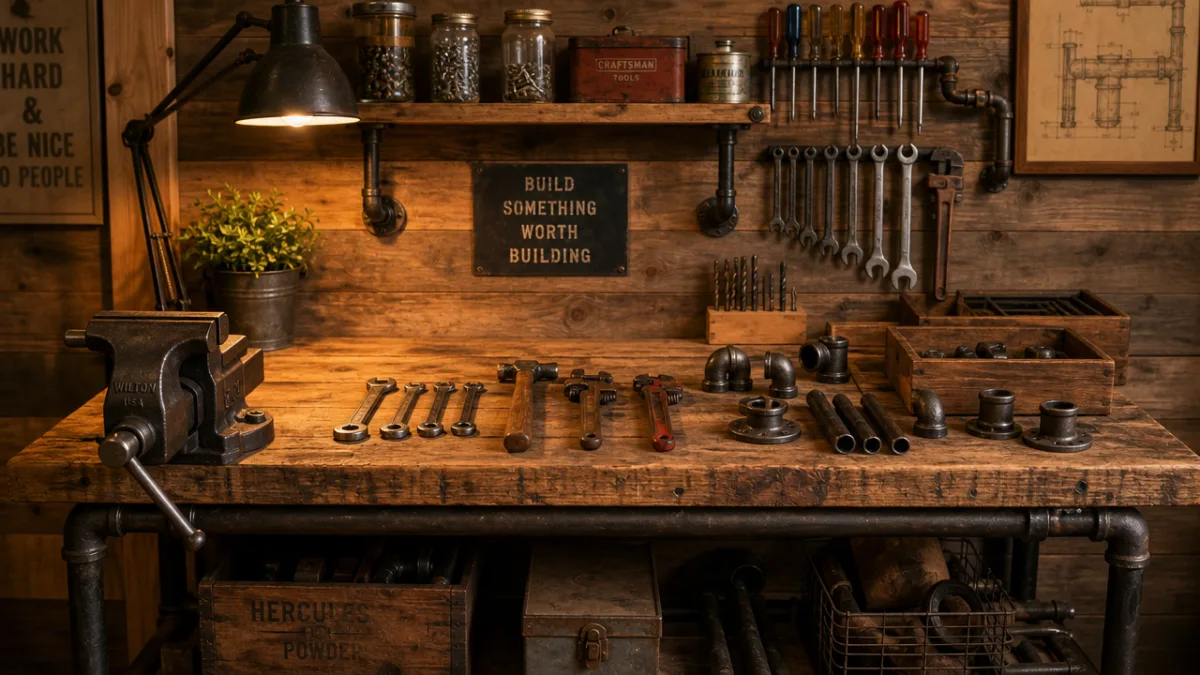
On the tools side, you don’t need a fully equipped workshop to pull this off. A circular saw or miter saw will help you cut your boards to length cleanly, though many hardware stores will make the cuts for you if you provide measurements. You’ll also need a drill with various bits, a stud finder for safe wall mounting, a level to keep everything straight, sandpaper in multiple grits ranging from 80 to 220, a paintbrush or foam applicator for staining, and basic safety gear including eye protection and work gloves. Having a pipe wrench on hand will make tightening your fittings significantly easier.
Complete Materials List
- Wooden board(s) cut to desired shelf length and depth (1″ x 10″ or 1″ x 12″ pine is ideal for beginners)
- 3/4″ black iron floor flanges (2 per shelf bracket pair)
- 3/4″ black iron pipe nipples, 6–8″ length (2 per bracket)
- 3/4″ black iron 90-degree elbow fittings (2 per shelf)
- Lag screws or wood screws appropriate for your wall type
- Wall anchors if you cannot hit studs
- Wood stain or paint in your chosen finish
- Polyurethane or wax sealant for protection
- Sandpaper (80, 120, and 220 grit)
- Painter’s tape and drop cloth
Planning Your Shelf Layout and Dimensions
Before you pick up a single tool, investing time in thoughtful planning will pay enormous dividends when it comes time for assembly and installation. Start by deciding on the placement of your shelf or shelves. Consider the wall space available, the items you intend to display or store, and the relationship of the shelf to other furniture and fixtures in the room. Measure the wall carefully and use painter’s tape to mock up the shelf dimensions directly on the surface — this simple trick helps you visualize scale before you commit to drilling any holes.
When planning shelf length, keep structural integrity in mind. For a shelf without a middle support bracket, most builders recommend keeping the span under 36 inches to prevent noticeable sagging over time, especially if you intend to store books or other heavy items. If you want a longer shelf, plan to add a third bracket in the center. Shelf depth is largely a matter of personal preference and function — deeper shelves (10 to 12 inches) work well in kitchens and workshops, while shallower shelves (6 to 8 inches) are better suited for decorative displays in living rooms and hallways where you don’t want the shelf to protrude too far from the wall.
Pipe bracket height is another key consideration that many first-timers overlook. Your floor flanges need to be anchored into wall studs for maximum holding strength, so use your stud finder to locate the studs along your planned shelf line and adjust your bracket positioning accordingly. Standard wall studs are spaced 16 inches apart on center, which conveniently works well with most shelf bracket spacing plans. Mark your stud locations clearly with a pencil, double-check with the stud finder, and measure twice before drilling — it’s a cliché for good reason.
Preparing and Finishing the Wood
The wood preparation stage is where your shelf truly begins to take on its personality, and it’s worth spending extra time here to achieve a professional-looking result. Begin by sanding your board thoroughly, starting with 80-grit sandpaper to remove any rough spots, mill marks, or uneven surfaces from the cutting process. Work your way progressively through 120-grit and finally 220-grit sandpaper, always sanding in the direction of the wood grain to avoid creating unsightly cross-grain scratches that will show up dramatically once stain is applied. Wipe away all dust with a tack cloth or a slightly damp rag before moving on.
Choosing the right stain is critical to achieving the look you’re after. For a classic industrial aesthetic, medium to dark brown stains such as Varathane’s Dark Walnut or Minwax’s Early American pair beautifully with black iron pipe, creating that warm, coffeehouse-inspired contrast that defines the style. If you prefer something lighter and more Scandinavian in feel, a whitewash or gray weathering stain over pine creates a fresh, modern counterpoint to the dark metal. For the most authentic reclaimed look, consider applying a pre-stain conditioner before your chosen color — this helps the wood absorb the stain more evenly, particularly important with pine which tends to blotch.
Apply your stain using a foam brush, lint-free cloth, or natural bristle brush, working it into the wood in long, even strokes following the grain. Allow it to penetrate for the manufacturer’s recommended time — typically three to five minutes — then wipe away the excess with a clean cloth. Deeper color can be achieved with a second coat after the first has dried completely, usually overnight. Once you’re satisfied with the color, protect your work with two to three coats of polyurethane or a paste wax finish, lightly sanding with 220-grit between coats for a silky-smooth final surface that will resist moisture, scratches, and everyday wear.
Popular Stain Options and Their Effects
- Dark Walnut: Rich, chocolatey brown that creates deep contrast with black pipe — ideal for a traditional industrial look in living rooms or offices.
- Early American: A warm medium brown with golden undertones, pairs well with pine and gives a slightly warmer, more rustic character.
- Provincial: A balanced mid-tone brown that works with virtually any wood species and complements both black and galvanized pipe equally well.
- Classic Gray: A cool, weathered finish that reads as modern farmhouse and pairs especially well with white-painted walls and galvanized pipe.
- Natural/Clear Seal: Lets the raw wood grain speak for itself, ideal for high-quality hardwoods like oak or maple where the natural color is already beautiful.
Assembling the Pipe Brackets
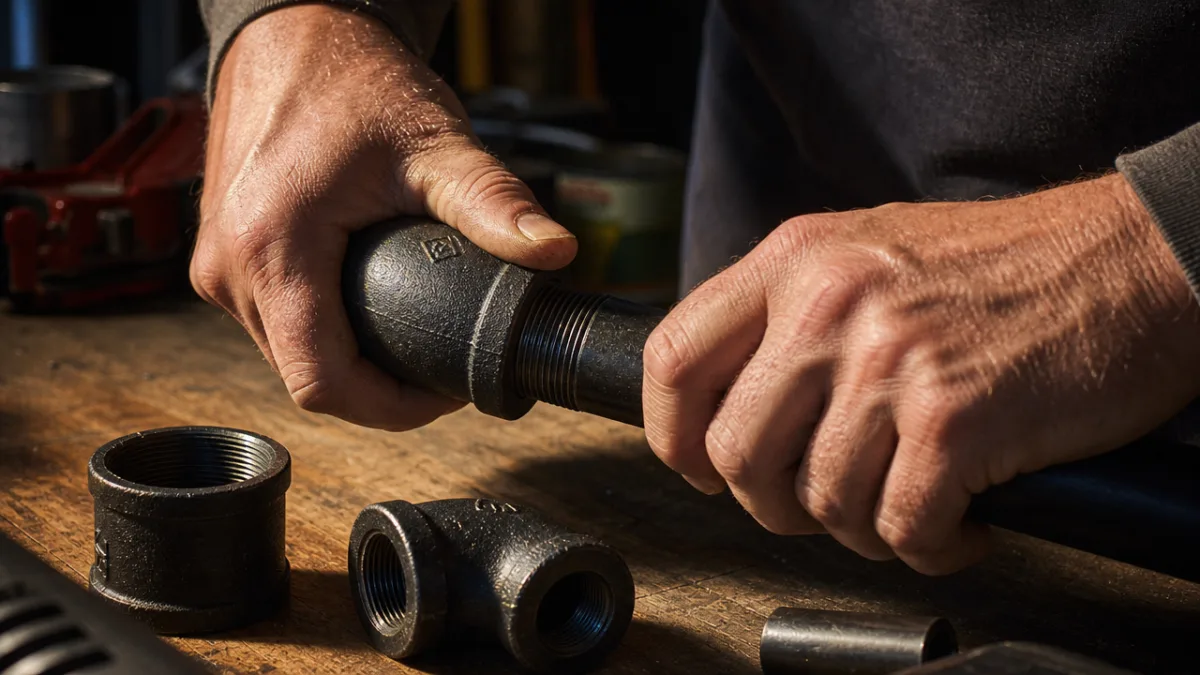
With your wood finished and curing, it’s time to assemble your pipe brackets, which is honestly one of the most satisfying parts of the entire build. Each L-shaped bracket consists of a floor flange threaded onto one end of a pipe nipple, with a 90-degree elbow fitting threaded onto the other end, and a second pipe nipple threading down from that elbow, finished with a second floor flange at the bottom. This creates the distinctive L-shape that allows one flange to mount flat against the wall and the other to mount flush against the underside of the shelf board. It sounds more complicated than it is — once you have the parts in front of you, assembly takes only a few minutes per bracket.
Hand-tighten all the fittings first to make sure everything is threaded correctly and the bracket is taking the proper L-shape. Once you’ve confirmed alignment, use your pipe wrench to tighten each connection firmly — you want the joints snug enough that nothing will loosen over time under the weight of shelf items, but you don’t need to overtighten to the point of stripping the threads. One important trick: as you tighten each connection, you’ll notice that the fittings rotate, which means you need to plan ahead so that when everything is fully tightened, the floor flanges are oriented correctly (flat holes facing up and down for screw attachment). This takes a little practice, and you may need to adjust the number of wraps of thread seal tape to dial in the final orientation.
Some builders choose to apply a coat of flat black spray paint to their assembled pipe brackets before installation, which gives a more uniform, matte finish and covers any shiny machining marks or manufacturer’s labels that might detract from the overall aesthetic. This step is entirely optional — many people prefer the raw look of unfinished black iron pipe. If you do paint, use a spray paint formulated for metal, apply in light even coats in a well-ventilated area, and allow each coat to dry fully before applying the next. Rust-Oleum’s flat black or matte black enamel are popular choices that hold up well under normal indoor conditions.
Installing the Shelf on Your Wall
Installation is the step that causes the most anxiety for first-time DIYers, but with the right preparation it’s actually quite straightforward. Begin by holding your assembled pipe bracket up to the wall at the desired height and using a pencil to mark through the screw holes in the wall-mounting floor flange. Double-check that your marks are directly over a stud using your stud finder — if one bracket hits a stud but another doesn’t, you’ll need to use heavy-duty wall anchors rated for the intended load. Pre-drill pilot holes at your marks using a drill bit slightly smaller than your lag screws to prevent the wood stud from splitting.
Drive your lag screws through the floor flange and into the wall studs using a socket wrench or an impact driver. The flanges should sit perfectly flush against the wall with no wobble or play. Repeat this process for each bracket, using your level consistently to ensure all brackets are mounted at exactly the same height — even a few millimeters of discrepancy will be noticeable once the shelf plank is resting on top. Take your time here, measure multiple times, and don’t be afraid to temporarily place the shelf board across the brackets to check alignment before committing all flanges to the wall.
With all wall flanges securely mounted, lay your finished wood plank across the top of the brackets and center it according to your preference. Mark through the holes in the upper floor flanges onto the underside of the wood, then pre-drill shallow pilot holes to prevent splitting. Secure the shelf to the brackets with wood screws — typically 1.25″ to 1.5″ screws work perfectly here, long enough to bite into the wood firmly but not so long they’ll punch through the top surface of the shelf. Once all screws are tightened, give the shelf a firm shake to confirm it’s rock solid, load it up, step back, and enjoy the view.
Installation Tips for a Perfect Result
- Always use a stud finder and confirm stud location by tapping the wall and listening for the change in sound before drilling.
- Keep a level on hand throughout installation and check both horizontally across brackets and along the length of the shelf board itself.
- If your walls are plaster rather than drywall, use masonry or plaster-specific anchors and consider using a smaller pilot bit to reduce crumbling.
- When in doubt about weight capacity, add a third center bracket — it’s an easy addition that dramatically increases the shelf’s structural integrity.
- Have a helper on hand if possible, especially for longer shelves, to hold components in place while you mark and drill.
Styling, Customizing, and Caring for Your Industrial Pipe Shelf
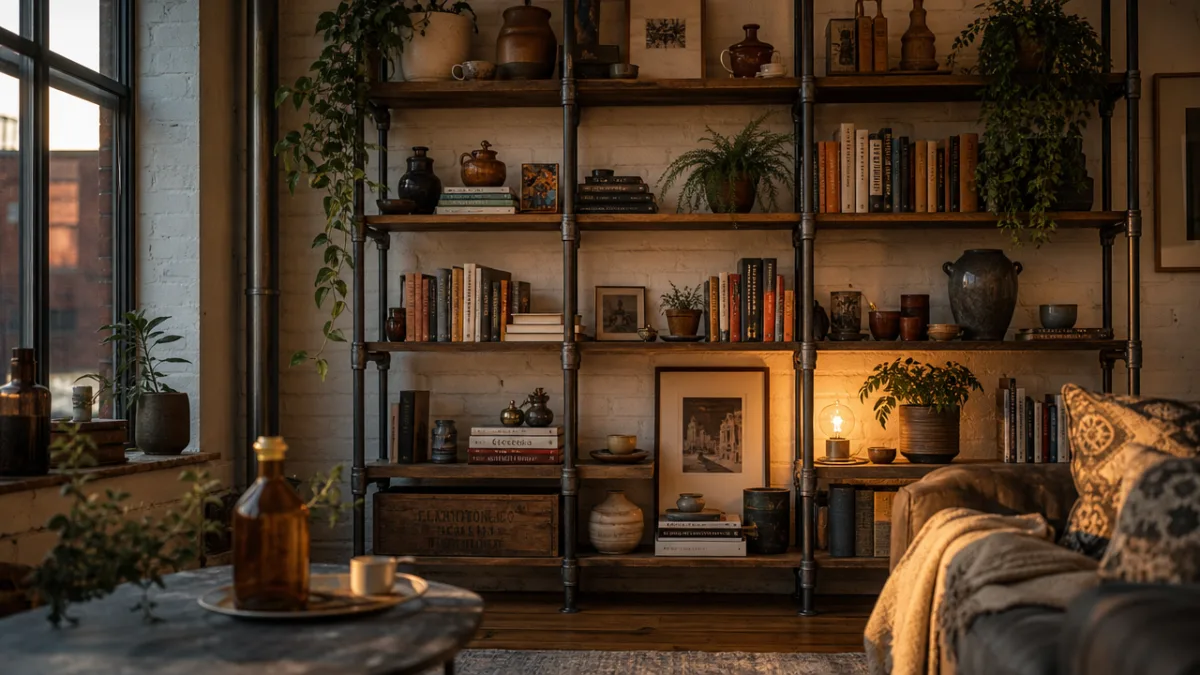
Once your shelf is mounted and solid, the fun of styling begins. Industrial pipe shelves are remarkably versatile display surfaces, working equally well as open kitchen storage for cookbooks and crockery, bathroom organizers for towels and toiletries, home office solutions for books and binders, or living room display shelves for plants, art objects, and curated collections. The raw, honest character of the pipe and wood combination gives you a strong visual anchor that can support both minimalist and maximalist styling approaches depending on your personal taste and the items you choose to display.
For a balanced, curated look, try the classic rule of odd numbers — groups of three or five objects almost always look more visually dynamic than even-numbered arrangements. Mix textures by pairing smooth ceramic vessels with rough-hewn wooden objects, trailing plants, and stacked books with their spines facing outward in complementary colors. Leave some intentional negative space on the shelf rather than filling every inch — crowded shelves tend to look chaotic rather than collected. Rotating your display seasonally is a great way to keep the shelf feeling fresh without any renovation effort.
Caring for your industrial pipe shelf requires minimal effort, which is one of its greatest practical virtues. The wood surface, properly sealed with polyurethane or wax, can be wiped clean with a slightly damp cloth and dried immediately. Avoid leaving standing water on the surface, which can penetrate even a good seal over time. The pipe brackets themselves are largely maintenance-free indoors — a quick wipe-down with a dry cloth every few months is all that’s needed to keep them looking sharp. If you ever want to refresh the look of the shelf, the wood surface can be lightly sanded and re-stained without removing the brackets, making updates quick and inexpensive.
One of the greatest joys of this project is how easily it can be customized and scaled to fit your specific needs and space. Want to create a full wall-to-wall bookcase? Simply build multiple shelves at different heights using the same bracket system. Need a standing shelf unit that doesn’t mount to the wall? You can configure the pipe fittings vertically using floor flanges anchored to a base plate to create freestanding shelving towers. The pipe fitting system is modular by nature, which means the design possibilities are genuinely limitless — once you build your first shelf and get comfortable with the materials, you’ll almost certainly find yourself planning your next pipe project before the first one is even fully styled.








What do you think?
It is nice to know your opinion. Leave a comment.