










DIY Cat Furniture: 12 Gorgeous Handmade Cat Tree Ideas for Every Home
Why Building Your Own Cat Tree Is Worth Every Minute
If you live with a cat, you already know how much they love being up high. Climbing is just part of who they are, and giving them a dedicated spot to scale, perch, and keep an eye on their kingdom is genuinely one of the best things you can do for them — both physically and mentally. The trouble is that most cat trees you find in stores are either cheaply made, weirdly ugly, or priced like they’re made of solid mahogany. Sometimes all three. Building your own is a completely different story.
When you build your own cat tree, you’re in charge of everything — the materials, the size, how it looks, and how long it actually lasts. You can match it to your furniture, pick sisal that won’t fall apart in six months, and make the platforms wide enough for your cat to properly sprawl. And honestly? Watching your cat curl up on something you made yourself is just a really good feeling. That alone makes the whole project worth it.
There’s a practical upside too. DIY cat furniture is almost always cheaper than buying something comparable at retail. Even if you use decent lumber, quality carpet remnants, and real sisal rope, you can usually build a tall multi-platform tree for a fraction of what you’d pay in a store. Add in the freedom to customize every dimension and the argument for picking up that drill becomes pretty hard to ignore.
Choosing the Right Materials for a Safe, Long-Lasting Build
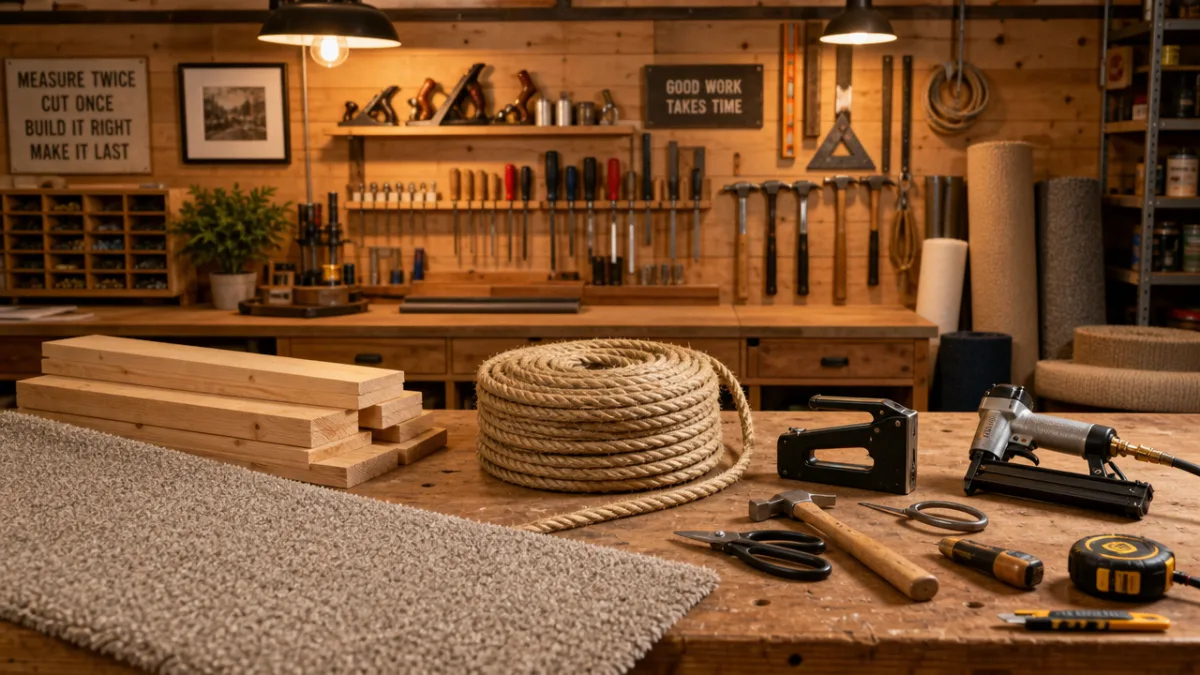
Start with the wood. Plywood is a go-to for platforms because it’s strong, not too heavy, and holds screws without splitting. For the main post or trunk, a lot of builders reach for four-by-four lumber — it has a satisfying solidity that keeps the whole structure from swaying when your cat leans into it. Whatever wood you go with, make sure it hasn’t been chemically treated. Standard construction lumber is fine; pressure-treated wood is not something you want your cat rubbing against.
Sisal rope is the classic choice for wrapping posts, and it really does earn that reputation. It’s rough enough to give cats the satisfying scratch they’re after, tough enough to last through years of daily use, and completely natural. Look for rope around three-eighths of an inch thick for smaller posts, or up to three-quarters of an inch for chunkier ones. Wrap it with no gaps, add a dab of non-toxic wood glue between rows, and you’ll have a scratching surface that actually holds up rather than unraveling after a few weeks.
For platform coverings, carpet remnants from a flooring store are cheap and come in tons of colors. Faux fur is another great option — cats are absolutely drawn to it, and it gives the platforms a plush, luxurious feel. Just avoid anything with loose loops or an open weave, since small claws can get snagged. Whatever you choose, use a staple gun to secure it firmly to the underside of each platform. It keeps the edges looking tidy and stops your cat from slowly dismantling your hard work.
Classic Multi-Level Cat Tree Designs
The classic multi-level cat tree has been around forever, and it’s popular for a reason — it gives cats exactly what they want. A solid base, a sisal-wrapped post or two, and a series of platforms climbing up to a top perch. Simple as that blueprint is, you can take it in dozens of directions. Add a cozy enclosed condo box partway up for the cats that like to hide, or push the height all the way to the ceiling if you’ve got a real climber on your hands. The classic design also has a way of fitting into most rooms without looking too out of place.
When you’re figuring out your platform spacing, aim for gaps of twelve to sixteen inches — enough room for a cat to jump comfortably between levels without the tree needing to be impossibly tall. Staggering the platforms so they alternate sides rather than stacking straight up gives the whole tree a more dynamic look and creates more interesting pathways for your cat to figure out. It also just looks better, giving the structure a kind of architectural quality you’d actually want in your living room.
On the base, go wider rather than narrower whenever you can. A base that extends well past the footprint of the posts makes tipping much less likely — and a wobbling cat tree isn’t just a safety hazard, it’s the kind of thing that makes cats avoid the whole structure forever. For anything taller than five feet, or if your cat is particularly enthusiastic, it’s worth anchoring the tree to the wall with a simple L-bracket just to be sure.
Modern Minimalist Cat Trees That Look Like Real Furniture
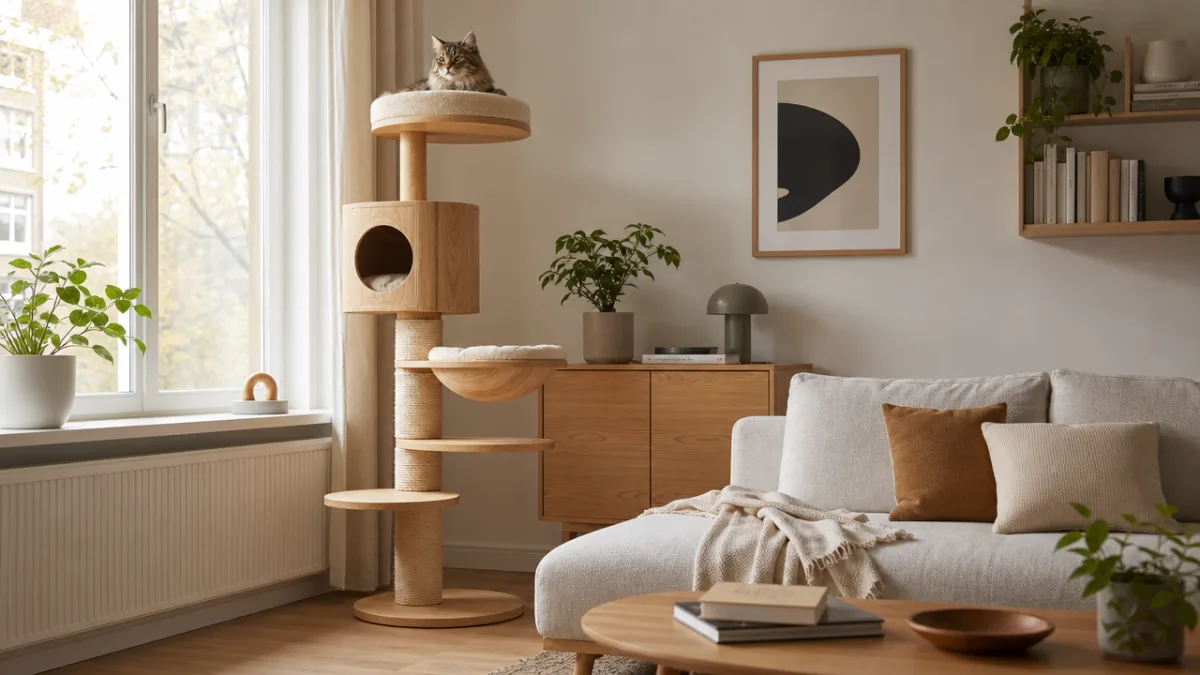
Over the last few years, the DIY cat community has really embraced minimalist design, and some of the results are genuinely stunning. These builds pull from Scandinavian interior aesthetics — clean lines, natural wood tones, nothing fussy or cluttered — and the effect is a structure that looks like actual furniture rather than something you’re trying to hide in the corner. If your home has a modern or contemporary feel, this style is worth a serious look.
The materials do most of the work here. Natural birch plywood with a smooth finish paired with black metal pipe fittings for the posts gives you a sleek, intentional look right away. You can leave the wood natural or go with a light wood stain that lets the grain show through — either way, you’re letting the material speak for itself rather than covering it up. Platforms can be left bare or topped with a thin layer of natural jute matting, which adds just enough warmth without making things feel busy.
The details matter a lot in a minimalist build. Recessed screws, flush edges, properly sanded corners — these small things add up to a finished piece that most people wouldn’t even clock as a DIY project. Take the time to sand each platform through progressively finer grits of sandpaper, ending at 220-grit before you apply any stain or finish. Add chamfered edges and matching hardware throughout, and you’ve crossed the line from “homemade” to “handcrafted” in the best possible way.
Creative and Unique Cat Tree Concepts to Inspire Your Build
Once you’ve got the basics down, this is where things get really fun. Some of the most creative cat trees in the DIY world use actual reclaimed tree branches as structural elements, bringing a piece of nature indoors in the best way. Driftwood with interesting curves — properly cleaned and fully dried — can double as both scratching post and visual centerpiece. A branch cat tree anchored in a corner and secured at ceiling height becomes a dramatic installation that cats go absolutely wild for.
Wall-mounted cat furniture is another direction worth exploring. Instead of a freestanding structure, you mount a series of stepped shelves directly to the wall, creating a climbing route that barely eats into your floor space at all. This works especially well in smaller homes or apartments where every square foot counts. You can cover the shelves in carpet or keep them as natural wood, and arrange them however you like — a gentle staircase, a zigzag, or an elaborate multi-branch system that takes over an entire accent wall.
For the ambitious builder, there’s the floor-to-ceiling tension pole cat tree — a structure that locks between floor and ceiling without a single wall fixing. These can include canvas or leather hammocks, hanging toys, and multiple platforms. They’re portable, they leave no marks, and you can adjust them as your cat’s tastes change over time. It’s a serious project, but a seriously impressive one.
- Reclaimed branch tree: Use a large dried branch as the central post, anchoring it to a weighted base and ceiling for maximum stability and visual drama.
- Wall-mounted shelf system: Install a series of staggered carpeted shelves that guide cats from floor to near-ceiling along an entire accent wall.
- Tension pole condo: Build a floor-to-ceiling pole system with hammocks and platforms that installs without any permanent fixings.
- Corner tower: Use the angle of a room corner for structural support, allowing you to build a taller, more stable tree with a narrower base footprint.
- Outdoor catio tree: Construct a weatherproof version for a screened porch or enclosed outdoor space using cedar lumber and marine-grade rope.
Step-by-Step Tips for a Successful Build
Plan before you cut anything — this is the advice every experienced woodworker gives, and they mean it. Sketch your design on paper with actual measurements. Think through how the whole thing goes together, working backwards from the finished piece so you understand what gets cut and joined in what order. A solid plan keeps you from making expensive mistakes with lumber and means you’ll have a real shopping list before you ever set foot in the hardware store.
Don’t cut corners on safety during the build itself. Clamp pieces securely when you’re drilling or cutting rather than trying to hold things steady with one hand. Eye protection is non-negotiable whenever you’re cutting or sanding, and a dust mask during sanding is genuinely a good idea too. When attaching platforms to posts, use both screws and construction adhesive — a platform that gives way under a jumping cat is a real hazard, and this is one of those spots where it’s worth being a little over-engineered.
A lot of first-time builders rush the finishing and testing phase, and it tends to show. Before your cat gets anywhere near the new tree, press down firmly on every platform with your full body weight and look for any flex or wobble. Rock the whole structure to confirm the base is solid. Make sure every screw is fully seated and that no staples or rough edges are exposed where your cat will be sitting or stepping. Only once you’re genuinely confident it’s solid and smooth should you introduce your cat — and even then, let them approach on their own terms.
- Draft a detailed sketch with measurements before purchasing any materials.
- Cut all lumber pieces before beginning assembly, checking each against your plan.
- Sand all surfaces smooth, paying particular attention to edges and corners.
- Assemble the base and posts first, ensuring everything is plumb and square.
- Attach platforms in order from bottom to top, using both screws and adhesive.
- Wrap sisal posts tightly, applying wood glue between rows for a firm hold.
- Cover platforms with your chosen fabric, pulling it taut before stapling.
- Perform a thorough stability test before allowing your cat near the structure.
Encouraging Your Cat to Use Their New Tree
Building a great cat tree is only half the job — the other half is convincing your cat it exists for them. Cats are famously skeptical of anything new in their space, and a freshly built tree might be treated like a suspicious stranger for days or even weeks. That’s normal. Place it somewhere your cat already likes to hang out, ideally near a window with a good view, and let them check it out entirely on their own schedule. Trying to force the introduction will only make them more wary.
Familiar scents go a long way toward speeding things up. Rubbing a piece of their bedding on the platforms transfers their own scent onto the new structure, which makes it feel more like territory they already own. A sprinkle of catnip on the platforms or some hidden treats at different levels gives curious cats a tangible reason to climb. A favorite toy dangled from the top perch can coax them up for that first visit — and once they discover the view from up there, they usually decide it was worth the effort.
Once your cat is using the tree regularly, keep it interesting. A new hanging toy, a patch of worn carpet swapped out for fresh material, or a hammock moved to a different position can rekindle their interest in something they’ve started ignoring. This is one of the real advantages of having built the thing yourself — you can modify it whenever you want. That ongoing connection between builder and structure is part of what makes the whole handmade approach so satisfying, for both you and your cat.








What do you think?
It is nice to know your opinion. Leave a comment.