










“`html
15 Cheap Walkway DIY Ideas That Look Expensive
Why Your Walkway Matters More Than You Think
Your front walkway is one of the very first things people notice when they pull up to your house. Before they even knock on the door, it’s already telling a story about you and how much you care about your home. A cracked slab or a muddy dirt path can make even a gorgeous house feel neglected, while a well-thought-out walkway can make a modest home look like it belongs in a neighborhood tour.
Here’s the thing though — you really don’t need to drop thousands of dollars on a landscaper to get that high-end look. Homeowners everywhere are figuring out that with the right materials and a free weekend, they can completely transform their entryway. The trick is picking designs that look like they cost a fortune but are built from affordable stuff you can grab at any hardware store or even find for free.
Whether your current path is a sad strip of plain concrete, a patch of trampled grass, or just nothing at all, there’s something on this list for you. These fifteen ideas cover a range of styles, budgets, and skill levels, and every single one of them proves you don’t have to spend a lot to make a big impression.
Natural Stone and Gravel Combinations
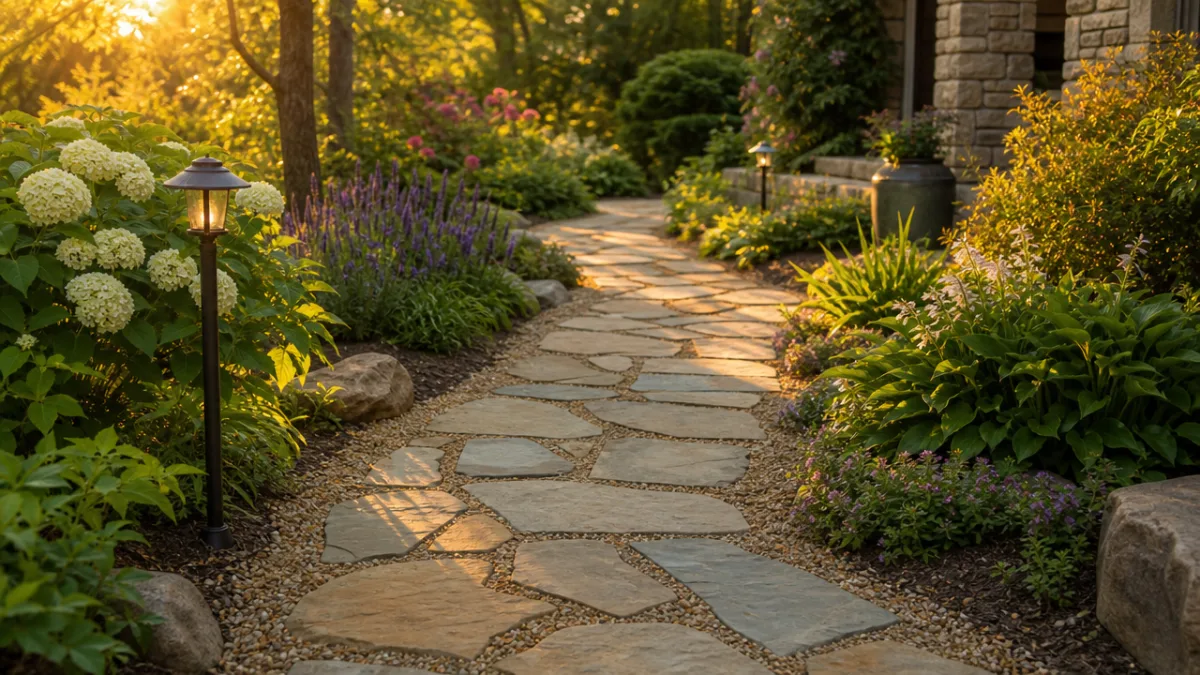
If you want a walkway that looks like it came out of a fancy landscape design catalog without paying catalog prices, combining flat flagstones with gravel fill is one of the best tricks out there. Flagstones are surprisingly affordable when you pick them up yourself from a local landscape supplier, and laying them yourself is genuinely not that difficult. Set them into a bed of pea gravel or crushed granite and suddenly your front path looks like something from an upscale neighborhood.
What separates a polished result from a sloppy one is really just two things: spacing and levelness. Each stone needs to sit in a shallow sand bed so it doesn’t wobble when you step on it. Keep the gaps between stones consistent — around two to three inches — and fill them neatly with gravel. Add some steel, aluminum, or timber edging along the sides to contain everything, and the whole thing looks sharp and intentional rather than thrown together.
Don’t overlook the gravel itself, either. It comes in a surprisingly wide range of colors — warm honey-toned pea gravel, cool bluestone chips, golden decomposed granite that practically glows when the afternoon sun hits it. Picking a color that works with your house’s exterior can really pull the whole look together. Best of all, most people can knock this project out in a single weekend for well under two hundred dollars in materials, depending on how long your path is. Honestly, it’s one of the best bang-for-your-buck projects you can do outside.
Stepping Stones Through Lawn or Ground Cover
There’s something almost magical about a stepping stone path winding through a lawn or a carpet of creeping thyme or Irish moss. It has that relaxed, English country garden feel that looks like it took years and a lot of money to achieve — but it really didn’t. The visual charm comes from the contrast between the hard stones and the soft, living greenery growing right up around them. Give it a season or two and the plants fill in naturally, making the whole path look like it’s always been there.
Plain concrete stepping stones from a garden center can run as little as one to three dollars each, which is already pretty great. But if you want them to look truly custom, you can cast your own using molds and a basic bag of concrete mix. Press a leaf into the surface, embed some mosaic tile pieces, or use a simple stamp — suddenly you have something that looks handmade and intentional rather than mass-produced. That’s the detail that makes people assume you spent a lot more than you did.
One thing that really matters with this style is the spacing. Stones should sit about eighteen to twenty-four inches apart, center to center, so walking the path feels natural and comfortable. Before you commit to anything permanent, lay them out and actually walk the path a few times. A stepping stone path that makes you shuffle or stretch your stride gets annoying fast, while one that flows with your natural gait just feels right — almost effortless.
Brick Patterns That Transform Plain Paths
Reclaimed brick might be the most underrated material in DIY landscaping. Old bricks salvaged from demolished buildings have this beautiful patina — uneven color, worn edges, real texture — that no new material can fake. Salvage yards, architectural salvage shops, and online marketplace listings often sell reclaimed bricks cheap, and sometimes people are giving them away free just to get them hauled off. That makes this one of the highest-impact, lowest-cost options you’ll find anywhere.
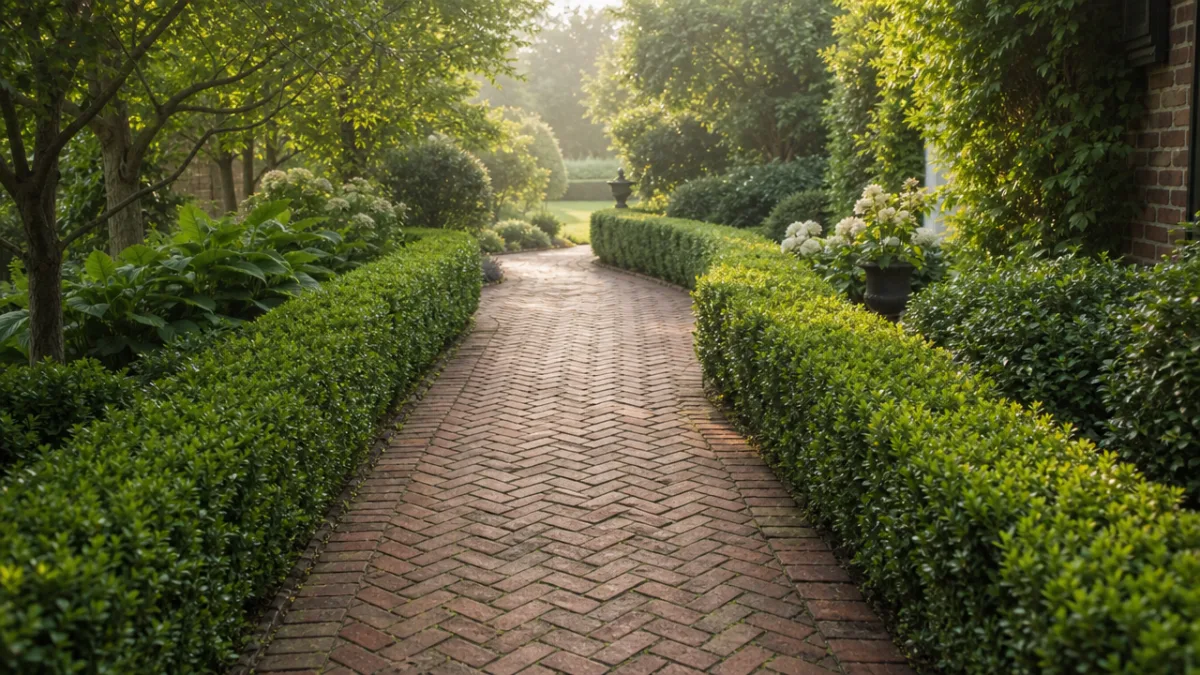
The pattern you choose makes a huge difference in how the finished path reads. A basic running bond — bricks staggered like a traditional wall — looks neat and classic. Step it up to a herringbone pattern, with bricks laid at forty-five degree angles in a V-shape, and the whole thing suddenly looks far more complex and professional, even though it only takes a little extra planning. Basketweave, which alternates pairs of horizontal and vertical bricks, gives you that rich, textured surface you see in old European courtyards.
Don’t skip the prep work, because that’s what makes a brick path last. Dig out two to four inches of soil, lay down a compacted gravel base, add a thin sand bedding layer, then set your bricks. Sweep polymeric sand into the joints and set it with water, and it locks everything in place while keeping weeds from sneaking through. A well-built brick path can honestly last for decades with barely any upkeep, so the time you put in up front keeps paying off every single year.
Concrete Solutions That Don’t Look Cheap
Plain gray concrete has a bad reputation, and honestly it’s earned. But modern DIY techniques have completely changed what’s possible with this material if you’re willing to put in a little effort. Stamped concrete is probably the most dramatic transformation — you press textured mats into freshly poured concrete to mimic the look of stone, slate, cobblestone, or brick, at a fraction of the cost of the real thing. It takes some patience and you have to move fast before the concrete sets, but it’s absolutely doable as a DIY project.
If you already have an existing concrete walkway that you’re tired of looking at, concrete stain is a game-changer. Acid-based stains react chemically with the concrete to create those natural, mottled, variegated tones that look organic rather than painted on. Earth tones — terracotta, charcoal, warm brown — are especially popular because they give plain gray concrete a warmth and depth that genuinely reads as upscale. Seal it properly and the finished product can look remarkably close to natural stone.
For a more modern, architectural approach, try pouring your own individual concrete squares using forms, leaving deliberate even gaps between them. Fill those gaps with ground cover plants, decorative gravel, or even a strip of artificial turf and you’ve got this clean grid pattern that shows up constantly in high-end landscape design portfolios. The best part? For a typical front walkway using this method and bagged concrete mix, you’re often looking at under one hundred fifty dollars in materials total.
Mulch and Timber Edged Pathways
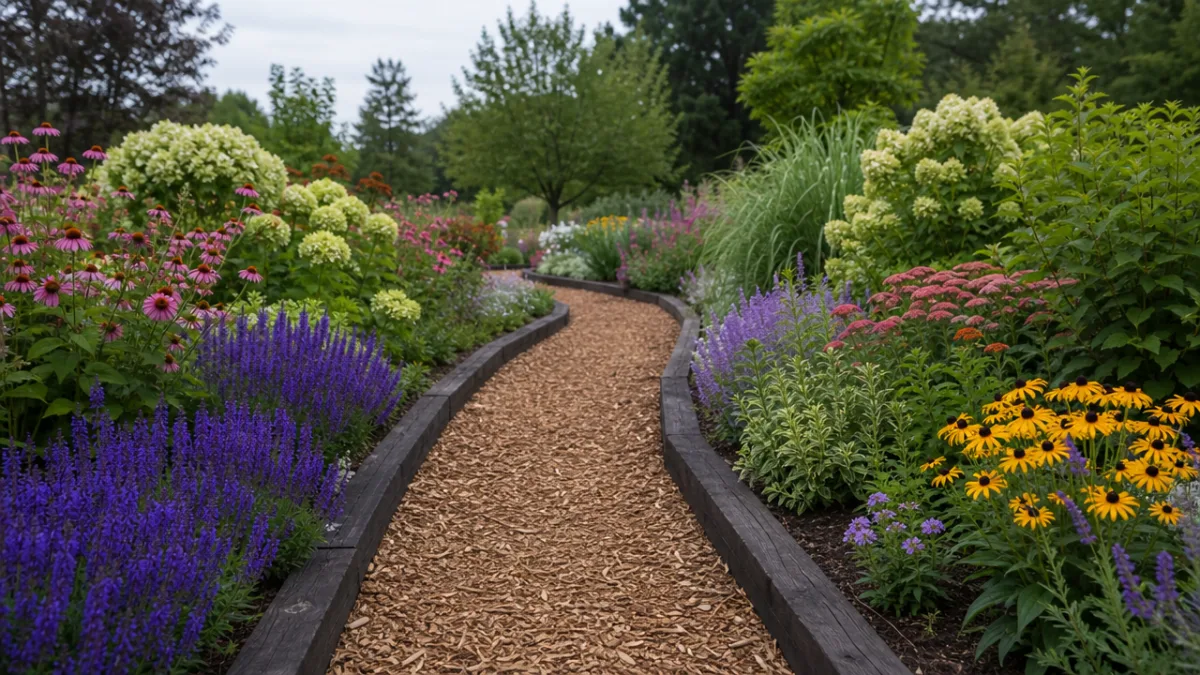
A mulched walkway with good edging is one of the easiest paths you can build, and when it’s done with some care and attention, it looks surprisingly polished and intentional. The mulch you choose matters a lot here. Dark brown or black dyed hardwood mulch looks rich and luxurious against green plantings on either side. Cedar mulch brings a warm reddish-brown tone and a genuinely lovely smell that greets people as they walk up to your door — a small detail that makes a real impression.
The edging is honestly what makes or breaks this kind of path. Rough-hewn landscape timbers feel rustic and craftsman-like, which works beautifully in cottage gardens and woodland settings. Smooth pressure-treated boards give you a cleaner, more contemporary look. If you want something really refined and modern, thin steel or Corten weathering steel edging strips provide an ultra-sharp border that looks like something a professional designer specified. Corten develops a gorgeous rust patina over time that actually gets better looking with age, and it needs zero maintenance.
One step a lot of beginners skip — and then really regret — is laying weed barrier fabric under the mulch. Skip it and you’ll be pulling weeds out of your nice new path within a single growing season. Good landscape fabric pinned down securely at the edges will keep everything clean for years. Top off the mulch by an inch or two each spring and it stays looking fresh and vibrant. For a path that’s roughly twenty feet long and three feet wide, you’re typically looking at fifty to one hundred dollars total for edging, fabric, and mulch. Hard to beat that.
Creative Material Combinations and Finishing Touches
Some of the most eye-catching walkways out there are built from materials you’d never find in a hardware store display. Sliced log rounds set into the ground as circular stepping stones create this wonderful storybook woodland path, and they cost next to nothing if you have access to fallen timber or know someone at a sawmill. River rocks worked in between larger stones add texture and visual interest that makes people slow down and actually look at the ground beneath their feet. Broken ceramic tile set in mortar becomes mosaic-style stepping stones that are genuinely artistic conversation pieces.
Lighting is one of those finishing touches that’s relatively inexpensive but has an outsized effect on how a walkway feels. Solar-powered pathway lights need no wiring at all and come in styles ranging from basic mushroom stakes to lantern-style fixtures that look really handsome. Low-voltage LED landscape lighting is another great option — it creates a warm, inviting glow after dark that makes your walkway look like it belongs in a magazine spread. And beyond just looks, good lighting is genuinely practical if you get evening visitors or regular deliveries.
If there’s one finishing touch that matters more than anything else regardless of what material your path is made from, it’s the plantings on either side. A border of neat ornamental grasses, flowering perennials, or compact shrubs frames the path and pulls the eye naturally toward your front door. Even inexpensive annuals planted in a consistent color palette turn a plain path into a designed garden feature. When someone walks up to your house through a corridor of beautiful, well-kept plants leading to an attractive door, the whole experience feels considered and welcoming — and that impression doesn’t depend at all on how much you actually spent to create it.
“`








What do you think?
It is nice to know your opinion. Leave a comment.