










Introduction: How a Stack of Old Pallets Became My Proudest Creation
There’s something about walking past a piece of furniture and thinking, “I made that.” I get that feeling every single time I pass my pallet bookshelf in the living room. What started as a lazy weekend experiment ended up being the most rewarding DIY project I’ve ever tackled, and honestly, I think it could be the same for you. Getting from a pile of rough, weathered wood to something genuinely beautiful and useful was a journey full of little wins, useful lessons, and yes, more than a few splinters.
Pallet wood has developed a bit of a cult following in the DIY world, and it deserves every bit of the hype. It’s easy to find, usually free or close to it, and has a rustic character that no factory-made material can fake. Every plank shows its history — the grain patterns, the old nail holes, the way the wood has aged over time. When I first started poking around for pallet project ideas online, bookshelves kept catching my eye. I’m a reader, my collection of novels, cookbooks, and art books had completely outgrown every shelf I owned, and I needed a solution that didn’t cost a fortune.
What I love most about this project is how approachable it is. You don’t need a workshop full of expensive tools or years of woodworking experience behind you. With some basic gear, a bit of patience, and a willingness to figure things out as you go, you can end up with something that looks like it came from a boutique furniture shop. In this article I’ll walk you through everything I learned along the way, from tracking down the right pallets to those final finishing details that really pull everything together.
Sourcing and Selecting the Right Pallets for Your Project
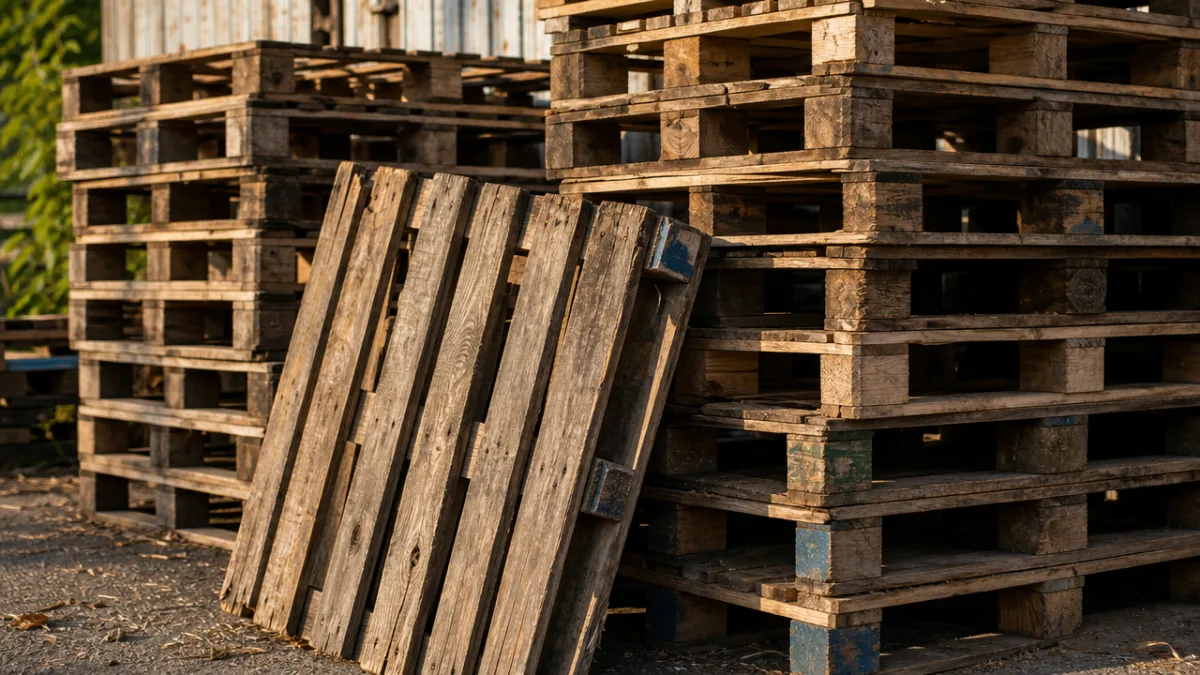
A great pallet project lives or dies by the quality of the pallets you start with. Not all of them are suitable, and knowing what to look for before you start hauling wood home will save you a lot of grief later. The most important thing to understand is the stamping system used on shipping pallets. You’re looking for the letters HT, which stands for heat treated. Heat-treated pallets have been processed to kill off pests and pathogens without any chemicals, so they’re completely safe to bring inside and turn into furniture.
What you want to avoid is any pallet stamped MB, which stands for methyl bromide. That’s a chemical fumigation treatment that can leave residue in the wood, and it has no business being in your living room. Beyond the stamps, give each pallet a good once-over for excessive warping, deep cracks through the main boards, or any suspicious staining that might point to chemical spills or contamination during their working life.
Finding pallets is easier than most people expect. Some of my favorite sources have been:
- Local grocery stores and supermarkets, which go through huge quantities of pallets and are often actively looking for people to take them away
- Garden centers and nurseries, where pallets tend to pile up outside after shipments come in
- Hardware and home improvement stores, which frequently have them stacked near the loading dock
- Facebook Marketplace and Craigslist, where free pallet listings pop up constantly if you search regularly
- Small local businesses, warehouses, and distribution centers — most are genuinely happy to have someone take pallets off their hands
Once you’ve got your pallets home, clean them thoroughly before you do anything else. A stiff brush, warm soapy water, and a garden hose do a surprisingly good job of cutting through years of accumulated grime. Then let the wood dry completely out in the sun for a day or two. That drying time helps the wood stabilize, which means you’re less likely to see unexpected warping after your finished bookshelf is inside a climate-controlled room.
Tools, Materials, and Planning Your Bookshelf Design
Before you cut a single board, the most valuable time you can spend is thinking through your design. Diving in without a clear plan is probably the most common beginner mistake, and it tends to lead to wasted wood, structural problems, and a finished piece that doesn’t quite match what you pictured. Start by measuring the wall space you’re working with and sketching out a rough design on paper. Think about height, width, and depth in relation to what you’re storing, and figure out how many shelves you’ll actually need to fit everything comfortably.
One of the things that makes pallet woodworking so beginner-friendly is that the tool list is pretty manageable. Here’s what I used for this build:
- A circular saw or jigsaw for cutting boards to size
- An orbital sander with several grit levels, starting around 80 grit and working up to 220 for a smooth finish
- A power drill with drill bit and screwdriver attachments
- A nail gun or a hammer and finish nails for lighter joining work
- Wood screws in a couple of lengths — 1.5 inch and 2.5 inch covered most of what I needed
- Wood glue to reinforce joints before fastening
- A level, measuring tape, and carpenter’s square to keep everything straight
- Safety gear: goggles, a dust mask, and work gloves
On the materials side, beyond the pallet wood itself, grab some wood filler for screw holes and surface imperfections. Sandpaper in multiple grits is a must, and your choice of stain, paint, or sealant will define the whole look of the piece. I went with a warm walnut stain that really brought out the grain of the aged wood, but plenty of people prefer to leave it natural or go bold with a painted accent color. There’s genuinely no wrong answer — that’s a big part of what makes building your own furniture so satisfying.
When thinking through the structure, take weight-bearing seriously. Books are heavier than they look, and a shelf that isn’t built solidly can bow, wobble, or fail under a full load. I reinforced the back of my bookshelf with a sheet of thin plywood attached to the frame, which added a lot of rigidity and gave the whole piece a clean, finished look from behind. A lot of beginner guides leave this step out, but I’d really encourage you to include it — it makes a noticeable difference both structurally and aesthetically.
The Building Process: Step by Step Through the Construction
With your design sorted, your pallets clean and dry, and your tools ready to go, you can finally start building. My first step was taking the pallets apart to free up the individual boards. This is trickier than it sounds — pallet nails are designed to hold under serious stress, so they don’t want to come out easily. A pry bar and hammer combination works well if you go slowly and patiently, since rushing it will split the wood. One alternative worth knowing about: many builders skip the disassembly entirely and use the whole pallet as a structural unit, which speeds things up considerably and gives you a very solid finished product.
Once you have your boards sorted by size and quality, it’s time to sand. I know it feels like a chore, but this step genuinely makes or breaks the final result. Pallet wood is rough, splintery, and often has years of ground-in dirt that needs to come off. Starting with 60 to 80 grit knocks down the worst of it, and then working progressively through finer grits brings the surface to a smoothness that honestly feels remarkable given where the wood started. Don’t rush through this stage — no stain or paint in the world will hide a surface that hasn’t been properly prepared.
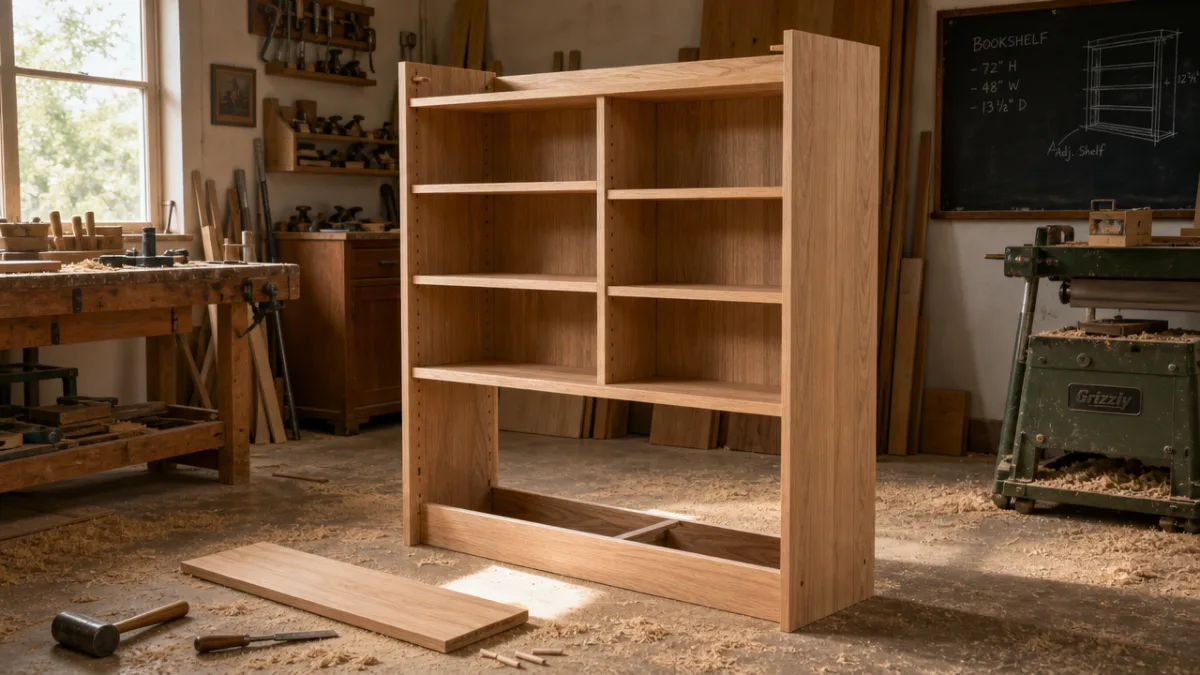
I started assembly with the outer frame, using the thickest and most solid boards I had. Every joint got wood glue before the screws went in, and I pre-drilled all my holes to prevent splitting. Pre-drilling is one of those small habits that makes a huge difference with reclaimed wood, which can be more brittle and unpredictable than fresh lumber. Once the frame was together and the glue had fully cured, I added the shelf boards horizontally across the interior at evenly spaced intervals.
Attaching the back panel came next, and this was the moment the whole thing started looking like actual furniture rather than just a frame. I cut a piece of quarter-inch plywood to fit exactly, then secured it with small finish nails all the way around the perimeter. Some people prefer to leave the back open for an industrial feel, or use thin wooden slats in a shiplap style — both are great options depending on the look you’re going for.
Finishing Touches: Staining, Sealing, and Styling Your Bookshelf
The finishing stage is where the bookshelf really comes to life, and it’s also where you get to make it feel like yours. Before you touch any stain or paint, do one final pass with fine 220-grit sandpaper to make sure everything is completely smooth, then wipe the whole surface down with a tack cloth or a barely-damp rag to pick up any remaining dust. Let the wood dry fully before you crack open any finishing products. Staining over a dusty or damp surface is one of the most common finishing mistakes out there, and the blotchy result is genuinely hard to fix once it’s set.
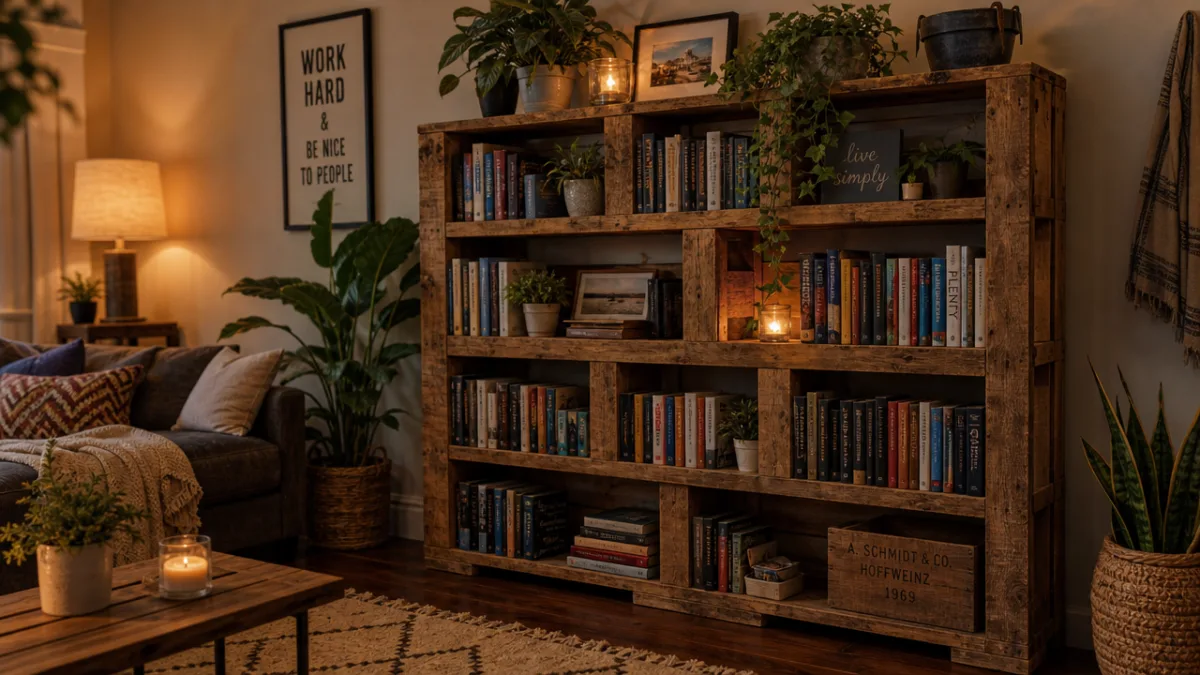
I applied my stain with a foam brush, working in long even strokes in the direction of the grain and wiping off the excess with a clean cloth after a few minutes. The pallet wood soaked up the stain beautifully — and unevenly, which actually worked in my favor. The more porous sections absorbed more stain and went darker, while tighter-grained areas stayed lighter, creating a natural tonal variation that looked really striking. After the first coat dried, I did a light sand with 400 grit and added a second coat to deepen the color.
Sealing is a step a lot of DIYers skip, and I’d really urge you not to. A good polyurethane or furniture wax protects against moisture, scratches, and everyday wear — all things that matter a lot on a piece of furniture you’re going to be touching and loading with heavy books on a regular basis. I put on two coats of matte polyurethane with full drying time between them, and the result was a surface that felt properly protected without looking shiny or plasticky. The matte finish kept that handmade, natural quality that I’d worked to preserve throughout the whole build.
Mounting the shelf to the wall is the final step, and it’s not one to cut corners on. A bookshelf loaded with books can easily top a hundred pounds, and trusting it to stand on its own isn’t safe. I used heavy-duty L-brackets screwed into wall studs to anchor the back of the frame securely. The studs are the key part — screws going only into drywall won’t hold meaningful weight. A decent stud finder makes the whole job quick and easy, and knowing the shelf is properly secured is especially worth it if you have kids or pets around.
Why This Project Changed the Way I Think About DIY and Home Decor
Finishing this bookshelf did something I didn’t see coming. It genuinely changed how I look at my home. Before this project, furniture was something I bought, assembled from flat-pack instructions at most, and treated as a fixed object with a fixed identity. Now I move through my house noticing every surface and empty space with the eyes of someone who knows that almost anything can be built, tweaked, or reimagined with enough patience and creativity. That shift in perspective might honestly be worth more than the bookshelf itself.
There’s also a sustainability angle here that I find myself thinking about more and more. Pallets exist in enormous quantities and are regularly thrown away or burned. Turning reclaimed pallet wood into functional home furniture keeps material out of landfills and reduces the need for newly cut timber. At a time when a lot of us are trying to be more thoughtful about what we consume, furnishing your home with something beautiful that has an entirely upcycled origin story feels genuinely good in a way that buying new just doesn’t quite match.
The reactions from friends and family have also been a completely unexpected bonus. Almost everyone is floored when they find out the shelf was built from discarded shipping pallets. That reaction says something real about the quality of the finished piece, but it also points to something broader — handmade objects carry a warmth and individuality that mass-produced furniture simply can’t replicate, no matter the price tag or how polished the factory finish is.
If you’re still on the fence about trying a pallet project, here’s what I’d leave you with: everything you figure out on your first build becomes the foundation for whatever comes next. Every mistake teaches you something that no tutorial can fully hand you. The confidence that comes from taking raw material all the way to a finished product is real and it sticks with you. My pallet bookshelf is my favorite thing I’ve made so far, but I’m already thinking about the next one. Once you start, it’s pretty hard to stop.








What do you think?
It is nice to know your opinion. Leave a comment.