










Simple Aesthetic Art: Easy DIY Painting Ideas for Every Creative Soul
The Beauty of Simple Aesthetic Art
There’s something genuinely satisfying about making art with your own hands, especially when the process doesn’t feel overwhelming and the results are actually beautiful. Simple aesthetic art has really taken off in the creative world lately, and it’s easy to see why. It brings together minimalism, soft color palettes, and thoughtful design to create pieces that feel both calming and visually striking. Whether you’ve never picked up a paintbrush before or you’re dusting off your creative side after a long break, this style is incredibly welcoming — and refreshingly low on rules.
What draws so many people to aesthetic art is its deliberate simplicity. Instead of chasing photorealistic detail or wrestling with complex compositions, it leans into imperfection and asks you to focus on mood and feeling instead. A soft watercolor wash bleeding into a pale background, a single abstract brushstroke across a canvas, or a few minimalist botanical shapes — any of these can carry real visual weight when you approach them with intention. The magic is often as much about what you leave out as what you put in.
What makes this style particularly exciting for DIY enthusiasts is that you really don’t need a lot of specialized knowledge or pricey equipment to get started. Most aesthetic art projects come together with basic acrylic or watercolor paints, a handful of brushes, and some inexpensive canvas or thick paper. The learning curve is gentle, the creative payoff is almost immediate, and the finished pieces are things you’ll actually want to hang on your wall. So let’s walk through everything you need to know to get started today.
Essential Supplies for DIY Aesthetic Painting
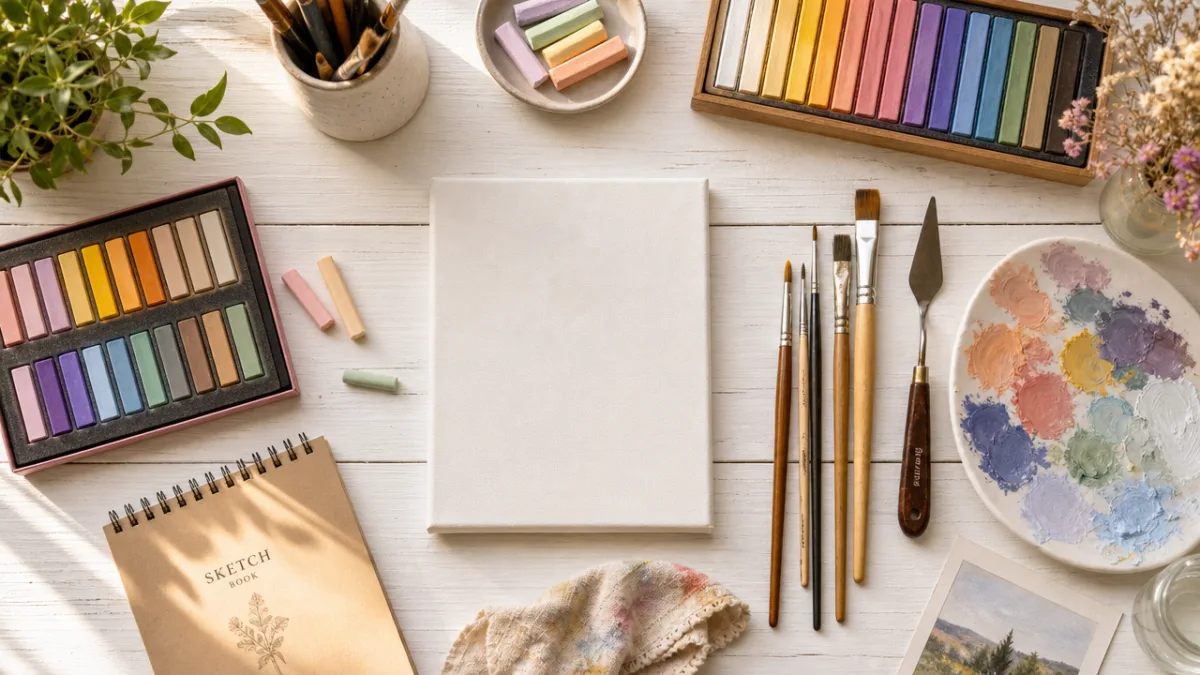
Before you pick up a brush, it’s worth getting familiar with the materials that’ll actually set you up for success. You don’t need to splurge on professional-grade supplies right away, but choosing a few quality items over a big haul of cheap ones really does make a difference in your finished work. A small set of high-pigment acrylics in neutral and pastel tones, paired with a decent watercolor set, gives you a lot of flexibility as you explore different techniques and figure out what style feels most like you.
Brushes are your most personal tool, and even a modest collection can open up a surprising range of creative possibilities. For aesthetic painting, you’ll probably find yourself reaching most often for flat wash brushes to lay down smooth, even backgrounds, round detail brushes for delicate linework, and fan brushes that give you soft, organic textures. A palette knife is also a great addition — it creates abstract texture effects that look really striking in finished pieces. Look for brushes with soft synthetic bristles that hold their shape well and release paint smoothly.
The surface you work on shapes the whole character of a painting. Stretched canvas gives acrylic work a polished, gallery-ready feel, while cold-press watercolor paper absorbs water-based paints beautifully and keeps things from warping. Canvas boards are an affordable alternative for practice or smaller compositions. And if you love the look of framed prints, painting on high-quality cardstock or illustration board and popping it into a simple frame is a genuinely stunning and budget-friendly option. Here’s a solid starting list of supplies to gather:
- Acrylic paints in white, soft blush, sage green, dusty blue, warm beige, and charcoal
- Watercolor set with at least 12 colors including earthy and muted tones
- Flat wash brush, round detail brush (sizes 2 and 6), and a fan brush
- Stretched canvas in 8×10 and 11×14 inch sizes
- Cold-press watercolor paper, 140lb weight minimum
- Palette knife for texture work
- Water cups, palette, and paper towels for cleanup
Beginner-Friendly Aesthetic Painting Techniques
One of the most popular techniques in aesthetic painting is the soft gradient wash — sometimes called an ombre background. The idea is to load a large flat brush with diluted paint and sweep it across your canvas in overlapping horizontal strokes, gradually shifting from one color to another as you go. The key is to move quickly while the paint is still wet, blending the transition zone with light, feathery strokes. This looks beautiful with combinations like dusty rose fading into cream, pale lavender into soft gray, or warm peach into golden yellow.
Abstract mark-making is another foundational technique that looks impressively sophisticated while still being totally accessible to beginners. Using a palette knife, the back of a brush handle, or even crumpled paper, you can create organic shapes, gestural lines, and layered textures that add real depth and visual interest to a painting. The trick is to vary your pressure and direction, and to let some areas stay simple and open so the eye has somewhere to rest. Building up thin, transparent layers over a dry base coat creates a lovely sense of luminous depth that catches the light in a really satisfying way.
Watercolor blooms and diffusion effects might be the most magical technique available to the aesthetic artist — and they’re genuinely beginner-friendly. When you drop wet paint onto a damp surface and let it spread on its own, you get unpredictable, organic shapes that can look like flowers, galaxies, or abstract clouds. Adding a small drop of rubbing alcohol to wet watercolor pushes the pigment outward and creates a starburst effect that photographs beautifully. These techniques are all about embracing happy accidents, which teaches you to let go of control — and that’s honestly one of the most valuable things any artist can learn.
Five Easy DIY Aesthetic Painting Projects
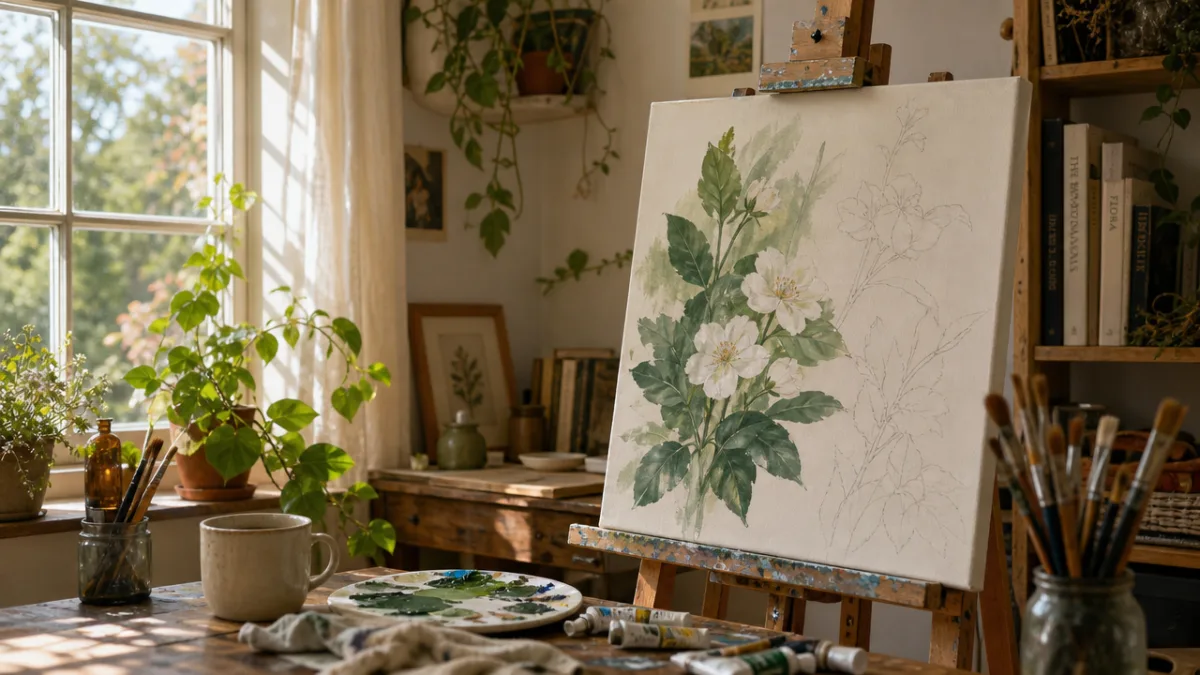
The abstract botanical canvas is one of the most popular aesthetic art projects around, and it’s easy to understand why. Start by laying down a neutral warm or cool wash on your canvas and letting it dry completely. Then, using a small round brush and a deep earthy green or muted charcoal, paint simplified botanical shapes — single stems with elongated leaves, minimalist ferns, or loose floral outlines. Here’s the thing: the shapes don’t need to be botanically accurate at all. Loose, flowing linework that suggests a plant rather than rendering it precisely actually looks far more beautiful and intentional.
Sunset and sky landscape paintings offer a meditative, deeply satisfying experience. Using a large flat brush and a layered wet-on-wet technique with acrylics, you build up soft bands of color from a warm horizon up through cooler sky tones. Adding a simple silhouette — mountains, trees, or a single bare branch in the foreground — transforms the abstract color study into a complete and evocative scene. You don’t need any advanced drawing skills for this, and the whole thing can come together in under two hours, making it a perfect afternoon creative session.
The minimalist face and figure has become one of the most recognizable aesthetic styles across social media and home decor. Using continuous line drawing techniques borrowed from fine art tradition, you paint a single unbroken flowing line that suggests a human face in profile or a pair of hands holding flowers. The result feels both contemporary and timeless. Done in warm terracotta or soft charcoal on a cream background, these pieces have a quiet elegance that works with almost any interior style, from modern to bohemian. Here are five projects to get you started and build your confidence:
- Abstract Botanical Canvas: Neutral wash background with loose painted botanical line work in one or two complementary colors.
- Layered Sunset Landscape: Wet-on-wet ombre sky with a minimalist silhouette foreground element painted once dry.
- Continuous Line Face: Single fluid brushstroke face or figure on a textured or solid neutral background.
- Watercolor Galaxy: Deep indigo and violet wet-on-wet blooms with white spatter for stars using a stiff brush or toothbrush.
- Abstract Petal Composition: Loose rounded brushstrokes in soft pinks and corals arranged in a circular floral pattern over a white or cream base.
Each of these projects builds on the foundational techniques covered earlier, and every single one can be adapted endlessly just by changing your color palette, scale, or level of detail. Once you’ve painted a project once, try it again with a completely different color scheme and notice how dramatically the mood shifts. A sunset in cool blues and greens feels like an entirely different painting from one in warm oranges and pinks, even when the composition is identical. That kind of experimentation is exactly how you develop your personal aesthetic voice and start recognizing what genuinely resonates with you as an artist.
Color Theory for Aesthetic Paintings
Learning even a few basic principles of color theory will make a noticeable difference in your work, even before your technical skills have fully developed. The most important concept for this style is the limited palette — deliberately restricting yourself to three or four colors per painting. It sounds constraining, but that constraint actually forces you to find creative solutions within what you have, and it almost automatically produces a harmonious, cohesive result. A lot of the most visually stunning aesthetic paintings you see online succeed for exactly this reason: the artist chose colors that share the same underlying temperature and saturation level.
Muted, desaturated colors are the real hallmark of aesthetic art. Rather than squeezing paint straight from the tube, aesthetic artists typically tone things down by adding a little white to lighten and soften, or a touch of a complementary color to knock back the intensity without just going darker. This produces that dusty, almost antique quality that makes aesthetic paintings feel so warm and timeless. Earthy neutrals like raw umber, warm gray, soft terracotta, and sage green make an incredibly versatile base palette that plays nicely with almost any accent color you want to bring in.
The interplay between warm and cool tones within a single painting creates natural visual tension and depth that pulls the eye through the composition. A predominantly warm painting with a subtle cool shadow, or a cool-toned piece with one small area of warm golden light, will always feel more dynamic and alive than something built entirely from one temperature range. Learning to see and use this warm-cool contrast is one of the most powerful tools in the aesthetic painter’s toolkit, and it doesn’t require any advanced skill — just awareness and intentional color choices.
Styling and Displaying Your Aesthetic Artwork
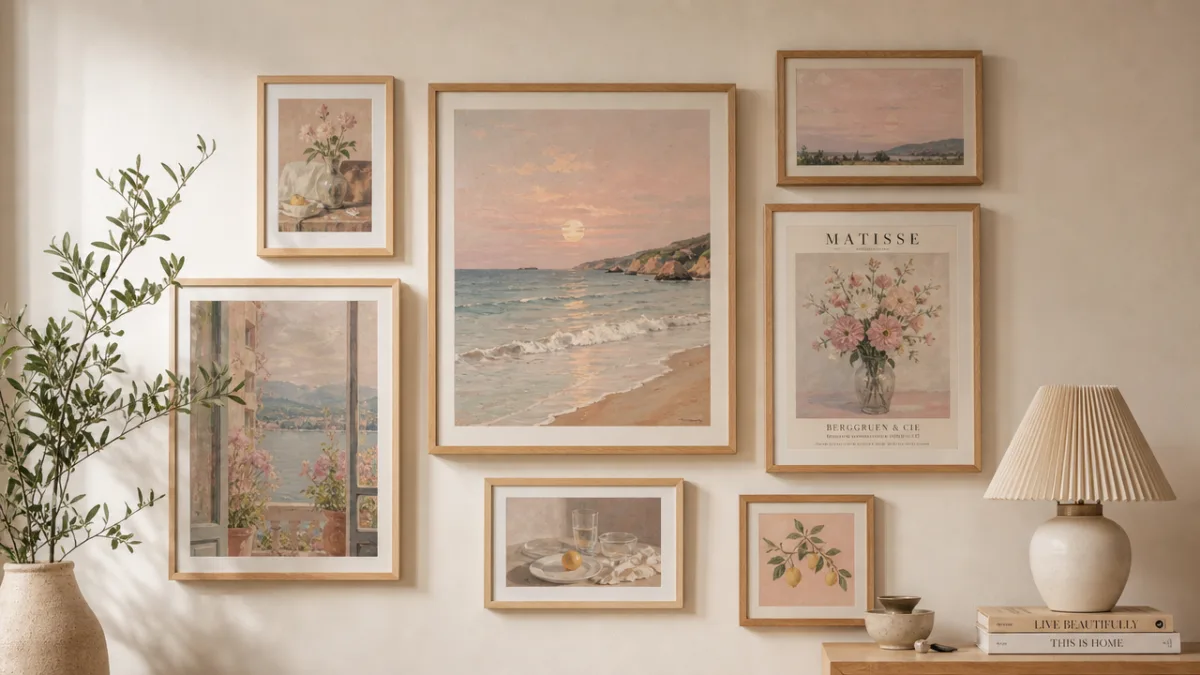
Creating the artwork is only half the journey. How you display your finished pieces has a huge impact on how they read in a space and how much visual pleasure they bring to everyday life. Simple, clean frames in natural wood, thin black metal, or off-white painted wood complement aesthetic art beautifully without competing with the work itself. Avoid ornate or heavily decorated frames — they tend to draw attention away from the quiet elegance of the painting inside. The frame should feel like a natural extension of the artwork, not a separate decorative statement.
Gallery walls made entirely from your own aesthetic art are a deeply personal and genuinely cost-effective way to decorate your home. Try grouping pieces that share a color palette or a recurring visual theme — botanicals, abstracts, or landscapes — even when the individual paintings vary in size and composition. A unified palette will visually tie diverse pieces together and create the impression of a curated collection rather than a random assortment. Leave some breathing room between frames and align them by their top edges or centers for an arrangement that feels polished and intentional.
Beyond traditional framing, there are plenty of creative ways to display and share your aesthetic artwork. Painting directly onto wooden panels or reclaimed wood gives finished pieces a rustic, organic character that suits bohemian and natural interior styles really well. Creating a small series of coordinating paintings on identically sized canvases and displaying them in a row makes a striking visual rhythm. You might also consider scanning or photographing your finished work and printing it as affordable art prints to give as gifts, sell at markets, or share on social media platforms where aesthetic art communities are genuinely enthusiastic and supportive of one another.
The digital side of aesthetic art is worth taking seriously in today’s creative landscape. Platforms like Pinterest and Instagram have become living galleries where artists at every skill level share their work, discover new techniques, and connect with people who share their visual sensibilities. Photographing your work in natural light against a simple neutral background and sharing it with a thoughtful caption about your process can attract real engagement and encouragement — and that kind of community connection genuinely accelerates your creative development. Many self-taught aesthetic artists have built meaningful followings and even income streams simply by consistently sharing work they were already making for the love of it.
Building a Sustainable Creative Practice
The single most important thing you can do for your growth as an aesthetic artist is to paint regularly, even when the results feel uncertain or imperfect. Consistency matters so much more than natural talent in the early stages of any creative practice. Setting aside even thirty minutes three times a week — to paint something small, try a new technique, or just play with color without any pressure to produce a finished piece — will build your skills and intuition far more effectively than occasional marathon sessions followed by long gaps. Keep a small sketchbook dedicated to paint experiments and treat it as a laboratory rather than a portfolio.
Gathering inspiration is a natural and important part of the creative process, as long as it leads you toward your own voice rather than just copying what you see. Put together a dedicated Pinterest board or a folder on your phone filled with colors, textures, compositions, and moods that genuinely excite you. Over time, patterns will emerge in what you save, and those patterns tell you a lot about your personal aesthetic. Use your collected references to set the emotional tone for a painting session rather than as direct templates to reproduce. Ask yourself what feeling a reference image gives you, and then think about how you might evoke that same feeling through your own mark-making and color choices.
Finally, remember that aesthetic art is ultimately about cultivating and expressing your own personal sense of visual beauty, and that definition will naturally shift and evolve as your tastes and skills grow. Try not to compare your early work to finished pieces made by artists who’ve been practicing for years, and resist the urge to abandon a project just because it doesn’t match the image in your head. Some of the most beloved and visually interesting aesthetic paintings are the ones where something unexpected happened during the process and the artist was wise enough to work with it rather than fight it. The journey of simple aesthetic art isn’t about perfection. It’s about presence, play, and the quiet joy of making something beautiful with your own two hands.








What do you think?
It is nice to know your opinion. Leave a comment.