










Make Your Home Studio Sound Amazing With These Simple Tips
Understanding Acoustics: The Foundation of Great Sound
Before you spend a single dollar on microphones, interfaces, or monitors, the best investment you can make in your home studio is understanding how sound actually behaves in a room. Acoustics — how sound waves travel, bounce around, and get absorbed — is what determines whether your recordings sound professional or amateurish, no matter how good your gear is. A lot of beginners assume that better equipment will save them from a bad-sounding room, but honestly, a modest setup in a well-treated space will beat an expensive rig in an untreated one every single time.
Sound waves are physical things — they bounce off hard surfaces, pile up in corners, and create nasty resonances called standing waves. When you’re recording or mixing in an untreated room, you’re basically making decisions based on a distorted version of what your audio actually sounds like. The reflections coming off your walls, floor, and ceiling are coloring the sound before it even reaches your ears, which leads you to overcorrect with EQ or reverb in ways that’ll sound totally off when your mix plays back on a different system. Just recognizing this is happening is the first step toward fixing it.
The good news? You don’t need a professionally designed facility to get great results. With a basic grasp of the principles involved and some well-chosen materials, you can turn an ordinary bedroom, spare room, or basement into a space you can actually trust. The goal isn’t to create some perfectly silent, anechoic chamber — that would feel weird and actually work against you as a musician — but rather to get a handle on the reflections and resonances that cause problems, while keeping enough natural life in the room that it still feels good to be in.
Choosing the Right Room: Starting With What You Have
Not all rooms are created equal, and picking the right space for your studio can save you a lot of time, money, and headaches down the road. Rectangular rooms are the obvious go-to, but they’re also the most acoustically troublesome — parallel walls create strong standing waves and flutter echo. If you actually have options, look for a room with irregular dimensions, a sloped ceiling, or a non-rectangular layout, since those quirks naturally break up reflections and spread the sound more evenly around the space.
Room size matters in ways that go beyond just square footage. Tiny spaces like closets or bathroom-sized rooms tend to have serious bass buildup that’s really difficult and expensive to treat properly. Larger rooms give sound waves more room to breathe before they hit a surface, which usually makes for a friendlier acoustic environment right out of the gate. That said, a medium-sized room — somewhere in the range of 10 by 12 feet up to about 15 by 20 — tends to hit the sweet spot for home studios, giving you manageable acoustics without needing industrial amounts of treatment.
Before you buy anything, take a good look at what’s already in the room. Furniture, bookshelves packed with books, carpets, curtains, and upholstered pieces all do meaningful acoustic work on their own. A furnished bedroom almost always sounds better than an empty room of the same size, which is why so many home recordists are surprised to find their bedroom is actually a pretty decent recording space with just a few targeted additions. Do a real inventory of what you’ve got before deciding what you need — you might find the problem is a lot less severe than you thought.
Acoustic Treatment Essentials: Absorption and Diffusion
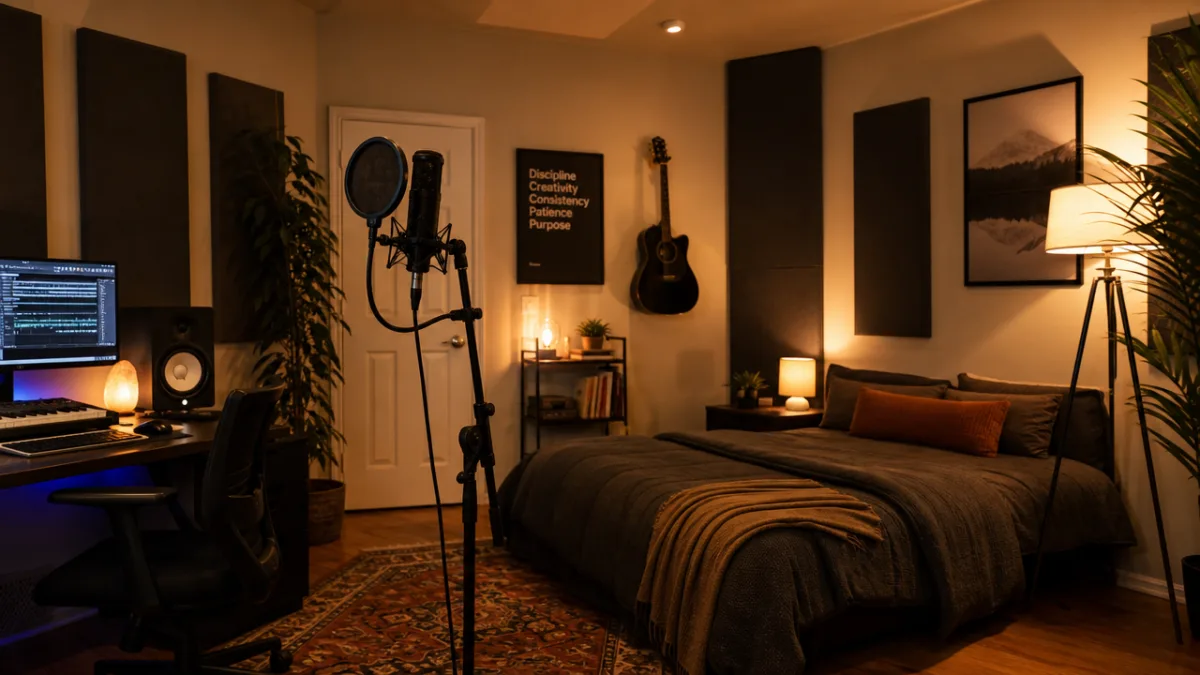
Acoustic treatment breaks down into two main categories — absorption and diffusion — and a good home studio needs a thoughtful mix of both. Absorption panels do exactly what the name implies: they soak up sound energy instead of letting it bounce back into the room. They’re usually made from dense foam, mineral wool, fiberglass, or similar porous materials, and they work best on mid and high frequencies. Put them in the right places and you’ll dramatically reduce flutter echo — that harsh, metallic ringing you hear when you clap your hands in an untreated room — and the whole space will tighten up noticeably.
Bass traps are a specialized type of absorber built to tackle the low-frequency buildup that plagues nearly every home studio. Because bass frequencies have such long wavelengths, you need thick, dense material to absorb them effectively — usually at least four inches of rockwool or rigid fiberglass. The worst bass buildup happens in the corners of a room, where two walls meet, and especially in tri-corners where two walls and a ceiling or floor all come together. Loading those spots with thick bass traps is one of the highest-impact things you can do for your room acoustics, and the before-and-after difference is usually dramatic and immediately obvious.
Diffusion panels work differently — instead of absorbing sound, they scatter it in multiple directions. This gets rid of the harshness that comes from direct reflections while keeping the room feeling alive and spacious. One of the most common designs is the quadratic residue diffuser, which uses wells of varying depths to scatter sound based on mathematical principles. Diffusion is a bit more complex and pricier to pull off than absorption, but it plays an important role in making a room feel balanced. A space that’s all absorption and no diffusion tends to sound unnaturally dead, and that can actually make it harder to make good decisions when you’re mixing or recording.
When you’re planning your treatment layout, think about the room in acoustic zones. The front wall, behind your monitors, benefits most from absorption to cut down on reflections bouncing back at you from behind the speakers. The side walls at the reflection points — the spots where sound from your monitors bounces toward your ears — are prime spots for absorption or diffusion panels. The rear wall can go either way depending on how you want the room to feel. A solid starting point for most home studios: fill all four corners with bass traps, add absorption at the primary reflection points, and use diffusion on at least one major surface to keep some natural energy in the room.
DIY Acoustic Panels: Professional Results on a Budget
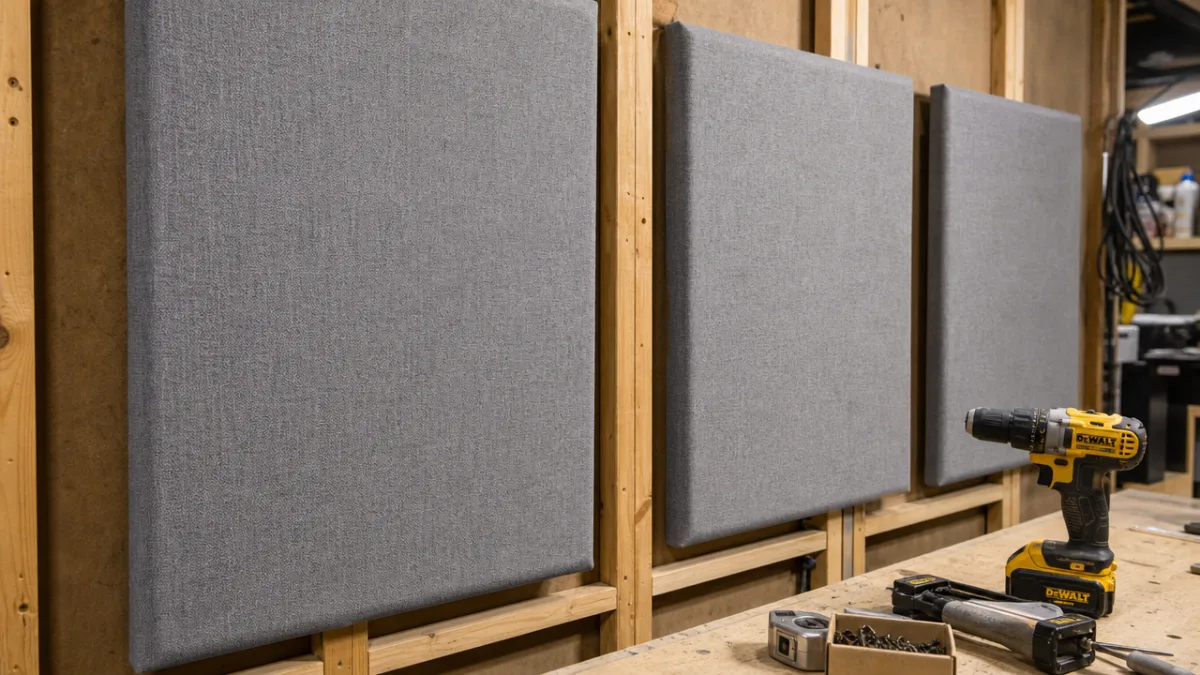
Here’s something that might surprise you: professional-grade acoustic treatment doesn’t require a professional budget. Building your own absorption panels is a pretty straightforward woodworking project you can knock out in a weekend with basic tools and materials from any hardware or building supply store. The go-to core material for most DIY builders is rigid mineral wool insulation board — things like Rockwool Safe ‘n’ Sound or Owens Corning 703 — which gives you excellent acoustic performance across a wide range of frequencies at a fraction of what specialty acoustic foam costs.
A basic DIY absorption panel is just a simple wooden frame, typically built from 1×4 or 2×4 lumber, filled with rigid insulation and wrapped in acoustically transparent fabric. The fabric holds everything in place, gives the panel a clean, finished look, and lets sound waves pass through to the absorptive material underneath. Burlap, Guilford of Maine fabric, and stretched linen are all popular choices. You can hang the panels using French cleats, picture hooks, or simple screws into wall studs, and move them wherever your acoustic measurements or listening tests tell you they’re needed most.
The materials needed to build a set of DIY acoustic panels are straightforward and accessible. A standard shopping list for a basic set of six panels might include:
- Rigid mineral wool insulation (Rockwool 60 or equivalent), two-inch thickness for broadband absorption
- One-by-four pine or poplar lumber for the frames, cut to your desired panel dimensions
- Acoustically transparent fabric in your choice of color and texture
- Wood screws and corner brackets for assembling the frames securely
- Staple gun and staples for attaching the fabric to the frame
- Hanging hardware appropriate for your wall type and panel weight
Beyond flat wall panels, you can build corner bass traps from the same materials by simply cutting insulation to fill the triangular space a corner creates and framing it up to hold everything in place. You can also build cloud panels — ceiling-mounted absorbers that hang above your mix position — using the same basic construction with aircraft cable or threaded rod for suspension. All in, a comprehensive DIY treatment package for a typical home studio room — corner bass traps, side wall panels, and a ceiling cloud — can often be done for a few hundred dollars. That’s a serious saving compared to buying commercial equivalents.
Monitor Placement and Listening Position: Getting the Sweet Spot Right
Even the most expensive, perfectly calibrated studio monitors will sound mediocre if they’re sitting in the wrong spot. Monitor placement is something a lot of home studio owners gloss over in favor of flashier gear decisions, but it might be the single most impactful thing you can do to improve your monitoring setup — and it costs you nothing. The whole point of monitor placement is to make sure the direct sound from your speakers reaches your ears before any significant reflections do, giving you the clearest possible picture of what your audio actually sounds like.
The classic equilateral triangle setup is where everyone should start. Your two monitors and your listening position should form an equilateral triangle, with each side roughly three to five feet long depending on your room size and monitor size. Both speakers should be angled inward so they’re pointing directly at your ears when you’re sitting at your mix position, and the tweeter should be at ear level — you may need monitor stands or isolation pads to get the height right. This setup puts you in the optimal position relative to both speakers for accurate stereo imaging.
How far your listening position sits from the rear wall is a detail that a surprising number of home studio owners never think about. Sitting too close to the back wall causes bass buildup through boundary reinforcement — the same thing that makes low frequencies pile up in corners. As a general rule, your listening position should sit at roughly 38 percent of the total room length from the front wall. That specific number comes from acoustic research, and it minimizes the bass buildup caused by the room’s first axial mode, giving you the flattest possible low-frequency response at your mix position without any treatment at all.
Monitor isolation is another thing that often gets overlooked. When monitors sit directly on a desk or hard surface, the vibration from the speaker cabinet couples with that surface and turns it into a resonator, adding unwanted coloration to everything you hear. Isolation pads made from dense foam or viscoelastic material placed under your monitors break that coupling and clean up the sound. A decent set of monitor isolation pads runs somewhere between thirty and a hundred dollars per pair, and it’s genuinely one of the best bang-for-your-buck upgrades you can make if you’re watching your budget.
Microphone Techniques for Home Recording: Capturing the Best Sound at the Source
All the acoustic treatment in the world can’t fully make up for bad microphone technique. Getting a solid handle on how to use microphones well in a home environment is essential if you want professional-sounding recordings. One of the most fundamental things to understand is the proximity effect — the way directional microphones boost bass frequencies as they get closer to the sound source. Once you understand it and can use it intentionally, you can shape the tonal character of your recordings in meaningful ways just by changing the distance between the mic and the source.
One of the most effective things you can do for vocal and acoustic instrument recordings — without any major construction or expense — is carve out a simple recording booth or isolation spot within your studio. A portable vocal booth can be built from PVC pipe, acoustic blankets, and a microphone stand, creating a small enclosed space that shields the mic from room reflections while you’re tracking. Even simpler approaches work surprisingly well: recording inside a walk-in closet full of hanging clothes, or rigging up a tent of moving blankets over a mic stand, can produce clean, dry recordings that are a pleasure to work with in the mix.
The polar pattern you choose for your microphone is a powerful and underused tool for managing room sound in home recording situations. Most large-diaphragm condensers let you switch between cardioid, figure-eight, and omnidirectional patterns. Cardioid is the default for most home recording because it rejects sound from behind the mic, which helps keep room reflections out of your recordings. But figure-eight and omnidirectional patterns have real advantages in the right situations, and spending some time experimenting with different patterns in your specific room can lead to some genuinely useful discoveries.
Practical microphone placement guidelines for common home recording scenarios include several important starting points worth keeping in mind:
- For vocals, start with the microphone six to twelve inches from the singer’s mouth and adjust from there based on their dynamic range and the character of their voice — closer for more intimacy and warmth, farther back for more natural room blend.
- For acoustic guitar, aim the mic at the point where the neck meets the body rather than straight at the soundhole, which tends to produce a boomy, unbalanced sound.
- For electric guitar amps, start with the mic close to the speaker cone and slightly off-center toward the edge — you’ll get a balanced blend of cone sound without too much harshness.
- For drum overheads in a home environment, try the Recorderman technique — placing two mics equidistant from the snare drum — for a more natural, phase-coherent stereo image than traditional A-B placement.
- Always record at the highest practical bit depth and sample rate your interface supports, and leave yourself plenty of headroom to avoid clipping when things get loud.
Finally, one of the most transformative habits you can build as a home recording engineer is checking your mixes on multiple playback systems before you call them done. A mix that sounds great on your studio monitors might have real problems when you play it through headphones, a laptop speaker, or a car stereo. This practice — often called checking how well your mixes “translate” — will quickly reveal imbalances or acoustic quirks in your home studio setup and point you toward what still needs work. Getting a great-sounding home studio is an ongoing process, but every improvement you make gives you a clearer window into your audio, and that shows up directly in the quality of everything you record.









What do you think?
It is nice to know your opinion. Leave a comment.