










How To Build Your Own Podcast Studio On a Budget
Why Every Podcaster Needs a Dedicated Recording Space
Starting a podcast is genuinely exciting — but there’s one mistake that trips up almost every beginner: recording in an untreated room with the wrong gear. The result? Audio that sounds echoey, muffled, or full of distracting noise in the background. Listeners are more sensitive to audio quality than most new podcasters expect, and bad sound is one of the main reasons people abandon a show, even when the content itself is great.
Building a dedicated podcast studio doesn’t mean renting a professional space or dropping thousands of dollars on gear and soundproofing. Some of the most successful independent podcasters record in repurposed closets, spare bedrooms, or a corner of the living room. What actually matters is being intentional about your space — thinking through acoustic treatment, equipment placement, and your workflow so that every recording session runs smoothly and sounds good right from episode one.
There’s also a psychological benefit to having a dedicated space that’s easy to overlook. When you sit down in your podcast studio — even if that studio is just a bedroom corner surrounded by bookshelves — your brain shifts into a more focused, professional mode. You’re less likely to put it off, more likely to stick to a schedule, and better equipped to keep producing consistently over time. Setting up your own space is just as much an investment in your commitment to the show as it is in your sound quality.
Choosing the Right Room and Treating Your Acoustics
Here’s something that surprises a lot of new podcasters: the single most important factor in getting great audio isn’t your microphone or your audio interface — it’s the room you’re recording in. Sound behaves differently in every space depending on the size, shape, materials, and what’s in it. Hard surfaces like bare walls, hardwood floors, and big windows cause sound waves to bounce around and create reflections that muddy your recordings. Soft surfaces — carpets, curtains, upholstered furniture, bookshelves packed with books — absorb and diffuse those reflections, giving you a warmer, tighter sound.
When it comes to picking a room, smaller is generally better. Smaller rooms have shorter echo tails, which makes them much easier to treat. Walk-in closets are a favorite among budget podcasters for exactly this reason — the hanging clothes act as natural acoustic panels. No closet available? A bedroom with carpet, heavy curtains, and a thick comforter on the bed is a solid alternative. Try to avoid kitchens, bathrooms, garages, and any room with a lot of glass or tile; those spaces need a lot more work to sound decent.
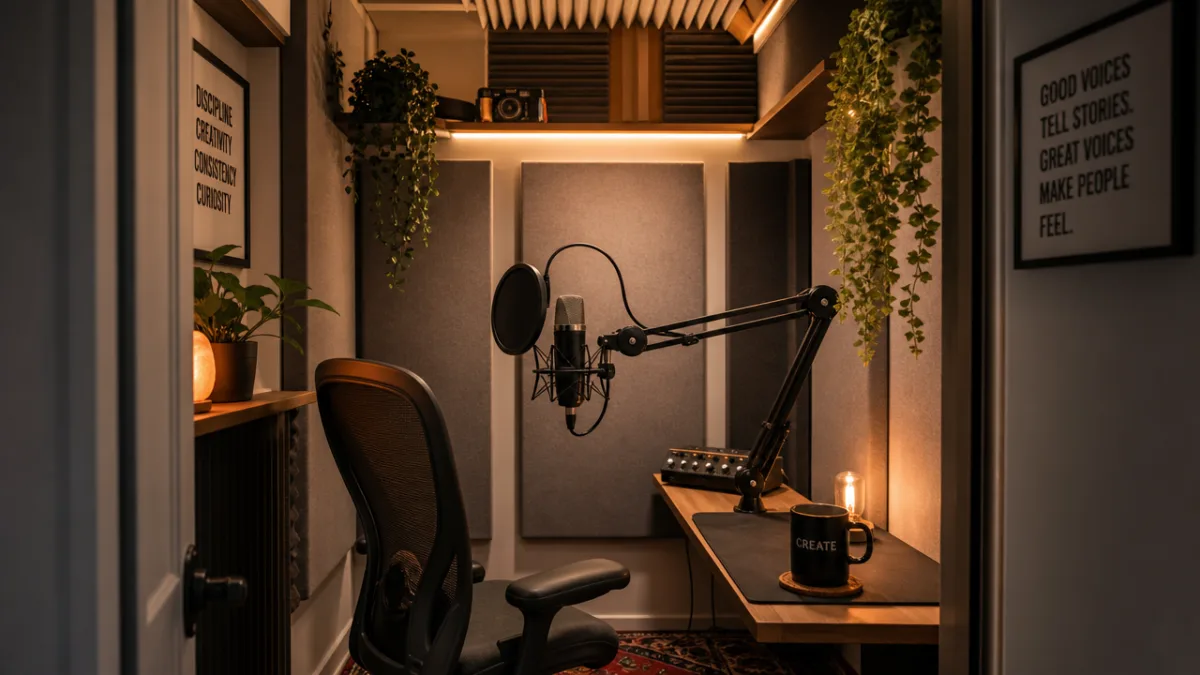
Budget acoustic treatment doesn’t require expensive foam panels, though they can help when placed in the right spots. Start simple: hang thick blankets or moving blankets on the walls behind and beside where you record. Lay a rug on any hard floors. Stack bookshelves against reflective walls. You can also build DIY acoustic panels using Rockwool or Owens Corning 703 insulation batts wrapped in acoustically transparent fabric and mounted in basic wooden frames. Four panels placed at the first reflection points — the spots on the walls directly to either side of you — can make a surprisingly big difference in how your recordings sound.
Essential Equipment Without Breaking the Bank
Once your room is sorted, it’s time to think about gear. And honestly, there’s never been a better time to get started on a budget. A decade ago, broadcast-quality audio required thousands of dollars in hardware. These days, you can put together a complete recording setup for under three hundred dollars that holds its own against rigs costing ten times as much. The trick is knowing which pieces of gear actually matter and which ones you can skip or compromise on in the beginning.
Your microphone is the most important piece of hardware in the whole chain. For budget podcasters, the two main options are USB microphones and XLR microphones paired with an audio interface. USB mics like the Audio-Technica ATR2100x or the Samson Q2U are great starting points — they plug straight into your computer, so you don’t need an interface at all. These are dynamic microphones rather than condensers, which means they reject more background noise and room sound. That’s a real advantage if your acoustic treatment is still minimal. If you’re ready to spend a bit more, the Rode PodMic and the Shure SM7B (used with an interface or a preamp booster like the Cloudlifter) are widely considered the gold standard for spoken-word podcasting.
Beyond the microphone, there are a few other things you’ll want to round out your setup. A boom arm or desk stand keeps the mic at the right height and angle without wearing out your arms. A pop filter or foam windscreen cuts down on the harsh plosive sounds that come from letters like “p” and “b.” Closed-back headphones — the Sony MDR-7506 and the Audio-Technica ATH-M50x are both solid picks — let you monitor your audio while recording so you can catch any issues as they happen. And a shock mount, which suspends your mic in a cradle of elastic or rubber, isolates it from desk vibrations so you don’t end up with rumbles and handling noise sneaking into your recordings.
Recommended Starter Kit Under $300
- Samson Q2U Dynamic USB/XLR Microphone — approximately $70
- Rode PSA1 Boom Arm or a budget alternative — approximately $100
- Sony MDR-7506 Closed-Back Headphones — approximately $100
- Pop filter or foam windscreen — approximately $10–$20
- Short XLR or USB cable — approximately $10–$15
Setting Up Your Recording Software and Workflow
Great hardware only gets you so far if your software and workflow are a mess. Luckily, there are some excellent free and low-cost options for recording and editing. Audacity is completely free, open-source, and genuinely powerful enough for professional podcast production. It runs on Windows, Mac, and Linux, and there’s a huge community behind it with tutorials covering everything from basic recording to noise reduction and EQ.
If you’re open to spending a little, GarageBand is free for Mac users and has a cleaner interface, while Adobe Audition, Reaper, and Hindenburg Journalist are popular paid options that range from affordable to full professional-grade. For interview shows where you’re recording remote guests, platforms like Riverside.fm, Squadcast, and Zencastr record each person locally and then sync the files — which means you get high-quality audio instead of the degraded sound you’d get from recording a Zoom or Skype call directly.
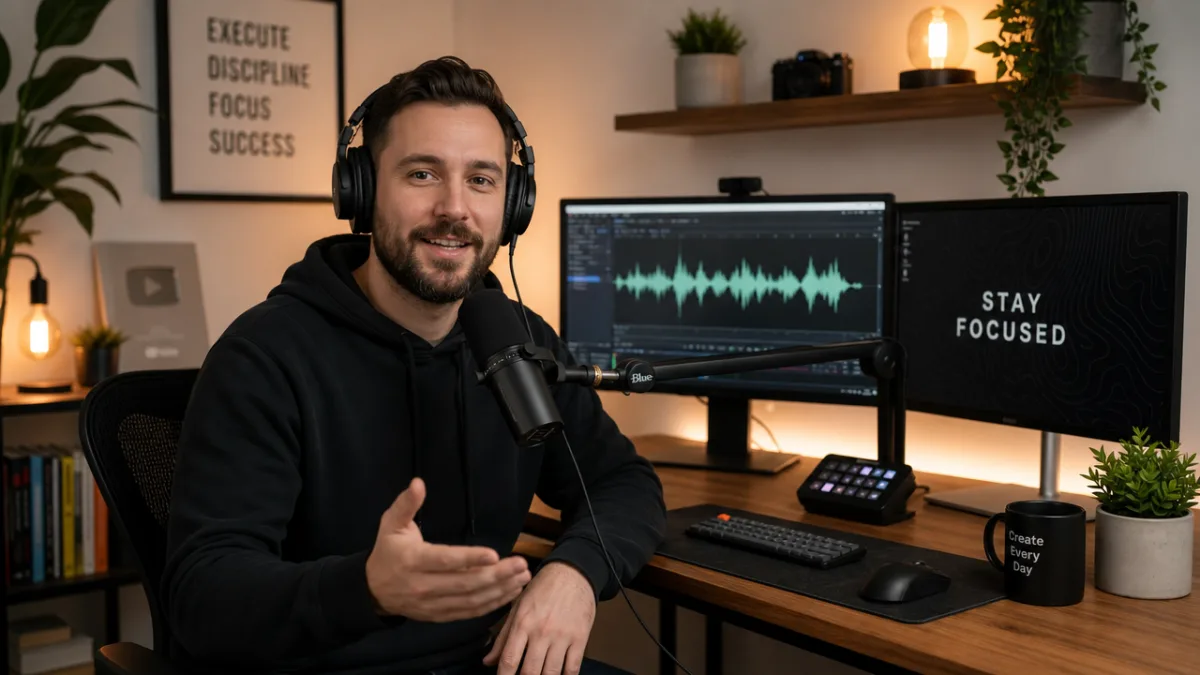
Your recording workflow matters just as much as the software you choose. Build a pre-recording checklist and run through it before every session. It should cover things like checking your mic gain level, silencing your phone, closing windows and doors, turning off fans and air conditioning if you can, and doing a quick test recording that you actually play back through your headphones before you start for real. These habits prevent the kind of mistakes that are genuinely painful to discover after the fact — like finishing a whole episode only to realize the mic was muted or the gain was cranked so high everything is distorted. A checklist takes thirty seconds and can save you hours.
A Simple Pre-Recording Checklist
- Close all doors and windows in the recording space.
- Turn off fans, HVAC units, and any other noise sources.
- Put your phone on Do Not Disturb mode.
- Check microphone gain and record a 30-second test clip.
- Play back the test clip through headphones and listen for noise.
- Set your DAW to the correct sample rate (44.1kHz or 48kHz).
- Begin recording with a slate clap or verbal cue for easy editing later.
Soundproofing Strategies for Real-World Environments
Acoustic treatment and soundproofing get mixed up all the time, but they’re two different things. Acoustic treatment — what we talked about earlier — improves how sound behaves inside your room by absorbing and diffusing reflections. Soundproofing is about keeping sound from getting in or out. True soundproofing is seriously expensive; it usually involves decoupling walls, adding mass, and sealing every possible gap. That’s well outside the scope of a budget studio build. But there are practical, affordable steps you can take to meaningfully reduce outside noise from creeping into your recordings.
Door gaps are one of the most common culprits. A simple door sweep on the bottom of your door can block the gap between the door and the floor, cutting down on low-frequency noise from adjacent rooms or hallways. Acoustic door seals on the frame help even more. For windows, heavy blackout curtains do double duty — they block light for a cleaner look on camera and provide a modest amount of sound absorption. And if you live somewhere particularly noisy, recording during quieter times of day — early morning or late at night — might honestly be more effective than anything you could physically install at a budget price point.
Scheduling is also a genuinely underrated strategy. A lot of external sounds are predictable: garbage trucks come on specific days, your neighborhood gets quieter after a certain hour, construction tends to follow a schedule. If you pay attention to the noise patterns in your environment and plan your recording sessions around them, you can cut down on interruptions without spending anything. And when something unexpected does intrude mid-recording, try not to stop everything. Pause, let the noise die down, back up a sentence or two, and keep going. In editing, those moments can usually be removed pretty cleanly.
Lighting, Aesthetics, and the Video Podcast Upgrade
As more podcasters add video to their shows — whether for YouTube, social media clips, or live streaming — how your studio looks is becoming increasingly important. Even if you’re audio-only for now, having a space that looks good will keep you more motivated and make the eventual move to video a lot smoother. The good news is that a visually compelling podcast background doesn’t require much investment. It mostly comes down to organization, intentional decoration, and getting your lighting right.
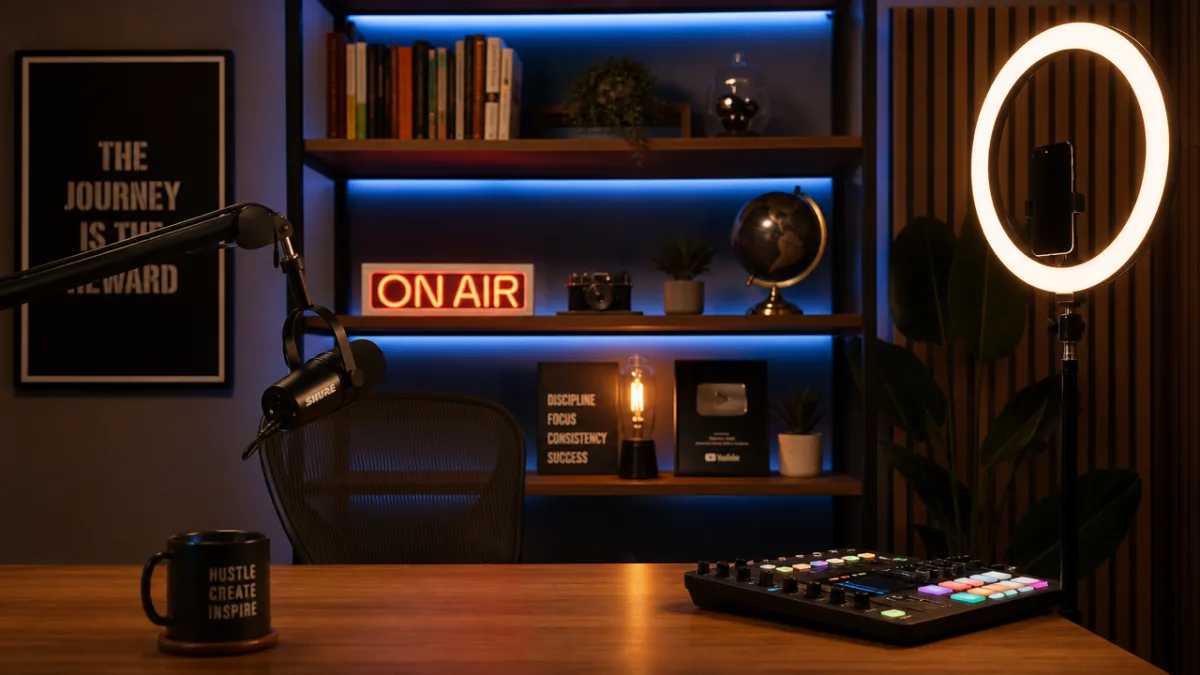
Lighting is the thing that makes the biggest visual difference, by far. A simple two- or three-light setup with affordable LED panels can make a home studio look genuinely professional. Placement is what matters most: position your main light slightly above eye level and at a 45-degree angle to your face. This creates flattering shadows that give your face dimension without looking harsh or dramatic. A fill light on the opposite side softens those shadows for a cleaner look, and a back light or rim light adds a subtle glow around your head and shoulders that separates you from the background. Ring lights are popular and easy to find, though they create a distinctive circular reflection in the eyes that some creators prefer to avoid.
As for backgrounds, the options really come down to your personal taste and what fits your brand. Bookshelves with books, plants, and meaningful objects create a warm, intellectual feel that works well for interview shows and thought-leadership content. Acoustic panels in complementary colors can do double duty as both functional treatment and visual backdrop. LED strip lights placed behind shelving or along the edges of the frame add depth and a modern look that tends to perform well on video platforms. Whatever direction you go, the key is intentionality — everything in the background should be there for a reason, and the overall image should say something about who you are and what your show is about, without pulling attention away from you as the host.
Maintaining, Improving, and Growing Your Studio Over Time
Your first podcast studio won’t be your last. Every podcaster who sticks with it long enough goes through several versions of their setup — adding gear gradually, re-treating the room as they learn more about acoustics, and eventually upgrading their core equipment as the show grows. The most useful mindset shift you can make early on is seeing your studio as a living, evolving system rather than a one-time project. Once you embrace that, improving your setup becomes something you actually look forward to instead of something that feels overwhelming.
Keep a running list of the specific audio issues that bug you most when you listen back to your recordings. Maybe there’s a persistent low hum from your computer fan, a slight echo from a corner of the room you haven’t treated yet, or a pop on certain syllables that your current pop filter isn’t quite catching. Identifying concrete, specific problems — rather than just vaguely wishing your audio sounded better — gives you real targets to work toward with each upgrade. It also helps you avoid gear acquisition syndrome, where you keep buying new equipment hoping it’ll fix a problem that’s actually caused by your room or your recording technique.
Finally, put time into developing your ear. Listen to podcasts you admire not just for the content but for the production — the warmth in the low mids, the clarity in the vocal frequencies, the absence of background noise, the consistency from episode to episode. Then listen critically to your own recordings with fresh ears, ideally on different playback systems like earbuds, over-ear headphones, and laptop speakers, and let what you hear guide your decisions. The most valuable tool in your podcast studio isn’t any piece of hardware or software. It’s your own attentive, educated listening — which costs nothing to develop and gets more valuable with every episode you put out.








What do you think?
It is nice to know your opinion. Leave a comment.