










The Best DIY Home Alarm Security Systems Under $50
Why DIY Home Security Makes More Sense Than Ever
Home security has traditionally been synonymous with expensive professional installations, lengthy contracts, and monthly monitoring fees that can quietly drain your bank account for years. But the landscape has shifted dramatically. Today, a growing number of homeowners are discovering that a robust, reliable alarm system doesn’t have to cost a fortune — and in many cases, a well-planned DIY setup under $50 can outperform systems that cost ten times as much. The technology has simply caught up with the need, making smart, affordable protection accessible to nearly everyone.
The appeal of DIY security goes beyond just the price tag. When you build your own system, you understand exactly how it works, where every sensor is placed, and what each alert means. That intimacy with your setup gives you a level of confidence and control that no professionally installed black box can match. You’re not dependent on a technician to swap out a battery or move a sensor when you rearrange your living room. You are the expert, and that expertise costs nothing extra.
There’s also a strong community dimension to the DIY security world. Millions of homeowners have shared their builds, tips, and lessons learned across forums, YouTube channels, and social media platforms. This collective knowledge base means you’re never truly starting from scratch. Whether you’re protecting a studio apartment or a sprawling family home, someone has already solved your problem and posted the solution online for free. The barrier to entry has never been lower, and the results have never been better.
Understanding the Core Components of a Budget Security System
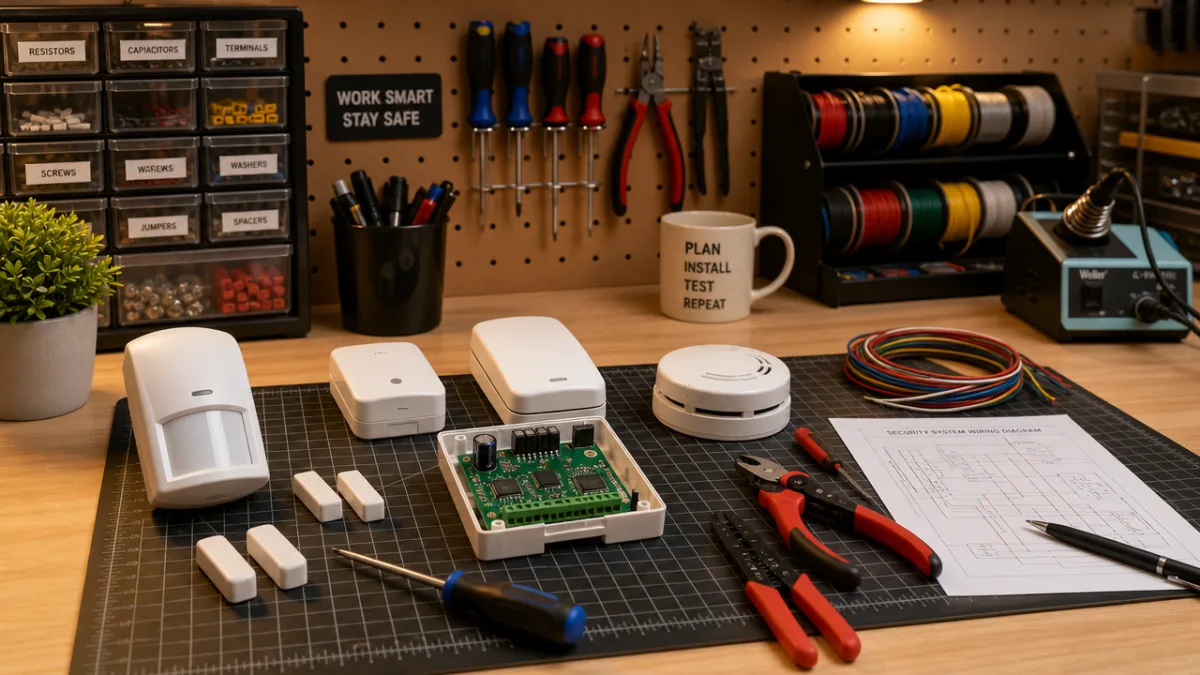
Before you spend a single dollar, it’s worth understanding what a home alarm system actually consists of at its most fundamental level. Every effective system — regardless of price — relies on the same basic architecture: sensors that detect intrusion or environmental changes, a control hub or alarm that processes those signals, and some form of notification or deterrent response. When you break it down this way, the complexity evaporates and the path to an affordable build becomes clear. You don’t need proprietary hardware or a subscription to achieve all three of these things.
Door and window sensors are the workhorses of any alarm system and are available for as little as $2 to $5 each when purchased in multipacks from retailers like Amazon, AliExpress, or your local hardware store. These magnetic contact sensors trigger an alert the moment a door or window is opened unexpectedly. Motion sensors, which use passive infrared technology to detect body heat and movement, typically run between $8 and $15 each and can cover large areas of a room with a single unit. Between door sensors and a motion detector or two, you can cover the most common entry points in most homes for well under $30.
The control hub is where many budget builders get creative. Options range from dedicated standalone alarm panels that cost $20 to $30, to repurposed smartphones running free alarm apps, to microcontroller projects using a Raspberry Pi or Arduino. Each approach has its trade-offs in complexity, reliability, and features, but all of them can produce a functioning alarm system. The right choice depends on your comfort level with technology and how much customization you want. Even the simplest standalone panel, when paired with quality sensors, will deter the vast majority of opportunistic burglars.
Top Budget Security System Kits and Components Available Right Now
The market for affordable security hardware has exploded in recent years, and there are several standout options that consistently earn high marks from the DIY community. The Doberman Security SE-0106 is a perennial favorite, a self-contained door and window alarm that runs on a single 9V battery and produces a piercing 100-decibel alert when triggered. At around $5 to $8 per unit, it requires no installation beyond sticking it in place, no hub, no app, and no subscription. A set of four covers your main entry points for under $30 and works right out of the box with zero technical knowledge required.
For those who want a more integrated experience, the Fortress Security Store alarm kits offer a step up in sophistication without stepping out of the budget. Their S02-B wireless system, often available for $40 to $50, includes a control panel, several door and window sensors, a motion detector, and remote key fobs. The panel supports a siren loud enough to wake neighbors and can be armed or disarmed with ease. It’s a genuine all-in-one solution that punches well above its price point and can be expanded over time as your budget allows.
Smart home enthusiasts often gravitate toward the Sonoff Zigbee Bridge ecosystem, which allows you to build a network of affordable Zigbee-compatible sensors controlled through a free app on your smartphone. The bridge itself costs around $10, and individual door and motion sensors run $5 to $8 each. The system integrates with Home Assistant, a powerful open-source home automation platform, giving you notification alerts, automation rules, and remote monitoring at no ongoing cost. It requires a bit more setup than a plug-and-play kit, but the flexibility and expandability are unmatched at this price level.
Here’s a quick comparison of popular sub-$50 options by use case:
- Best for renters or beginners: Doberman Security peel-and-stick door alarms — no tools, no commitment, instant protection.
- Best all-in-one kit: Fortress Security Store S02-B wireless alarm system — comprehensive coverage with remote control.
- Best for tech enthusiasts: Sonoff Zigbee Bridge with third-party sensors — fully customizable and app-integrated.
- Best for outdoor coverage: Solar-powered motion alarm lights with built-in sirens — weatherproof and wire-free.
- Best for apartment doors: Door stop alarm wedges — dual function as a physical barrier and a 120-decibel siren.
Step-by-Step: Installing Your System in an Afternoon
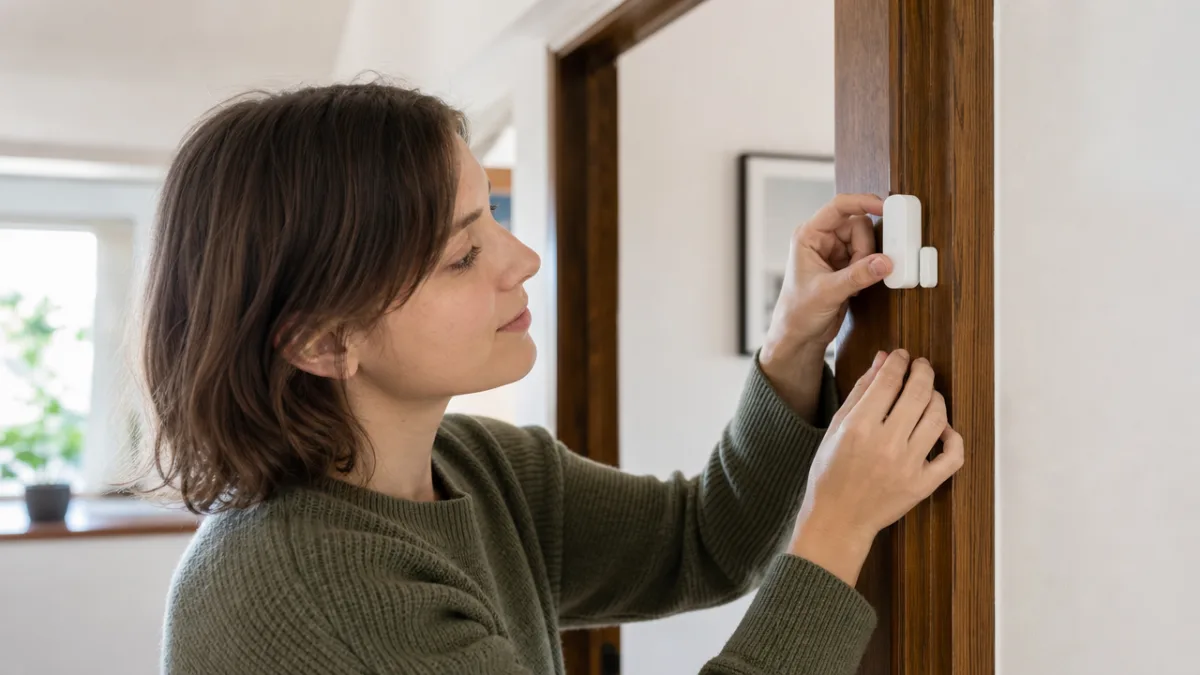
One of the most intimidating aspects of DIY security for new builders is the actual installation process. The good news is that for most budget systems, “installation” is barely the right word — it’s closer to “placement.” The majority of affordable sensors use peel-and-stick adhesive backing, meaning you simply clean the surface, remove the backing, and press the sensor into position. No drilling, no wiring, no special tools required. Most complete kits can be fully deployed in under two hours, including time spent reading the instructions and deciding on optimal sensor locations.
Start by walking through your home and identifying every possible entry point a burglar might use. This includes all exterior doors, ground-floor windows, any accessible skylights or basement windows, and the garage door if applicable. Map these out on a simple sketch of your floor plan. Then prioritize: the front door, back door, and any windows that aren’t clearly visible from the street tend to be the most commonly exploited entry points. Place your door and window sensors on these first, ensuring the magnet and sensor body are aligned within the manufacturer’s specified gap distance, usually about half an inch or less.
Motion sensors should be positioned in the corners of rooms at a height of six to seven feet, angled downward to cover the widest possible area. The typical PIR sensor covers a cone-shaped zone of about 30 feet by 110 degrees, so a single sensor placed in the corner of a living room or hallway can blanket an entire floor. Avoid pointing motion sensors at windows where sunlight or passing car headlights can cause false alarms. Similarly, keep them away from heating vents and radiators, which can trigger temperature-sensitive detectors unexpectedly. A few minutes of thoughtful placement saves hours of frustrated troubleshooting later.
Once your sensors are in place, test every single one before considering the job done. Most systems have a test mode that triggers the alarm response without sounding the full siren — use it. Walk through each door and window, wave in front of each motion sensor, and confirm that the control panel or your app registers each event correctly. Keep a notepad handy to mark any sensors that don’t register reliably, as these may need repositioning or a battery check. A security system is only as strong as its weakest sensor, and testing takes the guesswork out of knowing your home is genuinely protected.
Maximizing Effectiveness: Smart Habits to Pair With Your System
Even the most sophisticated alarm system is just one layer of a broader security strategy. Experienced home security practitioners talk about a concept called “defense in depth” — the idea that multiple independent barriers are far more effective than any single measure, no matter how good. Your budget alarm system becomes dramatically more powerful when it’s combined with smart habits, environmental design, and a few low-cost physical deterrents. The goal is to make your home look, feel, and actually be a difficult target, so that opportunistic criminals move on to somewhere easier.
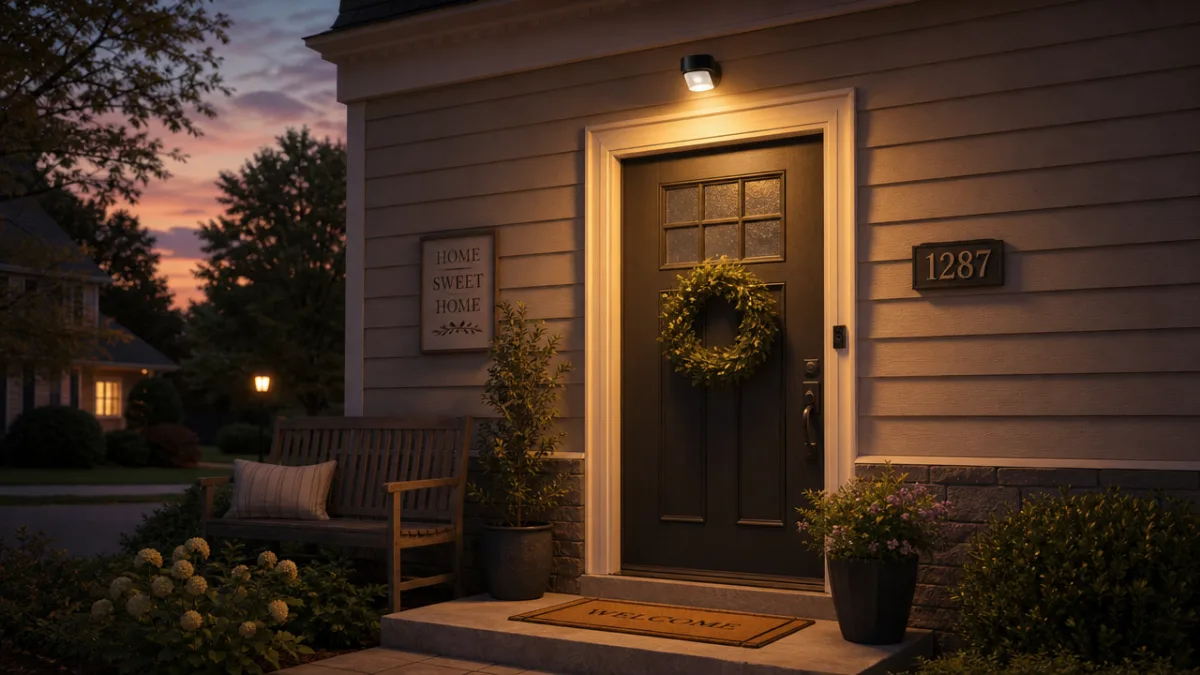
Lighting is one of the most consistently effective and affordable deterrents available. Motion-activated lights around entry points cost as little as $10 to $15 each and eliminate the concealment that darkness provides. Burglars overwhelmingly prefer to work unseen, and a sudden flood of bright light in the middle of the night is an immediate and powerful deterrent. Pair these with a smart plug timer on a few interior lamps — set them to activate at varying times in the evening to simulate occupancy when you’re away. This combination of light management costs almost nothing and statistically reduces your risk of being targeted.
Social engineering and visible deterrents also play a surprisingly large role in home security. A simple yard sign or window sticker indicating that your property is protected — even if your system cost $30 — causes many would-be burglars to reconsider. Research consistently shows that criminals assess risk before acting, and any visible indication of an alarm system shifts that calculation against them. You can purchase generic security system warning signs for $5 to $10 online. Combined with your actual working alarm, these signs create both a real and a perceived layer of protection that costs almost nothing to maintain.
Building relationships with neighbors is a zero-cost security measure that consistently outperforms technology in studies of burglary deterrence. A neighbor who knows your routine will notice when something seems off — an unfamiliar van parked for hours, a door left ajar, or someone peering through windows. Apps like Nextdoor facilitate this kind of community awareness in the digital age, but old-fashioned conversation works just as well. When neighbors look out for each other, the entire street becomes harder to victimize, and criminals know it. Your $50 alarm system becomes part of a web of protection that extends well beyond your property line.
Maintenance, Limitations, and When to Upgrade
A DIY security system requires ongoing attention to remain effective, and understanding its maintenance needs upfront prevents the frustrating scenario of discovering your system has been silently failing for weeks. Battery-powered sensors — which describes the vast majority of budget components — need their batteries checked and replaced regularly. Most quality sensors will last six months to a year on a fresh set of batteries under normal use, but cold temperatures, frequent triggering, and older components can shorten that lifespan considerably. Set a recurring calendar reminder every six months to test every sensor and replace batteries preemptively, rather than waiting for a failure notice.
It’s also important to be clear-eyed about what a sub-$50 system cannot do. A standalone alarm without professional monitoring or cellular backup can be defeated by cutting your internet connection or simply waiting for a window of time when no one is nearby to hear the siren. Most budget systems lack the tamper resistance of professional-grade equipment, and a determined, informed burglar may know how to disable simple consumer-grade sensors. These limitations don’t make the investment worthless — the vast majority of residential burglaries are committed by opportunistic criminals who will be stopped cold by even a basic alarm — but they are worth understanding honestly.
Knowing when it’s time to upgrade is just as important as knowing how to start. If your household circumstances change — you move to a higher-crime area, acquire valuables worth protecting, or add family members whose safety concerns you — it may be time to layer professional monitoring on top of your DIY foundation. Many security companies now offer self-monitoring plans for $10 or less per month that provide cellular backup and live response without requiring you to replace your existing hardware. This hybrid approach lets you keep the investment you’ve already made while adding the professional layer that a pure DIY system lacks.
The DIY security journey rarely ends with a single build. As you become more comfortable with the technology and more attuned to your home’s specific vulnerabilities, you’ll naturally want to refine and expand your system. The skills you develop installing your first door sensor — reading datasheets, understanding sensor placement geometry, troubleshooting connectivity — translate directly to more advanced projects. Many homeowners who start with a $40 kit eventually find themselves building sophisticated multi-zone systems with custom automations, video integration, and cloud backup, all still for a fraction of what a traditional security company would charge. That first affordable system isn’t just protection; it’s an education.
Final Thoughts: Real Security on a Real Budget
The idea that meaningful home security requires a significant financial commitment is one of the most persistent and damaging myths in the industry. The companies that profit from monthly contracts and expensive installations have little incentive to correct this misconception, but the evidence is clear: a thoughtfully designed DIY system built for under $50 provides genuine, measurable protection against the most common threats homeowners actually face. Opportunistic burglary — the type responsible for the vast majority of home break-ins — is deterred by exactly the kind of visible, noisy, immediate alarm response that budget systems deliver perfectly well.
Getting started doesn’t require expertise, special tools, or a weekend blocked off for installation. The simplest effective setups take less than an hour to deploy and require nothing more than a charged 9V battery and a clean surface to stick a sensor to. From that humble starting point, you can build as much complexity and sophistication as your interest and budget allow, at your own pace, on your own terms. The community of DIY security enthusiasts is welcoming, knowledgeable, and generous with advice — you’ll find answers to almost any question in forums and comment sections populated by people who’ve already solved your exact problem.
Home security is ultimately about peace of mind, and peace of mind is worth something that transcends the dollar amount on a price tag. But it’s deeply reassuring to know that you don’t have to choose between financial responsibility and feeling safe in your own home. A $50 investment, made thoughtfully and maintained carefully, can genuinely change how secure you feel every time you leave for work or turn out the lights at night. That’s not a marketing claim — it’s the lived experience of countless homeowners who took their security into their own hands and found that it was well within their reach all along.








What do you think?
It is nice to know your opinion. Leave a comment.