










Easy DIY Wall Art Ideas: Transform Your Space with Creative Handmade Masterpieces
There is something deeply satisfying about looking at a blank wall and seeing it not as empty space, but as an opportunity waiting to be filled with something personal, meaningful, and entirely your own. DIY wall art has surged in popularity over the past decade, and for good reason — it allows you to customize your living space without the steep price tags that come with gallery pieces or designer home décor stores. Whether you are a seasoned crafter or someone who has never picked up a paintbrush since elementary school, there are creative options available that will suit every skill level and aesthetic preference.
The beauty of making your own wall art lies in the flexibility it affords. You are not constrained by what is currently trending in stores or limited to the color palettes that manufacturers have decided are fashionable this season. Instead, you can create something that speaks directly to your personality, complements your existing furniture, and reflects your unique taste. From abstract paintings to textile hangings, from pressed botanical prints to geometric tape designs, the possibilities are genuinely endless and always evolving.
This guide is designed to walk you through some of the most accessible, visually stunning, and budget-friendly DIY wall art ideas available today. By the end, you will have a clear picture of how to approach your own project, what materials to gather, and how to execute your vision with confidence. So roll up your sleeves, clear some space on your kitchen table, and get ready to turn your walls into a gallery that is entirely, beautifully yours.
Getting Started: Tools, Materials, and Planning Your Wall Art Project
Before diving into any creative project, a little preparation goes a long way toward ensuring your results are polished and satisfying rather than frustrating and half-finished. The first step in any DIY wall art endeavor is to assess the wall or walls you want to decorate. Take note of the dimensions, the existing color scheme of the room, and what kind of lighting the area receives throughout the day. Natural light, warm lamp light, and overhead lighting can all dramatically change how colors appear on a finished piece, so understanding your space is essential before you commit to a palette or design direction.
Once you have evaluated your space, gather your core materials. Many wall art projects require surprisingly few supplies, and most can be sourced affordably from craft stores, dollar stores, or even around your own home. Common materials include canvas panels or stretched canvases in various sizes, acrylic paints, painter’s tape, wooden dowels or driftwood for hanging textile pieces, hot glue guns, picture-hanging hardware, and basic brushes in a range of sizes. Keeping a well-stocked craft kit means you are ready to act whenever inspiration strikes rather than having to make a special shopping trip.
Planning your composition before you begin is another step that many beginners skip but experienced crafters swear by. Try sketching your idea on paper first, or use a free design tool like Canva to mock up a rough digital version. If you are creating a gallery wall, arrange your frames on the floor before committing any nail holes to the wall. Thinking through proportions, spacing, and color balance in advance saves you from the common frustration of stepping back from a finished piece and realizing that something feels visually off. A little forethought transforms a good project into a great one.
Abstract Painting Techniques Anyone Can Master
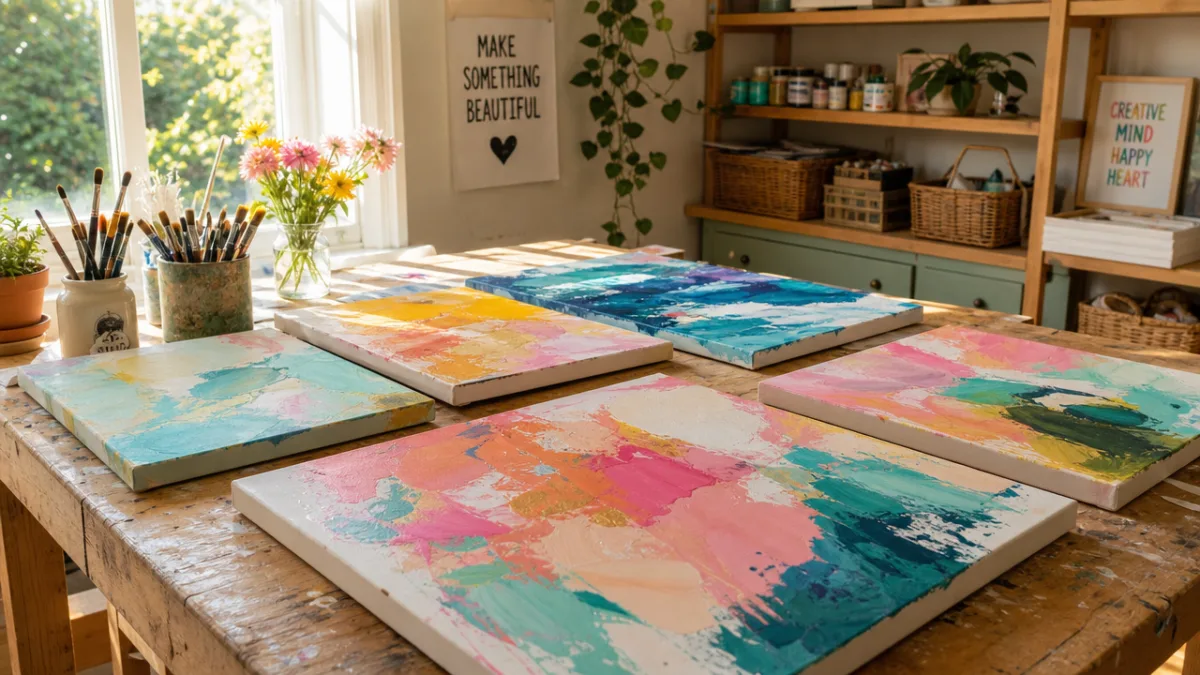
Abstract art carries an intimidating reputation, but it is genuinely one of the most forgiving art forms for beginners because there are no strict rules about what it should look like. The key to successful abstract painting is embracing the process rather than fixating on achieving a particular outcome. Start with a canvas, choose two to four colors that work harmoniously together, and let your instincts guide the application. You can pour diluted paint across a tilted canvas for a fluid, organic effect, or use a palette knife to apply thick, textured strokes that catch the light beautifully.
One popular technique that consistently yields gorgeous results is the wet-on-wet method, sometimes called the alla prima approach. You apply wet paint directly onto a still-wet base layer, allowing the colors to blend and bleed into each other naturally. The results are often strikingly beautiful, with soft gradients and unexpected color combinations emerging from the process. This technique works particularly well with a limited palette — try cream, terracotta, and dusty sage for a warm, earthy aesthetic, or deep navy, pearl, and gold for something more dramatic and sophisticated.
Tape art is another abstract approach that feels more structured and suits those who prefer geometric precision over free-flowing brushwork. Apply strips of painter’s tape across a canvas in a pattern of your choosing — diagonal lines, a sunburst, a grid, or even random angles — and then paint over the entire surface. Once the paint is dry, peel back the tape to reveal crisp, clean lines and a striking geometric design. You can use a single solid color for a minimalist effect or layer multiple colors for something more vibrant and dynamic. This method is especially satisfying because the big reveal of peeling back the tape feels almost magical.
Textile and Fabric Wall Art: Warmth, Texture, and Bohemian Charm
Textile wall art brings a warmth and dimensionality to a room that flat painted pieces simply cannot replicate. Macramé, one of the most beloved textile crafts of the moment, involves knotting cotton rope or cord into intricate, lacy patterns that hang beautifully from a wooden dowel or metal ring. Despite its complex appearance, macramé relies on just a handful of foundational knots — primarily the square knot and the lark’s head knot — and beginners can master these basics within an afternoon. Once you have the fundamentals down, you can create wall hangings ranging from simple, minimalist panels to elaborate, large-scale statement pieces.
Woven wall art is another textile option that is having a major moment in the world of home décor. Using a simple cardboard loom or a small wooden frame loom, you can weave together strips of yarn, ribbon, fabric scraps, and even natural materials like dried grass or feathers to create rich, tapestry-style pieces. The irregular, handcrafted quality of weaving is part of its charm — no two pieces will ever look exactly alike, and that uniqueness is precisely what makes it special. Choose a warm, neutral palette for a Scandinavian-inspired look, or go bold with jewel tones and metallic threads for something more maximalist and eclectic.
For a simpler textile option that still delivers impressive visual impact, consider a fabric panel display. Choose a piece of fabric you love — a bold geometric print, a delicate floral pattern, a richly embroidered textile picked up at a thrift store — and stretch it over a wooden canvas frame or a piece of foam board. Secure it at the back with a staple gun or strong adhesive, add hanging hardware, and you have a finished piece of wall art in under an hour. This approach works beautifully for creating a cohesive gallery wall using fabrics that share a complementary color palette but feature varied patterns and textures.
Nature-Inspired Wall Art: Botanical Prints, Pressed Flowers, and Organic Materials
Bringing elements of the natural world indoors is one of the most enduring and universally appealing trends in home décor, and nature-inspired DIY wall art is an ideal way to achieve this effect with a personal, handcrafted touch. Pressed botanical prints are among the simplest and most beautiful options available. Collect leaves, flowers, ferns, or any flat plant material that appeals to you, press them between heavy books for one to two weeks until completely dry, and then arrange them on watercolor paper or card stock. You can paint a simple watercolor wash behind them for added depth, or allow the crisp white background to let the botanical forms speak for themselves.
Leaf printing is a related technique that produces striking results with minimal effort. Coat the surface of a leaf — particularly one with pronounced veins — with paint and press it firmly onto your paper or canvas, then lift carefully to reveal the detailed impression left behind. Experiment with different leaf shapes, sizes, and paint colors to build up a layered, organic composition. Golden and copper metallic paints pressed onto dark backgrounds create a particularly dramatic and sophisticated effect, while soft watercolor tones on cream paper produce something gentle and serene.
For those who want to work with more structural natural materials, consider shadow box arrangements featuring driftwood, dried seed pods, preserved moss, small stones, or shells. A shadow box frame gives you a three-dimensional display space that allows you to create a miniature landscape or a curated collection of found natural objects. Arrange your materials thoughtfully, paying attention to variation in height, texture, and color, then secure them with a strong adhesive. The result is a piece of wall art that feels like a small window into the natural world and serves as a constant, beautiful reminder of the outdoors.
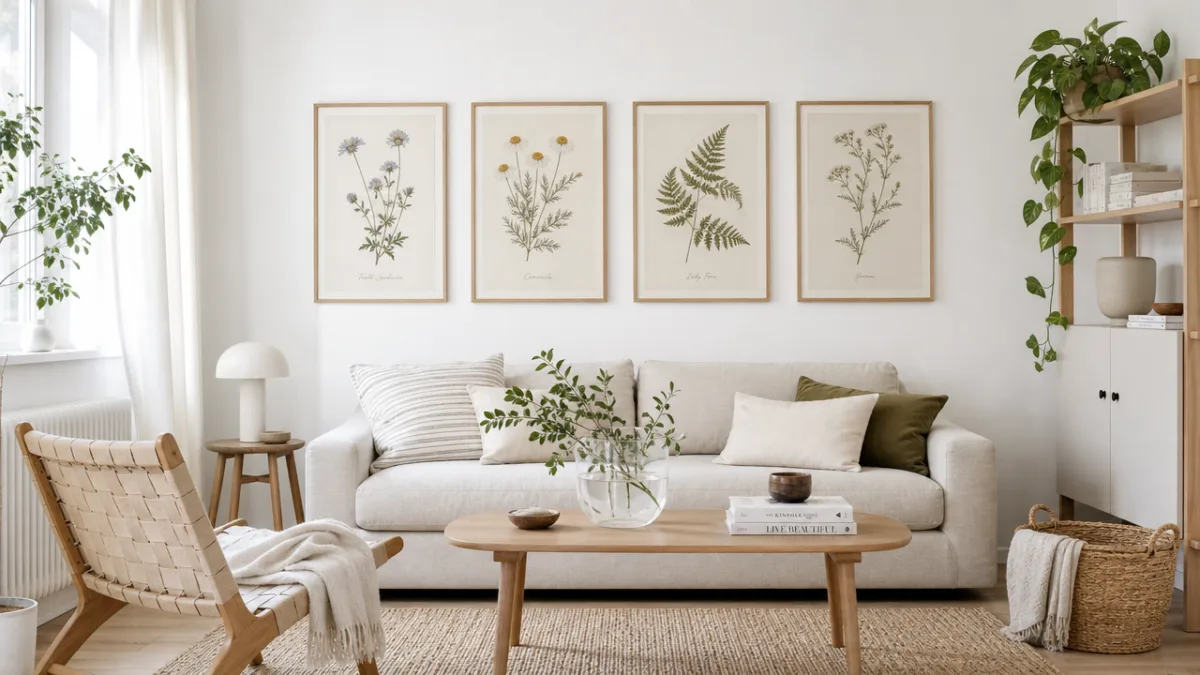
Photo and Print-Based Wall Art: Personal Galleries and Graphic Displays
One of the most meaningful forms of DIY wall art is a personal photo gallery that tells the story of your life, your travels, your relationships, and the moments that matter most to you. Creating a cohesive gallery wall from your own photographs is surprisingly straightforward with a little planning. Choose a consistent editing style for your images — whether that means warm, golden-toned film-style edits or crisp, high-contrast black-and-white — to unify the collection visually. Print your images through an online service or at a local photo shop, select frames that complement each other without being perfectly identical, and lay your arrangement out on the floor before committing to wall placement.
Beyond personal photographs, digital printables have made it easier than ever to create beautiful, print-ready wall art at minimal cost. Websites like Etsy offer thousands of downloadable art files — botanical illustrations, typographic posters, abstract designs, vintage maps, and more — that you can purchase, download, and print at home or through a print shop for just a few dollars. Framing a crisp, well-designed printable in a quality frame elevates it from a simple digital file to a genuinely striking piece of décor. You can refresh your gallery wall seasonally simply by swapping out printables without investing in entirely new pieces.
Typography-based art is another accessible option that allows you to put words that genuinely resonate with you on your walls. Choose a quote, a song lyric, a meaningful date, or even a single powerful word, and create a simple typographic poster using free design tools like Canva or Adobe Express. Experiment with font choices, sizing, and layout until you have a composition that feels balanced and intentional. Print it large for maximum impact, or create a series of smaller typographic prints in matching frames for a cohesive, literary gallery wall that reflects your personality and values.
Upcycled and Budget-Friendly Wall Art: Creativity on a Shoestring
Some of the most creative and visually compelling wall art comes from reimagining objects that would otherwise be discarded or forgotten. Upcycled wall art is not only budget-friendly but also environmentally conscious, giving new life and purpose to materials that might otherwise contribute to landfill waste. Old window frames, for example, make extraordinary wall décor — fill the panes with mirrors, chalkboard paint, chicken wire strung with photos, or simply hang them as architectural sculptures in their own right. The weathered paint and aged wood of an old window carries a character and history that no new frame purchased from a store can replicate.
Book pages, sheet music, and vintage maps are another treasure trove of free or inexpensive wall art material. Tear pages from a discarded novel and use them as a backdrop for painted silhouettes, decoupage them onto a canvas in overlapping layers for a textured collage, or frame individual pages that feature particularly beautiful typography or illustrations. Vintage sheet music creates a wonderfully romantic, nostalgic aesthetic when displayed in simple frames or arranged in a grid pattern. These text-based materials add intellectual depth and visual interest to a wall while carrying a sense of history and story that purely decorative pieces often lack.
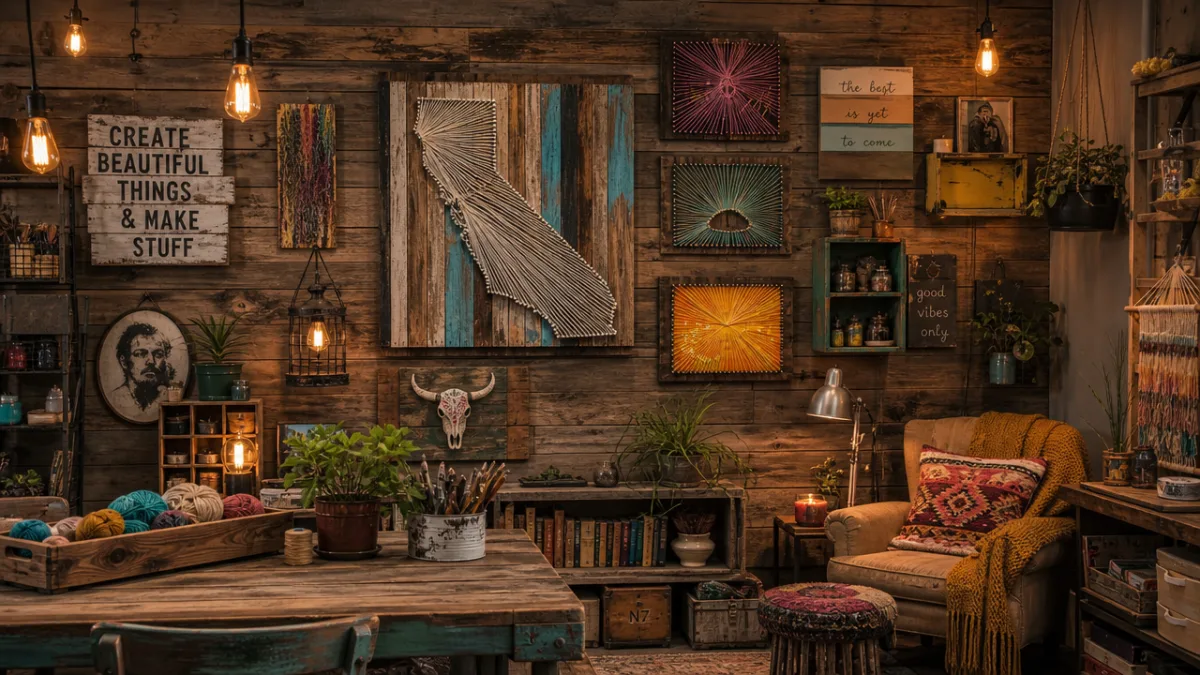
Yarn and string art, created by hammering nails into a painted board and weaving colorful thread between them in geometric patterns, is a craft that enjoyed a resurgence in the early 2010s and remains a satisfying and affordable project today. The materials cost very little — a piece of plywood, a handful of nails, and several colors of thread or embroidery floss — and the process is meditative and rewarding. Create a simple starburst, a monogram letter, a city skyline silhouette, or an abstract geometric form. The finished pieces have a graphic, modern quality that looks far more expensive and labor-intensive than they actually are, making them a particularly satisfying form of creative deception.
Displaying and Caring for Your DIY Wall Art: The Finishing Touches That Matter
Creating a beautiful piece of wall art is only half the battle — how you display it can make the difference between a finished room that feels polished and intentional versus one that feels somewhat haphazard, even if the individual pieces are lovely. For single statement pieces, hanging at eye level is the traditional rule of thumb, which typically means placing the center of the piece approximately 57 to 60 inches from the floor. However, this guideline can be adjusted based on your room’s ceiling height, the height of nearby furniture, and your personal aesthetic sensibilities. Above a sofa, for example, the bottom of a piece or gallery arrangement should sit approximately 6 to 8 inches above the back of the couch.
Lighting is a powerful tool for elevating the impact of your wall art and is frequently overlooked by home decorators. A simple picture light mounted above a canvas, a directional track light aimed at a gallery wall, or even a strategically placed floor lamp can transform the way your art reads in a room. Light brings out texture in textile pieces, makes painted surfaces glow with depth, and draws the eye toward your display in a way that ambient room lighting simply cannot achieve. Even inexpensive clip-on spotlights or battery-operated picture lights can make a dramatic difference in how professional and intentional your wall art installation appears.
Caring for your DIY wall art ensures that your creations remain beautiful for years to come. Acrylic paintings can be sealed with a UV-protective varnish to prevent fading and protect the surface from dust and moisture. Textile pieces should be kept away from direct sunlight to prevent fiber degradation and color fading. Pressed botanical pieces are best displayed in sealed frames to protect the delicate dried plant material from humidity. Periodically dust your frames and artwork with a soft, dry cloth, and avoid hanging pieces in areas of the home with high humidity or dramatic temperature fluctuations, such as bathrooms or spaces adjacent to exterior doors. With proper care, your handmade creations can be cherished parts of your home for a very long time.








What do you think?
It is nice to know your opinion. Leave a comment.