










Easy DIY Floating Shelf Using Dowels: A Complete Step-by-Step Guide
Introduction to Dowel-Mounted Floating Shelves
Floating shelves have taken over modern home decor, and honestly, it’s not hard to see why. They make a room feel more open, ditch the clunky brackets, and give your walls that clean, intentional look that works pretty much anywhere. Whether you’re showing off books, plants, photos, or just some things you love, a floating shelf adds personality to a wall without making the whole room feel cluttered.
What I really love about the dowel method is how simple it actually is. Instead of wrestling with hidden metal brackets or those fiddly hardware kits, you’re just using wooden rods — dowels — that slot into the wall studs on one end and into holes drilled in the shelf on the other. The result looks like the shelf is genuinely floating, and the support is surprisingly strong when everything’s anchored into solid studs.
This guide works whether you’re a total beginner or someone who’s done a few projects before. You don’t need serious carpentry skills or a workshop full of tools. Grab some basic supplies, set aside a free afternoon, and you can realistically have a beautiful, sturdy shelf on your wall before dinner. Materials typically run somewhere between fifteen and forty dollars depending on how big you go and what kind of wood you choose.
Why Choose the Dowel Method Over Other Systems
There are a handful of floating shelf techniques out there — French cleats, recessed brackets, hollow-core builds — and they all have their place. But the dowel method keeps winning for people who just want something straightforward. The materials are at every hardware store, you don’t need anything fancy tool-wise, and when the dowels are anchored properly into studs, the shelf is genuinely strong enough to hold real weight.
Another nice perk is flexibility with shelf thickness. A lot of hidden bracket systems need at least two inches of depth to hide the hardware inside. With dowels, even a one-inch board does the job, which opens up more wood options and keeps the shelf from feeling overly heavy on the wall.
And aesthetically? It’s tough to beat. No visible screws, no metal poking out, no awkward shadow gap at the wall. Once it’s painted or stained, it genuinely looks like something a carpenter built into the house — not a weekend DIY project, even though that’s exactly what it is.
Materials and Tools You Will Need
Wood Selection and Shelf Preparation
Picking the right wood is one of the first real decisions you’ll make, and it matters. Pine is the go-to budget option — it’s everywhere, easy to work with, sands down nicely, and takes paint or stain without fuss. If you want something with more character, oak, walnut, or maple all have gorgeous natural grain and are denser for extra strength. Going for a more rustic feel? Reclaimed barn wood is hard to beat for personality.
For the dowel method, aim for a shelf thickness between one and two inches. Too thin and you risk splitting the wood when you drill; too thick and it starts looking chunky on the wall. A standard 1×8 or 1×10 pine board from your hardware store’s lumber section is a great starting point — just keep in mind these actually measure three-quarters of an inch thick in reality, which works perfectly fine for lighter loads.
Before you buy, measure your wall space and add a few inches for cutting margin. If you don’t have a saw at home, most hardware stores will cut wood for you — sometimes free, sometimes for a small fee — which takes one step off your plate entirely. Give the board a light sanding with 120-grit paper before you start so it’s ready to finish once it’s up on the wall.
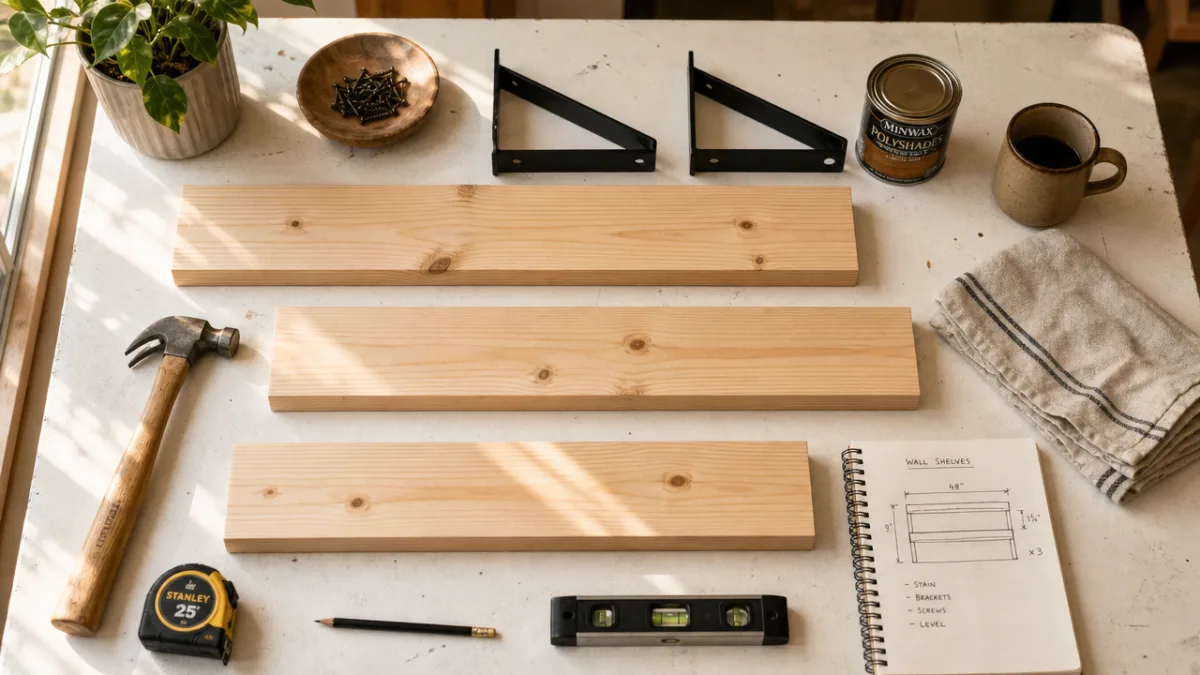
Complete Materials List
- One wood board cut to your desired shelf length (1×8 or 1×10 pine is a great beginner choice)
- Wooden dowels, three-eighths or one-half inch in diameter, cut to around six inches long
- A stud finder for locating wall studs accurately
- A power drill with a dowel-sized bit and a longer wood or masonry bit for the wall holes
- A level to keep everything straight
- A pencil for marking stud locations and hole positions
- A tape measure for spacing the dowels correctly
- Wood glue to bond the dowels inside the shelf holes
- Sandpaper in 120-grit and 220-grit for prep and finishing
- Paint, stain, or sealant — whatever finish suits your space
- Safety glasses and a dust mask for drilling
One thing worth spending a little extra on if you don’t already own one: a decent stud finder. The cheap ones from discount bins can be frustratingly unreliable, and if your dowels end up in drywall instead of solid studs, the shelf won’t hold much and could eventually pull right out of the wall. A reliable stud finder is genuinely one of the best investments you can make for this project.
Finding and Marking Your Wall Studs
If there’s one step you shouldn’t rush, it’s this one. Wall studs are the vertical wood framing members running inside your walls, and in most American homes they’re spaced sixteen inches apart, center to center. Dowels anchored into studs can hold serious weight. Dowels that miss the studs and land in hollow drywall are basically holding up nothing.
Drag your stud finder slowly across the wall where the shelf will go, marking the center of each stud with a light pencil mark just above or below your intended shelf line. Then double-check each mark by tapping in a small finish nail at the spot — if it meets resistance after passing through the drywall, you’ve got a stud. If it just keeps going, shift slightly and try again. Once you’ve confirmed at least two stud locations, use your level to draw a faint horizontal guide line at the exact height where the bottom of the shelf will sit. This gives you a reliable reference for drilling consistent, level holes. Taking an extra five minutes here will save you from crooked shelves and walls full of extra holes later.
Calculating Dowel Spacing and Positioning
You want at least two dowels supporting the shelf, and three or more if it’s longer than thirty-six inches. Since the dowels need to align with your studs, the spacing is partly decided for you — if your studs are sixteen inches apart, that’s where your dowels go, and that spacing gives excellent support for most loads.
Mark each dowel location on the guide line with a small X, then drill into the wall at each spot to about three inches deep, keeping the bit as level and horizontal as you can. A slight downward angle can cause the shelf to tilt forward once it’s mounted, so take your time here. After drilling the wall holes, transfer those measurements carefully to the back edge of your shelf board. Even a half-inch alignment error will mean the shelf won’t slide onto the dowels smoothly, so measure twice before you drill. Use a square to make sure the shelf holes are perfectly perpendicular to the back face of the board so everything sits flush against the wall.
Drilling the Shelf and Installing the Dowels
With the wall holes done and the shelf marked up, you’re ready to drill the corresponding holes in the back edge of the board. Lay it flat on a workbench or stable surface first — don’t try to hold it freehand. Use the same drill bit size as the wall holes so the dowels fit snugly in both places. Drill to about two and a half inches deep, which gives the dowel plenty of purchase without breaking through the shelf face.
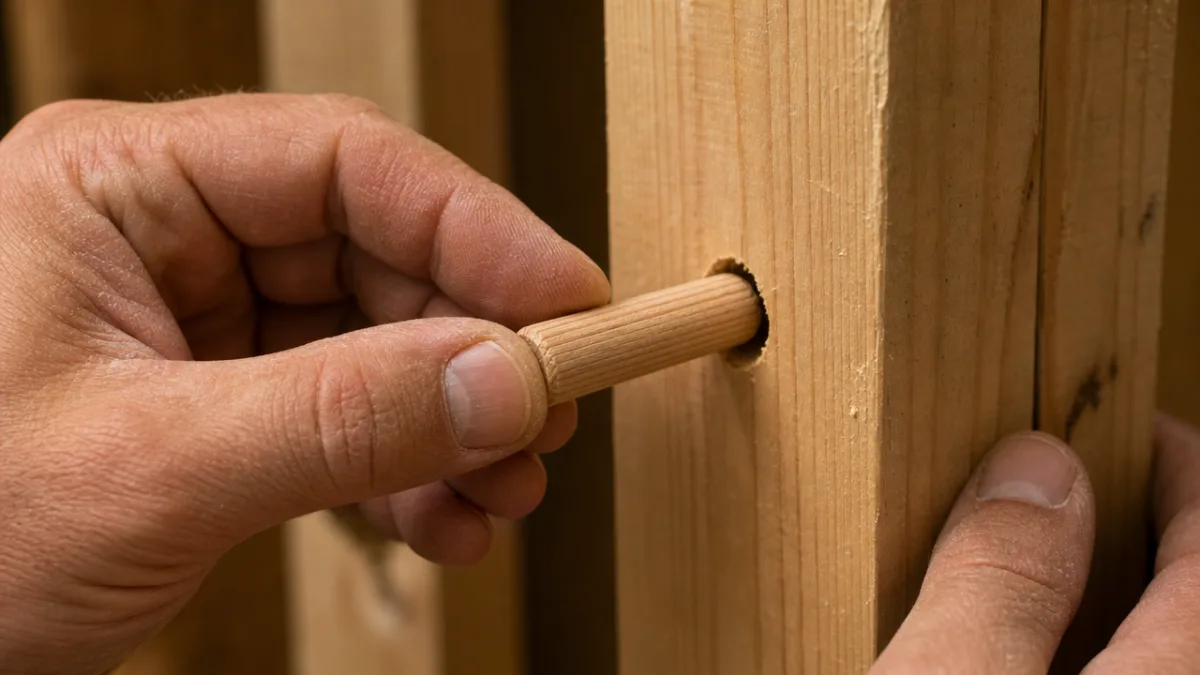
Squeeze a thin layer of wood glue into each hole you just drilled, then press a dowel firmly in, giving it a slight twist as you push to spread the glue evenly. Let it cure for as long as the package recommends — usually thirty minutes to an hour for a solid initial hold. This is what locks the dowels permanently to the shelf, turning them into one rigid unit that’ll slide onto the wall assembly.
Once the glue has set, do a dry fit before you finish the shelf. Hold it up to the wall and guide the dowel ends into their wall holes. They should slide in with moderate resistance — snug, but not a battle. If one doesn’t line up, don’t force it. Pull back, identify which hole is off, and use a round file or some sandpaper wrapped around a pencil to gently adjust the opening until everything lines up cleanly.
Securing the Shelf Permanently
Once you’ve confirmed everything aligns, take the shelf back down and apply a small amount of construction adhesive or strong wood glue to the tip of each dowel that will sit inside the wall. For most shelves holding everyday things like books, plants, or decor, the friction fit alone is actually enough — but that extra adhesive is nice peace of mind.
Push the shelf firmly into place, seating each dowel fully into its wall hole, then check your level one last time. If anything needs tweaking, do it right now before the adhesive starts setting. Hold the shelf steady for a minute or two to let the initial bond take hold, then leave it alone to cure fully before you put anything on it.
Run your hand along the back edge to make sure it’s sitting flush against the wall with no gaps. A small gap usually means the shelf isn’t quite level or a dowel isn’t fully seated — firm pressure while pushing back against the wall typically sorts it out. If there’s a bigger gap that won’t close, the shelf hole might need a minor adjustment, and you really want to catch that before the adhesive sets.
Finishing, Styling, and Weight Capacity Considerations
With the shelf mounted, it’s time for the fun part: finishing. If you’re painting, start with a primer coat so the paint sticks properly and the wood grain doesn’t bleed through. Two thin coats will always look better than one thick one. For a stained look, work the stain into the wood with a clean cloth going with the grain, let it dry fully, then seal everything with a clear coat of polyurethane or wax.
Take a moment to tidy up the wall around the shelf too. Any pencil marks, smudges, or scuffs from installation can be touched up with a small artist’s brush and your wall paint. It sounds like a small thing, but a clean wall behind the shelf makes a surprising difference in how finished the whole thing looks. These little details are what separate a shelf that looks “DIY” from one that looks like it was always meant to be there.
It’s also worth understanding what your shelf can actually hold. A single three-eighths-inch dowel anchored three inches into a solid stud can typically handle twenty-five to forty pounds of static weight. Two properly installed dowels together can manage fifty to eighty pounds under good conditions. That said, these are estimates based on average wood and a solid installation — always err on the side of caution, and don’t stack anything extremely heavy on a small shelf.
Creative Styling Ideas for Your New Floating Shelf
Once it’s up and finished, styling your shelf is genuinely enjoyable. In a kitchen, a short floating shelf near the window is perfect for spices, small cookbooks, or a little herb garden. The clean lines of a dowel-mounted shelf look great in both modern and farmhouse kitchens, and without visible brackets, the look stays sleek even when the shelf is full of everyday stuff.
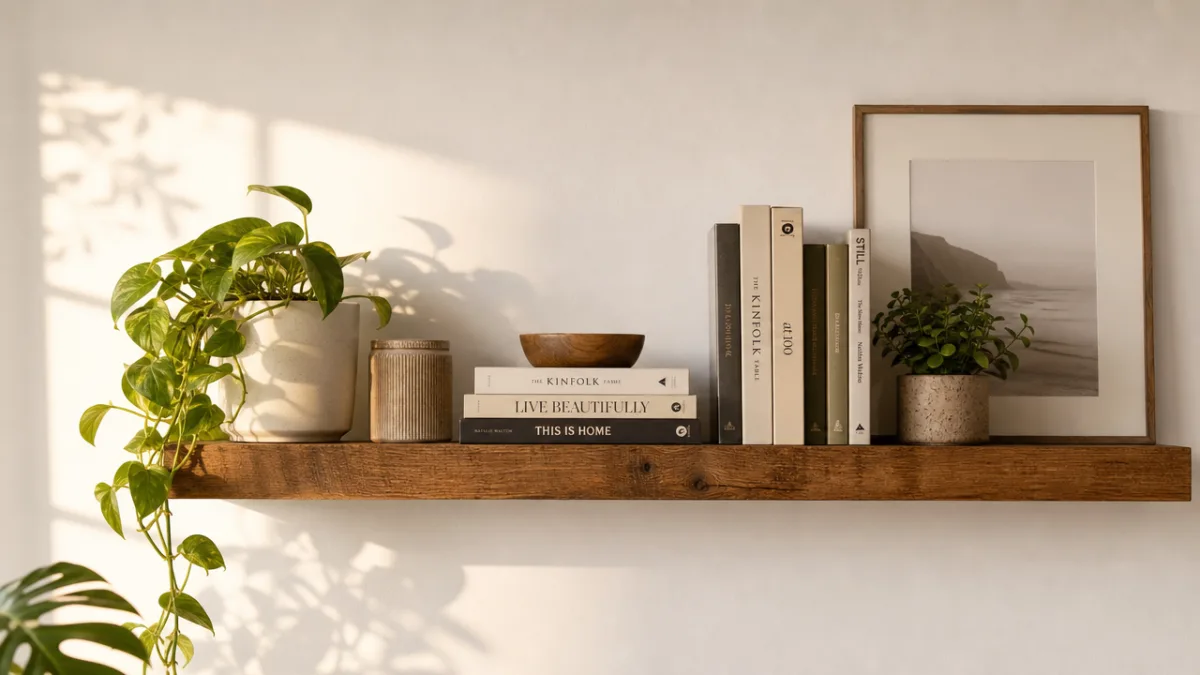
In a living room or bedroom, floating shelves are a great way to display collections, artwork, and plants. Putting up a few shelves at varying heights on the same wall creates a gallery feel without committing to full built-ins. Stain or paint them all to match for a cohesive look, then vary what you put on each one to keep things visually interesting as your eye moves across the wall.
In a home office, shelves mounted above the desk are a game-changer for storage — you get extra space without eating into your floor area or desk surface. Books, binders, printer paper, decorative accessories — it all looks organized and intentional on a clean floating shelf. If you’re planning to put heavier things up there, like big hardcovers or ceramic pieces, go with a thicker board and add a third dowel. Built right, a dowel shelf can easily last for decades.
Troubleshooting Common Problems
Even when everything goes smoothly on paper, little hiccups happen. A shelf that wobbles after installation is one of the most common complaints, and it almost always comes down to one of two things: a dowel that isn’t fully seated in its wall hole, or a wall hole that was drilled at a slight downward angle, so the dowel is carrying the shelf’s weight unevenly on one edge. Either way, pulling the shelf off, checking the dowels, and reinstalling with more attention to keeping things level usually fixes it.
Another thing beginners run into is the wood splitting when drilling shelf holes. This tends to happen with thinner boards or when you drill too close to the edge. Keep your drill bit sharp, go slowly, and make sure your holes are at least three-quarters of an inch from any edge. If a split does happen, carpenter’s glue or wood filler can patch minor damage before you move on to finishing.
And if your studs just aren’t in convenient spots for where you want the shelf, you’ve got options. Heavy-duty drywall anchors rated for the weight you need can work, though they’re less reliable than stud mounting for anything beyond light decorative pieces. Another solid approach is to screw a horizontal wood cleat into the studs first, then mount your dowels into the cleat — this gives you full flexibility over dowel placement while keeping everything structurally connected to the wall framing.








What do you think?
It is nice to know your opinion. Leave a comment.