










76 DIY Wall Art Ideas for Those Blank Walls: Transform Your Space with Creativity
Why Blank Walls Are a Hidden Opportunity
There is something quietly uncomfortable about a blank wall. It stares back at you with a kind of emptiness that feels unfinished, like a sentence that trails off without a period. Yet most homeowners and renters live with bare walls for months or even years, unsure of where to begin or afraid of making the wrong choice. The truth is, a blank wall is not a problem — it is an invitation, and DIY wall art is one of the most rewarding ways to answer it.
When you create wall art yourself, you bring something irreplaceable into your home: your own story. Mass-produced prints and generic canvas paintings may fill a space, but they rarely fill a room with personality. Handmade art, whether it is a canvas you painted on a rainy Sunday or a macramé piece you learned to knot over a few evenings, carries the weight of your time and attention. That energy is visible to anyone who walks through your door, even if they cannot quite name what makes the room feel so warm and personal.
DIY wall art also offers a significant financial advantage. Professional artwork and curated gallery pieces can cost hundreds or thousands of dollars, and even mid-range décor items add up quickly. By making your own art, you can fill an entire wall for the cost of a few art supplies, some thrifted frames, or materials you may already have at home. The creative process itself becomes part of the value, giving you a sense of accomplishment that no store-bought item can replicate.
Understanding Your Wall and Space
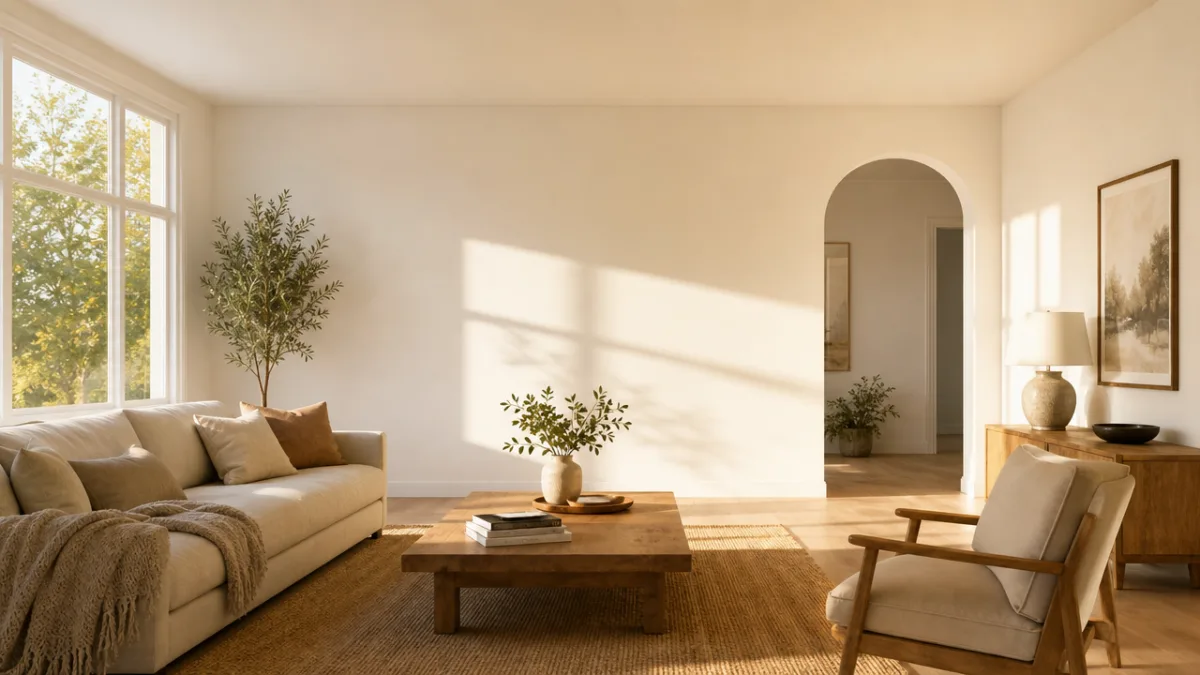
Before you commit to any particular DIY project, it is worth spending time evaluating the wall itself. Consider its size, the amount of natural light it receives, and the colors already present in the room. A large, sunlit wall in a living room might call for a bold gallery arrangement or an oversized statement piece, while a narrow hallway might benefit more from a single vertical piece or a small cluster of framed botanical prints. Matching the scale of your art to the scale of your wall is one of the most important design principles beginners often overlook.
The existing color palette and furniture style in the room should also guide your choices. A Scandinavian-style space with neutral tones and clean lines will look stunning with black-and-white photography or minimalist line art, while a bohemian room filled with warm textiles and layered textures can accommodate fiber art, woven wall hangings, and mixed-media collages. Thinking about these relationships before you start a project will save you from finishing a beautiful piece only to find it clashes awkwardly with everything around it.
You should also think about the practical side of your wall — whether it is drywall, plaster, brick, or concrete, and whether you are renting or own your home. Renters, for instance, may prefer lightweight art options like tapestries, peel-and-stick prints, or leaning arrangements that require no permanent hardware. Homeowners have more flexibility but should still plan hanging placements thoughtfully to avoid an unnecessary number of holes. A little planning at this stage makes the final installation cleaner and more intentional.
Painting and Canvas-Based DIY Wall Art
Painting your own canvas art is perhaps the most classic form of DIY wall décor, and it remains one of the most popular for good reason. You do not need formal training or natural talent to create something beautiful and meaningful. Abstract painting, in particular, is extremely forgiving — layered brushstrokes, palette knife textures, and poured acrylic techniques can yield stunning results even for complete beginners. The key is to choose a color palette that complements your room and to embrace the process rather than chasing perfection.
One accessible and highly effective technique is the split canvas painting, where you create a single image or abstract design spread across two or three separate canvases. When hung with even spacing on a wall, this creates a sophisticated gallery effect that looks far more expensive than it costs. You can also try geometric tape art, which involves laying masking tape across a canvas in angular patterns, painting over it in multiple colors, and then peeling the tape to reveal crisp, clean lines. This method requires almost no freehand skill and consistently produces striking results.
Watercolor paintings are another beautiful option, particularly for softer, more romantic spaces like bedrooms or reading nooks. Even simple washes of color blending across watercolor paper — sunset gradients, loose floral shapes, or abstract color fields — look elegant when properly framed. Printing your own digital artwork and framing it is also a valid and often overlooked DIY approach: many graphic design platforms offer free templates, and you can print high-quality art files at local print shops for just a few dollars per sheet.
Texture and Mixed Media Painting Techniques
For those who want their wall art to go beyond flat surfaces, textured painting techniques offer a wonderful way to add depth and visual interest. Adding sand, joint compound, or modeling paste to your acrylic paint creates reliefs that catch light differently throughout the day, making your artwork feel almost alive as the sun moves across your room. Japanese sumi-e brush techniques, which use ink on rice paper with dramatic gestural strokes, produce artwork with a meditative quality that works beautifully in both minimalist and eclectic spaces.
Mixed media pieces that combine paint with collage elements, fabric scraps, pressed leaves, or metallic foil are gaining popularity in the DIY art community. These layered works tell a more complex visual story and often become genuine conversation pieces. You might start with a painted background in earthy tones and then glue torn pieces of vintage maps, sheet music, or wrapping paper over sections of it, sealing everything with a glossy medium for a polished finish. The combination of planned design and happy accident is what makes these pieces so compelling.
Canvas is not your only painting surface, either. Reclaimed wood planks painted with geometric patterns or landscapes bring a rustic warmth that canvas simply cannot match. Old window frames can be transformed with frosted glass paint and botanical silhouettes. Even plain terracotta pots arranged in a wall-mounted grouping and painted in coordinated colors can function as three-dimensional wall art. Thinking outside the rectangular canvas opens up a world of creative possibility that can make your wall art truly one of a kind.
Textile and Fiber Art for Your Walls
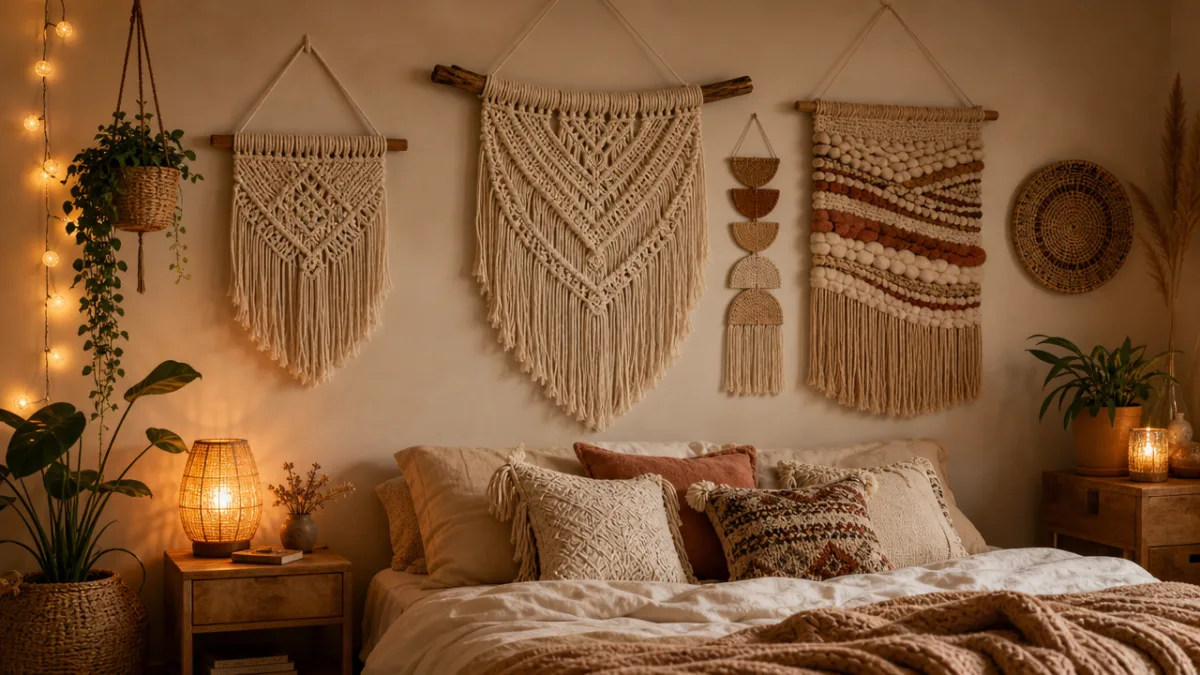
The resurgence of fiber arts in interior design has been one of the most exciting trends in home décor over the past decade. Macramé wall hangings, in particular, have moved from a crafting novelty to a genuinely sophisticated design element embraced by interior designers and homeowners alike. The appeal is easy to understand: the natural texture of knotted cotton rope adds warmth and dimension to a wall in a way that painted or printed art simply cannot. Even a beginner-level macramé piece, made with basic square knots and spiral hitches, can look stunning hung above a bed or sofa.
Weaving is another fiber art technique that translates beautifully to wall décor. With an inexpensive wooden loom or even a DIY cardboard loom, you can create woven wall hangings using yarn, fabric strips, leather cord, or even dried grasses. Tapestry weaving allows for remarkable pattern complexity once you learn the basics, but even simple plain-weave panels in a carefully chosen yarn palette look elegant and artisanal. Adding fringe, feathers, wooden beads, or driftwood to your woven pieces increases their visual impact considerably.
Fabric-based wall art extends well beyond weaving and macramé. Stretched fabric panels — made by wrapping a bold printed fabric tightly over a wooden frame — create the look of upholstered art at a fraction of the cost. Embroidery hoops filled with colorful needlework, floral designs, or even simple typographic stitching make charming small-scale wall art, particularly when grouped in clusters of varying sizes. Quilted wall hangings, paper cutting art inspired by Scandinavian or Chinese folk traditions, and sewn fabric collages all represent textile approaches worth exploring.
Natural and Foraged Materials in Wall Art
One of the most sustainable and beautifully organic approaches to DIY wall art involves using natural materials gathered from outdoors. Pressed botanicals — dried flowers, ferns, eucalyptus sprigs, and autumn leaves — arranged and framed under glass create stunning herbarium-style artwork that brings the quiet beauty of the natural world inside your home. The process of pressing and drying plants is slow and meditative, and the results are surprisingly professional-looking, especially when presented in clean, simple frames.
Driftwood and branches collected from parks, beaches, or your own backyard can be arranged horizontally on a wall to create sculptural installations with no artistic skill required. A grouping of weathered driftwood pieces hung at varying heights creates an organic, coastal-inspired display. You can weave twine between branches, hang air plants or small crystals from them, or simply let the natural form and color of the wood speak for itself. These installations work especially well in bathrooms and entryways where a touch of nature feels grounding.
Seed heads, pine cones, dried citrus slices, and even feathers can all be incorporated into framed natural art pieces or woven into fiber hangings. Mushroom spore prints — made by placing fresh mushrooms cap-down on paper overnight and then fixing the resulting print with hairspray — are a genuinely surprising and beautiful art form that most people have never encountered. Natural art has an authenticity and impermanence to it that mass-produced décor will never have, and making it yourself deepens that connection further.
Gallery Walls and Arrangement Strategies
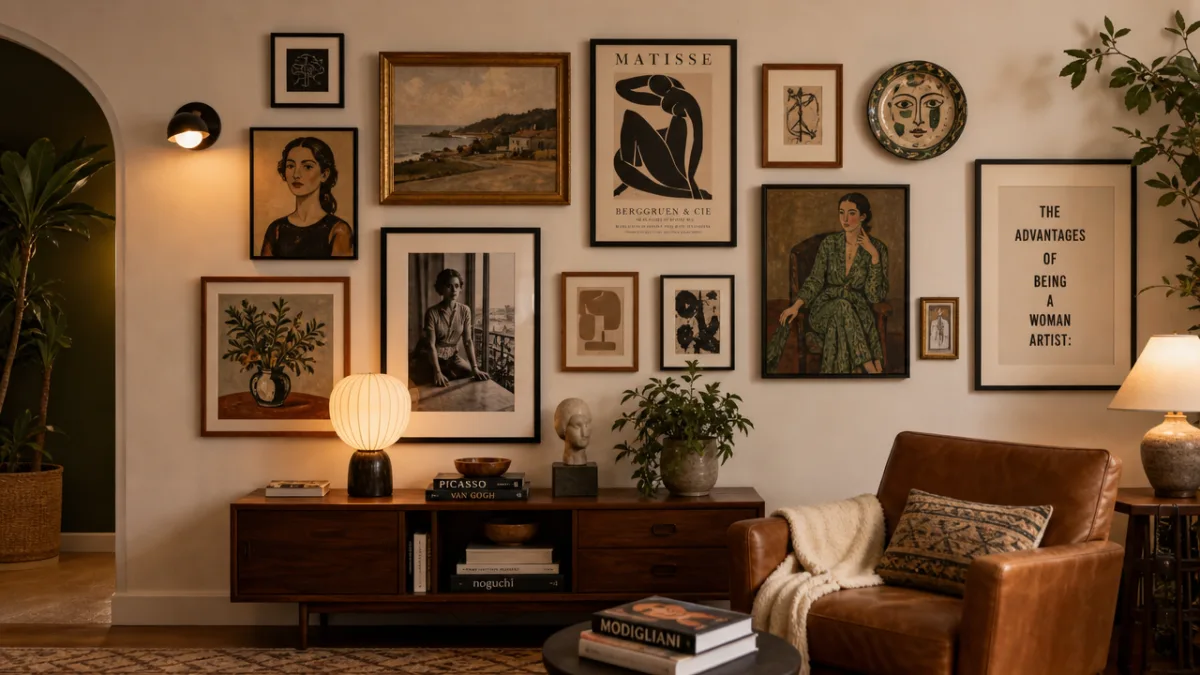
A gallery wall is one of the most impactful things you can do with a blank wall, and the range of approaches is practically limitless. At its most basic, a gallery wall is simply a curated collection of framed pieces arranged together in a cohesive grouping, but the execution can range from tightly structured grids to loose, organic salon-style arrangements. The first step is choosing a unifying element — this might be a consistent frame color, a shared color palette across the artworks, a common subject matter, or even just a consistent style or era. That thread of visual consistency is what transforms a random collection into a deliberate design statement.
Planning your layout before committing to nail holes is strongly advisable. Trace each frame on kraft paper, cut out the shapes, and tape them to the wall with painter’s tape to audition different arrangements before making a single hole. This step takes an extra fifteen minutes but saves hours of frustration and unnecessary wall damage. Most designers recommend starting with the largest piece and building outward from it, maintaining roughly equal spacing between all frames — usually two to four inches — for a clean and balanced result.
Gallery walls do not need to consist exclusively of framed prints. Mixed-media gallery walls that incorporate shadow boxes, small mirrors, ceramic wall pieces, and three-dimensional objects alongside traditional frames have a collected, curated quality that feels deeply personal. Vintage plates hung on a wall, ornamental mirrors in varying sizes and shapes, or even mounted botanical specimens in bell jars can all become part of a gallery arrangement. The goal is to create something that looks as though it has been gathered over time and across experiences — because the best gallery walls reflect a life, not a shopping cart.
DIY Frames and Creative Display Methods
Framing your art does not require expensive trips to the frame shop. Thrift stores and estate sales are extraordinary sources for vintage frames in interesting shapes, woods, and finishes, and a coat of spray paint in a unified color can make a mismatched collection look deliberately coordinated. Clip frames and floating frames are inexpensive modern options that let artwork take center stage without visual competition from the frame itself. Washi tape borders applied directly to the wall around a print create a frameless display that is especially popular in rental-friendly design.
Ladder displays, pegboards, and wire grid panels offer alternative display systems that allow for flexibility and easy rearranging. A simple wooden ladder leaned against a wall and fitted with small clips or hooks becomes a rotating display for art prints, photos, and small plants. A painted pegboard provides infinite configuration options for hanging art alongside shelves, hooks, and storage baskets. These systems work particularly well in creative workspaces, children’s rooms, and studios where you want to be able to change things frequently without redoing your entire wall.
For an especially striking display, consider creating your own frames from materials like copper pipe, reclaimed pallet wood, or bent wire. A frame constructed from four pieces of copper pipe with mitered corners and hung with thin wire has a sculptural, industrial elegance that instantly elevates whatever it contains. Wooden frames carved with simple patterns using woodburning tools add a handcrafted quality that store-bought alternatives cannot match. When the frame itself becomes part of the art, the entire wall installation reaches a new level of intentionality and craft.
Seasonal, Budget, and Beginner-Friendly Ideas
One of the most liberating aspects of DIY wall art is that it can be as budget-conscious or as investment-heavy as you choose. For those starting with almost nothing, some of the most beautiful wall art costs next to nothing. Pages torn from old botanical books, vintage atlases, or art calendars and placed in identical frames create an elegant series for under ten dollars total. Photocopied sheet music, newspaper front pages from meaningful dates, or even seed packets displayed in small frames all carry personal significance while costing almost nothing to produce.
Beginners often feel intimidated by the idea of making their own art, but many of the most approachable techniques require no artistic skill whatsoever. Bleach painting — dripping diluted bleach onto dark fabric stretched over a canvas — creates gorgeous organic patterns purely through chemistry. Sun prints, or cyanotypes, use sunlight and special photo-sensitive paper to create beautiful blue-and-white silhouettes of leaves, flowers, or any flat object. Block printing with carved erasers or foam sheets lets you create repeating pattern prints with a handmade textile quality. None of these require anything beyond following simple instructions and a willingness to experiment.
Seasonal wall art rotates with the rhythm of the year and keeps your space feeling fresh and alive. Simple wreaths hung flat against the wall rather than on a door, botanical arrangements that shift with each season, and small framed prints swapped for seasonal themes all contribute to a home that evolves rather than stagnates. Consider creating a core gallery wall that stays consistent year-round and designating one or two spots for seasonal accents that you refresh quarterly. This approach gives you the stability of a well-designed space with the ongoing creative satisfaction of making something new.
Making Your DIY Wall Art Last
Once you have created something beautiful, taking steps to preserve it ensures your effort pays off for years rather than months. For painted pieces, a clear UV-resistant varnish or sealant will protect colors from fading, especially in rooms with significant sunlight exposure. Framing prints under UV-protective glass or acrylic goes a step further, providing a barrier not only against light but also against humidity, dust, and handling. For textile pieces, keeping them away from direct sunlight and occasionally vacuuming them gently with a brush attachment will preserve their texture and color.
Documentation is also worth considering. Photographing your work before and after installation creates a record of what you have made and gives you reference points if you ever want to recreate or evolve a design. Some DIY artists keep a small notebook or digital folder dedicated to their home projects, recording the materials used, techniques tried, and lessons learned. This kind of creative journaling builds skill over time and helps you make increasingly confident and thoughtful choices as you continue decorating.
Most importantly, approach your walls as a living canvas rather than a finished product. Your home is not a showroom — it is a reflection of who you are at this moment in your life, and it should be allowed to evolve as you do. Do not be afraid to take down something that no longer feels right, to rearrange a gallery wall that has grown stale, or to try a technique that might not work on the first attempt. The willingness to experiment and the freedom to change your mind are the true foundations of a beautifully decorated home, and no amount of money spent on professional art can substitute for the depth and warmth that comes from making something yourself.








What do you think?
It is nice to know your opinion. Leave a comment.