










DIY Wall Decor: Transform Your Space with Creative Handmade Designs
Your walls are one of the most powerful canvases in your home, yet they often go underutilized or end up covered with generic store-bought prints that lack any personal touch. DIY wall decor has surged in popularity over the past decade, and for good reason — it allows you to express your personality, customize your living space to match your exact aesthetic, and create something truly one-of-a-kind without spending a fortune. Whether you are a seasoned crafter or a complete beginner picking up a hot glue gun for the first time, the world of handmade wall art is wonderfully accessible and endlessly rewarding.
The beauty of making your own wall decor is that it adapts to every style imaginable. From bohemian macramé weavings to sleek geometric canvases, from rustic reclaimed wood signs to whimsical botanical prints, there is a DIY technique suited to every taste and skill level. You do not need an art degree or an expensive studio to create something beautiful. All you need is a little inspiration, some basic materials, and the willingness to experiment. This article will walk you through everything you need to know to get started and elevate your home with handmade charm.
Beyond aesthetics, there is a deeply satisfying emotional dimension to DIY wall art. When guests admire a piece in your home and you can say, “I made that,” there is an unmistakable pride that no retail purchase can replicate. Handmade decor also carries meaning — the hours you spent, the choices you made about color and composition, the imperfections that make it distinctly yours. In a world increasingly dominated by mass production, a handcrafted wall piece is a quiet act of individuality and intentionality.
Planning Your DIY Wall Decor Project
Before you pick up a brush or a hammer, the most important step is planning. A successful DIY wall decor project begins with a clear vision of the space you are decorating. Take time to study the room — consider the existing color palette, the style of furniture, the amount of natural light, and the overall mood you want to create. A gallery wall of black-and-white photography will feel very different from a collection of brightly painted abstract canvases, and each requires a different approach to planning and execution. Snap photos of the room from multiple angles and use them as reference points throughout the project.
Next, think about scale and proportion. One of the most common mistakes beginner DIYers make is creating pieces that are too small for the wall they intend to fill. A single small frame on a large blank wall can look lost and awkward, while a dramatically oversized piece can feel overwhelming in a tiny room. A good rule of thumb is that your wall art should occupy roughly two-thirds to three-quarters of the width of the furniture it hangs above. Sketching a rough layout on paper — or even taping out shapes on the wall with painter’s tape — can save you a great deal of frustration later.
Material selection is another critical planning step that many first-timers overlook until they are already mid-project. Think about the texture, weight, and durability of the materials you intend to use. Canvas is forgiving and versatile; reclaimed wood adds warmth and character; fabric and yarn bring softness and dimension. Consider your budget as well — many stunning DIY wall pieces can be made from materials sourced at dollar stores, thrift shops, or even gathered from nature. Planning ahead ensures you have everything on hand before you begin, which makes the creative process far more enjoyable and far less stressful.
Essential Tools and Materials for DIY Wall Art
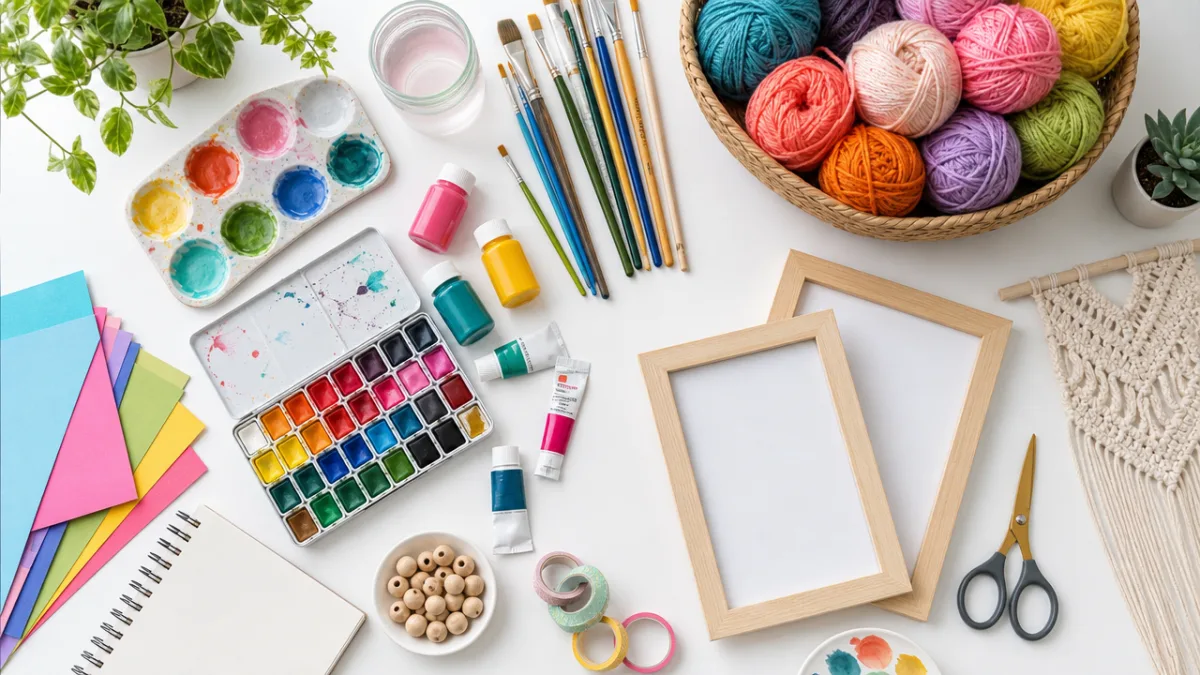
Having the right tools makes an enormous difference in the quality and ease of your DIY wall decor projects. You do not need to invest in a professional workshop, but a basic toolkit will set you up for success across a wide range of techniques. A good craft knife, a self-healing cutting mat, a ruler, and a level are foundational tools that will serve you across virtually every project you attempt. For painted pieces, invest in quality brushes in a range of sizes — cheap brushes shed bristles and make clean lines nearly impossible, which can be deeply frustrating when you are trying to achieve a polished finish.
For adhesive-based projects such as decoupage, collage, or fabric art, a hot glue gun and a strong craft adhesive like Mod Podge are indispensable. Mod Podge, in particular, is a wonderfully versatile medium that functions as glue, sealer, and finish all in one. It comes in matte, gloss, and satin finishes, so you can customize the look of your finished piece. Double-sided tape and foam mounting squares are also incredibly useful for creating layered, dimensional effects without the mess of liquid glue. Keeping a well-stocked adhesive kit means you will always be ready to tackle a new idea.
When it comes to materials, the options are genuinely vast. Here is a list of commonly used supplies that are worth keeping on hand:
- Stretched canvases in various sizes for painted artwork
- Wooden boards, pallets, or frames from thrift stores or hardware stores
- Acrylic paints in a basic color palette plus metallics
- Macramé cord, yarn, or embroidery thread for textile art
- Washi tape and decorative paper for geometric and collage designs
- Natural elements such as driftwood, pressed flowers, and dried botanicals
- Stencils for repeating patterns and lettering
- Picture hanging hardware including sawtooth hooks and Command strips
Sourcing materials creatively is part of the fun of DIY. Thrift stores and estate sales are goldmines for inexpensive frames, interesting textures, and unusual objects that can be repurposed into striking wall art. Nature itself is a free resource — pinecones, feathers, stones, and branches can all become components of beautiful organic wall pieces. Online marketplaces often have craft supplies at significantly lower prices than traditional craft stores, and buying in bulk when you find a material you love ensures you always have it on hand for future projects.
Popular DIY Wall Decor Techniques to Try
One of the most beloved and accessible DIY wall decor techniques is abstract acrylic painting. Even if you have never considered yourself an artist, abstract painting is wonderfully forgiving — there are no rules about what the finished piece needs to look like, which frees you from the pressure of trying to replicate something specific. Pour painting, also known as fluid art, is a particularly popular variation where you thin acrylic paints with a pouring medium and allow them to flow and blend organically across a canvas. The results are always surprising and often stunning, producing rich, marbled patterns that look far more sophisticated than the effort involved.
Macramé wall hangings have experienced a massive revival in recent years and remain one of the most popular handmade decor trends. Using nothing more than cotton rope and a wooden dowel, you can create intricate knotted tapestries that add incredible texture and a warm, bohemian energy to any room. The basic macramé knots — the square knot, the spiral knot, and the half hitch — are easy to learn from online tutorials, and once you have mastered them, the design possibilities are virtually limitless. You can customize size, color, fringe length, and pattern to suit your space perfectly, and the materials are remarkably affordable.
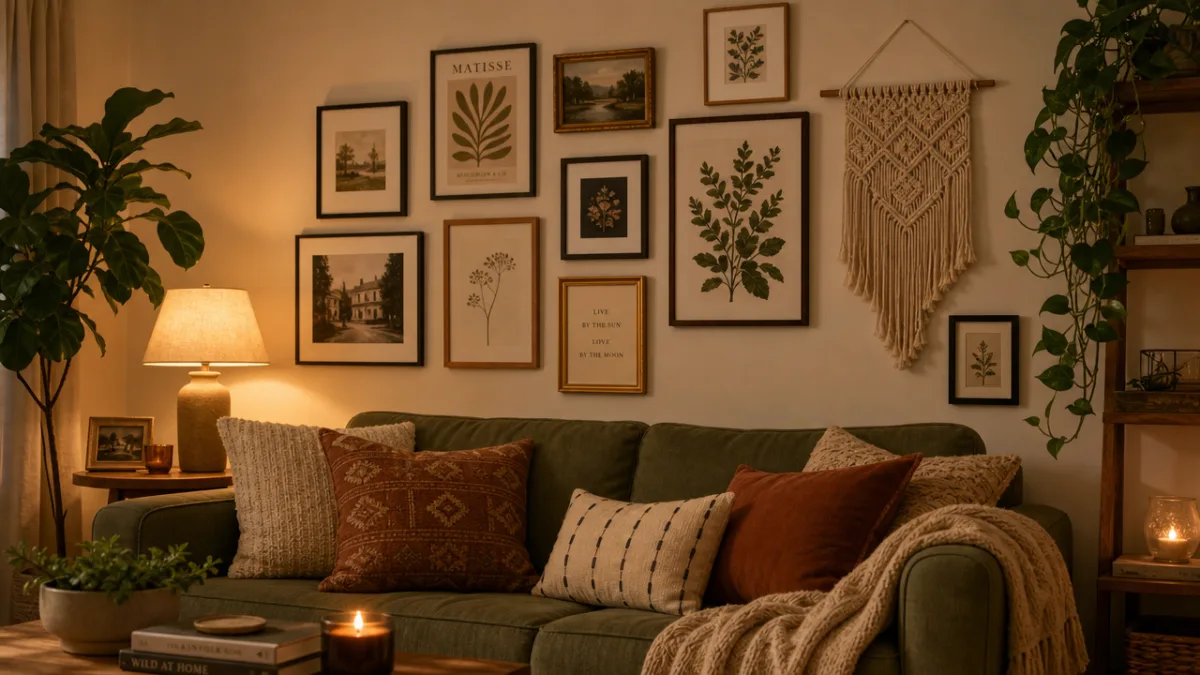
Gallery walls are another endlessly versatile approach to DIY wall decor. Rather than a single large piece, a gallery wall combines multiple frames, artworks, photographs, and objects into a curated collection that tells a visual story. The key to a cohesive gallery wall lies in choosing a unifying element — whether that is a consistent color palette, a matching frame style, a shared theme, or a specific shape arrangement. Mixing different frame sizes and orientations creates visual interest and prevents the arrangement from feeling rigid or formulaic. Gallery walls are also wonderfully flexible; you can add, remove, or rearrange elements over time as your taste evolves.
Textile wall art, beyond macramé, encompasses a wide range of fabric-based techniques including weaving, embroidery hoops, fabric panels, and quilted hangings. An embroidery hoop filled with a simple floral or geometric design can be a charming, low-cost addition to a bedroom or home office wall. Fabric panels — lengths of beautiful printed fabric stretched over wooden frames or simply hung from clips — offer a soft, forgiving alternative to framed prints and come in an infinite variety of patterns and colors. Textile pieces also have the practical advantage of helping to absorb sound, making them particularly useful in rooms with hard floors and surfaces.
Room-by-Room DIY Wall Decor Ideas
Different rooms in your home have different needs when it comes to wall decor, and tailoring your DIY projects to the specific function and atmosphere of each space will always produce better results than a one-size-fits-all approach. In the living room, which is typically the most social and visible space in the home, wall decor should be bold, expressive, and reflective of your overall design aesthetic. A large-scale abstract canvas, a curated gallery wall, or a dramatic macramé installation can all serve as a striking focal point. Consider the furniture arrangement as well — art should be positioned at eye level and in proportion to the seating arrangement beneath it.
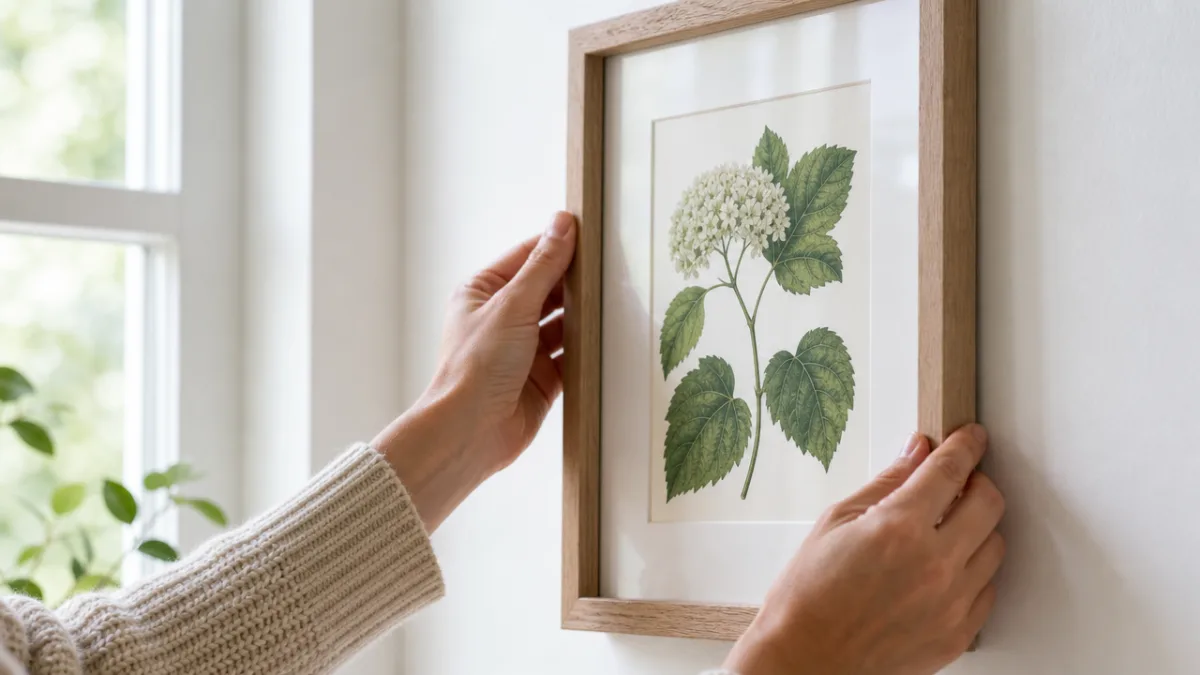
Bedrooms call for a different energy — typically softer, more personal, and more intimate. DIY wall decor for the bedroom might include a fabric headboard made from a padded frame covered in a favorite textile, a collection of meaningful photographs arranged in matching frames above the dresser, or delicate botanical prints made from pressed flowers sealed under glass. The area above the bed is one of the most impactful wall spaces in any bedroom, and a beautiful handmade piece centered above the headboard can completely transform the room’s atmosphere. Soft colors, natural textures, and personal imagery all contribute to the restful, comforting mood a bedroom should evoke.
Kitchens and dining spaces offer some of the most playful opportunities for DIY wall decor. Chalkboard walls or panels are a perennial favorite — they are functional, endlessly changeable, and add a warm, informal character to the space. Hand-lettered wooden signs with food-related quotes or family mottos bring a cozy, personalized touch. Floating shelves displaying small plants, vintage ceramics, or cookbooks serve double duty as both storage and decor. In the dining room, a large statement piece — perhaps a bold abstract canvas or a series of botanical prints in matching frames — can elevate the space from purely functional to genuinely beautiful and inviting.
Home offices and workspaces are increasingly important spaces to decorate thoughtfully, especially as remote work has become more common. Wall decor in a home office should be both inspiring and calming — motivational without being clichéd, visually stimulating without being distracting. A large framed world map, a custom vision board framed as art, or a series of architectural drawings or vintage blueprints can all create an intellectual, purposeful atmosphere. A pegboard painted in a statement color and hung with small plants, tools, and artwork is both highly functional and visually appealing, keeping your workspace organized while adding personality and creativity to the room.
Finishing, Hanging, and Maintaining Your DIY Wall Art
The finishing touches on a DIY wall decor piece are just as important as the creation process itself, and skipping them can undermine all the work you have put in. For painted pieces, a final coat of varnish or sealer will protect the surface from dust, moisture, and UV damage, ensuring your artwork stays vibrant and beautiful for years to come. Matte varnish gives a soft, gallery-like finish that reduces glare; gloss varnish intensifies colors and adds a sleek, polished look. For textile pieces, a gentle press with a steam iron can remove wrinkles and give the finished work a crisp, professional appearance before hanging.
Hanging your artwork correctly is a step that deserves careful attention. Nothing is more disheartening than a beautiful piece hanging crookedly on the wall, or worse, crashing to the floor because it was not properly secured. Use a level every time — even experienced decorators who trust their eye are often surprised by how off-kilter their instinctive placements turn out to be. For heavier pieces, always locate a wall stud using a stud finder and use the appropriate hardware to anchor the piece securely. For lighter pieces, adhesive hanging strips like Command strips are a damage-free option that works well on most wall surfaces and can hold a surprisingly significant amount of weight.
Maintaining your DIY wall decor over time requires only a little regular attention. Dust accumulates on wall art just as it does on furniture, and a soft, dry microfiber cloth or a gentle dusting brush will keep most pieces looking fresh. Painted canvases can be gently wiped with a barely damp cloth if they accumulate grime, but avoid excessive moisture. Textile pieces such as macramé and fabric hangings can be refreshed with a light misting of water and allowed to dry naturally, which helps release wrinkles and revive the fibers. Pressed flower or botanical pieces should be kept out of direct sunlight as much as possible, as UV exposure will cause natural pigments to fade over time.
One of the greatest advantages of DIY wall decor over store-bought alternatives is the ease with which you can update and refresh your pieces as your taste and your home evolve. A painted canvas can be primed and repainted entirely; a gallery wall can be rearranged or supplemented with new additions; a macramé hanging can be taken down and replaced with something new to suit a change in season or style. Think of your walls as a living, evolving expression of who you are rather than a fixed and permanent installation. The most beautiful homes are those that feel curated over time, layered with meaning and personality — and DIY wall decor is one of the most direct and joyful ways to build that kind of space.
Budget-Friendly Tips and Creative Inspiration for Every Level
One of the most common misconceptions about DIY wall decor is that it requires either significant financial investment or advanced artistic skill. Neither is true. Some of the most striking and stylish wall art can be made for just a few dollars using materials you may already have at home. Old book pages, newspaper clippings, or vintage maps can be decoupaged onto canvas for a richly layered, literary look. Washi tape can be used directly on a painted wall to create temporary geometric murals or grid patterns that are completely removable without damage — an ideal solution for renters who cannot make permanent changes to their walls.
Inspiration is everywhere once you start looking for it. Social media platforms, home design blogs, and crafting communities are overflowing with tutorials, ideas, and finished project galleries that can spark your creativity and teach you new techniques. Do not feel limited to copying what you see — use existing ideas as jumping-off points for your own variations. If you love the look of a macramé wall hanging but want it in a specific color scheme, dye your cotton rope before knotting it. If you admire a gallery wall arrangement but want to make it more personal, replace generic art prints with your own photographs or hand-lettered quotes. Adaptation and personalization are at the heart of DIY creativity.
For beginners feeling intimidated by a blank canvas or an unfamiliar technique, starting small is always a wise approach. A single eight-by-ten canvas painted with a simple color-block design, or a small embroidery hoop filled with a beginner floral pattern, is a much less daunting starting point than an ambitious large-scale installation. As your confidence and skills grow, you can take on progressively more complex projects. Many experienced DIY decorators describe their skill development as a gradual accumulation of small wins — each finished project building confidence and competence for the next. The most important thing is simply to start, knowing that imperfection is not only acceptable but part of what makes handmade art genuinely beautiful and human.
Community is also a wonderful resource for DIY wall decor enthusiasts at every level. Local craft stores often host workshops and classes where you can learn new techniques alongside fellow makers, ask questions in real time, and leave with a finished project in hand. Online communities on platforms like Reddit, Pinterest, and dedicated crafting forums offer a space to share your work, receive encouragement and feedback, and discover ideas you would never have encountered on your own. Crafting with friends or family members adds a social dimension to the creative process that makes it even more enjoyable — and gives you a shared experience tied to the finished piece that hangs on your wall for years to come.
Ultimately, DIY wall decor is about much more than filling blank spaces on your walls. It is an ongoing creative practice that connects you to your living environment in a meaningful way, allows you to express your personality and values through visual art, and produces objects of genuine beauty that carry your unique story. Whether you spend an afternoon making a simple pressed-flower frame or several weekends constructing an elaborate gallery installation, the result will be a home that feels more fully, authentically yours. There is no ceiling on what you can create when you combine imagination, resourcefulness, and a willingness to make something with your own hands.








What do you think?
It is nice to know your opinion. Leave a comment.