










Crochet Mesh Tote Bag: Free Pattern & Video Tutorial
Introduction to the Crochet Mesh Tote Bag
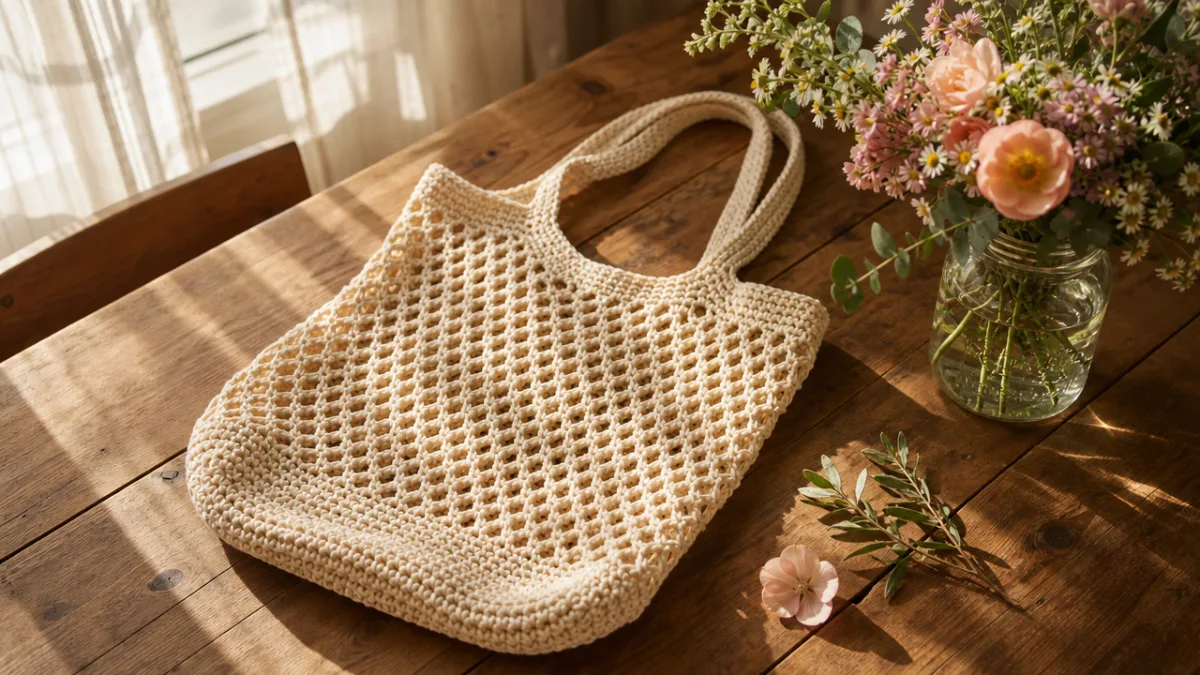
If you’ve been on the hunt for the perfect summer accessory — something that looks great, actually holds your stuff, and lets you show off your crochet skills — a mesh tote bag might be exactly what you’ve been looking for. This open-weave style has taken the crochet world by storm lately, and honestly, it’s easy to see why. The mesh structure makes for a bag that’s light, breathable, and stretchy enough to fit everything from your farmers market haul to your beach day essentials.
What makes a crochet mesh tote so approachable is how straightforward the construction really is. You’re not juggling a dozen different stitches or following a complicated chart — just a satisfying, repeating rhythm of chain spaces and single or double crochet stitches. That makes it a great next step for beginners who’ve outgrown scarves and dishcloths, but it’s also the kind of project that experienced crocheters reach for when they want something they can work on without needing to stare at a pattern the whole time.
And beyond the practicality of it, there’s something genuinely lovely about carrying a bag you made yourself. Every stitch has your fingerprints on it, and the open weave gives you the chance to add a lining that really shows off your personality — bold florals, soft neutrals, whatever feels like you. This guide covers everything from picking the right yarn all the way through attaching handles that look polished and professional.
Materials and Tools You Will Need
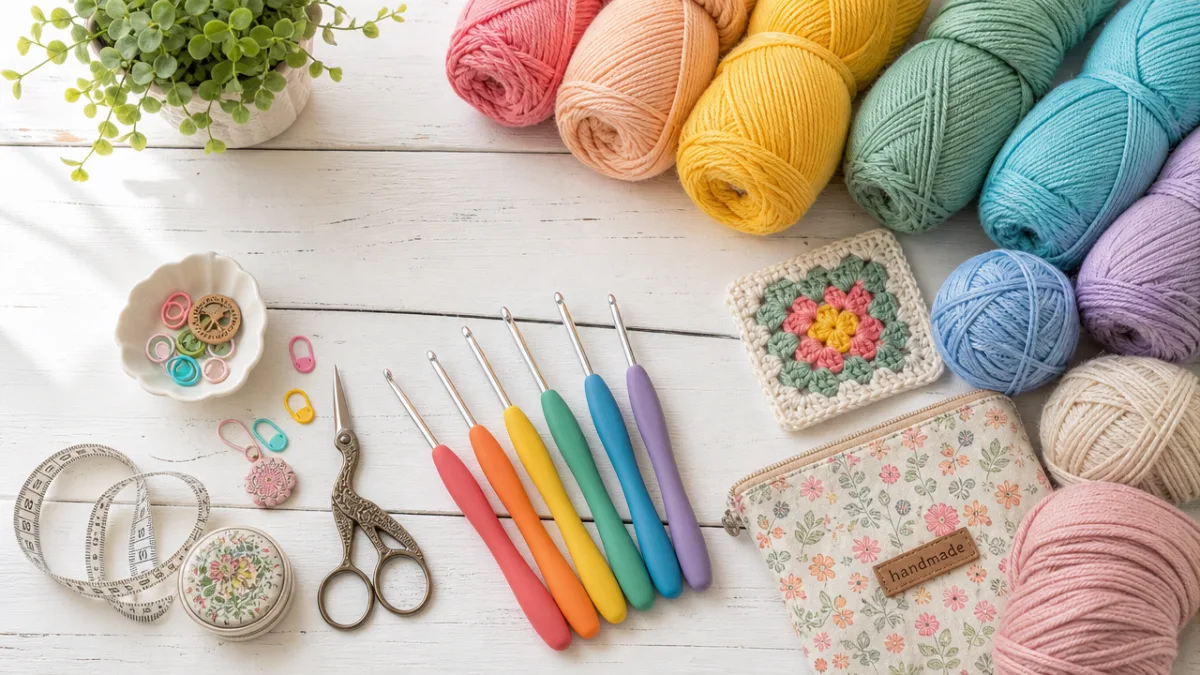
Starting with the right materials goes a long way toward a bag you’ll actually be proud to carry. For a classic mesh tote that holds its shape and looks polished, cotton yarn is the go-to recommendation from most experienced crocheters — and for good reason. Cotton keeps its shape, survives the washing machine, and comes in just about every color you can imagine. A medium or worsted weight cotton (that’s a size 4 on the label) is ideal because it gives you a fabric sturdy enough for groceries or books without stretching out permanently after one use.
For a standard-sized tote, plan on somewhere between 200 and 400 yards depending on your gauge and how big you want the finished bag to be. Whatever the pattern calls for, grab an extra skein just in case. If you’re newer to crochet and need to frog and redo a section or two, you’ll be glad it’s there — and if the bag is coming out a little smaller than you’d like, having backup yarn means you can just keep going.
As for tools, your hook is obviously the star of the show. Most mesh tote patterns suggest going up one or two sizes from what’s on your yarn label to get that loose, airy drape that makes mesh look so good. Beyond that, you’ll want a yarn needle for weaving in ends, scissors, a measuring tape, and stitch markers to keep your place in the pattern.
- Worsted weight cotton yarn in your preferred color, approximately 300 yards
- Crochet hook, size 5.5mm or 6mm for a relaxed mesh tension
- Yarn needle with a large eye for weaving in ends
- Scissors and a measuring tape
- Stitch markers in at least two colors to track pattern repeats
- Optional: fabric lining material, sewing needle, and thread for a finished interior
Understanding the Mesh Stitch Pattern
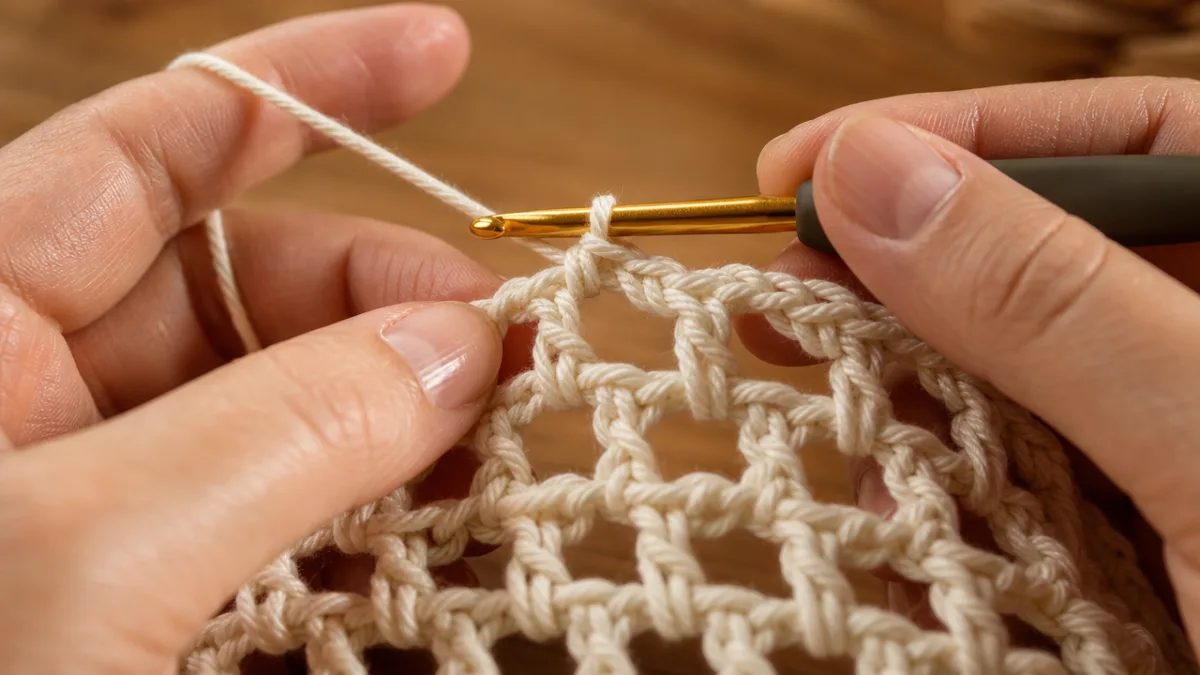
The mesh stitch sounds fancier than it is. At its core, you’re just alternating between a chain space and an anchor stitch — that’s what creates the open grid you see in mesh fabric. The most common version uses a chain-2 or chain-3 space followed by a single or double crochet into the corresponding space from the row below. After your first couple of rows, the rhythm just clicks, and you’ll find yourself moving through it quickly without having to think too hard.
The single most important thing to understand before you start is that mesh is worked into the chain space, not into the top of a stitch. A lot of beginners instinctively try to hook into the stitch itself, which is the right move in most crochet — but not here. In mesh, you’re dropping your hook into that open gap left by the chain. That’s what keeps the fabric looking open and airy rather than closing up into something denser. It feels a little weird at first, but a quick practice swatch before you start your actual bag will make it feel natural in no time.
Tension matters a lot here too. Too tight and your mesh loses that open quality, ending up stiff and almost solid-looking. Too loose and the bag will stretch out and lose its shape the moment you put anything in it. The sweet spot for most people is going up one hook size from the yarn label and consciously relaxing your grip a bit. A simple test: hold your swatch up to the light. If you can see clear, evenly spaced holes in a consistent grid, you’ve nailed it.
Step-by-Step Pattern Instructions
You’ll start with the base of the bag, which is typically worked in a tighter stitch to give the whole thing a solid foundation. Most free patterns use a simple rectangle of single crochet rows for this part — nothing complicated, just back and forth until you hit your target dimensions. A good everyday tote base is roughly 10 to 12 inches wide and 5 to 6 inches deep, but feel free to adjust based on what you actually want to carry. Once the base is done, you’ll join your work and start crocheting in the round up the sides.
That transition from flat base to working in the round is one of those genuinely exciting moments in the project — it’s when the bag starts to look like a bag. You’ll pick up stitches evenly along all four sides of your rectangle, join with a slip stitch, and then work your first foundation round of mesh all the way around. From there, each round builds on the last, and you’ll watch the open mesh walls grow taller with every pass. Most patterns aim for 10 to 15 mesh rounds to get a bag that’s deep enough to be practical.
The handles come last, and they’re one of the most satisfying parts to finish. You’ve got a few good options: a simple crocheted chain folded and attached at both ends, a sturdier double crochet handle worked directly from the stitches at the top of the bag, or store-bought wooden or bamboo rings for a clean, bohemian look. Whichever route you go, make sure those handles are attached really securely — multiple passes of yarn, reinforced stitching — because that’s where all the stress goes when the bag is loaded up.
- Chain your starting foundation and work the flat base in single crochet rows to your desired dimensions.
- Pick up stitches around all four sides of the base to begin working in the round.
- Work one foundation round to establish even stitch counts before starting the mesh pattern.
- Repeat the mesh pattern round for 10 to 15 rounds, or until the bag reaches your desired height.
- Work one or two finishing rounds of single crochet at the top of the bag to create a clean, stable edge.
- Attach or crochet your chosen handles securely at even intervals on either side of the bag opening.
- Weave in all loose ends and block the finished bag if desired for a professional appearance.
Customization Ideas and Creative Variations
One of the best things about working from a free pattern is that it’s really just a starting point — and the mesh tote is a fantastic blank canvas. Color is the easiest place to start. A single solid color gives you that clean, minimalist look that goes with everything, while a gradient or ombre effect (just switch colors as you work up the sides) makes for something genuinely eye-catching. Two- or three-color stripes are always popular too, and they’re an easy way to make something that feels personal and intentional.
If you want to add some texture or decoration, there are plenty of fun directions to take it. A row of shell stitches or picot edging along the top of the bag adds a feminine, decorative touch without much extra work. Tassels at the base corners are a quick way to add personality — especially in a contrasting color or with a bit of metallic thread mixed in. You can even thread beads onto your yarn before crocheting to work them directly into the mesh fabric, which adds sparkle and a little extra weight that makes the bag hang beautifully. And if you want something with a more rustic, organic feel, try swapping out the cotton for a raffia-style yarn or jute twine.
Adding a fabric lining is one of those customizations that feels almost like a cheat code — it takes the bag from cute to genuinely versatile. The open mesh is perfect for produce or beach gear, but a lining means you can use it as an everyday bag without losing your keys in the holes. Pick a fabric with some personality, because it shows through the open weave from the outside in the most charming way. To make a basic lining, cut two fabric rectangles to match the bag’s interior, sew them together along three sides, fold the top edge down, and slip stitch it to the inside top edge of the bag.
Tips for Beginners and Troubleshooting Common Issues
If this is one of your first real crochet projects, the biggest thing you can do for yourself is go in with patience and give yourself permission to make mistakes. The most common struggle with mesh is keeping a consistent stitch count from round to round. Because you’re working into open chain spaces rather than defined stitch tops, it’s surprisingly easy to slip past a space or accidentally add one — and you often won’t notice until a few rounds later when things start looking lopsided. Placing stitch markers at regular intervals (every 10 chain spaces works well) lets you do a quick count as you go and catch any errors before they turn into a big rip-out situation.
Uneven tension at the joins between rounds is another thing a lot of beginners run into. If you’re working in joined rounds and noticing a visible jog where each new round starts, it might be worth trying a continuous spiral instead — just keep going without joining, moving your stitch marker up each round to track where you are. Some crocheters swear by an invisible join at the end of each round for a cleaner seam. Neither approach is objectively better; it really comes down to which one works with your hands and your yarn, so try both on a small swatch before committing.
Blocking is the step most beginners skip and then immediately regret skipping. It sounds more complicated than it is: you just wet the finished bag, gently squeeze out the water (no wringing!), and pin or shape it to your target dimensions while it dries. For cotton yarn specifically, wet blocking is almost magical — the mesh opens up, the stitches even out, and the bag suddenly looks like something you’d find in a boutique. It’s worth the extra wait time, trust me.
- Always work a gauge swatch before starting to ensure your finished bag will be the right size.
- Use stitch markers generously to keep track of pattern repeats and round beginnings.
- Check your stitch count every three to four rounds to catch errors early.
- If your bag is pulling or puckering at the base join, try picking up fewer stitches along the short ends of the rectangle.
- For cleaner, more even handles, work a slip stitch foundation chain before crocheting the handle in double crochet.
- Store your finished bag stuffed with tissue paper to help it maintain its shape between uses.
Using the Video Tutorial and Free Pattern Resources
Written patterns are great, but they can be genuinely hard to decode when you’re still building your crochet vocabulary. That’s where a video tutorial becomes your best friend. Being able to pause, rewind, and watch the same 30 seconds five times in a row until it clicks is something a written pattern simply can’t offer. Seeing someone’s hands actually move through picking up stitches around a flat base, or smoothly transitioning from the base rows into the mesh rounds, makes those steps so much less mysterious than they appear on the page.
When you’re using a free pattern alongside a video, try watching the full video through once before you pick up your hook. Just get the lay of the land — understand how all the pieces fit together and flag any moments that look tricky. Then on your second watch, work along with it, pausing after each new step to try it yourself before moving on. A lot of crocheters find it helpful to print out the written pattern and jot notes in the margins while watching, capturing the little tips and clarifications the instructor mentions that didn’t make it into the text.
The crochet community’s generosity really is something special. So many talented designers share their original patterns on blogs, YouTube, Pinterest, and Ravelry completely free — all they ask is credit and maybe a kind comment. If you make a tote you love from someone’s free pattern, take a minute to leave a comment on their page, share a photo with the right tags, or make a small contribution if they’ve got that option set up. It’s a small thing, but it genuinely keeps the ecosystem going and means more free patterns for all of us down the road.








What do you think?
It is nice to know your opinion. Leave a comment.