










DIY Room Decor: Transform Your Space with Creative, Budget-Friendly Ideas
Why DIY Room Decor Is Worth Your Time and Effort
There is something deeply satisfying about walking into a room you have personally transformed. DIY room decor goes far beyond saving money, though that is certainly a meaningful benefit. It is about expressing your unique personality through every corner of your living space, making choices that reflect who you are rather than settling for whatever mass-produced options line the shelves of a big-box store. When you create something yourself, every piece carries a story, a memory, and a sense of accomplishment that no purchased item can replicate.
The financial advantages of DIY decor are hard to ignore. A single decorative pillow from a boutique home goods store can cost upwards of thirty or forty dollars, while making your own from fabric remnants might cost five. Wall art that sells for hundreds of dollars in galleries can often be recreated with a canvas, some acrylic paint, and an afternoon of creativity. Over time, these savings add up dramatically, allowing you to redecorate more frequently and experiment with new styles without suffering buyer’s remorse or budget anxiety.
Beyond cost, DIY room decor gives you total creative freedom. You are not limited to what is currently trending or what happens to be in stock. You can match colors to your exact paint swatches, choose fabrics that complement your existing furniture, and scale pieces precisely to your wall dimensions. This level of customization is simply not available when shopping retail, and it results in spaces that feel cohesive, intentional, and genuinely personal in ways that professionally decorated rooms sometimes lack.
Essential Tools and Materials to Get Started
Before you dive into your first project, assembling a basic toolkit will save you countless trips to the hardware store and help you work more efficiently. You do not need to invest in every tool at once, but having a core set of reliable supplies means you can tackle a wide variety of projects without starting from scratch each time. Think of your toolkit as a living collection that grows alongside your skills and ambitions as a DIY decorator.
Some of the most versatile materials to keep on hand include a hot glue gun and extra glue sticks, which are useful for everything from wreath-making to fabric art. Acrylic paint in a range of neutral and accent colors, painter’s tape, Mod Podge for decoupage projects, twine, and washi tape are all inexpensive essentials that appear in project after project. Wooden frames, canvas boards, and unfinished wooden letters or shapes from craft stores serve as blank canvases for countless decorative ideas and can be transformed with minimal effort and maximum impact.
For those interested in textile-based decor, a basic sewing kit or even a no-sew fabric glue can open up a world of possibilities. Throw pillow covers, curtain panels, table runners, and fabric wall hangings are all achievable without advanced sewing skills. Likewise, keeping a collection of natural materials like dried flowers, pinecones, driftwood, and moss on hand allows you to create organic, textural pieces that bring warmth and a sense of the outdoors into any interior space.
- Hot glue gun and extra glue sticks for quick bonding on a variety of surfaces and materials
- Acrylic paints in a versatile color palette including whites, neutrals, and one or two bold accent shades
- Painter’s tape and a quality brush set for clean lines and smooth application
- Mod Podge in matte and glossy finishes for decoupage and sealing projects
- Twine, ribbon, and washi tape in assorted patterns for finishing touches
- Unfinished wood pieces, canvas boards, and wooden frames as project bases
- Fabric swatches, scissors, and fabric glue for textile-based decor

Wall Decor Ideas That Make a Big Impact
Walls are the largest canvas in any room, and transforming them is one of the highest-impact changes you can make to your decor. A gallery wall composed of personal photographs, small paintings, and framed botanical prints costs a fraction of the price of a single large piece of art and tells a far more personal story. The key to a cohesive gallery wall is choosing a consistent color palette or frame style to tie disparate pieces together, creating visual harmony even when the subject matter varies widely.
Macramé wall hangings have surged in popularity over the past several years, and for good reason. They add texture, warmth, and a handcrafted quality that painted walls and framed prints simply cannot provide. Basic macramé requires only cotton rope, a wooden dowel, and a handful of fundamental knots that can be learned in a single afternoon through online tutorials. Even a simple beginner piece creates a striking focal point above a bed or sofa, and more advanced patterns with fringe, beads, or woven accents elevate the craft to something truly gallery-worthy.
Painted accent walls and DIY murals are another transformative option that costs less than most people expect. Geometric patterns created with painter’s tape, ombre gradients achieved with a sea sponge, or simple botanical designs painted freehand can all be accomplished by beginners. Chalkboard paint turns an entire wall into a functional and decorative surface, perfect for kitchens, home offices, or children’s rooms. Even if you consider yourself artistically challenged, abstract techniques like color blocking require no drawing skills whatsoever and produce results that look intentional and sophisticated.
Washi tape is an underrated hero of wall decor, particularly for renters who cannot put holes in walls or apply permanent treatments. Removable washi tape can simulate the look of picture frames, create geometric murals, or outline architectural details like faux crown molding or board-and-batten paneling at a fraction of the cost and effort of the real thing. When you are ready to change your decor, it peels away cleanly without damaging the paint underneath, making it an ideal solution for anyone living in a temporary or rented space.
DIY Lighting That Sets the Perfect Mood
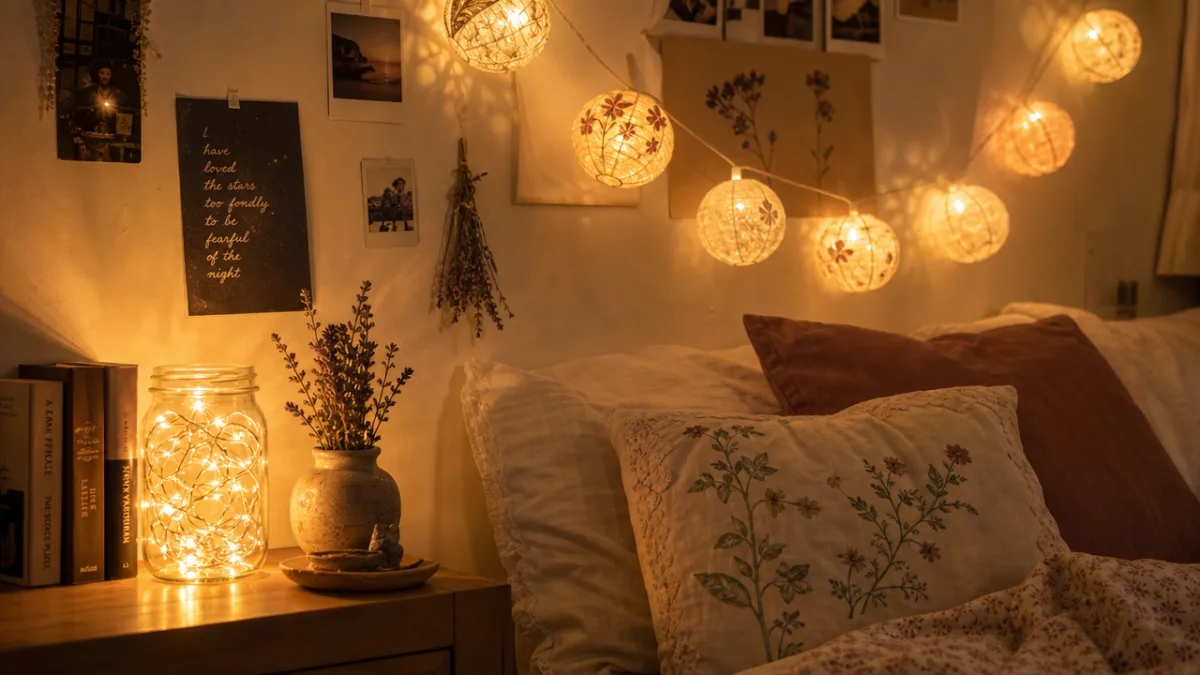
Lighting is one of the most powerful tools in any decorator’s arsenal, and DIY lighting projects allow you to craft custom ambiance at very low cost. String lights, also known as fairy lights, are endlessly versatile and can be displayed in dozens of creative ways beyond simply draping them across a window. Filling a large glass jar or lantern with a coil of warm-toned string lights creates an instant bedside glow that is romantic, cozy, and far more personal than any store-bought lamp. Wrapping them around a driftwood branch or a cluster of twigs creates a sculptural light installation that doubles as wall art.
Paper lanterns and origami light covers are another accessible DIY lighting option that dramatically changes the feel of a space. A bare bulb pendant light feels industrial and cold, but wrapping it in a handmade paper shade softens the light and introduces texture. Geometric shapes made from cardstock, faceted paper spheres, or folded paper fans all diffuse light beautifully and can be customized in any color to match your existing decor. These projects are lightweight, inexpensive, and can be completed in an hour or two, making them ideal for last-minute decor refreshes.
Candle-based lighting creates intimacy and warmth that no electric source can truly replicate. DIY candles are surprisingly easy to make at home using soy wax flakes, cotton wicks, essential oils, and recycled glass jars or ceramic vessels. Layering different scents and colors into the same candle creates a beautiful visual effect when the wax is poured. Beyond making candles from scratch, repurposing old bottles, teacups, or decorative tins as candle holders adds an element of sustainability and whimsy to your lighting scheme, turning ordinary objects into something luminous and special.
- Fill large glass apothecary jars with coiled string lights for instant warm bedside or shelf lighting
- Create paper geometric pendant shades to soften and diffuse overhead light fixtures
- Make soy wax candles in recycled vessels using essential oils for both light and fragrance
- Wrap fairy lights around driftwood or sculptural branches for artistic wall installations
- Use Edison bulbs in DIY wire or pipe frames for an industrial-chic floor or table lamp
Textile and Soft Furnishing Projects for Every Room
Textiles are among the fastest ways to change the personality of a room, and DIY textile projects span a huge range of skill levels and techniques. At the simplest end, no-sew fleece blankets can be made in under an hour and make wonderfully cozy additions to a living room or bedroom. Slightly more involved projects like tie-dye pillow covers or hand-stamped fabric panels require only basic supplies and produce results that look far more complex and intentional than the process would suggest. The key is choosing fabrics in colors and patterns that complement your existing palette.
Macramé plant hangers deserve their own mention in the soft furnishings category because they combine the functions of planter and textile art beautifully. A single hanging planter made from thick cotton rope takes about an hour to complete and adds both greenery and texture to empty corners, windowsills, or above bedside tables. Grouping three hangers at varying heights creates a dynamic, layered display that brings a bohemian or Scandinavian quality to any space. Pairing the hangers with terracotta pots or woven baskets adds further texture and warmth.
Custom throw pillow covers are perhaps the single most cost-effective textile project in terms of visual impact per dollar spent. By purchasing inexpensive pillow inserts and making interchangeable covers, you can refresh your sofa or bed for the changing seasons without buying entirely new pillows each time. Fabric paint, iron-on transfers, simple hand stitching, or even painted designs applied with a stencil all produce beautiful covers that look custom-made. Mixing textures, such as pairing a velvet cover with a linen one, adds visual depth and sophistication to your arrangement.
Window treatments are another area where DIY projects shine. Simple no-sew curtains can be made from inexpensive drop cloths, which have a beautiful natural linen texture straight off the hardware store shelf. Dyeing them with tea for a warm ivory tone or with fabric dye for a deeper color creates a high-end look at a fraction of the cost of designer curtains. Adding grommets, clip rings, or tab tops with basic tools makes hanging easy, and hemming tape eliminates the need for any sewing at all, making this an achievable project even for absolute beginners.
Upcycling and Repurposing: Sustainable Decor with Character
One of the most rewarding dimensions of DIY room decor is the practice of upcycling, which transforms objects destined for the trash or donation bin into beautiful, functional decor pieces. Thrift stores, garage sales, estate sales, and even curbside finds are treasure troves for the creative eye. An outdated wooden frame with chipped paint becomes a chic piece of decor with a coat of spray paint and a new print. A cracked ceramic bowl becomes a charming succulent planter. The worn wooden pallet becomes a rustic floating shelf or a headboard that anchors an entire bedroom aesthetic.
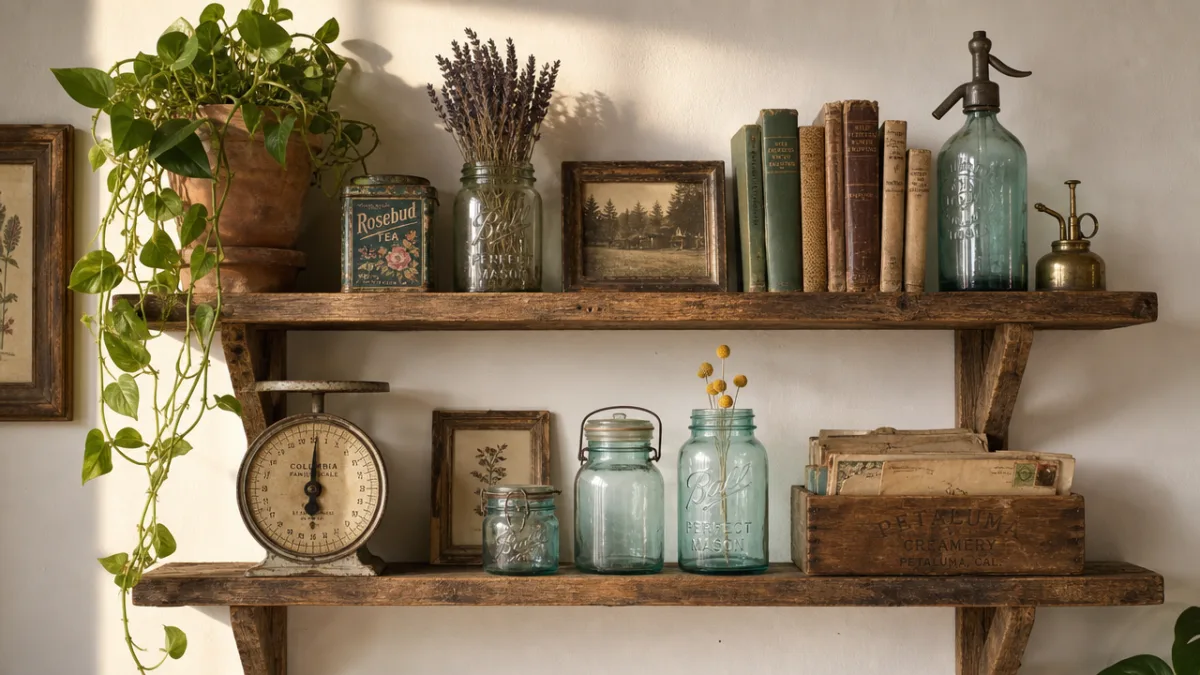
Repurposing glass jars is one of the most popular upcycling techniques, and for good reason: they are free, endlessly versatile, and naturally beautiful when styled correctly. Clean pasta sauce jars, pickle jars, and jam jars can become vases, candle holders, bathroom organizers, or kitchen storage with a simple coat of chalk paint, a wrap of twine, or a dip in metallic spray paint. Grouping jars of different sizes together on a wooden tray creates an instant centerpiece or bathroom vignette that looks styled rather than improvised.
Old wooden furniture pieces found at thrift stores are often priced remarkably low because they look tired or dated, but a thoughtful DIY intervention can make them showstoppers. Chalk paint is particularly forgiving and requires no priming or heavy sanding, making it the ideal medium for furniture upcycling beginners. A coat or two of chalk paint followed by a light distressing with sandpaper and a finishing wax creates a French country or farmhouse aesthetic that is enormously popular in contemporary home decor. Replacing old hardware with new knobs or pulls costs only a few dollars per piece but makes a disproportionately large visual difference.
Sustainable decor extends beyond individual project choices to a broader philosophy of thoughtful consumption. By choosing to make rather than buy, to repair rather than discard, and to transform rather than replace, DIY decorators naturally adopt habits that reduce waste and environmental impact. Many of the most beautiful and characterful rooms are not filled with new things at all, but with objects that carry history, patina, and the evidence of creative human hands. This ethos of making and remaking gives your space a depth and authenticity that cannot be purchased or replicated, and it makes the process of decorating an ongoing creative practice rather than a one-time transaction.
Bringing It All Together: Styling Your DIY Decor Like a Pro
Creating individual DIY pieces is one skill, but styling them cohesively within a room is another art form entirely. Professional interior designers rely on a handful of guiding principles that are fully accessible to home decorators. The rule of three is one of the most useful: grouping objects in odd numbers, particularly threes, creates visual interest and feels naturally balanced. Varying the heights and textures within a grouping, such as placing a tall vase next to a medium candle and a small figurine, draws the eye across the arrangement and makes it feel intentional rather than cluttered.
Color consistency is the invisible thread that ties a room together and prevents a space decorated with many DIY pieces from feeling chaotic or overwhelming. Choosing two or three primary colors and one or two accent shades and referencing them throughout the room creates coherence across projects that may otherwise have nothing in common. This does not mean every piece must be the same color, but that colors should appear in multiple locations throughout the space, creating a visual rhythm that feels deliberate and harmonious to anyone who enters.
Negative space, the empty areas between objects, is as important as the objects themselves. One of the most common decorating mistakes is filling every surface and wall with pieces, leaving no room for the eye to rest. Allowing empty shelf space, leaving walls partially bare, and resisting the urge to add just one more thing gives your best DIY pieces room to breathe and be appreciated individually. A single well-made macramé hanging displayed alone on a large wall makes far more of a statement than three pieces crowded together competing for attention.
Finally, remember that room decor is never truly finished, and that is precisely the beauty of the DIY approach. Unlike a room decorated in a single professional session and then left static for years, a DIY space evolves continuously as your skills grow, your tastes develop, and your life changes. Each new project is an opportunity to learn a technique, experiment with a material, and add another layer of personal meaning to the space where you spend your days. The most beautiful rooms are not the most expensive or the most perfectly coordinated, but the ones that feel most alive with the creativity and care of the person who lives in them.








What do you think?
It is nice to know your opinion. Leave a comment.