










DIY Hacks for Your Bedroom’s Wall: Transform Your Space on a Budget
Why Your Bedroom Walls Matter More Than You Think
Your bedroom walls are far more than just structural boundaries that define the room — they are the single largest canvas you have to express your personality, set the emotional tone of your space, and influence how you feel every single morning when you wake up. Interior designers have long understood that walls carry an enormous visual weight, and even the most beautifully furnished bedroom can feel flat and uninspiring if the walls are left bare or painted in an uninspired color. When you invest time and creativity into your walls, the entire room transforms.
The good news is that you absolutely do not need a professional interior designer or a massive renovation budget to achieve stunning results. The DIY movement has exploded over the past decade, and with it has come a treasure trove of clever, accessible techniques that anyone can use to make their bedroom walls look like they belong in a design magazine. From removable wallpaper to gallery walls, textured paint effects to fabric panels, the options are as limitless as your imagination and far more affordable than most people assume.
Perhaps the most exciting aspect of DIY wall décor is the sense of ownership and pride you feel when you step back and admire something you created yourself. There is a deeply satisfying feeling that comes from knowing every design decision was yours, every brushstroke was intentional, and every piece of art or decoration reflects something true about who you are. This article is your complete guide to transforming your bedroom walls into something genuinely remarkable, using practical hacks that are beginner-friendly, budget-conscious, and visually stunning.
Planning Your Wall Transformation: Where to Start
Before you pick up a paintbrush or order a single roll of wallpaper, it is essential to spend meaningful time in the planning phase. Walk into your bedroom at different times of day and observe how natural light moves across the walls. Notice which wall draws your eye first when you enter the room — this is almost certainly your focal wall, and it deserves special attention. Consider the existing furniture, bedding colors, and flooring, because your wall design will need to complement rather than clash with these elements. Skipping this step is the most common mistake DIY beginners make, and it leads to expensive and frustrating do-overs.
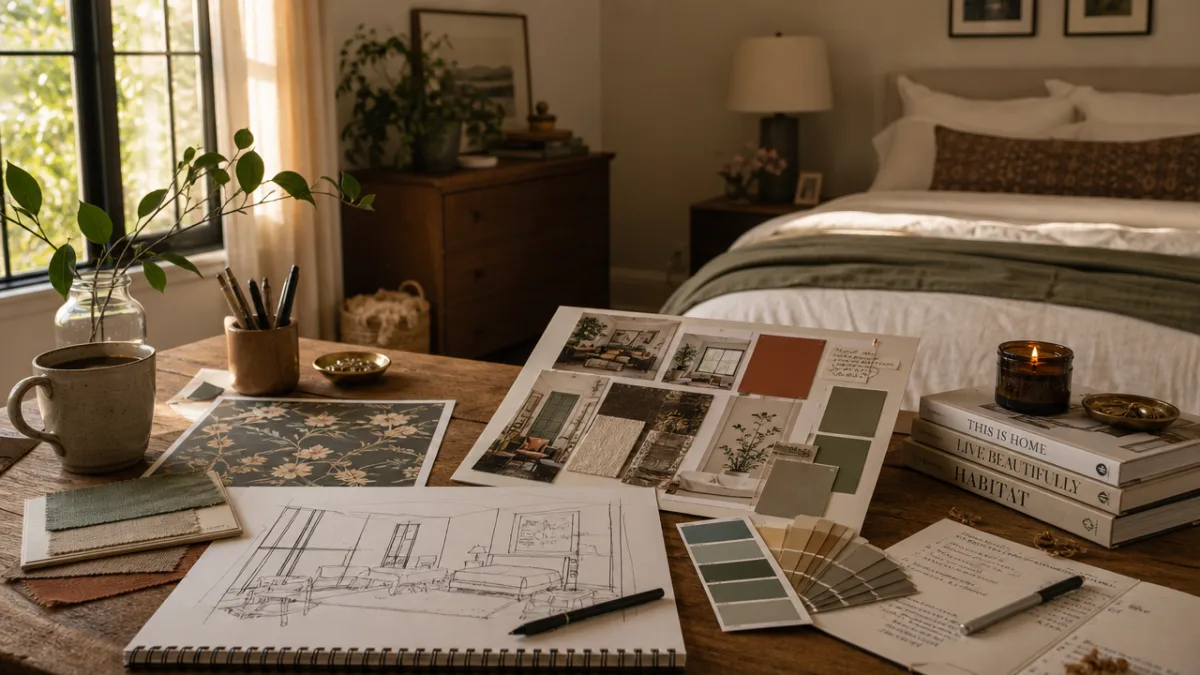
Once you have observed your space, it helps enormously to create a simple mood board. You can do this digitally using free tools like Canva or Pinterest itself, or you can cut images from magazines and arrange them on a piece of cardboard. A mood board lets you see how colors, textures, and styles interact before you commit to anything permanent. Aim to identify two or three dominant colors, a general style direction such as bohemian, minimalist, or maximalist, and a rough sense of how much wall coverage you want to achieve.
Budgeting is another critical step that deserves honest attention. It is surprisingly easy to overspend on DIY projects because the individual costs of materials seem small until they accumulate. Write down every item you might need — paint, brushes, tape, anchors, frames, adhesive — and research prices before you shop. Many experienced DIYers recommend adding a fifteen to twenty percent buffer to whatever total you arrive at, because there are almost always unexpected costs. With a solid plan and a realistic budget in place, you are ready to dive into the actual creative work with confidence and clarity.
Paint Techniques That Look Expensive but Cost Very Little
Paint is the single most powerful and cost-effective tool in any DIY decorator’s arsenal. A single can of paint can completely change the atmosphere of a room, and when applied using one of several popular specialty techniques, it can create effects that look incredibly sophisticated and custom. One of the most popular trends right now is color blocking, where two or three bold, contrasting colors are applied in geometric sections on the same wall. This technique requires nothing more than painter’s tape, a steady hand, and a willingness to be bold with your color choices.
The ombre or gradient wall technique has also seen a massive resurgence in popularity, and for good reason — it creates a dreamy, almost atmospheric effect that is genuinely difficult to achieve with wallpaper or other materials. To create an ombre wall, you begin with a base coat and then blend progressively lighter or darker shades of the same color using a dry brush or a large sea sponge while the paint is still slightly wet. The key is to work quickly and blend generously, overlapping each shade into the next to avoid harsh lines. Practice on a piece of cardboard first to get a feel for the blending motion before committing to your actual wall.
Limewash paint is another technique that has surged in popularity among interior design enthusiasts because it creates a beautifully aged, textured appearance that adds enormous character to any bedroom. Traditional limewash involves applying diluted paint in multiple thin layers using a wide, natural-bristle brush in varied directions, then wiping back portions while still wet to reveal depth and variation. Many paint brands now sell pre-mixed limewash formulas that simplify the process considerably. The result is a wall that appears to have beautiful historical depth, as though the room has existed lovingly for decades, which is a remarkable effect to achieve with just a can of paint and an afternoon of your time.
Here are some popular paint techniques ranked from easiest to most advanced:
- Solid color with an accent wall — Beginner level; simply paint one wall a bold contrasting color while keeping others neutral.
- Color blocking with tape — Beginner to intermediate; use painter’s tape to create clean geometric sections in two or more colors.
- Sponge or rag rolling — Intermediate; create organic texture by dabbing or rolling a crumpled rag or sponge over a wet base coat.
- Ombre blending — Intermediate; blend two or more shades of the same color seamlessly from top to bottom or side to side.
- Limewash or Venetian plaster effect — Advanced; layered application technique that mimics the look of aged plaster walls.
- Stenciled patterns — Intermediate to advanced depending on the pattern; use repositionable stencils to create repeating motifs across an entire wall.
Gallery Walls and Frame Arrangements That Actually Work
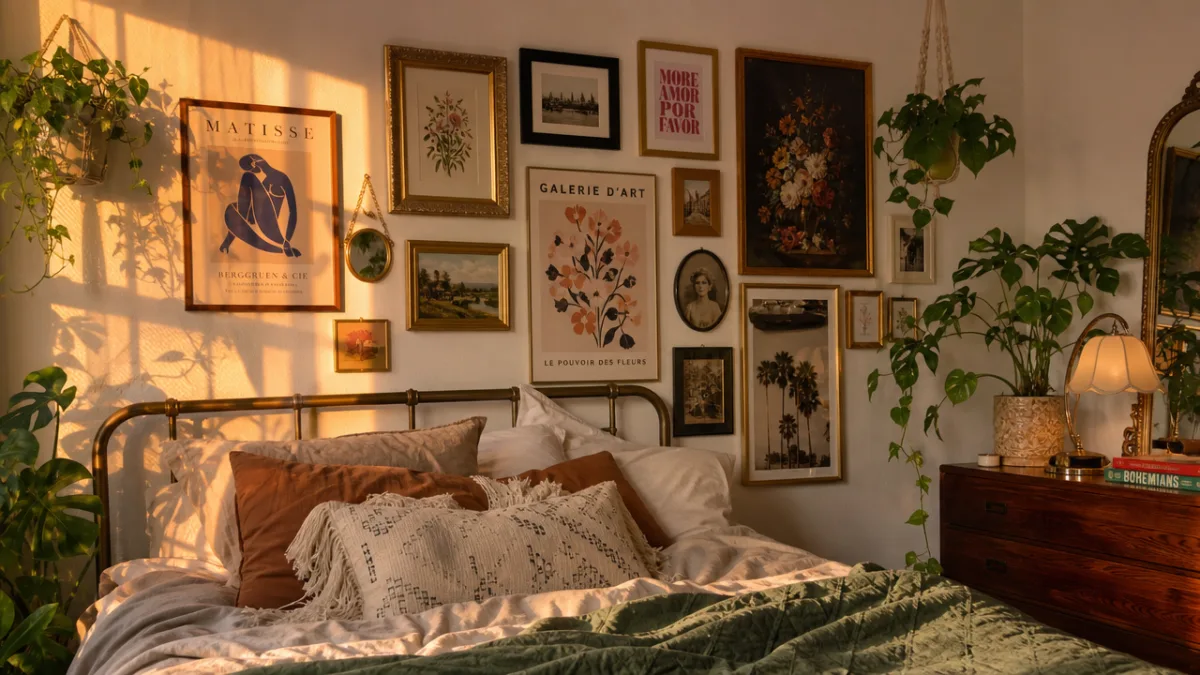
The gallery wall has become one of the most beloved bedroom wall trends of the past several years, and it remains enduringly popular because it is endlessly customizable and accessible to virtually any budget. A well-executed gallery wall can tell the story of who you are through art prints, personal photographs, pressed botanicals, vintage postcards, and meaningful objects arranged in a visually cohesive way. The challenge that stops most people from attempting this project is the fear of making holes in the wrong places — but with the right approach, this concern becomes completely manageable.
The most reliable method for planning a gallery wall arrangement is to trace each frame or object onto kraft paper or newspaper, cut out the shapes, and use low-tack tape to arrange them on your actual wall before making a single hole. This allows you to experiment freely with the layout, step back and evaluate the composition from different distances, make adjustments without any commitment, and ultimately mark your nail or anchor positions directly through the paper templates. Professional interior stylists use this exact technique, and it saves an enormous amount of frustration and wall patching.
When selecting the contents of your gallery wall, aim for visual variety within a cohesive framework. You might choose a single color palette for all the artwork while varying the frame styles, or you might use matching black frames throughout but vary the content dramatically between photography, typography prints, and abstract art. Mixing frame sizes is generally encouraged — a combination of very large anchor pieces, medium supporting pieces, and small accent pieces creates a dynamic arrangement that draws the eye across the entire composition. Avoid making every frame exactly the same size, as this tends to create a rigid, uninspired effect that lacks the layered richness of a truly beautiful gallery wall.
Removable Wallpaper and Peel-and-Stick Solutions
Removable peel-and-stick wallpaper has been genuinely revolutionary for renters and anyone who loves the idea of wallpaper but fears the long-term commitment of traditional paste-up versions. The quality of removable wallpaper has improved dramatically over the past five years, with many brands now offering designs that are virtually indistinguishable from traditional wallpaper once applied to a wall. From sophisticated linen textures and botanical prints to bold geometric patterns and hand-painted watercolor designs, the range of available options has expanded to meet virtually every aesthetic preference and style direction.
The application process for peel-and-stick wallpaper is genuinely beginner-friendly, though it does require patience and careful attention to keeping each strip level and properly aligned with the pattern repeat. Begin at the top of your wall and use a level or plumb line to ensure your first strip is perfectly vertical — everything that follows will align to this first strip, so getting it right is critical. Work slowly, smoothing out air bubbles with a wallpaper smoother or a credit card as you go, and never stretch the material as you apply it, as this will cause it to warp or peel prematurely. When you are ready to remove it, most high-quality peel-and-stick papers come away cleanly without damaging paint underneath, making it an ideal solution for rental properties.
Beyond full wall coverage, peel-and-stick wallpaper can be used in a number of more targeted and creative ways that use less material and create striking focal effects. Applying it only to the inside of built-in shelving or bookcases creates a beautiful backdrop that makes displayed objects pop visually. Using it to create a defined headboard panel behind your bed is another extremely popular application that creates the impression of an expensive built-in feature at a fraction of the cost. You can also cut it into shapes or strips to create custom geometric patterns, or use it to add a colorful backing to picture frames for a layered, textured effect that costs almost nothing to achieve.
Creative DIY Wall Décor Projects to Try This Weekend
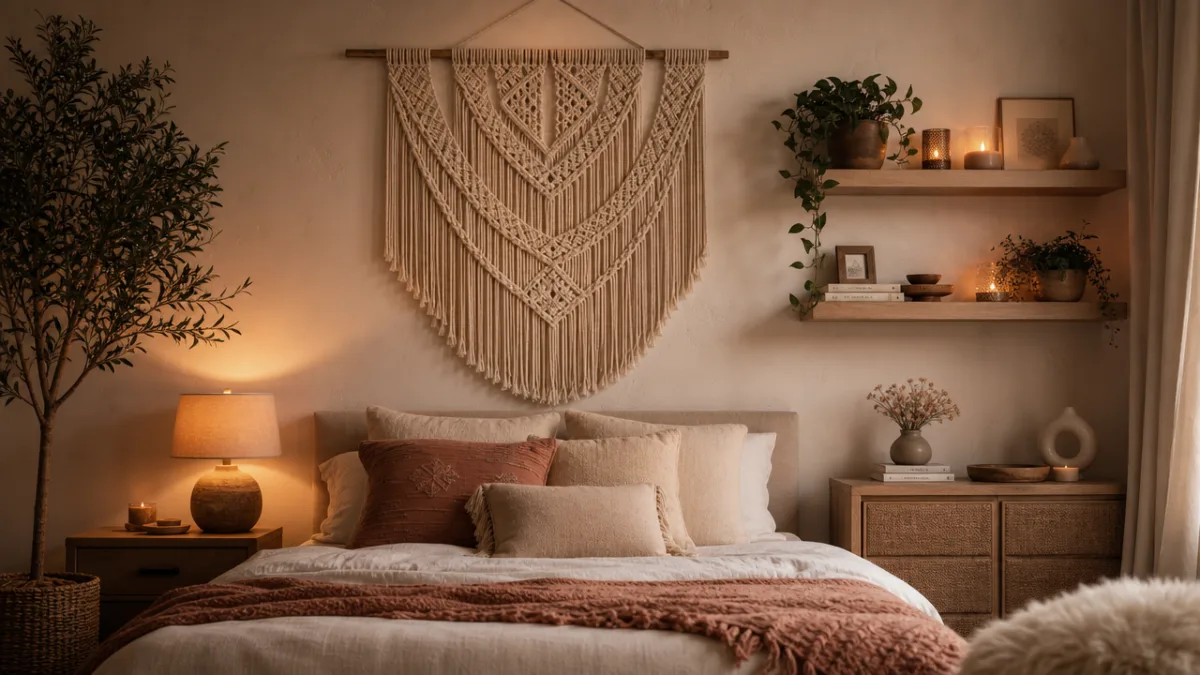
Beyond paint and wallpaper, there is an entire universe of handmade wall décor projects that can add texture, warmth, and personality to your bedroom walls in ways that no store-bought item can fully replicate. Macramé wall hangings, for example, have experienced a massive revival and for good reason — they add organic texture, warmth, and a beautiful handmade quality that immediately softens a room and makes it feel more lived-in and personal. Basic macramé requires only cotton rope, a wooden dowel, and knowledge of a few simple knots, all of which can be learned from free video tutorials in an afternoon.
Fabric wall panels are another underused and underappreciated DIY wall solution that works beautifully in bedrooms. By stretching fabric over wooden canvas stretcher bars — the same type used for painter’s canvases — you can create oversized textile art panels in any pattern, color, or texture you desire. This technique works particularly well with bold printed fabrics, velvet, or even vintage scarves and saris. The panels can be hung like conventional art, and because the fabric is simply stretched and stapled rather than glued or painted, it can be easily updated whenever your taste or the season changes.
Washi tape is perhaps the most underestimated tool in the DIY decorator’s toolkit. This Japanese masking tape comes in hundreds of patterns, colors, and widths, adheres easily to walls without damaging paint, and can be removed and repositioned as many times as you like. With washi tape alone, you can create geometric wall murals, faux tile patterns, artistic borders, or even simulate the look of shiplap or wood paneling. The material costs almost nothing, the process requires no special skills, and the results can be genuinely dramatic and impressive.
Consider these beginner-friendly weekend projects to get started immediately:
- Washi tape geometric mural — Map out a diamond or herringbone pattern with painter’s tape first, then overlay with washi tape in complementary colors and patterns.
- DIY fabric wall art panels — Purchase canvas stretcher bars from an art supply store, wrap with your chosen fabric, staple at the back, and hang as you would conventional artwork.
- Pressed botanical frame collection — Press flowers and leaves from your garden between heavy books for two weeks, then arrange and frame them for a cohesive nature-inspired gallery.
- Floating shelf styling vignette — Install one to three floating shelves and style them with a layered combination of books, small plants, candles, and framed photos for a wall feature that is three-dimensional and ever-changing.
- Macramé wall hanging — Use a beginner pattern with only square knots and half-hitch knots to create a textured fiber art piece that adds warmth and handcrafted charm.
Maintaining and Refreshing Your Bedroom Walls Over Time
One of the most important yet frequently overlooked aspects of DIY wall décor is thinking beyond the initial installation and considering how you will maintain and evolve your wall design over time. Walls in a lived-in bedroom inevitably accumulate scuffs, fingerprints, and minor damage, particularly in high-traffic areas around light switches and door frames. Keeping a small amount of your wall paint in a labeled jar makes touching up minor marks quick and effortless, preventing small imperfections from becoming eyesores that undermine the overall aesthetic of the room.
Beyond basic maintenance, it is healthy to think of your bedroom walls as a living, evolving element of your space rather than a permanent fixture that must remain unchanged indefinitely. The most beautifully designed bedrooms tend to belong to people who feel free to update and refresh their spaces regularly, swapping out gallery wall pieces seasonally, trying new paint colors every few years, or replacing peel-and-stick wallpaper when they feel ready for a change. This evolving approach keeps your bedroom feeling fresh and personally meaningful rather than stagnant and dated.
When you do decide to make significant changes, approach the transition thoughtfully rather than impulsively. Document your current arrangement with photographs before removing anything, both for reference and because you may want to recreate elements of it in a future space. Donate or repurpose frames, artwork, and materials rather than discarding them — the sustainable approach to interior design is one of careful curation and reuse rather than constant consumption. With this mindset, every iteration of your bedroom walls becomes part of a larger creative journey that reflects your growth, changing tastes, and evolving sense of home.








What do you think?
It is nice to know your opinion. Leave a comment.