










Why Every Dog Owner Should Consider a DIY Dog Bowl Stand
If you share your home with a dog, you have probably noticed the daily chaos of a food bowl sliding across the floor, your pet hunching uncomfortably to reach their water, or the general clutter of mismatched bowls sitting directly on your kitchen tile. A dog bowl stand solves all of these problems in one elegant, functional piece. More than just a practical accessory, a well-crafted stand elevates the entire feeding experience for both you and your companion, turning a mundane necessity into something that genuinely complements your home’s aesthetic.
Building your own dog bowl stand rather than purchasing a mass-produced version offers significant advantages that go well beyond cost savings. When you take the DIY route, you control every dimension, meaning you can tailor the height precisely to your dog’s size and breed, ensuring a comfortable feeding posture that supports healthy digestion and reduces strain on the neck and joints. Commercial stands often come in only a few standardized sizes, which rarely fit every dog perfectly, but a homemade version can be customized to the centimeter.
There is also a deep satisfaction in crafting something functional and beautiful with your own hands. A handmade dog bowl stand becomes a small point of pride in the home, a conversation piece that visitors notice and admire. Whether you finish it with a smooth coat of paint to match your kitchen cabinetry, a natural oil stain to bring out the warmth of the wood grain, or a playful stenciled design that reflects your dog’s personality, the final result is entirely your own creative vision made real. This project is achievable for beginners while still offering plenty of room for experienced woodworkers to add their own flair.
Understanding the Health Benefits of an Elevated Dog Bowl
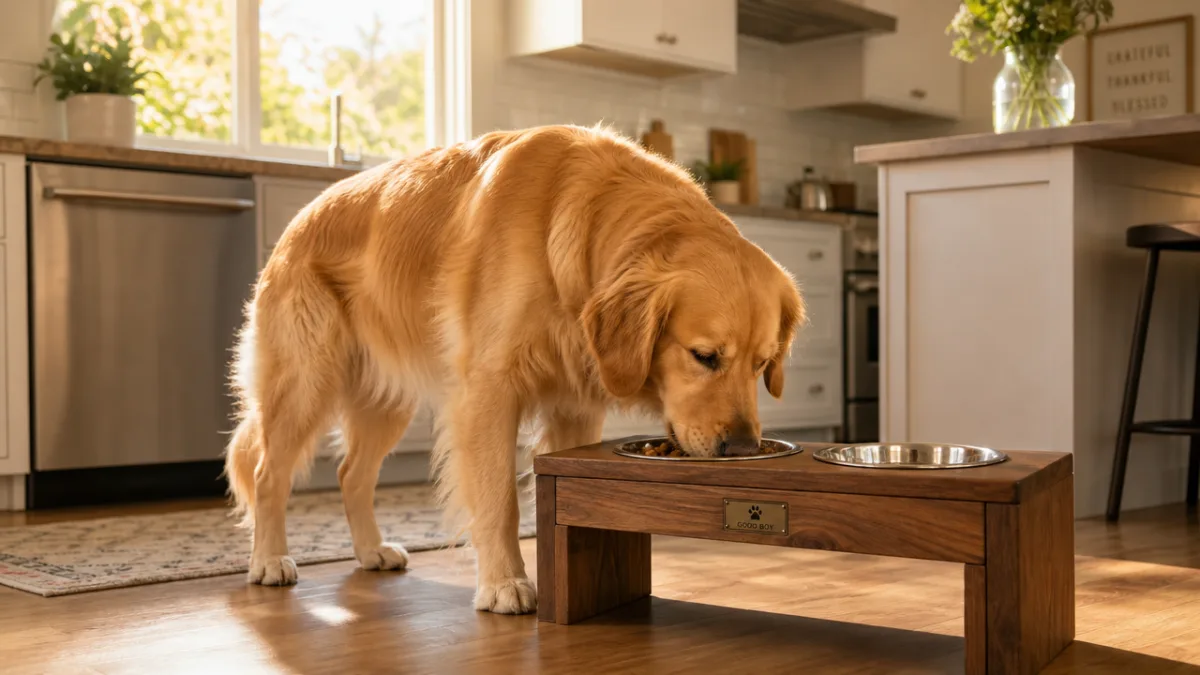
One of the most compelling reasons to build a raised feeding station for your dog is the genuine health benefit it provides. When a dog eats from a bowl placed directly on the floor, they must lower their head significantly below shoulder level and adopt an awkward posture that puts unnecessary tension on the cervical spine and front leg joints. Over months and years of meals, this repeated strain can contribute to discomfort, particularly in larger breeds and older dogs who may already be managing arthritis or joint issues. Raising the bowl to a more natural height encourages a relaxed, neutral neck position that makes every meal more comfortable.
Digestion is another area where an elevated stand can make a meaningful difference. When a dog eats in a more upright position, gravity assists the movement of food down the esophagus more efficiently. This can be especially helpful for dogs that tend to eat quickly, as the improved angle slows the intake of air during feeding, which is a contributing factor to bloating. While elevated bowls are not a universal cure for digestive issues and some veterinarians caution against them for breeds specifically prone to bloat, for many dogs a raised station simply makes the process of eating feel more natural and less frantic.
Cleanliness and hygiene are often overlooked benefits of using a bowl stand. When bowls sit elevated in a fitted stand, they are far less likely to be knocked across the floor, tipped over, or pushed into corners where spilled food or water can sit unnoticed and harbor bacteria. A stand keeps the feeding area contained and tidy, making it much easier to wipe down the surrounding floor after meals. Many DIY designs also incorporate removable bowls or easy-access cutouts that simplify daily cleaning, which in turn contributes to better overall hygiene for your pet and your home.
Gathering Your Materials and Tools
Before you begin building, taking the time to gather all your materials and tools will make the construction process smooth and enjoyable rather than frustrating. The most common material choice for a dog bowl stand is wood, and for good reason. Wood is strong, workable, aesthetically warm, and widely available at any hardware or lumber store. Pine is an excellent choice for beginners because it is affordable, easy to cut, and takes paint and stain beautifully. If you want something more durable and resistant to moisture, consider poplar, oak, or even cedar, which has natural antimicrobial properties that are particularly useful around pet feeding areas.
For a basic single or double bowl stand, you will need a relatively short list of supplies. A single board of one-by-twelve pine lumber in a length of about six feet will provide enough material for most standard builds. You will also need wood glue, a handful of wood screws in the two-inch range, sandpaper in a few different grits from coarse to fine, and your chosen finish, whether that is a non-toxic paint, a food-safe wood stain, or a clear polyurethane sealer. The non-toxic specification is important since dogs will be eating and drinking directly above the surface of the stand and may occasionally lick or chew the wood.
In terms of tools, this project is very approachable and does not require a shop full of expensive equipment. The essential tools include:
- A circular saw or miter saw for cutting the lumber to length
- A jigsaw for cutting the circular bowl openings
- A drill with screwdriver bits for assembling the frame
- A measuring tape and pencil for marking cuts and hole placements
- A compass or circular template for drawing the bowl cutouts
- Clamps to hold pieces together while the glue dries
- A sanding block or electric orbital sander for finishing the surfaces
If you do not own a jigsaw, many hardware stores offer tool rental programs that allow you to borrow one for a small daily fee, making this project accessible even if your personal tool collection is minimal. Some stores will also make initial lumber cuts for you at the time of purchase if you bring your measurements, which can simplify the project significantly for those working in small spaces without room for large power tools.
Step-by-Step Building Instructions
Begin by measuring your dog’s bowls carefully, noting the diameter of the rim rather than the base, since the rim is what will rest on the top of the stand. Subtract about half an inch from this diameter to determine the size of the hole you will cut, ensuring the bowl drops in partway but its rim catches on the wood and holds it securely in place. Once you have this measurement, determine the ideal stand height for your dog by measuring the distance from the floor to just below your dog’s chest while they stand naturally. This is the height at which the top of the bowl should sit when the stand is complete.
Cut your lumber into the following pieces based on your measurements: two identical side panels that will form the left and right walls of the stand, one top panel that will hold the bowls, and one bottom panel that will serve as the base. If you want to add a shelf between the legs for storing extra food bags or supplies, cut one more panel at the same length as the top. Use your compass to draw the bowl cutout circles on the top panel, centered and evenly spaced if you are making a double-bowl design. Drill a starter hole inside each circle outline large enough to fit your jigsaw blade, then carefully cut along the line.
Assembly follows a straightforward process of joining the panels together using both wood glue and screws for maximum strength. Apply glue to the mating surfaces, press them together, and drive screws through the side panels into the ends of the top and bottom panels. Allow the glue to cure fully, ideally overnight, before moving on to sanding. Start with a coarser grit sandpaper, around 80 or 100, to smooth out any rough edges and flush up any slight misalignments between panels, then progress to 150 and finally 220 grit for a silky smooth finish that will accept paint or stain evenly and beautifully.
Apply your chosen finish in thin, even coats, allowing each coat to dry completely before adding the next. Two to three coats of paint or stain, followed by a protective clear coat, will give you a finish that stands up to daily use, moisture from water bowls, and the occasional enthusiastic nudge from a hungry dog. Once the final coat is fully cured, drop your bowls into the cutouts and admire your work. The whole project can typically be completed in a single weekend, with the majority of the time spent waiting for finishes to dry.
Customization Ideas to Make the Stand Uniquely Yours
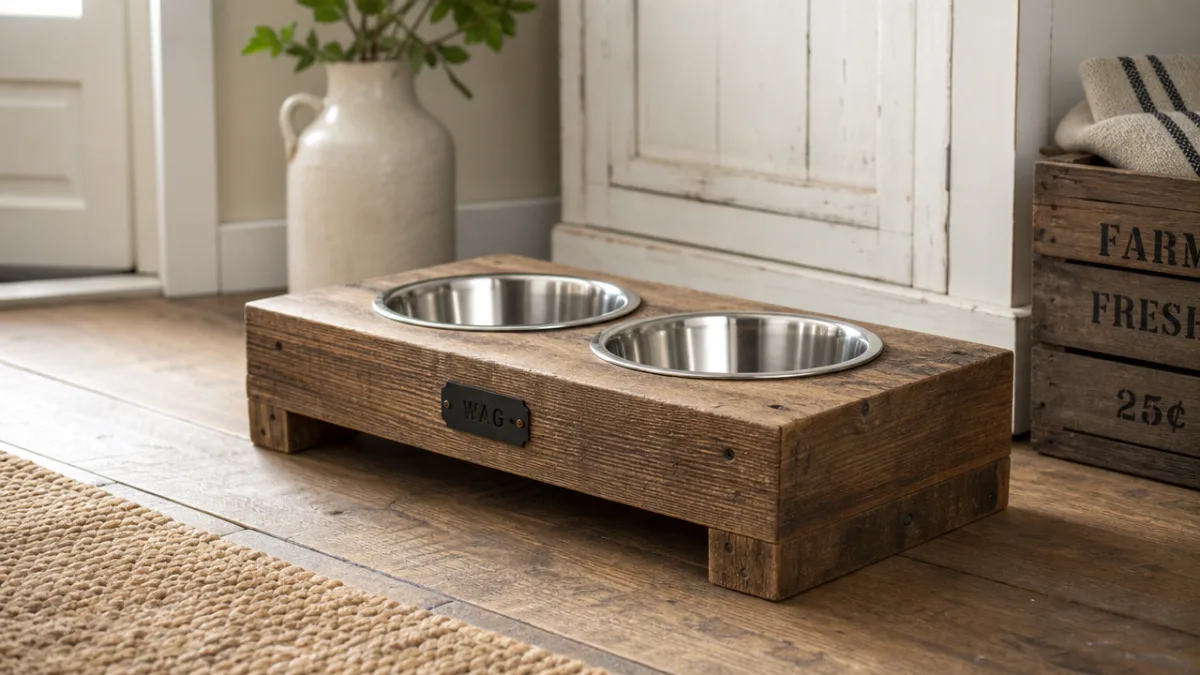
Once you have mastered the basic construction, the real fun begins with customization. One of the most popular ways to personalize a dog bowl stand is to cut or engrave your dog’s name into the front face of the stand. This can be done with a wood burning tool, a router with a letter template, or even by using adhesive stencils and paint for a crisp, clean look. This small personal touch transforms a utilitarian object into something genuinely sentimental, a lasting piece of your home that celebrates your pet in a subtle, tasteful way.
Consider the color palette of the room where the stand will live when choosing your finish. A stand painted in the same shade as nearby cabinetry or baseboards will look intentional and integrated rather than like an afterthought. Alternatively, a bold accent color can make the stand a deliberate pop of personality, particularly in kitchens or mudrooms that already have a strong design identity. Natural wood finishes in warm walnut or honey oak tones have a timeless quality that works in virtually any interior style, from rustic farmhouse to sleek contemporary.
Functional customizations can add even more value to the finished piece. Some builders add a small drawer or open cubby to the front of the stand for storing a leash, a scoop, or small treat bags within easy reach. Others add rubber feet to the bottom of the stand to prevent sliding on smooth floors and protect the floor surface from scratches. You might also consider adding a small chalkboard panel to the front where you can write your pet’s feeding schedule or leave notes for other household members, a charming and practical detail that makes the stand even more useful day to day.
Sizing Guide for Different Dog Breeds
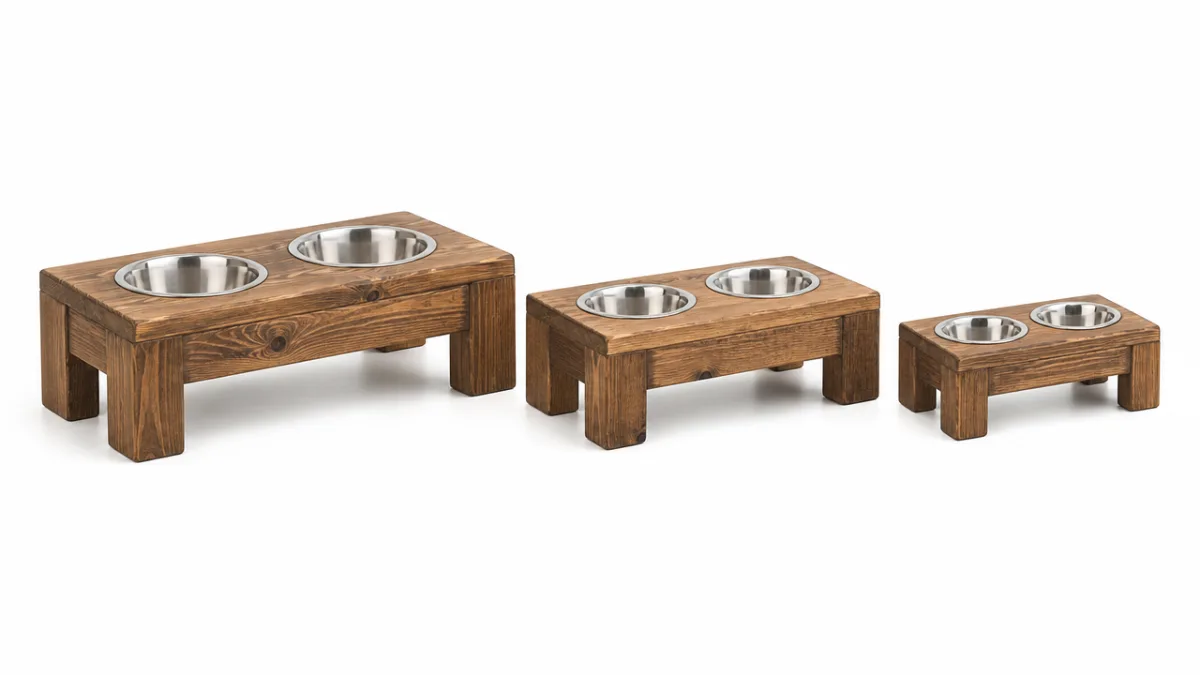
Getting the height right is the most critical dimension of the entire project, and it varies considerably between breeds. For toy and small breeds such as Chihuahuas, Dachshunds, and Yorkshire Terriers, a stand height of around four to six inches is typically ideal, keeping the bowl just slightly elevated from the floor without requiring the dog to raise their head uncomfortably. At this height, a small dog can eat in a relaxed, neutral position without the bowl being so high that it feels unnatural or difficult to reach into.
Medium-sized dogs including Beagles, Cocker Spaniels, Border Collies, and similar breeds generally benefit from a stand height in the range of eight to twelve inches. This brings the bowl up to approximately chest level, encouraging a comfortable, upright feeding posture. For this size range, using slightly thicker lumber or adding diagonal bracing inside the stand frame will provide the structural stability needed to withstand the more enthusiastic feeding habits that many medium dogs are known for.
Large and giant breeds such as Labrador Retrievers, German Shepherds, Golden Retrievers, Great Danes, and Mastiffs need stands that bring their bowls significantly higher off the ground. For large breeds, a stand height of fourteen to eighteen inches is appropriate, while giant breeds may need stands as tall as twenty-four inches. At these heights, structural integrity becomes especially important, and it is worth using thicker lumber, such as one-and-a-half-inch stock, and reinforcing corner joints with metal brackets in addition to glue and screws. The following height ranges offer a useful quick reference:
- Toy breeds (under 15 lbs): 4 to 6 inches
- Small breeds (15 to 30 lbs): 6 to 8 inches
- Medium breeds (30 to 60 lbs): 8 to 12 inches
- Large breeds (60 to 90 lbs): 12 to 18 inches
- Giant breeds (over 90 lbs): 18 to 24 inches
Finishing Tips for a Professional-Looking Result
The difference between a dog bowl stand that looks handmade in the best possible sense and one that looks rough or amateurish almost always comes down to the quality of the finishing work. No matter how precise your cuts and how solid your joinery, skipping proper sanding or rushing the paint application will undermine the final appearance significantly. The single most impactful thing you can do to elevate the quality of your finished stand is to sand thoroughly between every coat of finish, using a fine grit paper of around 220, to knock down any raised grain or dust nibs before applying the next layer.
Choosing the right type of finish for the environment the stand will live in is equally important. Water bowls inevitably cause some splashing and moisture exposure, so whatever you apply to the wood needs to be water-resistant once cured. Oil-based polyurethane offers excellent moisture and abrasion resistance but takes longer to dry and has stronger fumes during application. Water-based polyurethane dries more quickly, has lower odor, and is just as effective for this application. If you prefer a painted look, a semi-gloss or gloss latex paint followed by a clear polyurethane topcoat gives you the best of both worlds, a beautiful color with a durable, wipeable surface.
Once your stand is complete and fully cured, take a few extra minutes to inspect all edges and corners for any roughness, tighten any screws that may have loosened slightly during the wood’s adjustment to humidity, and test the bowl fit to make sure the bowls sit securely without rocking. A small bead of clear silicone caulk applied inside the bowl cutouts can cushion the bowl rims and prevent them from rattling during enthusiastic eating sessions. These small finishing details add up to a product that feels genuinely well-made and will last for many happy years of daily use with your dog.








What do you think?
It is nice to know your opinion. Leave a comment.