










Building a Pallet Bar: The Ultimate DIY Guide to Creating a Stunning Budget-Friendly Home Bar
Introduction: Why a Pallet Bar Is the Perfect DIY Project
There’s something deeply satisfying about taking materials that would otherwise get tossed out and turning them into something you’re genuinely proud to show off. A pallet bar hits that sweet spot perfectly — it’s affordable, it’s creative, and you can realistically knock it out over a weekend. Wooden shipping pallets have become a favorite of the upcycling crowd, and honestly, it’s easy to see why. They’re solid, you can find them almost anywhere for free, and they have this natural rustic character that’s really hard to fake with anything you’d buy at a store.
The basic idea is pretty simple: track down a few wooden shipping pallets, put some basic carpentry skills to work, and assemble them into a bar that honestly looks like it came from a boutique furniture shop — except you spent a fraction of the price. Budget101.com has been cheering this kind of project on for years, helping thousands of DIYers get more out of their home improvement budget without giving up style. And when you’re done, you’re not just left with a piece of furniture. You’ve got a conversation starter and something you built yourself, which counts for a lot.
Whether you’re dreaming of a little corner bar on your backyard patio, an entertainment centerpiece for your basement, or a full-on outdoor tiki bar for summer parties, pallet wood is flexible enough to make it happen. With the right stains, paint, and hardware, the same basic material can look sleek and modern, warm and rustic, or even a little bohemian. This guide walks you through the whole process from start to finish — finding pallets, gathering tools, building the frame, and adding those finishing touches that make the whole thing come together.
Sourcing the Right Pallets: What to Look For and Where to Find Them
Not all pallets are the same, and knowing the difference before you start collecting really matters — both for the quality of your bar and for your own safety. The most important thing to check is whether a pallet was heat treated or treated with methyl bromide. Pallets stamped “HT” are the ones you want. They’ve been sanitized with heat and leave no chemical residue, so they’re completely safe to work with. Pallets stamped “MB” are a hard pass — methyl bromide is a hazardous chemical, and you don’t want to be cutting, sanding, or burning wood that’s been soaked in it.
Once you know what to look for, you’ll be surprised how easy it is to score good pallets without spending anything. Garden centers and plant nurseries almost always have extras they’re happy to give away. Hardware stores, furniture retailers, auto parts shops, and grocery warehouses all get regular shipments on pallets and frequently have more than they can deal with — just head to the receiving area and ask. Craigslist, Facebook Marketplace, and Nextdoor are also great places to look, since businesses and homeowners post free pallet listings pretty regularly.
When you’re picking through pallets, look for boards that are straight and free of deep cracks, splits, rot, or mold. Press your thumb into the wood — if it feels soft or spongy, that’s moisture damage, and those boards will eventually compromise the whole structure. Try to grab pallets that are similar in size and quality so your finished bar looks like it was planned rather than pieced together. For a standard home bar, plan on collecting somewhere between four and six pallets depending on how big you want to go.
Tools, Materials, and Safety Equipment You Will Need
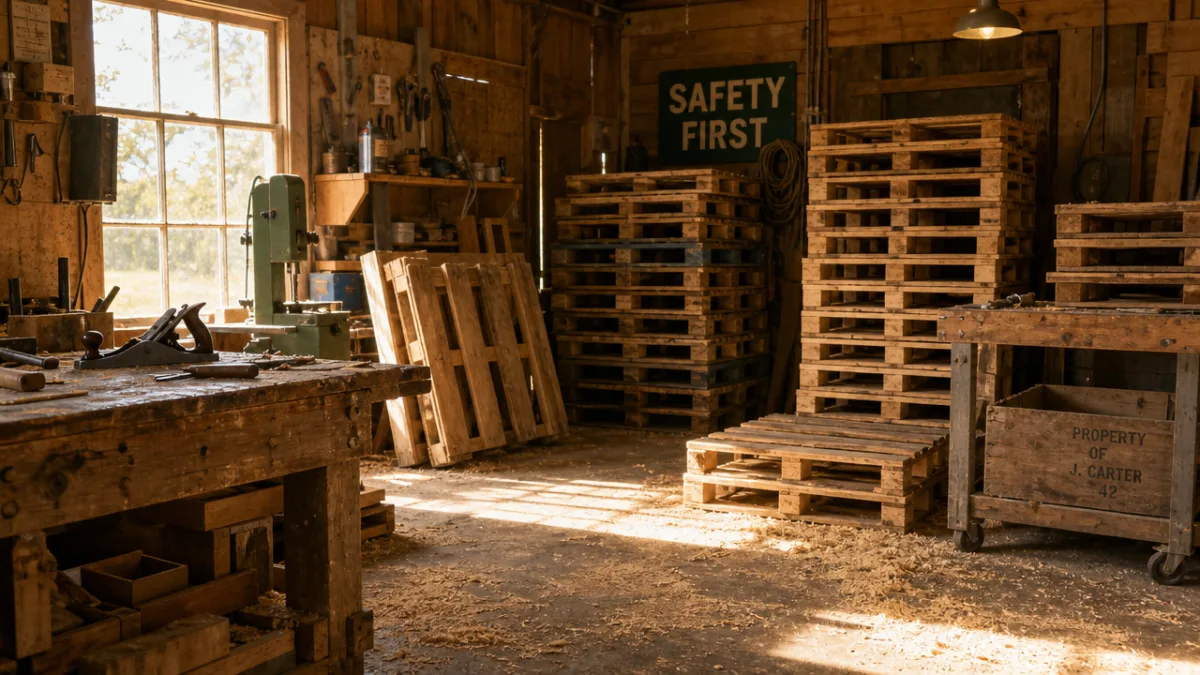
One of the best things about this project is that you don’t need a full woodworking shop to pull it off. Most of what you need is stuff you may already own, or can easily borrow from a neighbor. That said, having everything ready before you start makes a real difference — there’s nothing more frustrating than stopping mid-build to hunt down a bit or a clamp. A little organization upfront saves a lot of time and headaches later.
The core tools you’ll want on hand are a circular saw or reciprocating saw for cutting boards to size, a power drill with a good selection of bits for pilot holes and driving screws, a sander (belt and orbital are both useful) for smoothing out rough surfaces, a tape measure and carpenter’s square for keeping things accurate, and a pry bar or hammer for breaking down pallets when needed. A level is one of those tools you’ll be really glad you have — a bar that isn’t sitting flat is annoying at best and unsafe at worst. Clamps are also worth having around to hold pieces in place while you drive screws.
Beyond the pallets, stock up on exterior-grade wood screws in 1.5-inch and 3-inch lengths, wood glue for reinforcing joints, sandpaper in 60, 100, and 220 grits, and whatever finishing products you’re planning to use — stain, paint, sealant, or some combination. On the safety side, please don’t skip the protective gear. Safety glasses, a dust mask or respirator, and heavy work gloves are all things you’ll be grateful for. If you’re working with heavier lumber, steel-toed boots aren’t overkill either.
- Circular or reciprocating saw — for trimming boards cleanly and efficiently to your desired dimensions
- Power drill and bit set — for pilot holes and driving screws without splitting the wood grain
- Belt and orbital sander — for smoothing rough pallet boards to a touchable, splinter-free finish
- Carpenter’s square and level — for maintaining accurate angles and ensuring structural stability
- Exterior wood screws (1.5″ and 3″) — the primary fasteners that hold your bar frame together securely
- Wood stain, paint, or sealant — for protecting the wood and giving your bar its final aesthetic character
- Safety glasses, dust mask, and gloves — non-negotiable personal protection throughout the entire project
Step-by-Step Construction: Assembling Your Pallet Bar
Now comes the fun part. Before you pick up a single screw, lay your pallets out on a flat surface and spend a few minutes visualizing the design. Most pallet bars go with either a simple straight-line layout or a U-shape. For a freestanding straight bar, two pallets stacked vertically on each end act as posts, while additional pallets laid horizontally across the front fill in the bar face. Don’t rush this planning stage — the decisions you make here shape everything that follows, and it’s a lot easier to rearrange pallets on the ground than to undo fasteners later.
Before any assembly happens, sand every pallet surface thoroughly. Start with 60-grit to knock down the roughest patches and raised grain, move to 100-grit to smooth things out further, then finish with 220-grit until the surface actually feels good under your hand. This step takes time, but it’s not one you want to skip. Pallet wood can be brutally rough, and a bar that people are going to lean against and touch needs to feel smooth and splinter-free. Give extra attention to the bar top and anywhere hands are going to rest regularly.
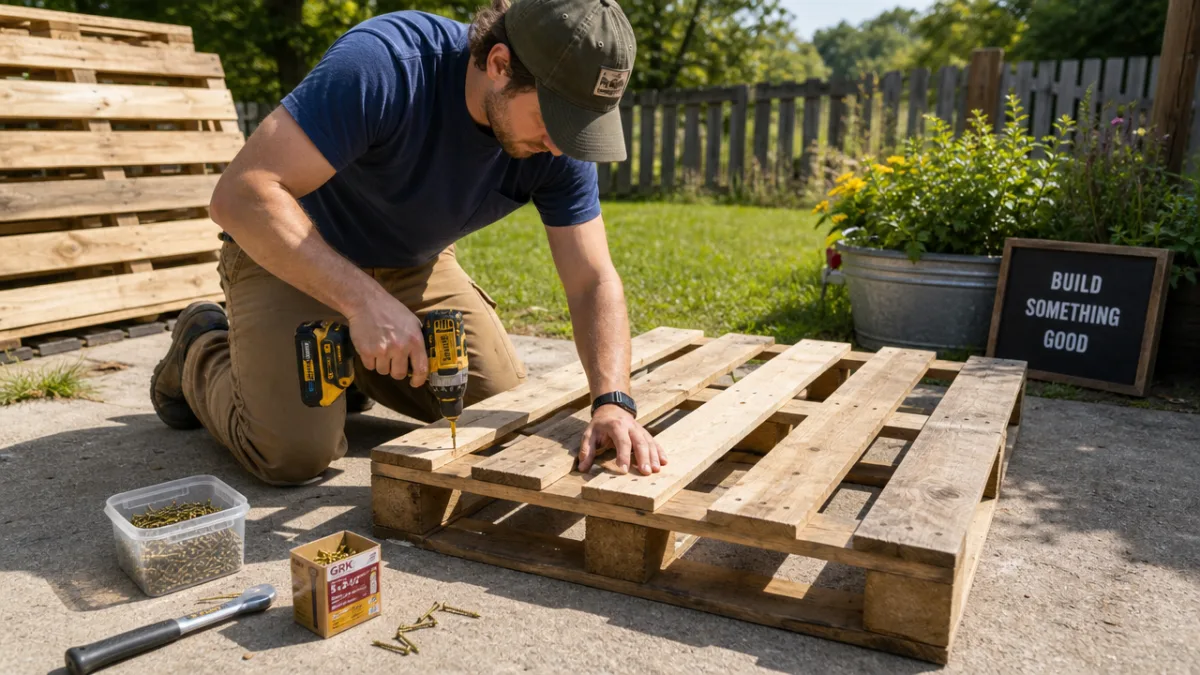
Once everything is sanded, stand your end pallets upright and fasten them to a base pallet or wooden platform using 3-inch screws through pre-drilled pilot holes. Attach the front face pallets horizontally between the two ends, checking with your level as you go. For the bar top, pull boards from a disassembled pallet and lay them side by side over a plywood substrate — the plywood adds flatness and strength that bare pallet boards alone won’t give you. Use wood glue at every joint along with your screws, and let the glue cure fully before putting any weight on it.
The back shelf is one of those features that looks great and earns its keep — it’s where your bottles, glasses, and bar tools live. Pull boards from a spare pallet and mount them at the right height on the interior back of your frame. Add a second tier above the first and suddenly it looks like a real bar back. If you want to add a sink or a bottle opener, plan those cutouts now before the top is sealed. A jigsaw handles curved sink cutouts nicely, and surface-mount bottle openers screw right into any accessible board face.
Finishing Techniques: Staining, Painting, and Sealing Your Bar
This is the stage where your bar stops looking like a pile of reclaimed wood and starts looking like something you actually planned. The finish you choose will define the bar’s personality for years to come, so it’s worth taking your time here. If the bar is going outside, your finishing choices also determine how well it holds up against spills, sun, and rain. A beautifully finished pallet bar can genuinely fool people into thinking it cost serious money — a rushed one tends to look like exactly what it is.
If you want to lean into the natural character of the wood, an oil-based stain is the way to go. Dark walnut, ebony, and weathered gray are all popular choices for pallet bars because they work with the rustic grain rather than against it, and they’re forgiving of small imperfections in the wood. Apply with a foam brush or rag, follow the grain with long even strokes, let it sit for the time the label recommends, then wipe off the excess with a clean cloth. Two coats will give you a richer, more even result than one.
If you’d rather paint, chalk paint and milk paint are both great options for pallet projects. They stick well without primer, dry fast, and give you that soft matte look that suits rustic wood furniture naturally. Navy, forest green, matte black, and crisp white are all classic bar colors that hold up well over time. Whatever route you go — stain or paint — sealing the finished surface is non-negotiable, especially if the bar is outdoors. Two to three thin coats of polyurethane topcoat will protect against moisture, UV damage, and all the drink spills that are inevitably coming its way.
- Sand thoroughly through multiple grits — 60, 100, and 220 grit for a genuinely smooth final surface
- Wipe away all dust — use a tack cloth or damp rag to remove every particle before applying finish
- Apply first coat of stain or paint — follow the grain and work in sections to maintain a wet edge
- Allow to dry completely — rushing between coats leads to peeling, bubbling, and an uneven final result
- Lightly sand between coats — 220-grit scuff sanding between coats ensures maximum adhesion
- Apply topcoat sealant — two to three thin layers of polyurethane for durable moisture protection
Customization Ideas and Creative Enhancements
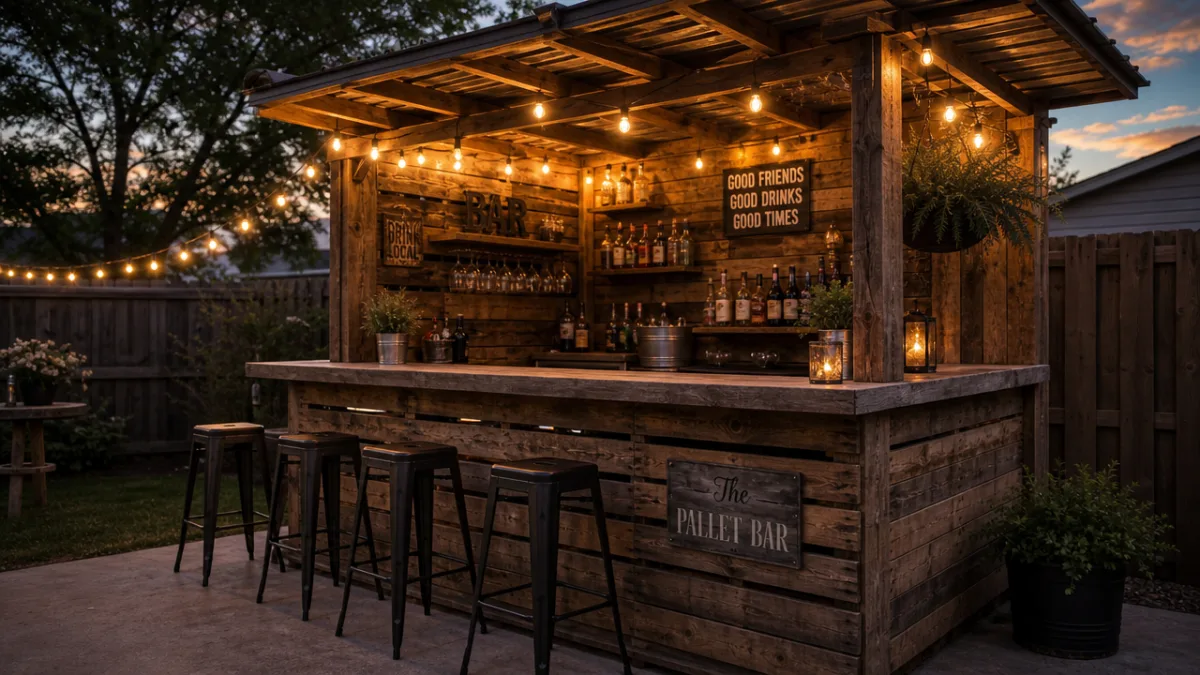
Here’s where the project really gets fun. Once the structure is built and sealed, you can start layering in the details that make it feel like yours. String lights are probably the easiest win on this list — a strand of warm white LEDs tucked along the back shelf or draped around an overhead structure completely changes the mood of the space. It’s the kind of touch that takes a backyard from “nice” to “I want to spend every evening out here.”
Hardware is another place where small decisions make a big difference. Swapping out generic screw heads for decorative bronze or matte black bolt caps, adding industrial pipe brackets as shelf supports, or putting in vintage-style bottle openers and towel rings in brushed copper can really pull the whole aesthetic together. A section painted with chalkboard paint on the front of the bar gives you a built-in menu board for listing the night’s drinks. Reclaimed wood signs, mounted hooks for bar tools, and a small pegboard for glass storage are all additions that add personality without a lot of effort or cost.
If the bar is going outside, consider building a simple pallet wood pergola or roof overhead — it adds shelter from sun and light rain while also making the whole setup look more intentional. A corrugated metal roof or a thatched palm frond covering adds a lot of character depending on the vibe you’re going for. You can also cut openings in the bar top to drop in a metal tub or cooler insert for ice and cold drinks. And if you want to really make it pop at night, LED strip lighting mounted under the bar top edge throws a beautiful glow that makes the bar a focal point long after dark.
Maintenance, Longevity, and the Ongoing Value of Your Pallet Bar
A pallet bar that’s been built and finished well isn’t a one-season project — it can genuinely last for years with a bit of care along the way. This is especially true for bars that live outside, where temperature swings, humidity, UV exposure, and rain can all take a toll over time. A simple annual maintenance habit keeps all of that in check and makes sure your bar still looks great years down the road.
At the start of each outdoor season, give the whole bar a good once-over. Look for cracked boards, loose screws, fading finish, or any spots where mold or mildew might be getting started. Tighten anything that’s worked loose over the winter, swap out any boards that have weakened structurally, and give the whole surface a good clean with a mild wood-safe cleaner before putting down a fresh coat of sealant. For bars kept indoors or under a covered patio, you can stretch that topcoat refresh to every two or three years depending on how much use the bar gets.
It’s also worth stepping back and thinking about what this project represents beyond the build itself. A comparable outdoor bar from a furniture retailer can run anywhere from a few hundred to several thousand dollars. A well-built pallet bar of the same size might cost you under fifty bucks in materials. But honestly, the money is almost beside the point. You picked up real skills, built something functional and beautiful with your own hands, and ended up with a one-of-a-kind piece that doesn’t exist anywhere else. That’s the kind of value that doesn’t show up on a price tag.








What do you think?
It is nice to know your opinion. Leave a comment.