










Why a Backyard Container Gym Is the Ultimate Modern Home Upgrade
Converting a shipping container into a home gym has gone from quirky DIY project to genuinely mainstream home improvement — and it’s not hard to see why. What a backyard container gym gives you that a basement or garage setup simply can’t is a space that feels completely separate from the rest of your life. The moment you step out the back door and into your own gym, something shifts. It’s just you and the work.
The containers themselves — usually 20 or 40 feet long — give you more room than you might expect. A 40-footer works out to around 320 square feet of usable floor space, which is genuinely plenty for a squat rack, cable machine, rowing erg, free weights, and a stretch area all at once. And the steel shell? It’s already built tough. Weather-resistant, structurally solid, and designed to survive decades of hard use at sea — your gym bones are already taken care of.
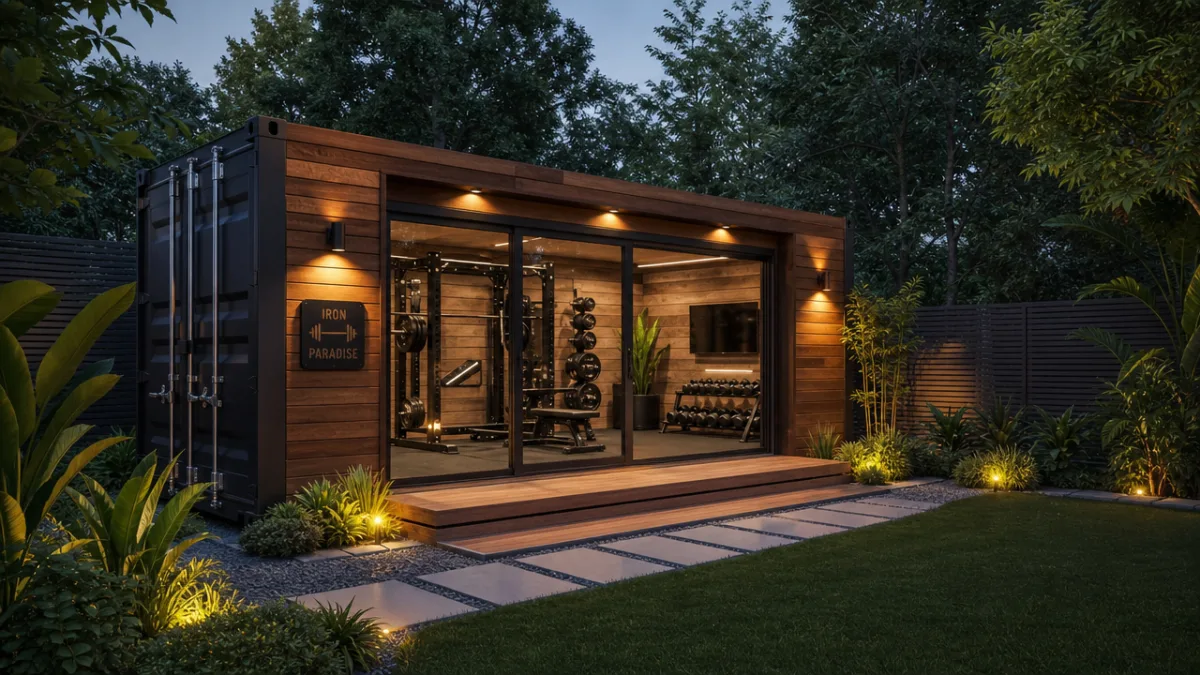
There’s also something to be said for how these things look. Corrugated steel has a raw, industrial appeal that plays really well with modern landscaping, wood decking, and big glass panel doors. A lot of homeowners leave parts of the exterior in its original painted finish while adding cedar cladding, climbing plants, or some warm exterior lighting to take the edge off. Done right, it doesn’t look like a storage shed in the corner of your yard — it looks like an intentional part of your home.
Planning and Permitting: What You Need to Know Before You Build
Here’s the truth: the planning phase is where this project either goes smoothly or goes sideways. Before you order a container or hire anyone, you need to understand what your local rules actually allow. Zoning regulations differ wildly between municipalities, and what’s perfectly fine in a rural county might be a hard no in a suburb with an active HOA. A quick call or visit to your local building and planning department will tell you about setback requirements, height limits, and whether you’ll need a formal permit and foundation inspection.
Speaking of foundations — this decision will have a real impact on both your budget and how permanent the structure feels. The three most common approaches are a concrete perimeter slab, concrete piers placed at the container’s corner castings, and a compacted gravel pad with steel ground anchors. The full perimeter slab is the most solid and code-friendly option, especially in areas prone to high winds or seismic activity, and it does a great job keeping ground moisture away from your equipment. Gravel pads are quicker and cheaper, but they won’t satisfy permit requirements in a lot of places, so check before you commit.
Utilities are another area where people tend to underestimate what’s involved. Running electrical service out to the container means hiring a licensed electrician and almost certainly installing a dedicated sub-panel sized for your actual equipment load — especially if you’re planning a mini-split, commercial lighting, and power-hungry machines like treadmills or assault bikes. Adding plumbing for a small sink or outdoor shower near the unit makes the space a lot more livable long-term, even if it adds complexity. The key is to map out your full wishlist before any digging starts, so all your conduit and pipe chases can go in during a single excavation pass.
Insulation, Climate Control, and Creating a Year-Round Training Environment
Steel conducts heat and cold incredibly efficiently — which is a nice way of saying that an uninsulated container in summer can hit 130°F, and in winter it chills down to outside air temperature almost immediately. Good insulation isn’t an upgrade here; it’s table stakes if you actually want to use the space year-round. The good news is there are insulation systems that work really well within the particular constraints of a steel container shell.
Closed-cell spray polyurethane foam is the go-to choice for most container builds, and for good reason. It bonds directly to the corrugated interior walls, fills every gap and irregular surface, and handles both thermal resistance and vapor barrier duty in one shot. Two inches of closed-cell foam applied to the walls, ceiling, and floor cavity typically gets you to R-12 or R-14, which is solid performance for most climates when you’re also running a mini-split. It also adds meaningful structural rigidity to the walls and holds up extremely well against mold and moisture.
For climate control, a ductless mini-split heat pump is the overwhelming favorite among container gym owners, and the reasons are pretty straightforward: efficient, quiet, no ductwork needed, and it handles both heating and cooling. A 12,000 BTU unit is usually enough for a 20-foot container, while a 40-footer tends to want an 18,000 to 24,000 BTU unit — or two smaller heads positioned at opposite ends. One thing worth adding: a small ventilation fan or energy recovery ventilator to bring in fresh air during hard training sessions, when CO2 and humidity can build up faster than you’d expect.
Flooring, Equipment Layout, and Interior Design for Maximum Performance
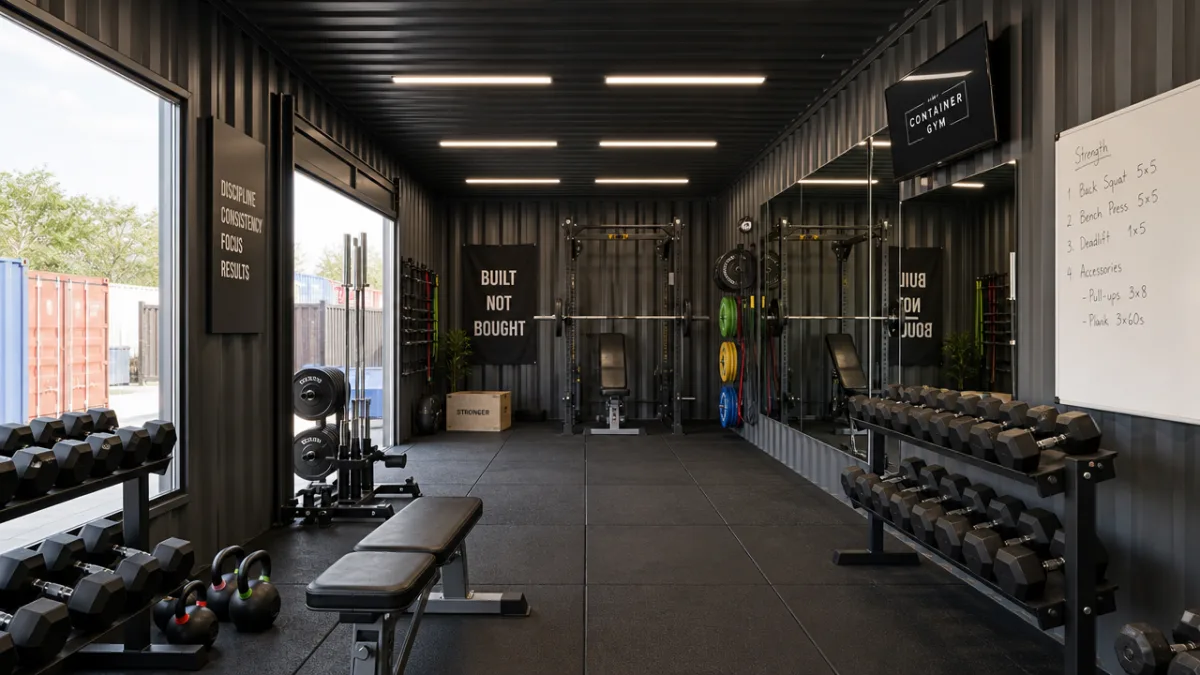
When it comes to the interior, you’re balancing three things: safety underfoot, how well the equipment functions in the space, and whether the environment actually makes you want to train hard. Flooring sets the tone for all of it. Vulcanized rubber tiles — typically 3/4 to 1 inch thick — are the standard for lifting areas because they absorb dropped weights, protect the floor, grip well, and clean up easily. A lot of gym owners pair rubber tiles in the lifting zone with foam or even hardwood in the stretching area, which creates natural visual zones inside the container without much effort.
For equipment, think versatility and smart use of space. A wall-mounted folding squat rack might be the single best investment you make in a container gym — it supports serious barbell work and then folds flat against the wall in seconds to open up the entire floor for cardio or movement training. A ceiling-mounted or structural crossmember cable pulley system can replace half a dozen individual machines while taking up almost no floor space at all. And running pegboard or slotted wall panels down one full long wall keeps your dumbbells, kettlebells, bands, and accessories off the floor and within arm’s reach.
Mirrors aren’t just for checking yourself out — they serve a real purpose in a training space. They let you watch your form during lifts, make the room feel considerably bigger, and bounce light around in what could otherwise be a pretty dim steel box. Floor-to-ceiling mirror panels along one long wall can genuinely transform how the space feels — from utilitarian to something that actually resembles a boutique fitness studio. Pair that with warm-to-neutral LED strip lighting along the ceiling trim and adjustable track spotlights over your main lifting zones, and you’ve got an environment you’ll actually look forward to being in.
Exterior Finishing and Landscaping to Integrate the Container Into Your Backyard
How the exterior looks will determine whether your container gym reads as a polished backyard feature or an industrial eyesore — and honestly, the finishing options available today are impressive across every budget level. At the more accessible end, a good-quality exterior metal paint in a color that works with your home’s palette can take a standard blue or brown shipping container and make it look like it was always supposed to be there. Look for specialty metal paints with rust-inhibiting primer built in; they cost a bit more but hold up significantly better against weathering and chipping over time.
Cladding takes things considerably further. Horizontal or vertical cedar boards mounted on a pressure-treated timber subframe can make the container almost unrecognizable — it ends up looking more like a contemporary garden pavilion than anything that crossed an ocean. If you’d rather skip the annual sealing, composite decking materials in a similar wood tone are a solid lower-maintenance alternative that handles moisture, UV, and insects without complaint. Some homeowners mix the two deliberately, cladding two sides in wood and leaving the end walls in painted steel, which gives you a striking modern two-tone look at a pretty manageable cost.
Landscaping is the final piece that really ties everything together. A raised timber deck extending from the main entrance creates a natural transition zone between the yard and the interior — somewhere to kick off shoes, catch your breath, or cool down after a session. Strategic plantings of ornamental grasses, bamboo, or climbing vines on a trellis attached to the container’s exterior can soften its industrial edges over a single growing season. And don’t overlook pathway lighting from the house to the gym door — solar stake lights or low-voltage landscape lighting along the path makes evening sessions inviting and reinforces the sense that this space is a real, permanent part of your property.
Technology, Smart Features, and Future-Proofing Your Container Gym
A container gym is a great candidate for thoughtful tech integration, and the time to plan for it is during the build — not after the walls are closed up. The single most valuable thing you can do is make sure your electrical sub-panel has enough circuits and amperage headroom for where you might take this space in the future. A 100-amp sub-panel probably feels like overkill when all you’ve got today is a few lights and a treadmill, but it’ll accommodate smart speakers, a commercial fridge, a sauna, or more cardio equipment down the road without forcing a panel upgrade.
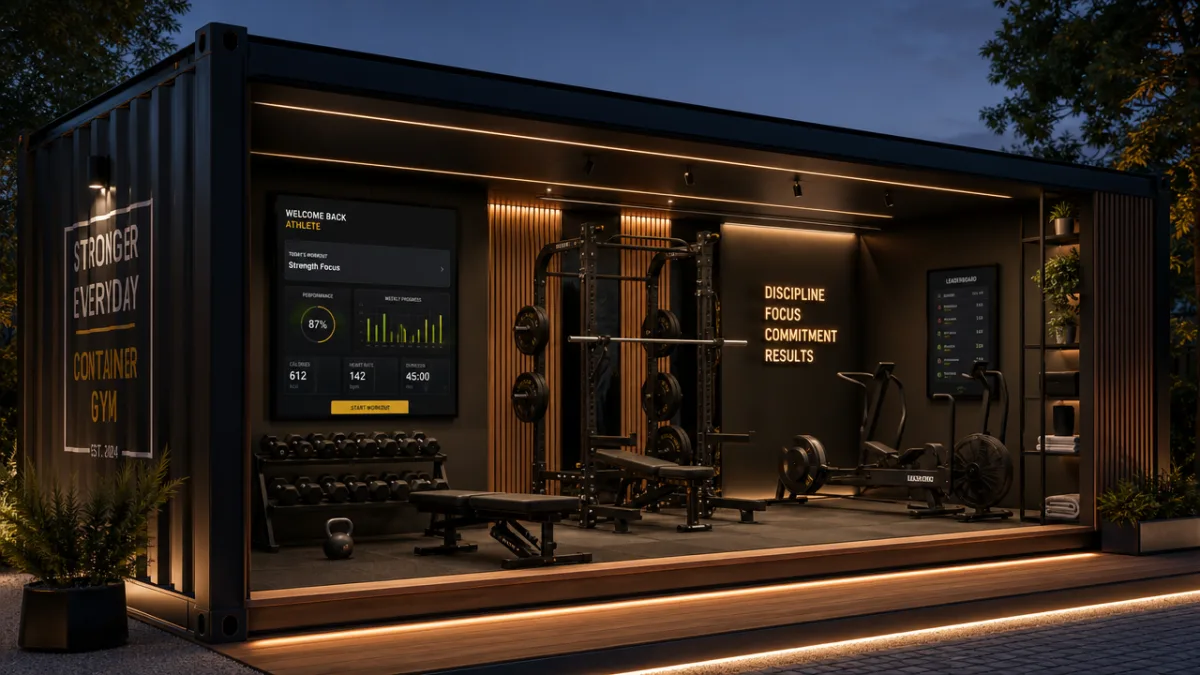
Audio and video are worth thinking through carefully as well. Running speaker wire through the walls before insulation and drywall costs almost nothing and sets you up for a proper in-wall or in-ceiling speaker system that sounds great without the clutter of Bluetooth speakers on shelves. A wall-mounted TV or laser projector pointed at a white wall can make cardio and recovery stretching genuinely enjoyable. And a dedicated Wi-Fi access point inside the unit is worth every penny — strong signal coverage for streaming, connected equipment, and smart home integration regardless of how far the container sits from your home router.
Looking ahead a few years, some small decisions made during the build can dramatically expand what the space is capable of. Roughing in a plumbing chase for a future sauna or steam unit, pre-wiring for a ceiling-mounted infrared sauna heater, or dropping in a dedicated circuit for a cold plunge nearby — all of these cost almost nothing during construction but would mean real disruption and expense to add later. Think of it this way: the gym you’re building today should be designed not just for how you train right now, but for how your relationship with wellness might evolve over the next ten years and beyond.
Key Benefits at a Glance
- Complete separation from household distractions, creating a dedicated mental space for training focus and consistency.
- Significant long-term cost savings compared to commercial gym memberships, typically recouping the investment within three to five years.
- Full customization of equipment, flooring, layout, and climate to match your specific training methodology and physical needs.
- Property value enhancement, with well-executed accessory structures consistently identified by real estate professionals as desirable amenities.
- Year-round usability when properly insulated and climate-controlled, eliminating weather as a barrier to consistent training.
- Privacy and schedule freedom, meaning no waiting for equipment, no crowded locker rooms, and no gym hours constraining your routine.
Estimated Budget Ranges for Common Build Tiers
- Entry-level build (20-foot container, basic insulation, single mini-split, rubber flooring, essential equipment): approximately $18,000 to $30,000 total investment including container purchase and delivery.
- Mid-range build (40-foot container, spray foam insulation, full lighting package, mirrored wall, comprehensive equipment suite): approximately $35,000 to $60,000 depending on equipment selections and local labor rates.
- Premium build (40-foot container with exterior cladding, smart technology integration, custom cabinetry, sauna, and professional landscaping): approximately $70,000 to $120,000 or more for a fully appointed installation.








What do you think?
It is nice to know your opinion. Leave a comment.