










17+ Best Wooden Crate Shelf Ideas to Transform Your Home
The Timeless Appeal of Wooden Crate Shelves
Wooden crate shelves have earned a permanent spot in the hearts of home decor lovers, and honestly, it’s not hard to see why. There’s a warmth and realness to these rustic little storage solutions that you just can’t get from something mass-produced. Whether you’ve rescued some crates from an old farmhouse, picked them up at a craft store, or built your own from scratch, they bring a sense of character and history into a room that feels impossible to fake. The natural grain, the small imperfections, the honest look of the wood — it all adds up to something people who love handmade and repurposed aesthetics go absolutely crazy for.
What really sets wooden crate shelves apart, though, is how incredibly versatile they are. A single crate can pull duty as a bookshelf, a display case, a toy organizer, or a planter stand. Stack a few together and you’ve got yourself a full wall unit. Mount them horizontally and they work as floating shelves. Turn them on their sides, stagger them in different directions, and suddenly you have a design feature that people will actually ask about when they visit. That kind of adaptability means crate shelves can find a home in pretty much any room — kitchen, bedroom, reading nook, you name it.
And then there’s the price. Some of the most impressive crate shelf setups you’ll come across online cost a tiny fraction of what you’d spend on comparable store-bought furniture. Wooden crates are easy to find at flea markets, craft stores, hardware retailers, and even grocery wholesalers. Add a bit of sandpaper, some stain or paint, and a few screws or mounting brackets, and you can create something genuinely beautiful without spending a lot. For anyone who loves the idea of making something with their hands, that mix of good looks and low cost is pretty hard to resist.
Essential Tools and Materials You Will Need
Before jumping into any crate shelf project, it’s worth taking a few minutes to get your tools and materials sorted beforehand. The first thing to figure out is where you’re getting your crates. Pine, oak, and cedar are all great choices — they’re durable, they look good, and they’re easy to work with. What you want to avoid are crates with deep splits in the grain, any sign of rot, or obvious moisture damage. A crate that looks charmingly beat-up is totally fine; one that’s structurally questionable is going to be a headache the moment you start loading it with things.
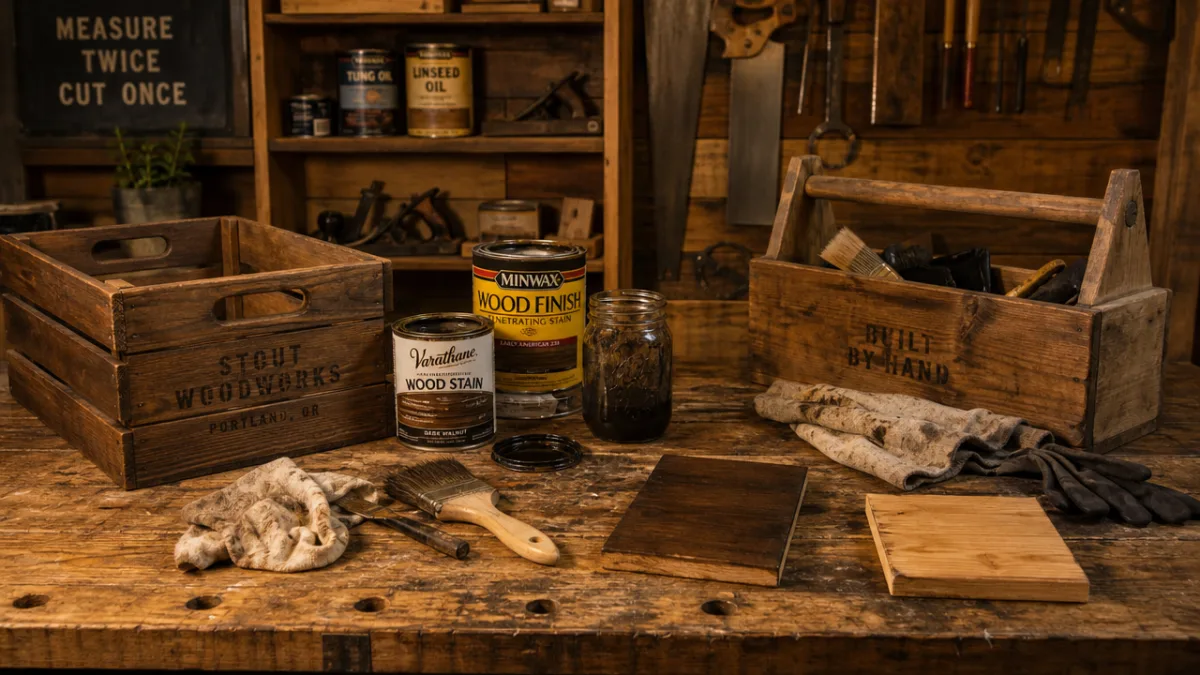
For finishing and mounting, there are a handful of supplies you’ll definitely want on hand. Grab sandpaper in a few different grits — starting around 80 and working up to about 220 — to smooth rough surfaces and get the wood ready for staining or painting. Pick a wood stain in whatever tone speaks to you, whether that’s a rich walnut, a soft pine wash, or something darker like ebony. A coat of polyurethane or beeswax finish on top of that will protect your work and help it hold up over time, especially somewhere like a kitchen or bathroom where there’s more humidity floating around.
If you’re planning to mount crates on the wall, pay close attention to your hardware. Heavy-duty L-brackets, wood screws, wall anchors, and a decent stud finder are all things you’ll be glad you have. A level is non-negotiable — crooked shelves have a way of making even a great-looking project feel sloppy. For freestanding units where you’re joining crates together, wood glue and pocket hole screws will keep everything solid. Rounding out the toolkit: a power drill, a handsaw or miter saw, and a measuring tape.
- Wooden crates in your preferred size and wood type
- Sandpaper in multiple grits (80, 120, and 220)
- Wood stain, paint, or whitewash solution
- Polyurethane sealant or beeswax finish
- Paintbrushes and lint-free rags
- L-brackets, wood screws, and wall anchors
- Stud finder and carpenter’s level
- Power drill and drill bits
- Wood glue and pocket hole jig (for joined units)
- Measuring tape and pencil for marking
Creative Arrangement Ideas for Every Room
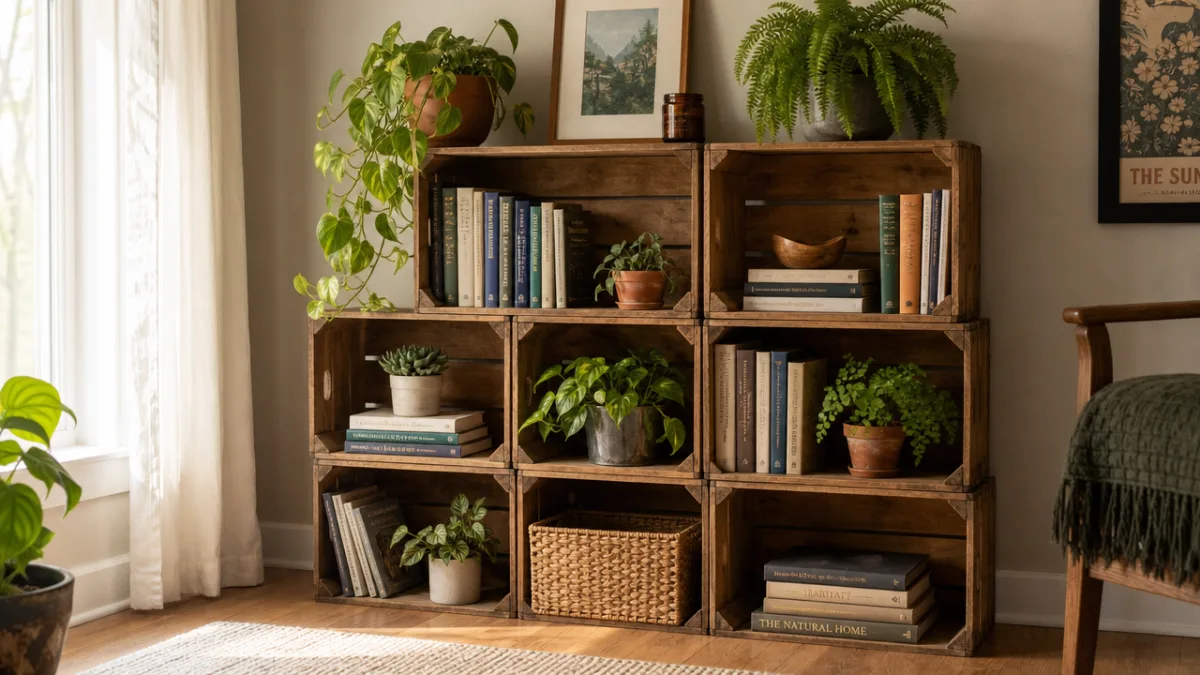
One of the best things about working with wooden crates is how many ways you can arrange them. In the living room, a pyramid-style bookshelf is a classic for good reason — stack the crates in a tiered formation with the widest row at the bottom and fewer crates as you go up. The slight asymmetry creates visual interest while giving you plenty of room for books, decorative pieces, and small plants. Try staining each crate a slightly different shade within the same color family and you get a look that feels cohesive but not cookie-cutter.
In the bedroom, a wooden crate makes a surprisingly stylish alternative to a regular bedside table. One crate turned on its side gives you an open compartment for books and a flat top for a lamp or a glass of water. Stack two for extra height, or flip one so the opening faces up for a more enclosed cubby feel. The natural wood texture goes beautifully with linen bedding and warm lighting — it’s that kind of cozy, cabin-inspired vibe that feels both practical and really intentional.
Kids’ rooms are another great fit for crate shelves. Their casual, easygoing look works perfectly in a playful space, and keeping shelves mounted low means kids can actually reach their own books and toys — which tends to be great for both independence and tidiness. You can paint each crate a different bright color, add chalkboard paint to the insides, or use stencils to make them feel personal. Kids tend to love the eclectic, slightly adventurous look of crates at different heights, and the solid construction means they can handle the kind of rough use that kids inevitably dish out.
Kitchens and pantries are worth considering too. Horizontal crates mounted on a kitchen wall are perfect for cookbooks, vintage ceramics, or potted herbs sitting near a window. In a pantry, stacked crate units make it easy to create organized zones for dry goods, canned food, or small appliances. Because crates are open, everything stays visible at a glance — no more digging around in the back of a cabinet wondering if you actually have pasta or not. It’s a small thing, but it genuinely makes meal planning easier.
Finishing Techniques to Elevate Your Crate Shelves
The finishing step is honestly where the magic happens — it’s what takes a plain wooden crate and turns it into something you’re genuinely proud to display. Classic wood stain is one of the most popular choices, and for good reason. A medium walnut stain applied with a rag and wiped back while it’s still wet brings out the grain of pine crates in a really beautiful way. If you want something with more edge, dark espresso or ebony stains give crates a sophisticated, contemporary feel that pairs nicely with black metal hardware and cleaner, more minimal decor.
Whitewashing has become enormously popular in recent years, and it’s easy to see why given how much the Scandinavian and coastal interior styles have taken off. The process is simple: dilute white latex paint with water at roughly a one-to-one ratio, brush it on generously, then wipe it back right away with a dry cloth. What you’re left with is a soft, semi-transparent white finish that lets the grain show through while giving the whole thing a bright, breezy, beachy quality. Whitewashed crates look especially stunning in light-filled rooms with white walls and natural textiles.
If you want to go colorful, chalk paint is your friend. It sticks to raw or previously finished wood without any priming, and the matte finish gives you this lovely flat, almost velvety surface. Soft sage green, dusty blue, terracotta, and creamy ivory are all popular picks. Once the paint dries, you can lightly sand along the edges and corners to distress it a little, which creates a charmingly worn, vintage look that adds a real sense of depth and character.
- Natural oil finish: Enhances grain with a subtle sheen and excellent moisture resistance
- Wood stain: Available in dozens of tones from pale pine to deep ebony
- Chalk paint: No primer needed, gorgeous matte finish, easy distressing
- Whitewash: Diluted white paint for a soft, translucent coastal look
- Burnt/torched finish: Light scorching with a torch creates dramatic grain texture
- Milk paint: Water-based, eco-friendly, authentically antique appearance
Wall-Mounted Crate Shelf Installations
Wall-mounted crate shelves are one of the most impactful things you can do with this type of storage, and they’re especially great in smaller spaces. When crates float off the floor, the room instantly feels cleaner and more open, and you get to keep that floor space free — which matters a lot in apartments or compact rooms. Done well, a wall-mounted crate arrangement works as both practical storage and a real design statement, kind of like a three-dimensional gallery wall that actually holds things.
The most important part of getting this right is anchoring properly into wall studs. Studs give you a solid hold that can support real weight, which you’ll need once you account for the crates themselves plus everything you’re storing in them. Use a stud finder before you start drilling, and make sure your screws are long enough to pass through the mounting hardware and the back of the crate, then penetrate the stud by at least an inch and a half. If you’re mounting between studs, heavy-duty toggle bolts or molly bolts rated for the right weight are a reliable alternative.
As for arrangement options, the sky’s really the limit. A clean grid of four or six evenly spaced crates looks sharp in modern or transitional spaces. An offset, staggered layout where no two crates share an edge creates something more dynamic and artistic that suits eclectic or bohemian rooms. Diagonal arrangements, honeycomb patterns, mixed sizes — all of them create their own distinct look. Before you drill anything, it’s worth sketching out your layout on paper first, then using painter’s tape on the wall to map it out at actual scale. It takes an extra twenty minutes but saves a lot of guesswork.
Styling and Decorating Your Wooden Crate Shelves
Once the shelves are up and finished, the fun part starts: actually styling them. How you arrange things in and around your crates can make the difference between an installation that looks thoughtful and curated versus one that just looks cluttered. A good starting point is to work in odd numbers — groups of three or five objects tend to feel more natural than pairs or sets of four, which can read as a bit too rigid and symmetrical. Within each crate, vary the heights of what you’re displaying to give the eye somewhere to move.
Plants are one of the most effective things you can add to a crate shelf arrangement. Small succulents, trailing pothos, or compact ferns bring life and organic texture that softens all those hard wooden edges. If the crates are somewhere without a lot of natural light, go for low-maintenance varieties like snake plants, ZZ plants, or air plants. For something more dramatic, try placing one bold plant — a fiddle-leaf fig or a cascading string of pearls, say — in or beside your largest crate to anchor the whole arrangement and give it a focal point.
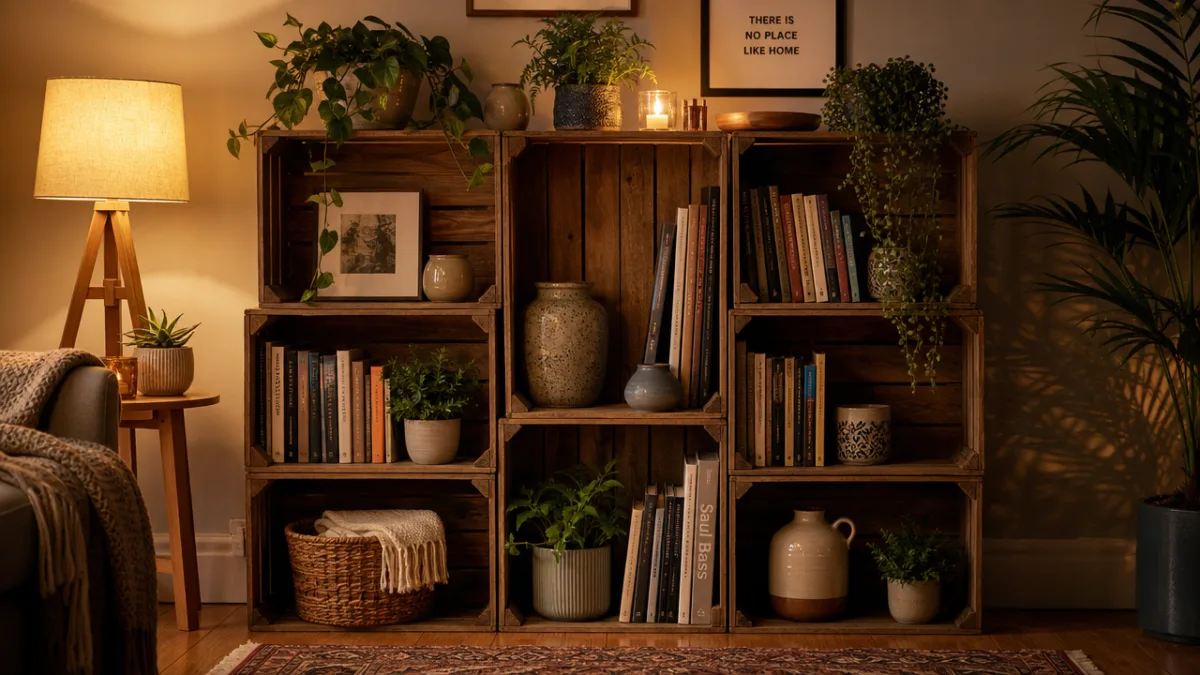
Books are natural companions for crate shelves, but how you display them really does matter. Instead of packing every crate with books spine-out, try mixing horizontal stacks with vertical rows, and use bookends made from stone or driftwood to add some textural contrast. Weaving in small framed prints, ceramic vessels, candles, and collected objects alongside the books creates that layered, lived-in look that feels personal rather than staged. The goal is for the whole thing to tell a little story about who you are through the objects you’ve chosen to put there.
Lighting is the last piece of the puzzle, and honestly it might be the most transformative one. Small LED strip lights tucked along the inside edges of crates cast a warm glow that turns a simple shelf into a dramatic feature after dark. Battery-powered fairy lights draped through open compartments add a cozy, whimsical feel to a bedroom or living room arrangement. For something more polished, small clip-on or plug-in picture lights mounted above certain crates can spotlight specific objects or collections, giving the whole setup a gallery-style quality that really elevates the room.
Maintenance and Longevity Tips
Like any wood furniture, crate shelves need a little basic care to stay looking good and hold up over time. The most important habit to get into is keeping them clean and dry — especially in kitchens or bathrooms where moisture is a constant factor. Wipe down the surfaces regularly with a slightly damp cloth, follow immediately with a dry one, and don’t let water sit on or inside the crates. Moisture is genuinely wood’s worst enemy; it leads to swelling, warping, discoloration, and eventually rot if left unchecked.
Depending on what finish you used, your crates may need a bit of periodic re-treatment. Oil-finished crates typically benefit from a fresh coat every six to twelve months to keep the wood looking nourished and maintain its water resistance. Chalk-painted and wax-finished crates can be buffed with a coat of clear wax once a year to refresh the protective layer and bring back a bit of sheen. Stained and polyurethane-coated crates are the most hands-off option — they really just need regular cleaning and maybe a light sanding and recoat every few years in high-traffic spots.
It’s also worth making a habit of checking your wall-mounted shelves every so often to make sure all the hardware is still tight, particularly if they’re carrying heavier things like books or ceramics. Wood naturally expands and contracts a bit with the seasons as temperature and humidity shift, and over time that movement can gradually loosen screws in wall anchors. Tightening everything up twice a year takes only a few minutes and is a lot less disruptive than dealing with a shelf that’s worked its way loose from the wall. Take good care of them and quality wooden crate shelves can last for years, developing a rich patina that honestly just keeps getting better with age.








What do you think?
It is nice to know your opinion. Leave a comment.