










12 Easy DIY Home Projects That Look Expensive
Why DIY Home Projects Are Worth Your Time and Energy
A lot of people assume that a beautifully designed home is only possible with a professional interior designer and a massive budget. But honestly? Some of the most stunning home transformations out there came from weekend projects, a little patience, and a surprisingly modest trip to the hardware store. The difference between a home that looks expensive and one that actually cost a fortune is smaller than you’d think — and most of that gap comes down to effort and intention.
DIY home projects have exploded in popularity over the last decade, and it’s pretty easy to see why. Homeowners and renters alike have figured out that rolling up their sleeves for a weekend project doesn’t just save money — it also delivers that rare, deeply satisfying feeling of having actually made something. When a guest compliments something in your home and you get to say “I did that myself,” that pride is genuinely priceless. No store-bought item can give you that.
And the financial case for going DIY is hard to argue with. Projects that would cost thousands when hired out can often be done for a fraction of the price using materials you can grab at your local hardware or craft store. This article covers twelve of the most impactful, beginner-friendly DIY home projects that consistently fool guests into thinking you spent way more than you actually did.
Transforming Walls with Paint, Panels, and Texture
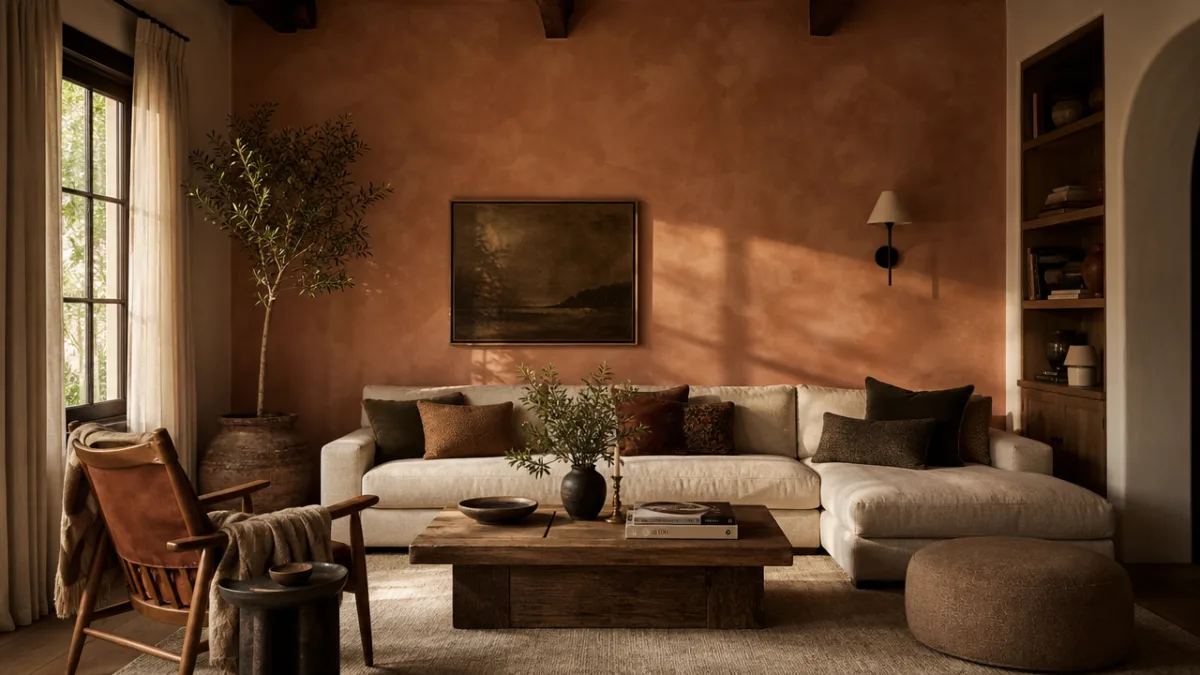
Nothing changes a room faster — or more affordably — than what you do with the walls. The right paint color can completely shift the mood of a space, making it feel warmer, more sophisticated, or more open. The trick is moving past those safe, builder-grade whites and beiges that most homes default to and actually committing to a color with some personality. Deep jewel tones, warm terracotta, and moody greens have all proven time and again that they make a room look curated and intentional rather than just… fine.
One of the most impressive wall treatments you can pull off without any professional help is shiplap or board-and-batten paneling. These wooden accent walls create the kind of architectural interest you’d normally associate with high-end custom builds, but they can be installed over a single weekend with basic tools and inexpensive lumber from your local home improvement store. Paint it a crisp white or a muted sage and the result looks straight out of an upscale design magazine — and your guests will almost certainly assume it cost far more than it did.
Limewash paint is another technique that’s been having a real moment in the design world, and it’s surprisingly easy for a DIY beginner to pull off. Unlike regular wall paint, limewash creates a layered, slightly mottled finish that looks antique and richly textured — like the walls have a history. You build it up by layering diluted paint with a wide brush, working in different directions to get that characteristic organic look. Tutorials are everywhere online, the materials are affordable, and even experimenting on a small accent wall is low-risk enough that there’s really nothing to lose.
Upgrading Fixtures and Hardware for Maximum Impact
Here’s one of the most underrated secrets in interior design: high-end spaces rely heavily on consistent, quality hardware throughout. Cabinet pulls, door handles, faucets, light switch covers — these are essentially the jewelry of a room. Swapping out dated or mismatched hardware for a cohesive, modern set can completely change how a kitchen or bathroom feels. And the best part? This usually requires nothing more than a screwdriver and an hour or two of your afternoon.
Brushed brass, matte black, and unlacquered bronze have all taken over as the dominant finishes in contemporary design, replacing the chrome and nickel that felt so fresh a generation ago. Replace every cabinet pull in your kitchen with a matching set of sleek brass bar handles, for example, and the whole room suddenly feels like it was professionally designed. A full set of hardware for a modest-sized kitchen can easily come in under a hundred dollars — yet the visual upgrade is worth many times that.
Light fixtures are another area where a targeted swap delivers way more than you’d expect. Trading a basic builder-grade flush mount for a statement pendant or layered chandelier instantly changes how a room reads. Beautiful fixtures are available at accessible price points from all kinds of retailers and online marketplaces, and installation is well within reach for a confident DIYer who’s comfortable flipping a circuit breaker and following basic electrical instructions. Add the right bulb temperature and a dimmer switch, and the effect is genuinely dramatic.
Creating Custom Built-Ins and Storage Solutions
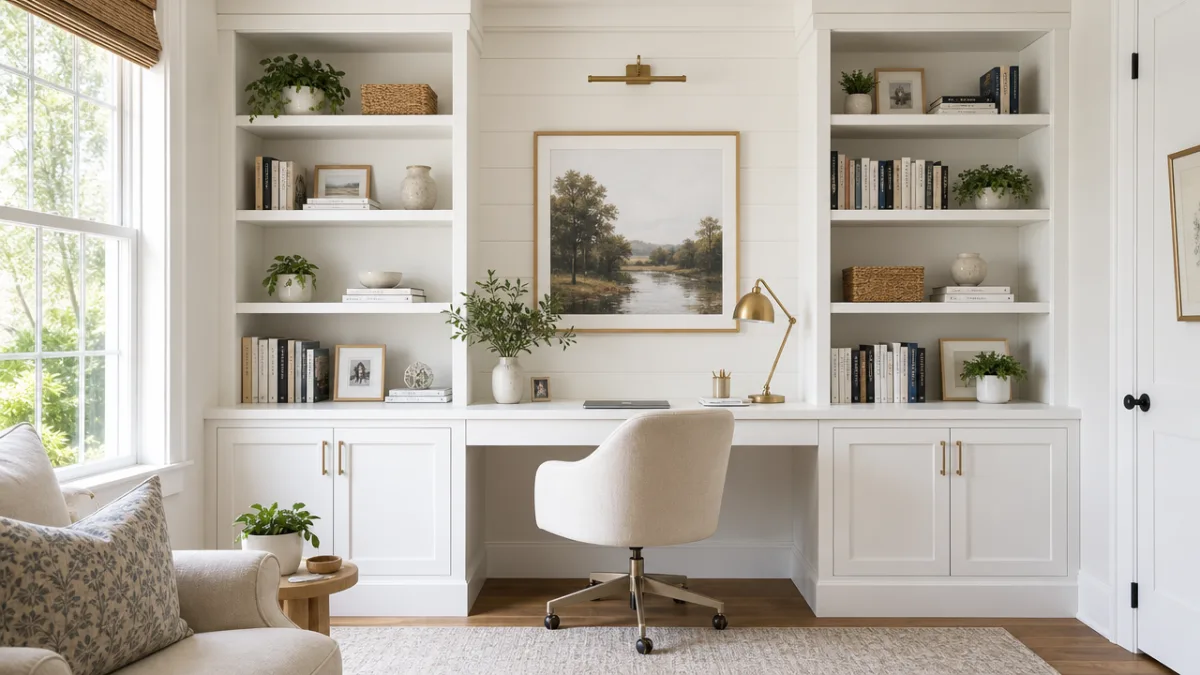
Custom built-in shelving and cabinetry is one of those features that people most strongly associate with expensive homes — and also one of the things they most quickly assume is completely out of reach for a DIYer. That assumption is outdated. With modular shelving systems, solid carpentry tutorials, and pre-primed MDF boards all readily available, creating something that genuinely looks like custom millwork is more achievable than ever. The secret is in the finishing details: tight joints, trim work, and a smooth painted finish do most of the heavy lifting.
A popular approach is to use IKEA bookcases or similar flat-pack units as the structural backbone of the built-in, then frame everything out with trim and paint it all a single unified color so the whole thing reads as one seamless, intentional piece. This technique — often called the “IKEA hack” — has been documented all over the internet, and the results genuinely rival built-ins that cost ten times as much. The flanking trim, crown molding along the top, and baseboard at the bottom are what transform a bunch of boxes into something that actually looks architectural.
Smaller spaces like bathrooms and laundry rooms also benefit enormously from a little DIY attention. Installing floating shelves with sturdy brackets, adding woven baskets or labeled containers, and replacing hollow-core doors with solid or glass-panel alternatives are all relatively simple upgrades that can elevate an entire room. When storage looks organized and intentional, it signals a level of care and design awareness that people instinctively associate with expensive homes.
- Use IKEA or flat-pack units as the structural base for built-in shelving, then frame out with trim and paint for a custom look.
- Add crown molding along the top of built-ins to create the appearance of architectural millwork.
- Keep baskets, boxes, and containers uniform in color and material for a cohesive, designed aesthetic.
- Choose floating shelf brackets that disappear behind the shelf for a cleaner, more expensive appearance.
- Paint all elements of a built-in a single color, including the back wall, to unify the whole composition.
Refreshing Floors Without Replacing Them
Replacing floors is one of the most expensive and disruptive home improvement projects out there — but the good news is that it’s rarely as necessary as homeowners think. Existing floors, whether hardwood, tile, or even vinyl, can often be refreshed, painted, or overlaid to look dramatically better without the cost and chaos of a full replacement. The key is just figuring out which approach fits your specific floor, and then most of the hard work is already done.
Hardwood floors that look dull, scratched, or discolored can often be revived through a process called screening and recoating — essentially lightly abrading the surface and applying a fresh layer of polyurethane finish. It’s far less invasive than full sanding and refinishing, can usually be done in a single day, and produces a floor that looks freshly installed. For floors with deeper damage, wood filler and careful spot staining can handle problem areas before you recoat. The result is a smooth, gleaming surface that communicates quality and care.
For tile floors that feel dated because of their grout rather than the tiles themselves, re-grouting or grout painting is a genuinely revelatory upgrade. Old, stained grout lines make even nice tile look tired and dirty. Fresh grout transforms those exact same tiles into something that looks brand new. Grout paint comes in a wide range of colors, can be applied with a small brush in an afternoon, and seals the grout without any demolition required. Going from a yellowed beige grout to a crisp white or a deliberate charcoal can make the whole floor feel like a considered design choice rather than a relic of whoever lived there before you.
Adding Architectural Details That Look Custom
Architectural details are probably the single biggest thing that separates homes that feel generic from those that feel considered and expensive. Crown molding, wainscoting, coffered ceilings, picture rail molding — these features signal craftsmanship and attention to detail in a way that immediately elevates a space. The great news is that nearly all of them can be added to an existing home by a motivated DIYer using widely available materials and well-documented techniques you can find in tutorials and YouTube videos.
Crown molding is a great place to start because the visual payoff is significant while the learning curve is still manageable. Foam crown molding in particular has improved dramatically in quality — once it’s painted, it’s nearly indistinguishable from wood. It’s lighter, easier to cut, and much more forgiving for a beginner than traditional wood molding. Running it around the perimeter of a living room or master bedroom ceiling adds a sense of formality and finish that makes the whole room feel more deliberate and polished, as if it had been carefully designed from day one.
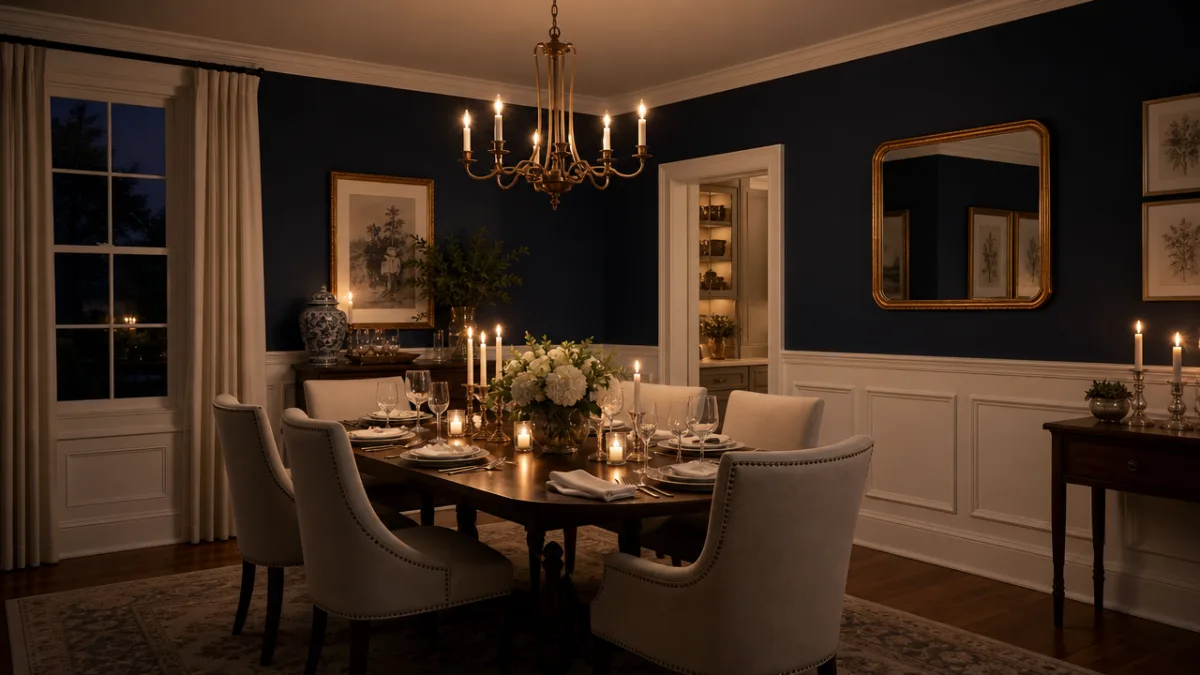
Wainscoting and picture frame molding on the lower half of a wall is another classic architectural detail that looks expensive while staying firmly in DIY territory. The technique involves attaching flat molding strips to the wall in geometric patterns, then painting the whole panel — molding and wall together — a single color to create a unified, textured effect. Paired with a contrasting color or bold wallpaper above the molding line, the result is a formal, designed look that wouldn’t be out of place in a high-end townhouse or boutique hotel. The materials cost surprisingly little, and the transformation is nothing short of remarkable.
- Start with crown molding in one room to build your confidence before tackling the whole house.
- Use foam or polyurethane molding for easier cutting, lighter weight, and greater forgiveness for beginners.
- Apply picture frame molding in a grid pattern on a dining room wall for a formal, elegant look.
- Paint all wainscoting elements and the wall behind them a single color for a seamless, custom appearance.
- Combine wainscoting with a bold wallpaper or paint color above the rail to create visual drama and contrast.
- Use a laser level when laying out molding patterns to ensure clean, professional-looking lines.
Finishing Touches That Pull Everything Together
The final layer of any well-designed space is what interior designers call the “finishing touches” — the carefully chosen accessories, textiles, and small details that take a room from functional to actually beautiful. These are often the last things people think about, but they carry an enormous amount of visual weight. A thoughtfully put-together set of throw pillows, a woven area rug in the right scale, a grouping of framed prints hung at the right height — each of these decisions communicates design confidence and lifts the overall impression of the space without requiring a single tool.
DIY artwork is one of the most impactful and accessible finishing touches available to any homeowner. Abstract canvases painted in colors pulled from the room’s palette, gallery walls assembled from a mix of thrifted frames and printed photographs, oversized botanical prints downloaded from free archives and printed at a local print shop — all of these can produce artwork that looks intentional and sophisticated at a fraction of what you’d pay in a gallery. The secret is consistency in framing and matting, which gives even simple prints a polished, gallery-quality appearance.
Finally, don’t underestimate the impact of the details most people skip over — caulking around trim, touching up paint along baseboards, replacing cracked outlet covers, and steam-cleaning upholstery. These things create a background level of cleanliness and completeness that makes everything else in the room look better. The most expensive-looking homes aren’t necessarily the ones with the most impressive features; they’re the ones where everything feels finished, intentional, and well cared for. Committing to that standard across your whole home is itself a kind of ongoing DIY project — and its effect on how your space feels to anyone who walks through the door is genuinely profound.








What do you think?
It is nice to know your opinion. Leave a comment.