










Vegetable Garden Fence Ideas: How I Built Mine
Why Every Vegetable Garden Needs a Fence
When I first started my vegetable garden, I honestly thought I just needed to plant seeds, water them, and wait for the magic to happen. One season was all it took to set me straight. Deer, rabbits, groundhogs, and the neighbor’s dog had completely different ideas about what my carefully tended beds were for. The hard truth is that a fence isn’t just a nice-to-have — if you’re putting real time, money, and energy into growing food, you need one. Otherwise, you’re basically running a free buffet for the local wildlife.
But pest control is really just the beginning. A good fence does a lot of things gardeners don’t think about until they actually have one. It gives you a clean perimeter to manage weeds along, it doubles as a structure for climbing plants like beans, cucumbers, and peas — which means more growing space without expanding your footprint — and it can even act as a windbreak that helps fragile seedlings survive those unpredictable early spring days.
There’s also something that just feels right about a fenced garden. It stops being a random collection of beds and starts feeling like an actual place — a proper kitchen garden, like an outdoor room you designed on purpose. Whether you go with a rustic wooden picket fence, a simple wire enclosure, or something a little more elaborate, fencing gives the whole space a sense of permanence. And honestly, it makes growing your own food feel even more rewarding.
Choosing the Right Fencing Material for Your Garden
The right fencing material really depends on your budget, the look you’re going for, what kinds of animals are giving you trouble, and how long you want the thing to last. There’s no single perfect answer, but spending a little time understanding your options before you buy anything is absolutely worth it. I did a lot of research before settling on my own design, and I’m so glad I didn’t just grab whatever was on sale at the hardware store.
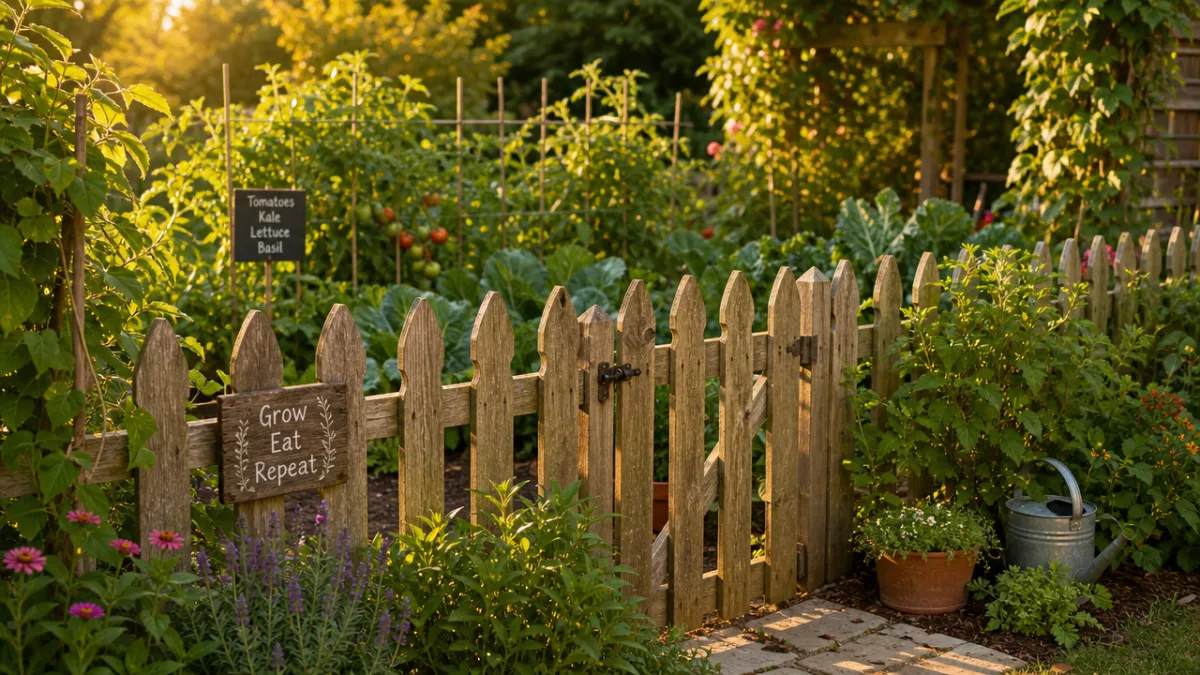
Wood is probably the most popular choice for vegetable gardens — it’s versatile, easy to find, and works with just about any style. Cedar and redwood are the top picks if you want something that’ll hold up over time, since both are naturally rot- and insect-resistant. Pressure-treated lumber is durable too, though some gardeners would rather not use it right next to edible plants given the chemicals involved. A standard wooden picket fence runs about two to four feet tall, which is plenty for rabbits and smaller critters, but deer will hop right over it without even thinking twice.
Wire fencing is a more practical option, especially for larger gardens or tighter budgets. Welded wire, chicken wire, and hardware cloth all have their strengths depending on what you’re dealing with. Hardware cloth with a small mesh — around a quarter to half an inch — is your best bet against rodents like voles and mice that can squeeze through or burrow under looser materials. Chicken wire is lightweight and affordable and handles rabbits just fine. Welded wire panels are sturdy enough to double as a trellis, which I love. Personally, I found that combining wood posts with wire mesh hit the sweet spot between looks and practicality.
- Cedar or redwood pickets: Long-lasting, naturally rot-resistant, and visually appealing for a classic cottage garden look.
- Chicken wire: Affordable and lightweight, ideal for rabbit deterrence and temporary seasonal enclosures.
- Hardware cloth: Small mesh openings make it the gold standard for keeping out rodents and burrowing pests.
- Welded wire panels: Strong and durable, doubles as a trellis for climbing plants like cucumbers and pole beans.
- Vinyl or PVC fencing: Low maintenance and weather-resistant, though typically more expensive upfront than wood or wire.
- Split rail with wire backing: A rustic, attractive design that combines the beauty of wood with the pest-deterrence of wire mesh.
Planning Your Fence Layout and Dimensions
Before you buy a single board or unroll any wire, you really need a plan. Start by mapping out the exact footprint of your garden — grab some stakes and string, mark the corners, and run a line along each side to get solid measurements of the perimeter. This step alone will save you from over-buying materials and gives you a much better feel for how the finished fence will actually look out there. It’ll also reveal any tricky spots — slopes, tree roots, rocky patches — that could mess with your post placement later.
Height is one of the most important things to get right, and the answer really depends on what you’re trying to keep out. Two feet is usually enough for rabbits and small rodents, but you should also bury the bottom edge of the wire at least six inches and bend it outward to stop anything from tunneling under. Groundhogs are more determined diggers and may need up to a foot of buried barrier. Deer are the real challenge — they can clear a six-foot fence without breaking a sweat, so if you’re dealing with deer, you’re looking at eight feet minimum, or you’ll need to get creative with angled or double-fence designs.
Gate placement is worth thinking through carefully too. You’re going to be going in and out of that garden constantly — with a wheelbarrow, a cart, armfuls of tomatoes — so your gate needs to actually accommodate that. Three feet wide is the minimum for a single gate, and a lot of gardeners go with a double gate of five or six feet to make moving equipment easy. Put the gate on whichever side of the garden is closest to your house, compost pile, or water source, and you’ll thank yourself every single time you do garden chores.
Step-by-Step: How I Built My Garden Fence
When I finally committed to building my fence, I went with a design that combined four-by-four cedar posts, welded wire mesh panels, and a simple wooden gate. The whole project took two weekends and ran me about three hundred dollars in materials — though your cost will vary depending on how big your garden is and what lumber prices look like in your area. I’ll walk you through exactly what I did, including the places I stumbled, so hopefully you can skip those parts.
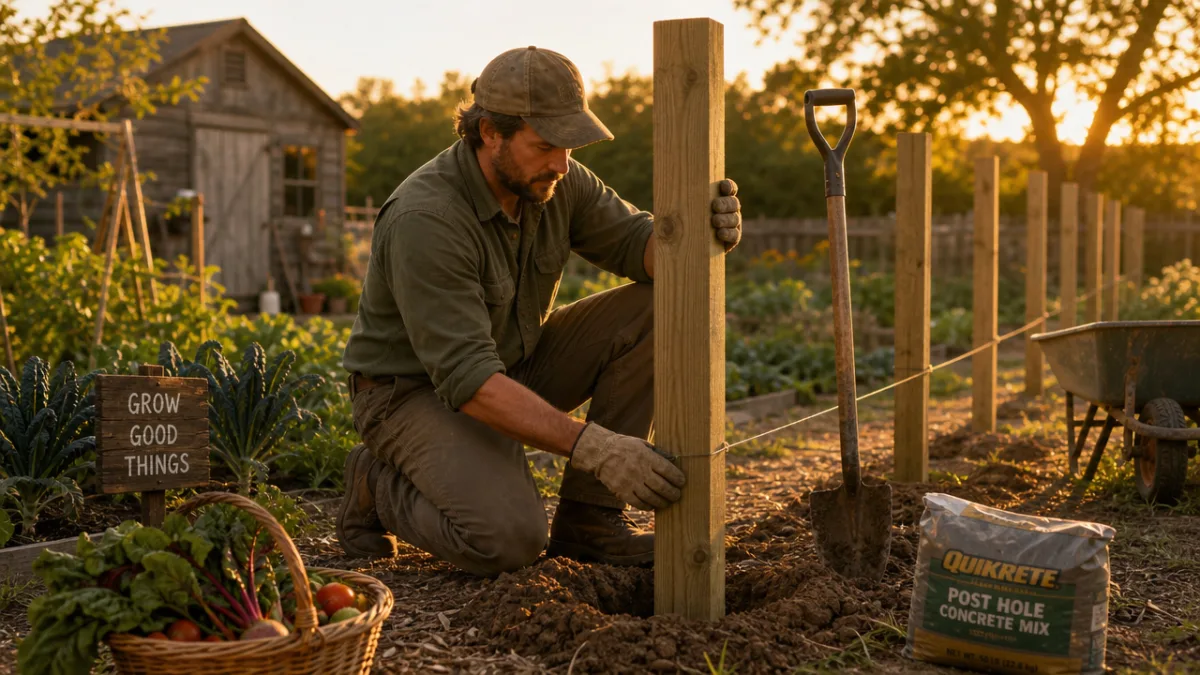
The first thing I tackled was setting the corner posts, since those are the whole structural foundation of the fence. I dug the holes about twenty-four inches deep and eight inches wide using a post hole digger, then set each cedar post in quick-setting concrete mixed according to the package directions and poured straight into the hole. Getting those posts perfectly plumb — perfectly vertical — at this stage is not something you want to rush or skip. I used a level on two adjacent sides of each post and braced them with temporary wooden supports while the concrete cured overnight. If you don’t get this right, the whole fence will look off, and there’s really no easy fix once the concrete sets.
Once the corner posts were solid, I ran a string line between them at the height I wanted and used that as a guide for placing the intermediate posts every eight feet — which conveniently matched the standard width of my wire panels and kept the mesh from sagging. With all the posts in, I attached top and bottom horizontal rails with galvanized screws, which hold up to moisture way better than regular steel. Then I stapled the welded wire to the inside of the posts with a heavy-duty staple gun, pulling it as tight as I could to keep animals from pushing through. The last piece was building a simple cedar gate, hanging it on heavy-duty hinges, and adding a one-handed latch for when my hands are full of tools or vegetables.
- Mark the perimeter of your garden with stakes and string, then measure all four sides carefully.
- Dig post holes at corner positions and every eight feet along each side, to a depth of at least twenty-four inches.
- Set cedar or treated wood posts in quick-setting concrete, checking for plumb on all sides before the concrete cures.
- Allow concrete to cure fully — at least twenty-four hours — before attaching any horizontal rails or wire.
- Attach top and bottom horizontal rails between posts using galvanized screws for rust resistance.
- Unroll and attach welded wire mesh or hardware cloth to the inside of the posts, pulling it taut as you go.
- Bury the bottom edge of the wire at least six inches deep and bend it outward to prevent burrowing animals from getting underneath.
- Build or purchase a gate, hang it on heavy-duty hinges, and add a reliable latch to keep it securely closed.
Decorative Touches That Make Your Fence Beautiful
A functional fence doesn’t have to be ugly. Some of the most stunning kitchen gardens I’ve come across have fences that are almost as beautiful as what’s growing inside them — structures that frame the space the way a good picture frame completes a painting. With a few thoughtful choices and some simple extras, even a basic wire-and-post fence can feel intentional, welcoming, and genuinely yours.
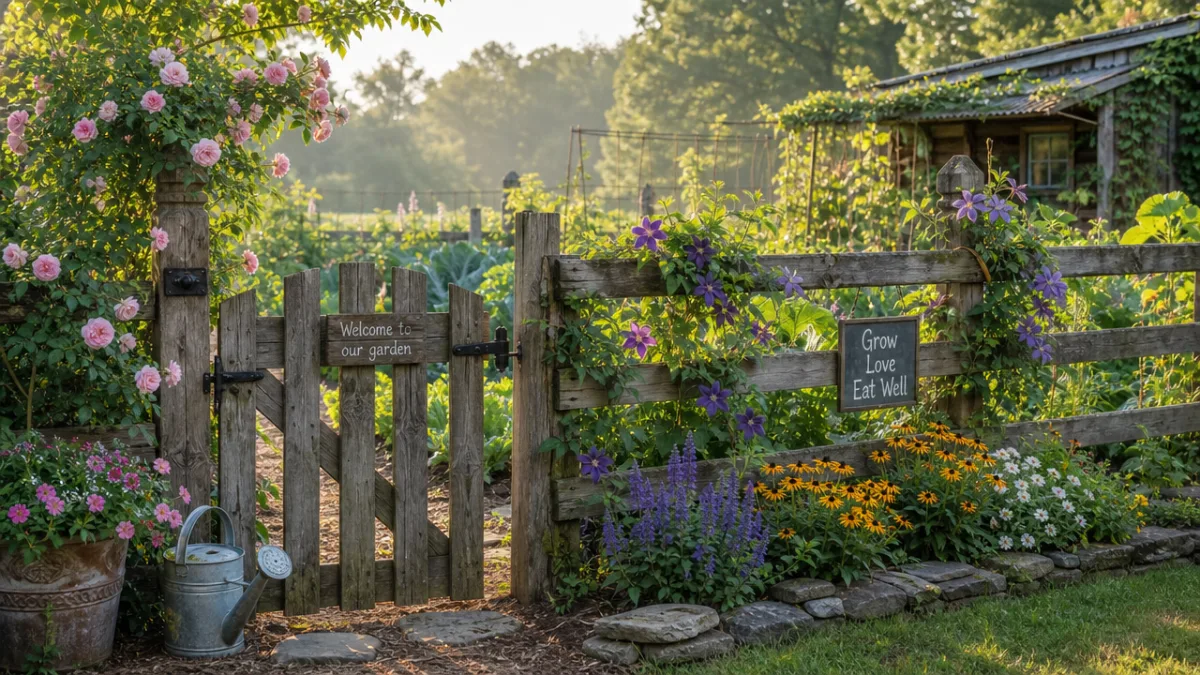
One of the easiest ways to add life and color to a fence is to grow flowering vines along it. Annual climbers like nasturtiums, morning glories, and sweet peas grow fast and pump out color all summer long. Perennial vines like clematis, climbing roses, and honeysuckle take a season or two to get going, but once they do, they just keep getting better every year. Beyond the visual impact, they attract pollinators that help the whole garden. I planted a climbing rose along one side of my fence and lined the outside of another with tall sunflowers, and the difference it made to the whole backyard was remarkable.
Decorative post caps are one of those small details that have an outsized effect on how a fence looks overall. They range from simple flat caps that keep moisture out of the post end to ornate finial designs that give the whole thing a more formal, traditional feel. It’s also worth thinking about whether you want to paint or stain the wooden parts of your fence — a warm grey stain or a clean coat of white paint can tie the fence to your home’s exterior and give the garden area a polished, pulled-together look that honestly does nice things for your curb appeal too.
Maintenance Tips to Keep Your Garden Fence in Top Shape
Building the fence is only half the job. Taking care of it over the years is what keeps it actually protecting your garden and looking good while it does it. Wood, wire, and hardware all need some attention here and there, and catching small issues early is so much easier than dealing with bigger problems later. My routine is a thorough check at the start of each gardening season and another quick one at the end of fall before winter hits.
The wooden parts need the most upkeep. Every spring, I check all the posts at ground level for soft, discolored, or crumbling wood — the telltale signs of rot. Even cedar and redwood will start to break down eventually where they’re in contact with soil, and replacing one rotted post is a whole lot easier than dealing with a collapsed fence section. I re-apply exterior stain or paint every couple of years to keep moisture and UV damage at bay, and I go around tightening any loose screws or staples and replacing wire that’s stretched out, kinked, or rusted through.
The base of the fence — where it meets the ground — deserves its own attention at the start of each season. Soil and mulch tend to creep up against wooden posts over time, trapping moisture and speeding up decay faster than almost anything else. I pull back whatever has accumulated and let the base of the posts breathe. I also check the buried wire along the bottom for any spots where something has been digging, and reinforce those areas with extra wire or a few flat paving stones along the fence line. A fence that gets this kind of regular attention can easily last fifteen to twenty years, which makes the upfront investment in good materials and solid installation more than worth it.
Budget-Friendly Fence Ideas for Every Gardener
Not everyone can drop three hundred dollars or more on a permanent garden fence, and that’s completely okay. There are plenty of creative, low-cost approaches that work just as well as the pricier options — especially if you’re just getting started with gardening, or if you’re renting and can’t make permanent changes to the yard. The main thing is to focus on function first: keep the pests out. The aesthetics can always improve as your budget and your garden grow together.
Salvaged and repurposed materials are a goldmine if you’re watching your spending. Old wooden pallets can be taken apart and reassembled into a surprisingly solid and even charming fence for almost nothing beyond the time it takes to find and haul them — and a lot of businesses that receive large shipments are happy to give them away for free. Salvaged lumber from a demolition site, old metal bed frames, bamboo poles from an overgrown patch in the yard — all of these can be turned into a functional garden fence. The result often has a genuinely appealing, cottage-garden character that suits a vegetable garden really well.
Temporary and seasonal fencing is another solid option, especially if you only need protection during the growing season. Portable wire panel systems that stake into the ground and can be moved or stored at the end of the year are easy to find at hardware stores and farm supply shops. Even floating row cover fabric on wire hoops can do double duty, protecting young plants from both insects and small animals at the same time. Whatever your budget, the single most important thing you can do for your vegetable garden is put some kind of barrier between your plants and the wildlife outside. An imperfect fence is still infinitely better than no fence at all.








What do you think?
It is nice to know your opinion. Leave a comment.