










The Beginner’s Guide to Creating a DIY Backyard Pond
Why a Backyard Pond Transforms Your Outdoor Space
If you’re looking for a landscaping project that actually changes the feel of your yard, building a pond might be the best thing you ever do with a weekend. It’s not like planting a garden bed or laying down a patio — a pond brings something alive into your space. We’re talking about wildlife showing up, the sound of moving water, and a focal point that makes your backyard feel less like a lawn and more like somewhere you actually want to spend time.
There’s also a real ecological side to this that a lot of people don’t think about. Frogs, dragonflies, birds, beneficial insects — they’ll all find your pond eventually. And once the ecosystem gets established, it largely takes care of itself. Plants, fish, and microorganisms work together in ways that keep the water healthy with surprisingly little help from you. That’s one of the things people love most about having a pond: you’re not just maintaining something, you’re watching something live.
A lot of beginners talk themselves out of it before they even start, assuming it’s too complicated or too expensive without hiring someone. But honestly, a well-planned DIY pond can be done in a single weekend for a few hundred dollars depending on how big you go. No landscaping experience required. The biggest thing that separates a pond that looks great and lasts for decades from one that becomes a headache is simple: planning before you dig.
Planning Your Pond: Location, Size, and Design
If there’s one decision that matters more than everything else in this project, it’s where you put the pond. Location controls sunlight, and sunlight controls pretty much everything — what plants will do well, how fast algae grows, whether your fish are comfortable. You want a spot that gets four to six hours of direct sun per day. That’s enough to keep water lilies happy, but not so much that the water turns into a warm, algae-friendly soup. One thing to avoid: spots directly under big trees. Falling leaves decompose in the water and create water quality problems that are genuinely annoying to deal with.
Bigger is actually easier when it comes to ponds — that surprises a lot of people. More water volume means temperatures and water chemistry stay more stable, which means less work for you. A good starting target is about eight feet long, six feet wide, and two feet deep. That gives you enough room to keep fish and grow a good variety of plants. That said, a smaller decorative pond without fish is a completely legitimate option, especially if you’re working with a tight space or a tight budget.
Before you commit to anything, sketch it out on paper. Think about the shape — kidney or freeform shapes tend to look more natural in garden settings, while straight lines and rectangles suit modern or formal yards. Consider what you’ll see from inside your house and from wherever you like to sit outside. Also plan for a shallow shelf around part of the edge, somewhere in the six-to-twelve-inch depth range. That shelf is where your marginal plants will go, and it also gives frogs and small critters a way in and out of the water.
Gathering Your Materials and Tools
Once your design is locked in, get everything together before you start digging — you don’t want to be making hardware store runs mid-project. The most important thing you’ll buy is your liner, the waterproof membrane that holds the whole pond together. Go with EPDM rubber if you can. It’s flexible, handles UV exposure well, and can last twenty years or more. PVC liners are cheaper but they tend to crack and degrade faster when they’re exposed to sunlight and temperature swings year after year.
Figuring out how much liner you need is straightforward. Take your maximum length, add twice the maximum depth, then add two feet for overlap — that’s your liner length. Do the same math for the width. So if your pond is ten feet long, eight feet wide, and two and a half feet deep, you’re looking at a liner roughly seventeen feet long and fifteen feet wide. Always round up and buy a little extra. You can’t splice more liner on once it’s in, and having extra at the edges gives you real flexibility when it comes to tucking and securing things.
Here’s a general list of what you’ll need for a basic backyard pond:
- EPDM rubber pond liner sized to your calculations
- Underlayment or pond underlay fabric to protect the liner from punctures
- A submersible pump rated for your pond’s water volume
- A pond filter — mechanical, biological, or a combination unit
- A shovel and a spade for digging
- A carpenter’s level and a long straight board to check that your edges are even
- Edging stones, boulders, or paving slabs to finish the perimeter
- A garden hose with enough reach to get water to your site
- Aquatic planting baskets and aquatic compost for your plants
- Dechlorinator or water conditioner if you’re planning to add fish
One thing that’s easy to skip but really important: call your local utility locating service before you dig anything. In most areas it’s free, and they’ll come out and mark where underground gas, water, and electrical lines run through your yard. Hitting one of those while digging is dangerous and can be very expensive to fix. Make the call at least a few days before your planned start date, and stay clear of whatever they mark.
Digging and Installing the Liner
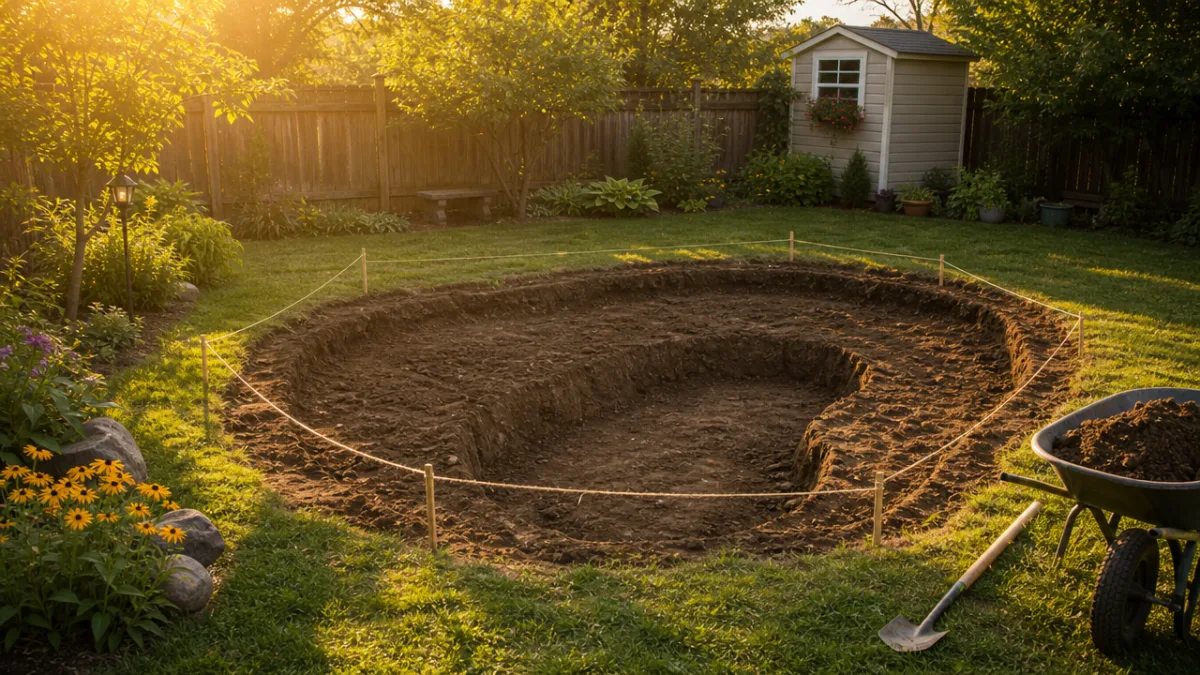
With your materials ready and utilities marked, it’s time for the hardest part physically: the digging. Start by laying out your pond shape with a garden hose or rope, then make it more permanent with spray paint or a line of sand. Work from the center outward, removing soil in layers and checking your depth regularly with a tape measure. It’s easy to lose track of how deep you are when you’re in the middle of it, so measure often rather than guessing.
Dig in tiers to create your shelves. Take the whole footprint down about six inches for your first shelf, then dig a smaller central section down to twelve inches for the second shelf, and finally go down to at least twenty-four inches for the deepest zone where fish will spend their time. These levels give your marginal plants somewhere to sit and give the whole pond a more natural, gradual look. Don’t haul all that excavated soil away — use some of it to build up the edges and create small raised berms around the pond, which helps with drainage and gives the perimeter a more finished, natural feel.
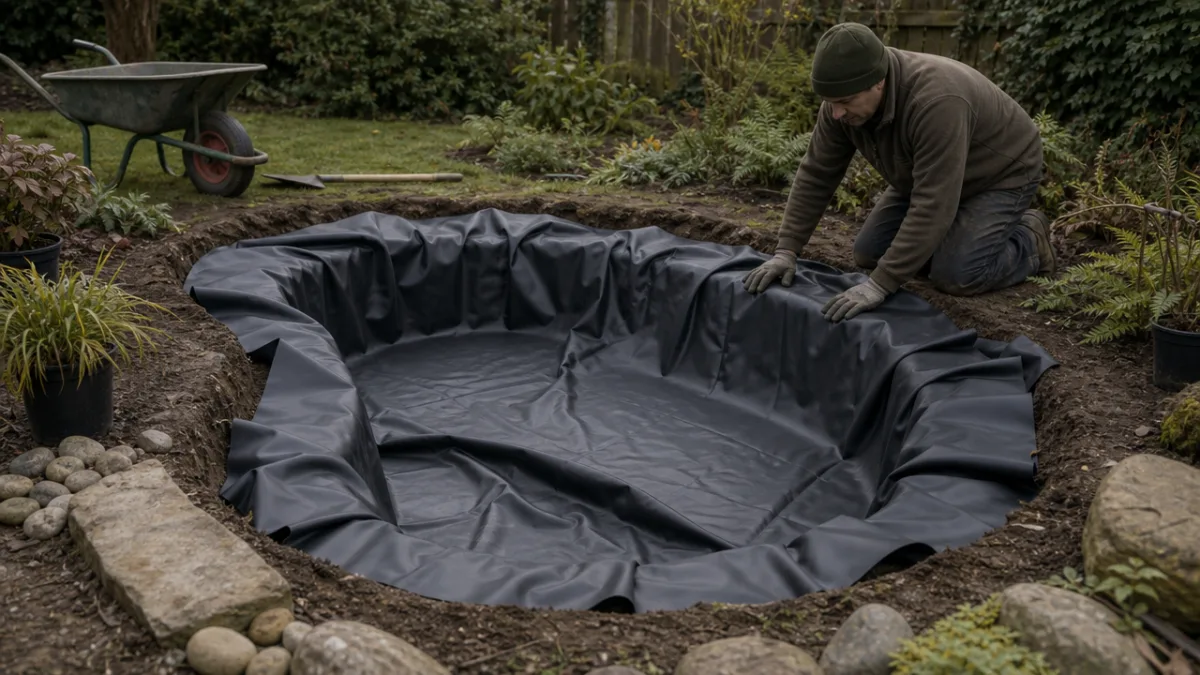
Once you’ve got the hole shaped the way you want it, go through carefully and pull out any sharp rocks, roots, or debris. Even a small stone can work through a liner over time under the pressure of all that water. Lay down your underlayment fabric first, pressing it into all the contours and shelves. Then drape the liner over the hole, centering it as evenly as you can. Start filling slowly with water, pausing every few inches to smooth out folds and gently press the liner into the shelf contours. The water weight does most of the molding work on its own — let it. Don’t try to yank or stretch the liner into shape by hand.
Installing the Pump, Filter, and Plumbing
Moving water is what keeps a pond healthy. When water sits still, it loses oxygen fast — and that stresses fish, encourages the wrong kinds of bacteria, and leads to that rotten-egg smell that gives backyard ponds a bad reputation. A submersible pump at the deepest point of your pond pulls water through a filter and sends it back to the surface, either through a waterfall, a fountain, or a simple return pipe. That circulation keeps oxygen levels up, pushes debris toward the filter, and creates that gentle water sound that makes sitting near a pond so satisfying.
Sizing your pump comes down to one basic rule: you want to turn over the full volume of your pond at least once per hour. To calculate volume in gallons, multiply length by width by average depth in feet, then multiply by 7.48. A 1,000-gallon pond needs a pump rated for at least 1,000 gallons per hour. It’s worth buying a little more capacity than that, because head pressure — how far the water has to travel vertically to reach its outlet — cuts into a pump’s real-world flow rate compared to what the spec sheet says.
Pond filters fall into two main categories. Mechanical filters catch physical debris like leaves, fish waste, and sediment. Biological filters grow colonies of beneficial bacteria that break down ammonia from fish waste into less harmful compounds. Most people do best with a combination unit that handles both. Put your filter somewhere accessible — tucked behind rocks or plants so it looks natural, but close enough to the edge that you can reach it for cleaning without getting in the water. Run all the electrical through weatherproof conduit and plug it into a GFCI-protected outdoor outlet.
Choosing Plants and Fish for a Balanced Ecosystem
Plants do more for a pond than anything you can buy in a bottle. Submerged oxygenators like hornwort and anacharis add oxygen directly to the water and soak up the excess nutrients that algae would otherwise feed on. Floating surface plants like water lilies and water hyacinth shade the water, keeping temperatures down in summer and starving algae of the sunlight it needs. Marginal plants on the shallow shelves — rushes, cattails, pickerelweed — filter runoff before it reaches the main pond and give wildlife somewhere to hide and nest.
A useful guideline is to aim for about sixty percent surface coverage at the height of summer. That sounds like a lot, but water lilies spread quickly — within a year or two you’ll probably be pulling some back rather than trying to grow more. Plant everything in aquatic baskets filled with proper aquatic compost, not regular potting mix, which releases too many nutrients and turns your water murky. Put a layer of pea gravel on top of each basket to keep the compost from floating out when you lower it in.
Koi and goldfish are the most popular choices for backyard ponds, and both handle cold winters well as long as the pond doesn’t freeze all the way through. The thing that trips up a lot of beginners is overstocking — it’s an easy and expensive mistake. The standard rule is no more than one inch of fish per ten gallons of water. In a 500-gallon pond, that means no more than 50 inches of fish total. Too many fish means more waste than your biological filter can handle, and ammonia spikes can wipe out your fish in just a few days.
Ongoing Maintenance to Keep Your Pond Thriving
Here’s something most people get wrong about pond ownership: they assume it’s going to be a lot of work. A pond that’s well-designed and properly planted is actually one of the lower-maintenance things you can add to a garden. You do need to give it some attention through the seasons, though. In spring, clean your filter, check your pump, and clear out any dead plant material left over from winter. Test your water chemistry with a basic pond test kit and make any adjustments before your fish get more active and start putting more load on the system.
Summer is when you get to actually enjoy the pond — but it’s also when algae tries to move in. String algae, the green hairy stuff that clings to rocks and liner, is a normal part of pond life. A small amount is actually fine; it absorbs nutrients and gives fish something to graze on. But if it keeps coming back thick and fast, that’s telling you something: too much fish food, not enough plant coverage, or fertilizer runoff from a nearby lawn. Fixing the source of the problem will always work better than reaching for an algaecide bottle.
Autumn is the season that needs the most focused attention. Get a fine pond net over the water before leaves start falling heavily — decomposing leaves at the bottom through winter are a real problem. Trim your marginal plants back to just above the waterline as they start dying off. Once water temperatures drop consistently below 50°F, stop feeding your fish; their digestion slows down so much that uneaten food can actually rot inside them. In colder climates, use a pond de-icer or surface aerator to keep an opening in any ice that forms. That opening lets toxic gases from decomposition escape and prevents an oxygen crash under the ice.
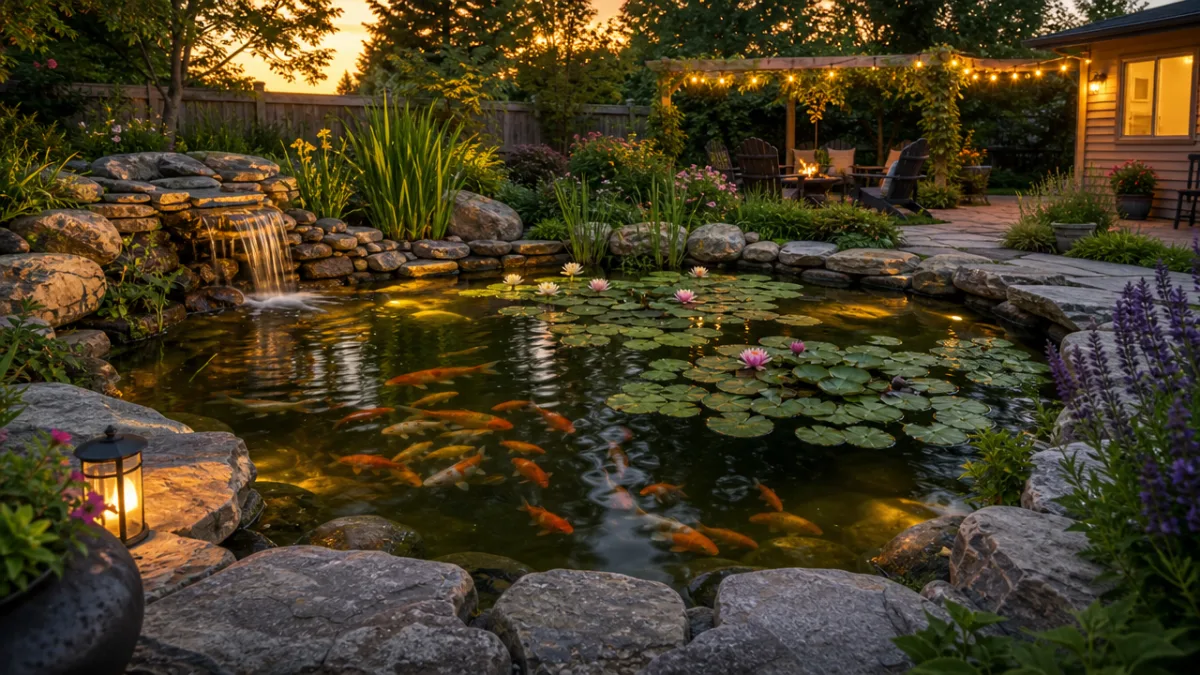
Each season that passes, your pond gets a little more settled and a little more self-sufficient. The plants fill in and shade the water more naturally. The bacteria in your filter build up into something robust. Wildlife discovers the pond and starts coming back regularly. What started as a weekend project gradually becomes one of those permanent features of your yard that you can’t imagine not having — a spot where the sound of water and the occasional glimpse of a goldfish in the sunlight mark the seasons in a way nothing else quite does.








What do you think?
It is nice to know your opinion. Leave a comment.