










DIY Privacy Fence: A Complete Guide to Building Your Own Backyard Retreat
Why a Privacy Fence Is Worth the Investment
A privacy fence does a lot more than just mark where your property ends. It turns your backyard into an actual retreat — somewhere you can relax without neighbors glancing over, block out some of that road noise, and let kids and pets roam freely without worrying. Whether you’re packed into a suburban neighborhood or just have a few nearby properties, a well-built privacy fence genuinely changes how you feel about your yard.
There’s also a solid financial case for it. Real estate agents will tell you that a fenced yard — especially one with real privacy fencing — is a genuine selling point for buyers with kids or pets. And when you do the work yourself instead of paying a contractor thousands of dollars, the return on investment gets even better. It’s the kind of project that can realistically get done over a weekend or two.
Then there’s the part that’s harder to put a number on: actually building something with your own hands. Every time you’re out in the backyard — grilling, hosting friends, or just sitting with a coffee — you’re looking at something you made. That feeling doesn’t go away, and honestly, it’s one of the best parts of a project like this.
Planning and Designing Your Fence Before You Break Ground
If there’s one phase of a fence project that people rush through and later regret, it’s the planning stage. Before you buy a single board or touch a bag of concrete, you really need a written plan that covers total linear footage, height requirements, the style you want, and what material you’re going to use. Spending a week getting this right can save you several weekends of frustrating do-overs.
First, check in with your local municipality or HOA about fence rules. A lot of areas cap residential fences at six feet, and there are often setback requirements that determine how far from a property line or sidewalk your fence needs to sit. Some neighborhoods have aesthetic rules too, restricting certain styles or materials. Calling your local building department before you start isn’t just smart — in many places it’s legally required. Building without a permit where one’s needed can mean hefty fines or even having to tear the whole thing down.
Once you’ve got a handle on the regulations, sketch out your fence layout. Paper works fine, or use one of the free online planning tools. Note where gates will go, flag any slopes that’ll need stepped or raked panels, and — this one’s important — identify underground utilities before you dig anything. In the US, you can call 811 and have underground lines marked for free. It takes maybe five minutes and could literally save your life, so don’t skip it.
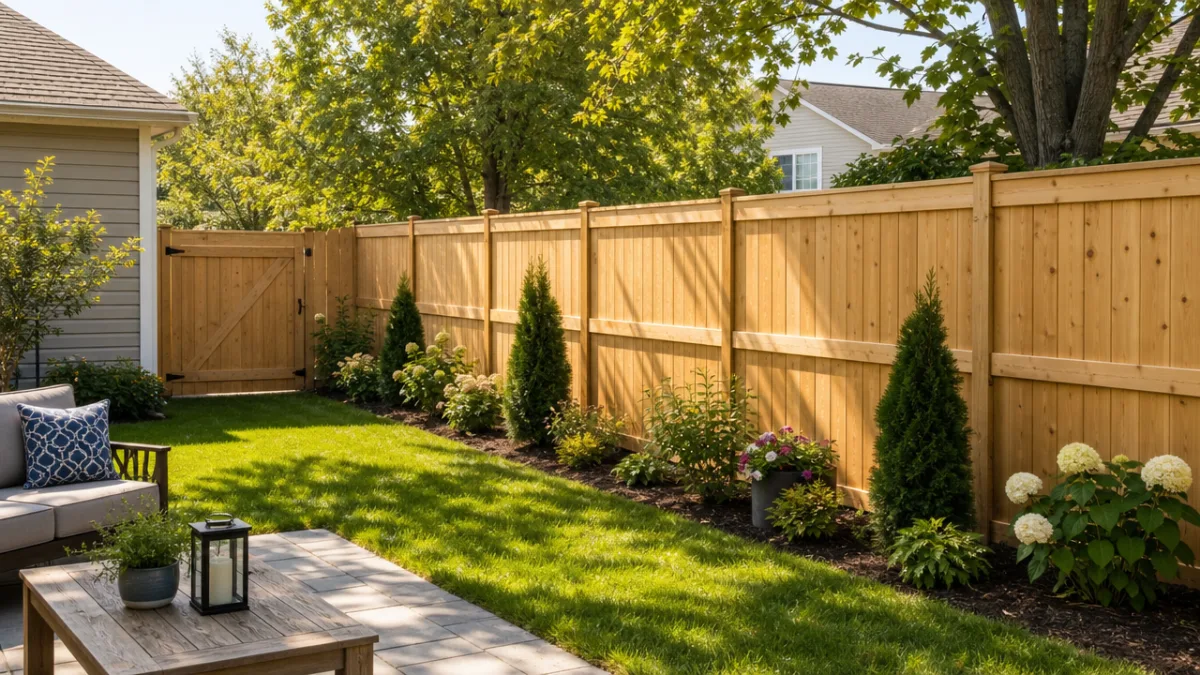
Think carefully about the style too. Classic vertical board-on-board fencing is a go-to for good reason — great privacy, traditional look, works with almost any home. Horizontal slat fencing feels more modern and can make a narrow yard look wider. Shadowbox fencing alternates boards on either side of the rails, which lets air flow through while still blocking sightlines. Each style has its own material needs, build complexity, and visual feel, so pick one that actually suits your home rather than just whatever’s easiest.
Gathering the Right Materials and Tools
The quality of your finished fence really does come down to the materials you start with. For posts and structural components, pressure-treated lumber is the standard for a reason — it holds up against moisture, rot, and insects far better than untreated wood. Your posts are going to be partially buried and dealing with the elements year-round, so this is not the place to cut corners. Invest in properly graded, pressure-treated 4×4 or 6×6 posts and you’re building something that lasts decades, not years.
For the actual fence boards, you’ve got more options. Cedar is probably the most popular choice — naturally rot-resistant, light, easy to work with, and it takes stain or paint really well. Redwood is similar but tends to cost more and can be hard to find outside the western US. Pressure-treated pine is the budget-friendly route, though it has that greenish tint when it’s fresh and really benefits from a season of weathering before you stain it. Whatever you go with, buy about ten percent more than your math tells you to — you’ll use it on warped boards, cut-offs, and the inevitable mistakes.
On the hardware side, don’t cheap out on fasteners. Galvanized or stainless steel screws and nails are a must for anything outdoors. Standard steel fasteners rust fast, and once they do, you get ugly streaks running down your boards and weakened connections throughout the fence. Use exterior-grade, ring-shank nails or coarse-thread exterior screws for the boards, and structural screws or carriage bolts for post connections where you need real holding strength.
The tools for a standard privacy fence project aren’t anything exotic, but having them ready before day one makes a big difference. Here’s what you’ll need:
- Post hole digger or rented power auger for drilling post holes to the correct depth
- Level (at least 4 feet long) for ensuring posts are perfectly plumb
- Circular saw or miter saw for cutting boards to length
- Drill and driver bits for driving screws
- String line and stakes for establishing a straight fence line
- Speed square for checking right angles at corners and gate openings
- Tape measure, pencil, and marking chalk
- Safety glasses, work gloves, and ear protection
- Wheelbarrow and mixing paddle for preparing concrete
If you’re setting more than five or six posts, seriously consider renting a power auger from your local equipment rental place. Digging post holes by hand with a clamshell digger is brutal work, and when you’re exhausted after hours of it, you start making sloppy decisions and cutting corners. A gas-powered one-person auger punches clean, precise holes through rocky or compacted soil in a fraction of the time, and the rental fee is pretty modest compared to how much energy it saves you.
Step-by-Step Construction: From Posts to Finished Panels
Start by laying out the fence line with stakes and a taut string. Drive a stake at each corner and at each gate opening, then stretch a brightly colored string between them at the height where you want the bottom of your posts to sit. Walk the whole line and look for obstructions, grade changes, or property markers that might need adjustments. This is your last easy chance to tweak the layout before the real physical work kicks in, so slow down and get it right.
Getting your posts right is the single biggest factor in how your finished fence looks and holds up. Mark post locations along the string at consistent intervals — most privacy fence panels go in six-foot or eight-foot sections, so your spacing follows those dimensions. Dig each post hole to a depth of at least one-third of the total post length, plus another six inches for a gravel drainage layer at the bottom. In cold climates, posts need to go below the frost line to avoid heaving — your local building department can tell you exactly how deep that is in your area.
Set each post in concrete. Pour about six inches of gravel into the bottom of the hole first, then lower the post in. Prop it temporarily with scrap lumber and diagonal stakes, then use your level to confirm it’s perfectly plumb on two adjacent faces. Mix your fast-setting concrete per the package directions, pour it in around the post, and slope the top of the concrete slightly away from the post so water runs off instead of pooling. Let the concrete cure for the recommended time — usually 24 to 48 hours — before you start hanging rails and boards on it.
Once the posts are set and cured, attach your horizontal rails. Most privacy fences use two or three rails between posts — one near the top, one near the bottom, and optionally one in the middle for taller fences or heavier boards. Standard rails are 2×4 pressure-treated lumber. You can use metal rail brackets for a cleaner look, or notch them directly into the posts for maximum strength. Then start attaching your fence boards from one end and work your way across. If your design calls for uniform spacing between boards, cut a small spacer from scrap wood and use it consistently. For a solid privacy fence, just butt the boards tight together.
Gates need a little extra attention because they have to swing freely and stay that way for years. Build your gate frame from heavier lumber than the fence boards — 2×4 or 2×6 — assembled into a solid rectangle with a diagonal brace running from the bottom hinge corner up to the top latch corner. That diagonal brace isn’t optional; without it, the gate’s own weight will cause it to rack and sag within a season or two. Use heavy-duty exterior hinges rated for your gate’s weight, and space them as far apart on the post as you can to maximize resistance against racking.

Finishing and Protecting Your Fence for Long-Term Durability
A freshly built wood fence looks great, but raw wood that’s left unprotected will start graying quickly and eventually crack as it soaks up moisture and dries out through the seasons. Finishing your fence isn’t really optional if you want it to look good and hold up over the years. The main choice — paint, semi-transparent stain, or solid-color stain — involves some genuine trade-offs worth thinking through before you open anything.
Solid paint gives you the strongest protection against UV and moisture and the widest range of colors. The catch is that paint sits on top of the wood as a film, so as the wood moves with seasonal moisture changes, the paint can peel and chip. And once peeling starts, repainting is a real chore because you have to strip off all the loose paint before you can do anything else. Semi-transparent stains work differently — they soak into the wood fibers rather than forming a surface film, which means they won’t peel. They just fade gradually over time and can be refreshed with a simple cleaning and another coat, no serious prep required. For most people, a good semi-transparent or solid-color stain is the more practical long-term choice.
Before you apply any finish, let new pressure-treated lumber dry for at least 30 days if you can. It holds onto moisture from the treatment process, and if you try to stain it too soon, the finish won’t penetrate properly. Cedar and redwood can usually be finished sooner, but a short waiting period after construction still makes sense. Clean the fence with a wood cleaner or brightener and let it dry completely before you start. When you apply the finish, be generous — especially on end-grain cuts, where moisture is most likely to sneak in first.
A little maintenance each year goes a long way. Every spring, walk the fence line and look for loose boards, damaged posts, or sections where the finish has noticeably faded. Tighten or swap out loose fasteners, reset any shifted posts, and spot-treat bare wood with fresh finish. Pay extra attention to the bottom six inches of your fence boards — that’s where rain splash and wet grass take the biggest toll. Keeping grass and weeds trimmed away from the base of the fence and making sure sprinklers aren’t directly hitting it will also slow down deterioration significantly.
Creative Ways to Enhance Your Privacy Fence
Finishing the fence itself is really just the starting point. With a few thoughtful additions, what begins as a purely functional structure can become one of the best-looking features in your whole backyard. Some of the most impactful enhancements take an afternoon and cost almost nothing, while others are a bigger investment that pays off in lasting beauty and function.
Planting along the fence line is one of the easiest and most satisfying ways to soften the look of a board fence. Climbing vines like clematis, climbing hydrangea, or jasmine can be trained up simple wire or trellis systems and will eventually cover big sections with lush greenery and seasonal blooms. Clusters of tall ornamental grasses at intervals create a layered, designed feel that makes the fence look like part of a garden rather than just a barrier. Narrow columnar evergreens like arborvitae or Sky Pencil holly provide year-round screening and grow naturally against the fence without needing to be attached to it.
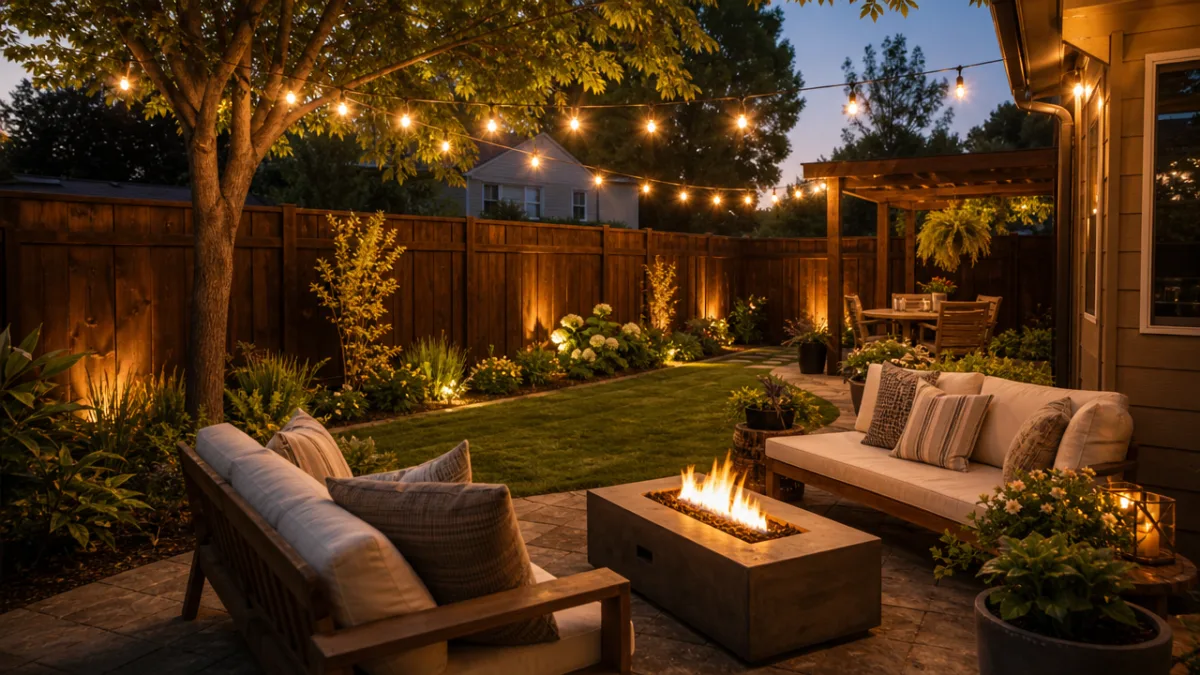
Lighting transforms the whole feel of a fenced backyard after dark, stretching out the hours you can actually enjoy the space. Solar post cap lights are the simplest option — no wiring, just set them on top of each post and you’re done. String lights draped along the top rail or strung through eye-hooks on the inside of the fence create that warm, festive glow that’s become synonymous with great outdoor entertaining. Low-voltage landscape lights angled up to wash across the face of the fence can highlight the wood’s texture in a way that looks genuinely striking on a summer evening.
It’s also worth thinking about ways to make the fence do more work as part of your overall outdoor setup. Mounted planters attached directly to the fence boards give you a vertical garden, which is especially handy in smaller yards where ground space is tight. A fold-down workbench or bar-height ledge along a section of fence is surprisingly useful for outdoor cooking prep or casual drinks. Decorative hooks and rod holders on the inside of the fence can wrangle garden tools, hoses, or extension cords and keep the yard looking tidy without needing a separate storage structure.
And don’t overlook the gate. It’s the one element your visitors actually touch and interact with, so a little extra effort there goes a long way. An arched top, decorative hardware, or a built-in trellis section turns a purely functional gate into a real focal point. Swapping a basic latch for a more substantial handle and lock, adding a decorative post cap, or painting the gate a contrasting accent color are small changes that punch well above their weight visually. It’s one of those finishing touches that signals to anyone who sees it that the whole project was done with care.








What do you think?
It is nice to know your opinion. Leave a comment.