










DIY Plywood Outdoor Couch: Build Your Own Stunning Backyard Seating
There’s something genuinely satisfying about kicking back on a couch you built yourself. A DIY plywood outdoor couch brings together the warmth of handcrafted woodworking with the toughness you need to survive sun, rain, and years of backyard get-togethers. Whether you’ve been woodworking for years or you’re a motivated beginner with a couple of free weekends, this is one of those projects that pays off in a big way. You end up with something custom-made for your exact space — and that’s hard to beat.
Plywood has become one of the go-to materials for DIY outdoor furniture, and honestly, it makes a lot of sense. It’s affordable, easy to find at any home improvement store, and surprisingly versatile. When you seal and finish it properly, exterior-grade plywood holds up really well against the elements. The flat, consistent surface makes it easy to cut clean lines and nail that modern, minimalist look that works so well in contemporary outdoor spaces. And unlike solid lumber, the right grade of plywood is much less likely to warp or crack — as long as you seal it well.
This guide covers everything you need to build a beautiful, solid plywood outdoor couch from scratch. We’ll walk through picking the right materials all the way to the finishing touches that will keep your creation looking great for years. By the time you’re done, you’ll have a custom piece of outdoor furniture that would easily run several hundred dollars in a store — built by you, for a fraction of that cost.
Choosing the Right Materials and Tools
Getting your materials right from the beginning makes everything else so much easier. For an outdoor couch, you’ll want exterior-grade plywood — specifically something rated for outdoor or marine use. Look for plywood labeled BC or ACX exterior grade, which means one face is smooth and relatively blemish-free while the other side may have a few minor imperfections. Marine-grade plywood is the top-tier option because it’s made with fully waterproof glue between the layers, but it costs noticeably more. For most backyard builds, exterior-grade BCX in three-quarter inch thickness hits the sweet spot between price and performance.
Beyond the plywood, you’ll need some hardware and finishing supplies. Stainless steel or galvanized screws are a must — regular zinc screws rust fast when they get wet and will leave ugly rust streaks on your wood. Pocket hole screws used with a pocket hole jig create strong, clean joints that are perfect for furniture. You’ll also want exterior-rated wood glue, sandpaper in a range of grits from 80 to 220, and an exterior wood finish — something like an oil-based deck stain, exterior paint, or a penetrating wood sealer will all do the job well.
Having the right tools will make the whole process a lot more enjoyable. For this project you’ll need a circular saw or table saw for breaking down the plywood sheets, a jigsaw for any curved cuts, a drill and driver, a pocket hole jig, clamps, a tape measure, a square, and a sander. A miter saw is handy but not essential. If you don’t own all of these, many home improvement stores rent tools, or you might be able to borrow from a friend. Don’t let a missing tool hold you back — a solid set of basic tools will serve you well across many future projects.
Planning Your Design and Taking Measurements
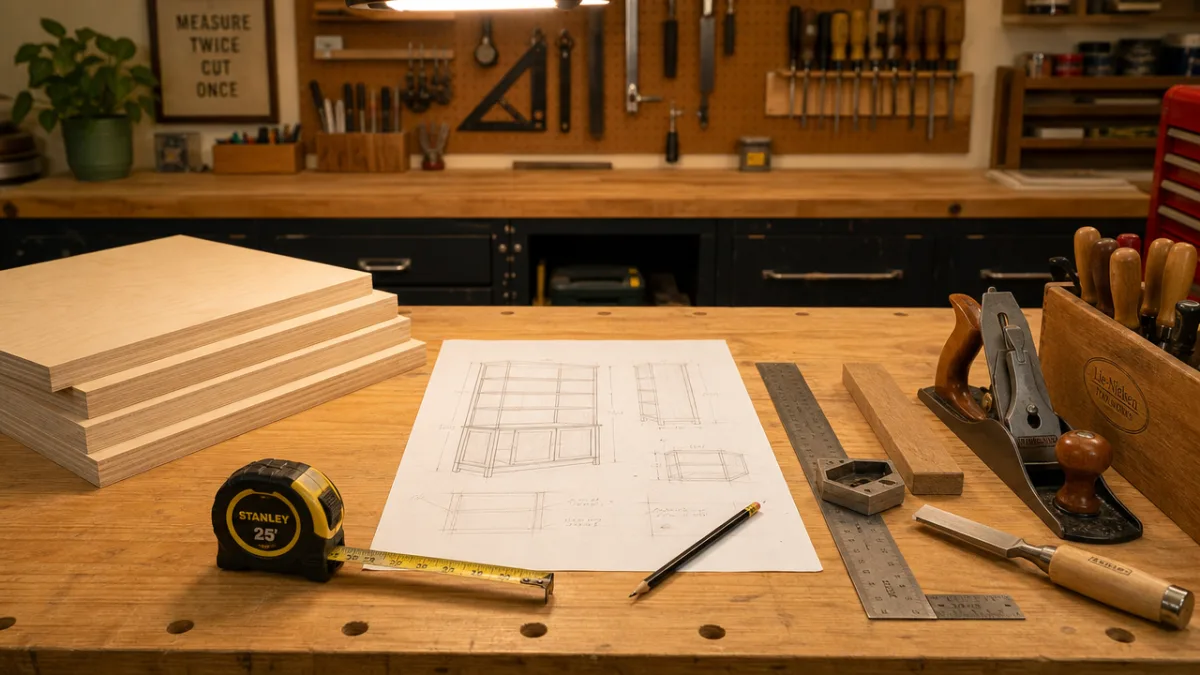
Before you cut anything, spend some real time on the design. Sketch it out on paper or pull up a free online design tool to get a feel for the finished piece. A standard outdoor couch seat height falls between 15 and 18 inches off the ground, which works comfortably for most adults and pairs well with standard outdoor cushion depths. Seat depth usually runs between 20 and 24 inches, and the backrest angle is typically set somewhere between 10 and 15 degrees off vertical — enough of a lean to feel relaxed without feeling like you’re tipping over.
Figure out the overall length based on your available space and how many people you want to seat. A two-person loveseat-style couch usually lands around 48 to 54 inches wide, while a full three-seater tends to run from 68 to 80 inches. Don’t forget the armrests — they add a few inches to each end and also do important structural work, keeping the frame rigid and square. Once you’ve nailed down the design, write out a full cut list with every piece and its dimensions. That way you can calculate exactly how many plywood sheets you need and plan your cuts to keep waste to a minimum.
It’s also worth figuring out your cushions before you lock in the frame dimensions. Outdoor cushions come in standard sizes, so designing around those measurements will save you from having to order something custom. Common standard seat cushion widths are 18, 20, 22, and 24 inches, and most run two to four inches thick. Once you know your cushion dimensions, build the seat frame to match them exactly so the cushions sit snugly without sliding around. It’s a simple step that makes a huge difference in how the finished couch looks and feels.
Cutting and Assembling the Frame
With your cut list ready and your plywood sheets in front of you, it’s time to start cutting. Begin by marking all your pieces on the sheets, laying them out to make the most of the material and cut down on waste. Use a straight edge or a clamped guide rail with your circular saw to keep your cuts clean and perfectly straight. Take your time here — accurate cuts at this stage make assembly so much easier and give you a tighter, more professional end result. When using a circular saw, keep the good face of the plywood facing down to minimize splintering on the side that’ll show.
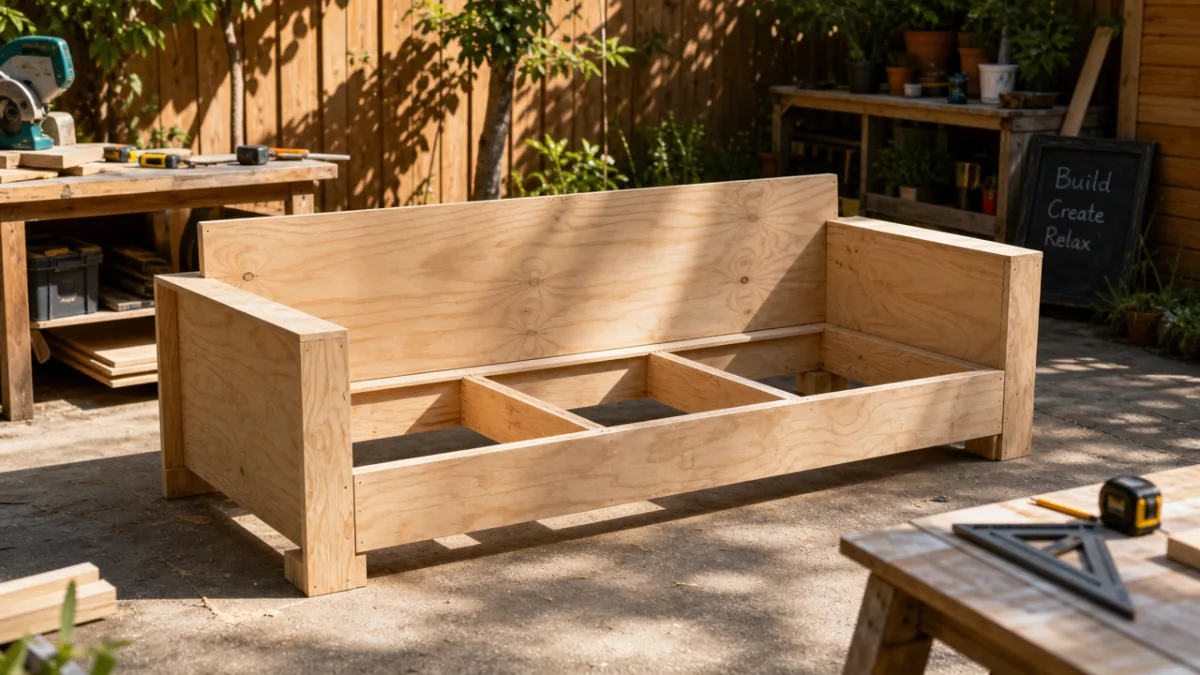
The basic frame is made up of two mirrored side panels that form the legs and armrests, a front apron, a rear apron, and the seat support slats. The side panels are the most involved pieces since they define the overall shape of the couch and include the angled backrest. Cut them carefully, then use the first panel as a template to trace the second — this is the easiest way to make sure they’re identical. Even a small difference between the two side panels can cause the whole couch to twist and rock, so it’s worth the extra care. Clamp them together and sand the edges at the same time to guarantee a perfect match.
Assembly is where the project really starts to look like something. Begin by joining the side panels to the front and rear aprons using pocket hole joinery and exterior wood glue. Apply glue to the joint surfaces, drive in the pocket screws, and clamp everything square while the glue dries. Keep a large framing square handy and check that everything is plumb and square frequently — you want to catch any drift before the glue sets. Once the main frame feels solid, add the seat slats across the top with even spacing between them to allow water to drain and air to move through. A gap of about a quarter to three-eighths of an inch looks clean and works well.
The backrest gets built as a separate sub-frame and then attached to the main seat frame at your chosen angle. Cut the backrest slats to the same length as the seat slats and attach them to two vertical support rails, again using pocket screws and glue. Then attach the finished backrest to the rear of the seat frame by driving screws through the side panels into the backrest support rails. Do a test-fit and make any adjustments before you move on to finishing. While you’re at it, fill any screw holes with exterior wood filler, let it dry, and sand everything smooth — it makes a real difference in the final look.
Sanding, Finishing, and Weatherproofing
A good finish is honestly what determines whether your couch lasts one season or ten. Start by sanding the entire assembled frame, working from 80-grit to knock down any rough spots or mill marks, then moving through 120-grit, and finishing with 220-grit for a smooth, almost silky surface. Give extra attention to all the edges and corners — ease them slightly so they’re not sharp to the touch and don’t trap moisture. Once you’re done sanding, wipe everything down with a tack cloth or a slightly damp rag and let the wood dry completely before putting any finish on it.
You’ve got a few solid finishing options depending on the look you’re after. A solid exterior paint in something like charcoal, navy, or forest green gives a clean, modern feel and offers strong moisture protection with two or three coats. An oil-based exterior stain keeps the natural wood grain visible while adding color and deep moisture resistance. A clear penetrating sealer is the most natural-looking route and lets the wood texture come through fully, though it does need reapplying more often than paint or stain. Whatever you go with, plan on at least two coats, letting each one dry fully and giving it a light sanding with 220-grit in between for the smoothest possible finish.
Don’t overlook the end grain of the plywood — it soaks up finish much faster than the face grain and is the most vulnerable spot for moisture to sneak in. Give all end grain surfaces an extra coat of finish, and consider using a dedicated end grain sealer as your first coat before going over it with your topcoat. The underside of the frame and anywhere close to the ground also need careful attention, since those spots take the most abuse from rain splash and morning dew. A lot of builders add small rubber furniture feet to the bottom of the legs to lift the frame just slightly off the deck or patio, which helps keep standing water from pooling at the base and dramatically extends the life of the wood.
Choosing Cushions and Styling Your Outdoor Space
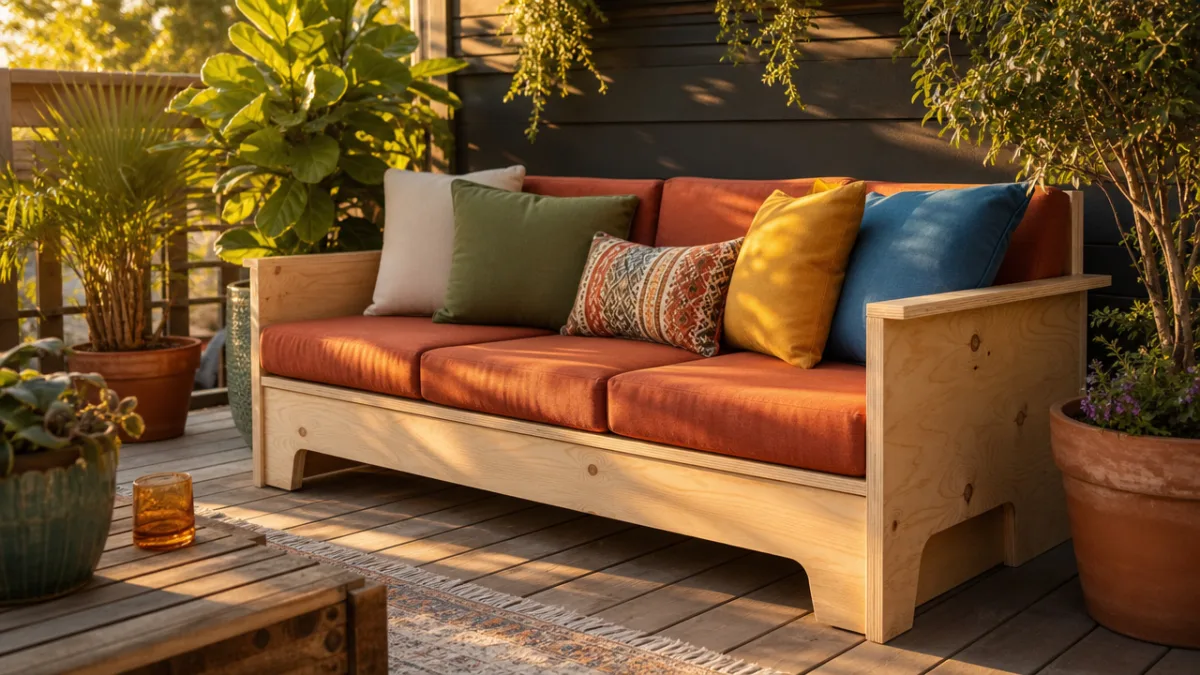
The cushions you pick will make a huge difference in both how comfortable and how good your finished couch looks. Go for cushions specifically designed for outdoor use — they’re built with quick-dry foam cores and covered in solution-dyed acrylic or polyester fabrics that resist fading, mildew, and moisture. Sunbrella is the most recognized name in outdoor fabric and is widely considered the best for fade resistance and longevity, though there are plenty of good alternatives at more accessible price points. Aim for at least three inches of cushion thickness for genuinely comfortable seating — thinner cushions compress fast and tend to lose their supportive feel within a season.
When it comes to styling the space around your new couch, think about what’s already out there. Plywood has a naturally warm, organic feel that looks great alongside concrete planters, woven baskets, terracotta pots, and natural fiber outdoor rugs. A low coffee table sitting at roughly the same height as the top of your seat cushions — around 15 to 18 inches — ties the whole seating area together. Add some string lights overhead, a few potted plants, and a weatherproof lantern or two, and the space starts to feel like an actual outdoor room rather than just some furniture sitting on a deck.
Accent pillows are one of the easiest and most affordable ways to keep your outdoor couch looking fresh from season to season. If you choose your main seat and back cushions in a neutral tone — natural, gray, or white all work well — you can swap in different accent pillows year after year without replacing everything. A mix of square and lumbar pillows in complementary patterns adds visual depth and makes the whole setup feel more inviting. Just make sure to store your cushions indoors or in a weatherproof storage box when you’re not using them, and they’ll stay bright and fresh for many seasons to come.
Maintenance Tips to Keep Your Couch Looking Great for Years
Even the best-built outdoor furniture needs a little routine care to stay in great shape. At the start of each outdoor season, give your couch a good once-over — look for any peeling finish, cracking wood, or screws that have worked themselves loose over the winter. Tighten up any loose hardware and address any spots where the finish has worn through before moisture gets a chance to work its way into the wood. A light sanding with 220-grit followed by a fresh coat of your exterior finish takes maybe an hour and keeps the surface protected and looking almost new.
Regular cleaning goes a long way toward preventing the kind of dirt, mildew, and grime buildup that can stain and break down the wood finish over time. A simple solution of mild dish soap in warm water, scrubbed in with a soft-bristle brush and rinsed off thoroughly, is safe for most exterior finishes and does a great job clearing off seasonal grime. For stubborn mildew spots, a diluted mix of one part white vinegar to two parts water works well without damaging most finishes. Always rinse the whole surface with clean water afterward and let it dry fully in the sun before putting the cushions back on.
At the end of the season, covering your couch with a fitted outdoor furniture cover or moving it into a garage or shed if you have the space will add real years to its life. A well-finished plywood couch can absolutely survive winters in many climates, but prolonged exposure to freeze-thaw cycles and persistent wet conditions will wear down any exterior finish faster than it needs to. A breathable furniture cover that keeps the worst of the rain and snow off while still letting air circulate hits the right balance between protection and moisture control. Keep up with these simple habits and your handbuilt plywood couch will be the centerpiece of your backyard for many years of good times.








What do you think?
It is nice to know your opinion. Leave a comment.