










DIY Outdoor Corner Benches: A Complete Guide to Building Your Own
If you’ve got an awkward corner on your patio, deck, or in your garden that’s just sitting there doing nothing, building a corner bench might be the best project you tackle this season. These L-shaped beauties turn dead space into a spot where people actually want to hang out — somewhere to sip coffee in the morning or gather with friends on a warm evening. And doing it yourself means you get exactly the size and style you want, usually for a fraction of what you’d spend at a furniture store.
There’s also something deeply satisfying about building furniture with your own hands that a store-bought piece just can’t give you. You’re not locked into standard sizes or someone else’s design choices. Want hidden storage under the seats? Done. A built-in planter at one end? Go for it. These little personal touches are what take a corner bench from “functional” to “wow, did you build that yourself?” — and yes, you’ll enjoy telling people that you did.
This guide covers everything you need to go from blank corner to finished bench: picking the right wood and hardware, understanding the basic structure, cutting and assembling the pieces, and applying a finish that actually holds up outdoors. Whether you’re a seasoned DIYer or this is one of your more ambitious first projects, you’ll find the guidance here approachable and practical. Let’s get into it.
Planning Your Corner Bench Design
Before you touch a single tool, spend some real time on planning — it’s the part that saves you from expensive do-overs later. Grab a tape measure and figure out exactly how far you want each arm of the L to extend into your space. While you’re at it, keep in mind that a comfortable bench seat typically sits between 17 and 19 inches off the ground. Jot your numbers down and sketch it out, even if it’s just a rough scribble on a notepad. Having something visual to reference is surprisingly helpful when things start to get confusing mid-build.
Think about how you’ll actually use the bench before you finalize dimensions. If it’s going to double as seating for an outdoor dining table, aim for a seat height around 18 inches so everything lines up comfortably. If it’s more of a lounging spot, a deeper seat — somewhere in the 18-to-20-inch range — lets people settle in and relax rather than perch on the edge. Also decide early on whether you want a backrest. A backless bench looks clean and minimal, but if people are going to be sitting there for any length of time, a back makes a real difference in comfort.
It’s worth looking at a few different design directions before committing to one. Browse Pinterest, woodworking forums, or home improvement sites to get a feel for what appeals to you. The classic slatted bench with clean horizontal lines is always a solid choice. Chunky farmhouse-style lumber gives a more rustic, substantial look. And if your home leans modern, angular forms with minimal detail can look really sharp. Once you’ve settled on a direction, write up a materials list based on your final measurements so you can price it out and shop in one efficient trip.
Choosing the Right Materials and Wood
Choosing the right wood is honestly one of the most important decisions you’ll make for this project. The outdoors is rough on furniture — rain, sun, temperature swings, humidity, and insects all take their toll. Pick the wrong wood and you’ll be rebuilding sooner than you’d like. Pick the right one and your bench will still look great years from now.
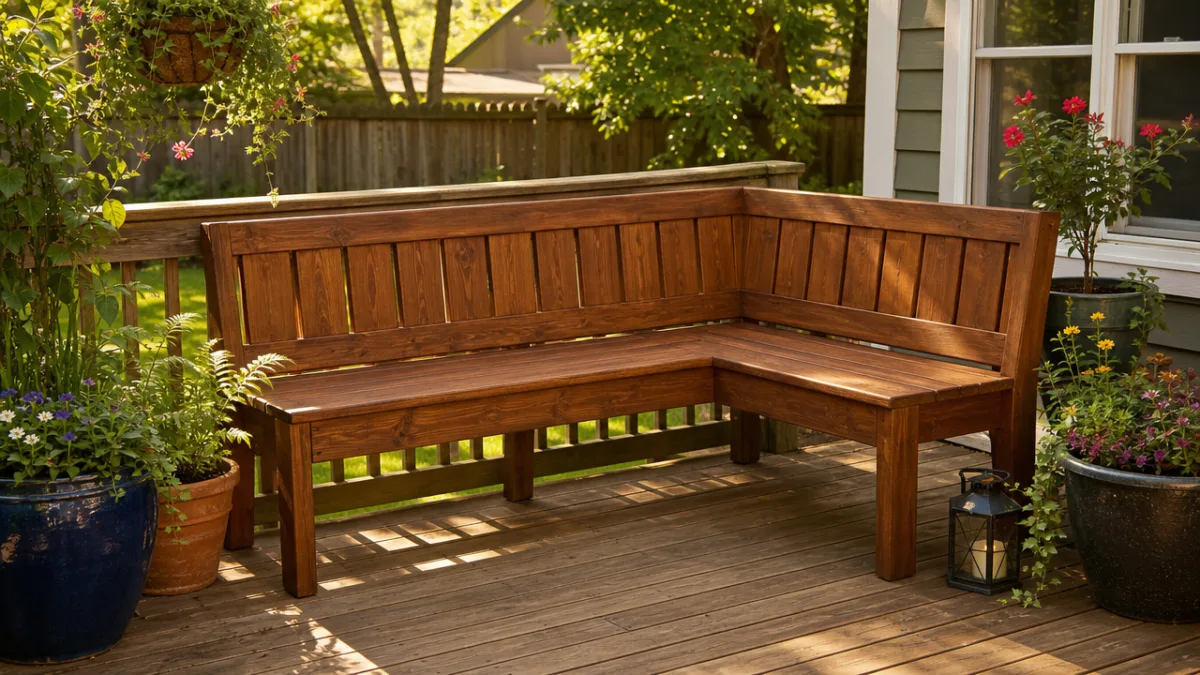
Cedar is a perennial favorite for outdoor furniture, and it earns that reputation. Natural oils in the wood make it resistant to rot and insects without any chemical treatment, it’s lighter than a lot of other options, and that warm reddish-brown color weathers beautifully to a soft silver-gray if you leave it untreated. Redwood is similar — great stability and a really warm, attractive tone. If budget is a concern, pressure-treated pine is a solid choice; it’s been chemically treated to resist rot and pests, though it’s heavier and needs a bit more care when finishing. And if you want the best money can buy, teak is incredibly durable with a gorgeous golden-brown look — just know you’ll pay a premium for it.
For hardware, don’t cut corners (pun intended). Regular steel screws will rust and leave ugly stains on your wood within a season, so use stainless steel, hot-dipped galvanized, or coated deck screws throughout. Carriage bolts and lag screws at the main structural joints add real strength and should also be corrosion-resistant. For the frame, 4×4 posts make sturdy corner legs, with 2×4 or 2×6 lumber for the framing members. Seat slats are typically 2×4 or 2×6 boards spaced about a quarter inch apart — that gap lets rainwater drain through instead of pooling on the surface.
Essential Tools for the Build
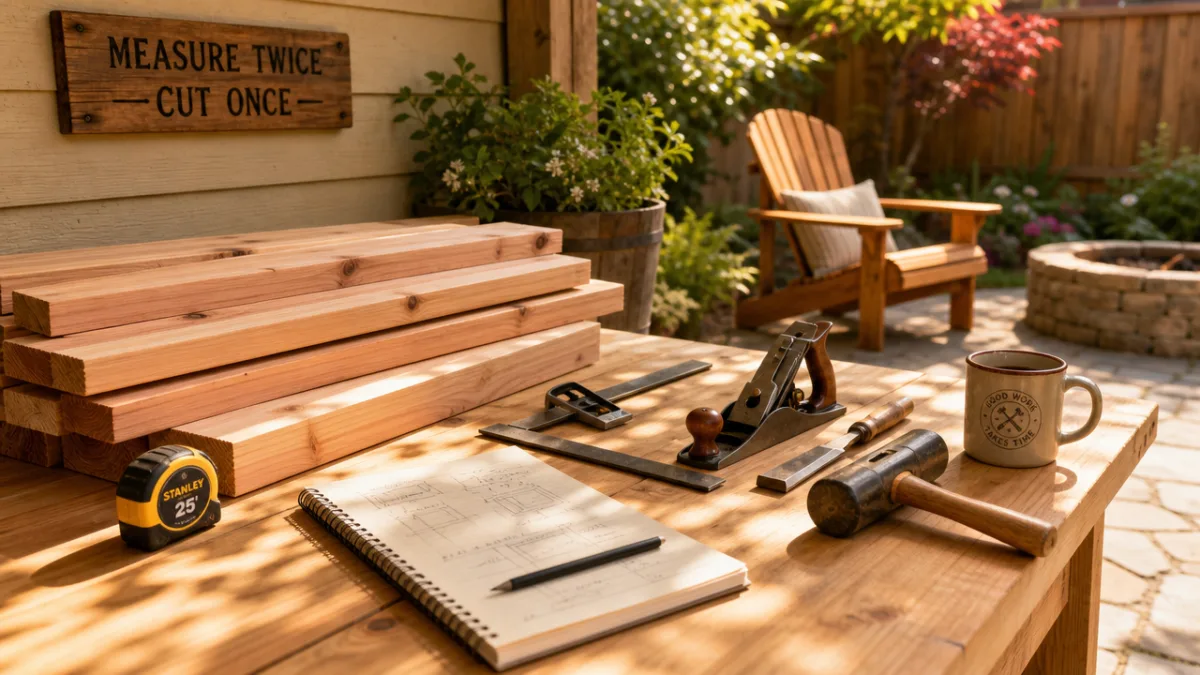
You don’t need a professional woodworking shop to pull this off, but having the right tools makes everything go smoother and the results look better. If there are things on this list you don’t own yet, it’s worth borrowing from a neighbor, renting from your local hardware store, or picking up a couple of versatile tools you’ll reach for again on future projects.
A circular saw or miter saw is your workhorse for cutting lumber to length. A miter saw is especially handy if your design calls for angled cuts at the corner joint, and it makes repeating the same cut over and over much more precise. Your power drill will probably be the tool you use most — pre-drilling holes prevents the wood from splitting, and driving screws goes a lot faster with a good drill. A level is non-negotiable; a frame that isn’t square looks off and can actually cause structural problems down the line.
Beyond those essentials, a speed square or framing square helps you check right angles as you assemble, clamps hold things in place while you fasten them, and sandpaper in a range of grits (80 through 220) smooths everything out before finishing. If your design has any decorative curves on the legs or backrest, a jigsaw handles those beautifully. And please don’t skip the safety gear — glasses, hearing protection, and gloves. Building should be fun, and it stays that way when you’re not dealing with an injury.
- Circular saw or miter saw for accurate lumber cuts
- Power drill with drill bits and driver bits
- Level for ensuring plumb and square assembly
- Speed square or framing square
- Tape measure and pencil
- Clamps in various sizes
- Sandpaper in 80, 120, and 220 grits
- Jigsaw for decorative cuts (optional)
- Safety glasses, hearing protection, and work gloves
Step-by-Step Construction Process
Start by cutting all your lumber before you assemble anything. This “cut list” approach keeps things efficient and lets you catch measurement mistakes before they’re baked into the structure. Lay all your cut pieces out on a flat surface and check each one against your plan. Anywhere a screw will land near the end of a board, pre-drill a pilot hole — end grain splits easily under pressure, and a quick pre-drill prevents a lot of frustration.
Build the base frame first. Assemble the two rectangular frames that make up each arm of the L, connecting the vertical leg posts to the horizontal framing members with carriage bolts or lag screws for strong, reliable joints. Once both frames are built, bring them together at the corner and fasten them to each other. This is a good time to use your level constantly — check that all four legs are touching the ground evenly and that nothing is racking or twisting. It’s much easier to trim a leg or add a shim now than after the whole bench is together.
Once the frame is solid and level, start attaching the seat slats. Work from the back of the seat toward the front, using a piece of scrap wood as a spacer to keep the gaps consistent. Drive two screws per slat at each framing member it crosses, always pre-drilling first. If your design has a backrest, frame it out from the rear leg posts and attach the back slats the same way you did the seat. Wrap up the build by sanding everything thoroughly and rounding over any sharp edges — your future self (and your guests’ clothing) will thank you.
Finishing and Weather Protection
The finish is what stands between your bench and the elements, and it’s what separates a bench that looks great for a decade from one that starts looking rough after a couple of seasons. Raw, unfinished wood is basically an open invitation for moisture, and moisture leads to swelling, cracking, and eventually rot. The good news is that applying a quality outdoor finish isn’t complicated — it just takes a little time and attention, and it pays off enormously in the long run.
For cedar and redwood, a penetrating exterior wood oil or semi-transparent deck stain works really well. These products soak into the wood rather than sitting on top of it, which means they move with the wood as it expands and contracts through the seasons instead of peeling and cracking. Apply with a brush or rag, working with the grain, and follow the manufacturer’s instructions. Two coats is usually the sweet spot, with a light sanding between them to help the second coat bond well. Let everything dry completely before putting cushions on or actually using the bench.
If you’re working with pressure-treated pine, let it dry out for a few weeks after you bring it home before applying any finish. The treatment process leaves the wood wet, and finishes won’t absorb properly into wood that’s still holding that moisture. Once it’s dried out, a good deck stain or clear exterior sealer will protect the surface from UV and moisture damage. Whatever wood and finish you choose, plan to reapply the protective coating every one to three years depending on how much sun and rain your bench sees. It’s a simple, inexpensive task that keeps your bench looking its best and extends its life considerably.
Adding Comfort and Style
Once the build is done and the finish has cured, here comes the fun part — making the bench feel like a real destination rather than just a place to sit. Even the most well-crafted bench benefits from some cushions, textiles, and thoughtful styling. This is where your personality gets to come through, and where the space really starts to feel like yours.
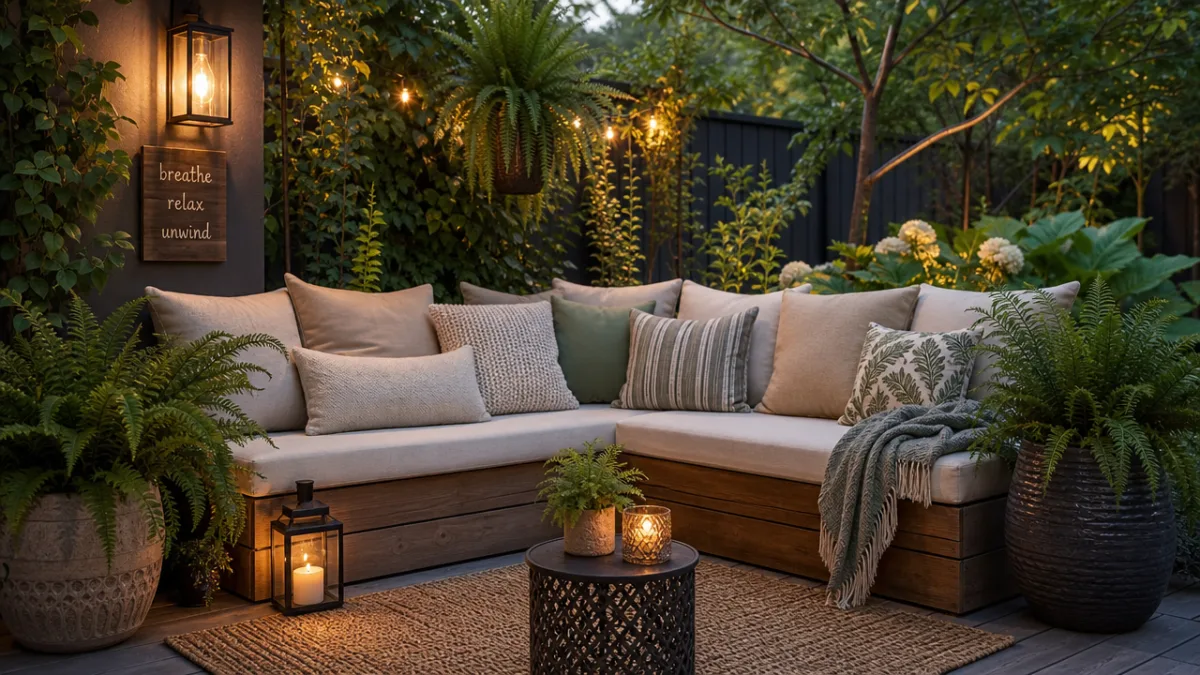
Outdoor cushions are the biggest immediate upgrade you can make for comfort and visual appeal. Look for ones filled with quick-dry foam or polyester fiberfill and covered in solution-dyed acrylic fabric, which holds up to fading, mildew, and moisture much better than standard upholstery. Sunbrella is the brand most people in the outdoor furniture world swear by, and their color range is extensive enough to match just about any aesthetic. A few hook-and-loop strips on the underside of each cushion and on the bench seat will keep them from sliding around. Layer in some throw pillows in complementary patterns and the whole space instantly feels warmer and more inviting.
Think beyond just the bench itself to complete the space. A small side table placed at the corner of the L gives people somewhere to set a drink without getting up. Potted plants at each end of the bench frame the seating nicely and bring in natural color and life. String lights overhead or a lantern on the table make the corner just as appealing after dark. And an outdoor rug underneath ties everything together visually — it signals that this is an intentional, considered space, not just a bench that happened to end up in a corner.
Maintenance Tips for Long-Lasting Beauty
A well-built bench that gets a little regular care can easily last a decade or more. The key is catching small things early before they turn into bigger problems — think of it the way you think about maintaining a car or a house. A bit of attention each season is so much easier than dealing with a major repair down the road, and it protects all the time and effort you put into building the thing in the first place.
Each spring, give the bench a good look-over. Check for any checking, cracking, or discoloration that might suggest moisture is getting in somewhere. Tighten any screws or bolts that have worked themselves loose over the winter — this happens more than you’d think with the freeze-thaw cycle. Clean out the gaps between the seat slats, since leaves and debris tend to pack in there and hold moisture against the wood. A wash with a mild wood cleaner and a soft brush, followed by a thorough rinse and a chance to dry completely, will tell you pretty clearly whether the finish needs to be refreshed.
When the outdoor season wraps up, bring your cushions and textiles inside or tuck them into a weatherproof storage bin — leaving them out over winter is a fast track to mold and sun damage. If you can, cover the bench with a breathable outdoor furniture cover; breathable is the key word here, because a non-breathable cover traps moisture underneath and creates exactly the conditions you’re trying to avoid. If your winters are harsh and the bench is in an exposed spot, moving it to a covered porch or garage during the off-season will add years to its life. With just a little consistency, your corner bench will stay beautiful and functional for many seasons to come.








What do you think?
It is nice to know your opinion. Leave a comment.