










DIY Fence Ideas on a Budget: Easy Backyard Fence Projects You Can Build This Weekend
There’s something deeply satisfying about building your own fence. Whether you’re looking to add privacy, define your property line, keep pets safely contained, or simply give your backyard a polished, finished look, a DIY fence project delivers all of that — and it does so without draining your bank account. With the right planning, a few basic tools, and a free weekend, you can transform the perimeter of your outdoor space into something you’re genuinely proud of.
The good news is that you don’t need to be a seasoned carpenter or have an expensive contractor on speed dial. Many of the most attractive backyard fences are built by everyday homeowners who decided to roll up their sleeves and take on the project themselves. From rustic pallet fences to sleek modern horizontal board designs, the options are nearly limitless — and most of them cost far less than you’d ever imagine.
Why DIY Fencing Makes Financial Sense
Hiring a professional fencing company to install a standard wood privacy fence can cost anywhere from $1,500 to $4,000 or more depending on your yard’s size and the materials chosen. When you take on that same project yourself, you can often cut the total cost by 50 to 70 percent. The savings come primarily from labor, which typically accounts for the bulk of any contractor’s quote. Materials, when purchased wisely, are surprisingly affordable — especially when you shop sales, use reclaimed wood, or repurpose items you already have on hand.
Beyond the direct cost savings, DIY fencing gives you complete creative control over the final result. You’re not locked into whatever styles a contractor happens to offer. You choose the height, the spacing between boards, the type of wood, the finish, and every other detail that goes into the finished look. That level of customization is genuinely hard to put a price on, and it means your fence will reflect your personal taste rather than a generic catalog option.
There’s also the matter of timeline flexibility. Professional fence installers are often booked weeks or even months in advance, especially during peak spring and summer seasons. When you’re doing it yourself, you can start this weekend. Many straightforward fence designs — particularly those built on flat terrain with simple post-and-rail construction — can be completed in two days or less. For most homeowners, that’s a realistic Saturday-and-Sunday commitment that yields a permanent, lasting improvement to their property.
Planning Your Fence Before You Buy a Single Board
Every successful DIY fence project begins with thorough planning, and skipping this phase is the single most common reason weekend projects go sideways. Before you head to the hardware store, spend time mapping out exactly where your fence will run. Use stakes and string to mark the boundary, then measure the total linear footage you need to cover. This measurement is the foundation of your entire materials list, your budget estimate, and your weekend schedule.
Check with your local municipality or homeowners association before you begin. Many areas have zoning rules that govern fence height — commonly six feet maximum for backyard fences and four feet for front yards — as well as regulations about how close to the property line a fence may be installed. Some jurisdictions require a building permit even for simple wood fences. Taking the time to verify these requirements before you start will save you from the frustration and expense of having to tear down and relocate work you’ve already completed.
You should also think carefully about the primary purpose of your fence, because purpose drives design. A fence meant to contain a dog needs to be tall enough and have gaps small enough that your specific breed cannot squeeze through or jump over. A decorative garden border fence can be low and open. A privacy fence for a patio or pool area needs solid, close-set boards at full height. Clarity on function helps you avoid over-building (and overspending) while ensuring the finished fence actually does the job you need it to do.
- Measure your perimeter carefully with a tape measure, accounting for any gates you plan to include.
- Call 811 (in the United States) to have underground utilities marked before digging any post holes.
- Sketch a simple layout diagram showing post placement, gate location, and any elevation changes in the yard.
- Research your local permit requirements so you don’t encounter legal issues after installation.
- Decide on wood species, finish, and overall style before purchasing materials to avoid costly returns or mismatches.
The Most Popular Budget-Friendly Fence Styles
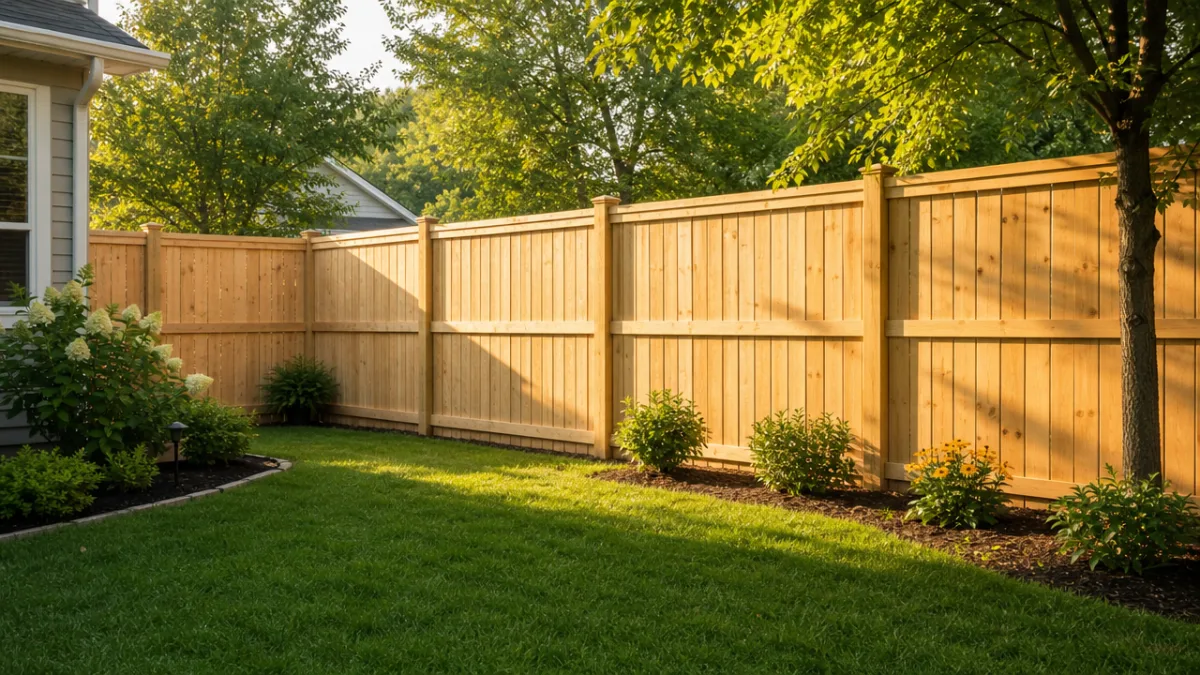
Among the most cost-effective and visually appealing options available to the DIY builder is the classic dog-ear privacy fence. Made from standard cedar or pressure-treated pine pickets, this style features boards installed vertically side by side with the tops cut at an angle to create that recognizable pointed silhouette. The materials are widely available at any home improvement store, and because every piece is identical and cuts are minimal, even a first-time builder can complete a run of this fencing quickly and confidently. Cedar is a particularly popular choice because it naturally resists rot and insects without chemical treatment.
Pallet fences have surged in popularity among the budget-conscious DIY crowd, and it’s easy to understand why. Wooden shipping pallets are frequently given away for free by local businesses, warehouses, furniture stores, and garden centers. A quick post on a neighborhood social media group or a call to a nearby distribution facility can yield all the pallets you need at zero cost. Once secured upright between fence posts, pallets create a charmingly rustic privacy barrier that works beautifully in casual cottage gardens or farmhouse-style backyards. A coat of weather-resistant paint or stain completes the look.
Horizontal board fences represent the more modern aesthetic end of the budget spectrum. By installing boards horizontally rather than vertically, you achieve a clean, contemporary look that reads as intentional and sophisticated rather than utilitarian. The construction method is essentially the same as a traditional vertical fence, but the visual result is dramatically different and feels very on-trend. Using boards with small gaps between them reduces material costs compared to a fully solid fence while still providing substantial privacy. This style pairs especially well with modern architecture and low-maintenance landscaping.
- Dog-ear picket fence: Traditional, widely available materials, beginner-friendly construction.
- Pallet fence: Potentially free materials, rustic appeal, ideal for informal garden spaces.
- Horizontal board fence: Modern look, customizable gap spacing, works with most budgets.
- Split rail fence: Very low cost, great for large perimeters, open and pastoral in appearance.
- Lattice fence: Lightweight, decorative, perfect for supporting climbing plants and vines.
Essential Tools and Materials for a Weekend Fence Build
You don’t need a garage full of specialized equipment to build a quality backyard fence. The core tool list is genuinely manageable, and if you don’t own every item, renting from a home improvement store is affordable and practical. The single most time-saving tool you can have on hand is a power auger or post hole digger, which bores clean holes in the ground to the correct depth for your fence posts. Digging post holes by hand with a manual clamshell digger is entirely doable but significantly more physically demanding, especially in clay-heavy or rocky soil.
Beyond the post hole digger, you’ll want a circular saw or miter saw for cutting boards to length, a drill driver for driving screws, a level for keeping everything plumb and straight, a tape measure, a chalk line, and a rubber mallet or sledgehammer for adjusting posts before concrete sets. Safety gear — including eye protection, work gloves, and hearing protection — should be considered non-negotiable, not optional. The total cost to rent or purchase these tools if you don’t already own them typically falls in the range of $50 to $150, which still keeps the overall project well within budget territory.
For materials, pressure-treated 4×4 posts are the standard choice for fence posts because they resist ground contact moisture and insects far better than untreated wood. Your local home improvement store will typically stock them in lengths of eight or ten feet, which gives you what you need for most standard fence heights once set into the ground. Rails running horizontally between posts are usually 2×4 boards, and pickets or face boards are installed across those rails. Exterior wood screws hold up far better than nails over time and are well worth the modest extra cost over a fence’s lifetime.
Concrete is essential for setting posts securely, and fast-setting concrete mix makes the job dramatically easier and faster for a solo builder. Rather than mixing concrete in a separate container and then pouring it, fast-setting mix can be poured dry into the hole around the post, after which you add water directly to the hole. The concrete sets in under an hour, meaning you can continue installing fence sections the same day rather than waiting overnight. One 50-pound bag is typically sufficient per post for standard residential fence heights, and it costs just a few dollars per bag at any hardware store.
Step-by-Step Construction: From First Post to Finished Fence
The construction process begins with laying out your fence line precisely. Drive wooden stakes into the ground at each planned post location and connect them with mason’s string pulled taut at the height of your finished fence top. This string line is your guide for maintaining a consistent, straight fence across the entire run. Take your time getting this right — a fence that wanders or dips in the middle is one of the most common signs of a rushed installation, and correcting it after posts are set in concrete is extremely difficult.
Dig your post holes to a depth that puts roughly one-third of the post below ground. For a six-foot fence, that means using eight-foot posts set at least two feet deep, ideally deeper in colder climates where frost heave can push shallow posts upward over time. The hole should be approximately three times the diameter of the post — typically about twelve inches across for a standard 4×4. Place a few inches of gravel at the bottom of each hole before setting the post to promote drainage and reduce moisture contact at the base of the wood.
Set each post plumb using a level on two adjacent sides while a helper holds the post steady. Once plumb, add your fast-setting concrete and water according to the package directions, then brace the post with temporary stakes and scrap lumber until the concrete cures. Work from one end of the fence to the other, installing posts at your planned intervals — typically six to eight feet apart. Gates require a post on each side with additional bracing, and corner posts should always be set first as reference points for everything that follows.
Once all posts are set and the concrete has cured, attach your horizontal rails between them. These typically run at the top, bottom, and middle of the fence for adequate support. Some builders use metal post brackets for attaching rails, which simplifies alignment and adds structural integrity. With rails in place, you can begin installing your face boards or pickets. Work methodically from one end, using a spacer block between boards to maintain consistent gaps, and check your work with a level periodically to catch any drift before it compounds over the length of the fence.
Finishing Touches, Maintenance, and Making It Last
A beautiful fence built on a budget deserves the protection of a quality exterior finish. Unprotected wood exposed to rain, sun, and temperature swings will begin to show wear within a single season. A penetrating wood sealer or stain applied shortly after construction seals the grain, repels water, and provides UV protection that prevents the graying and cracking that comes from prolonged sun exposure. Clear sealers preserve the natural look of the wood, while semi-transparent stains add color while still allowing the grain to show through. Solid-color exterior paint offers the most complete protection and comes in virtually unlimited color choices.
Plan to re-apply your chosen finish every two to three years, or more frequently in climates with harsh weather. A quick annual inspection at the start of each spring is a smart habit to develop. Check posts at ground level for signs of rot or insect damage, look for any boards that have cracked or come loose, and tighten any screws that have backed out over the freeze-thaw cycle. Catching small problems early almost always prevents them from becoming expensive structural failures. A fence that receives this minimal annual attention can easily last twenty years or more.
Gates deserve particular attention because they experience more stress than any fixed section of the fence. A gate that sags, drags, or refuses to latch properly is both frustrating and a security concern. Use heavy-duty hinges rated for exterior use, position them as far apart vertically as possible for maximum leverage, and include a diagonal tension rod or cable running from the bottom hinge corner up to the opposite top corner to prevent the gate from racking out of square over time. A self-latching gate mechanism is a worthwhile investment, particularly for any gate that serves as a barrier for children or pets.
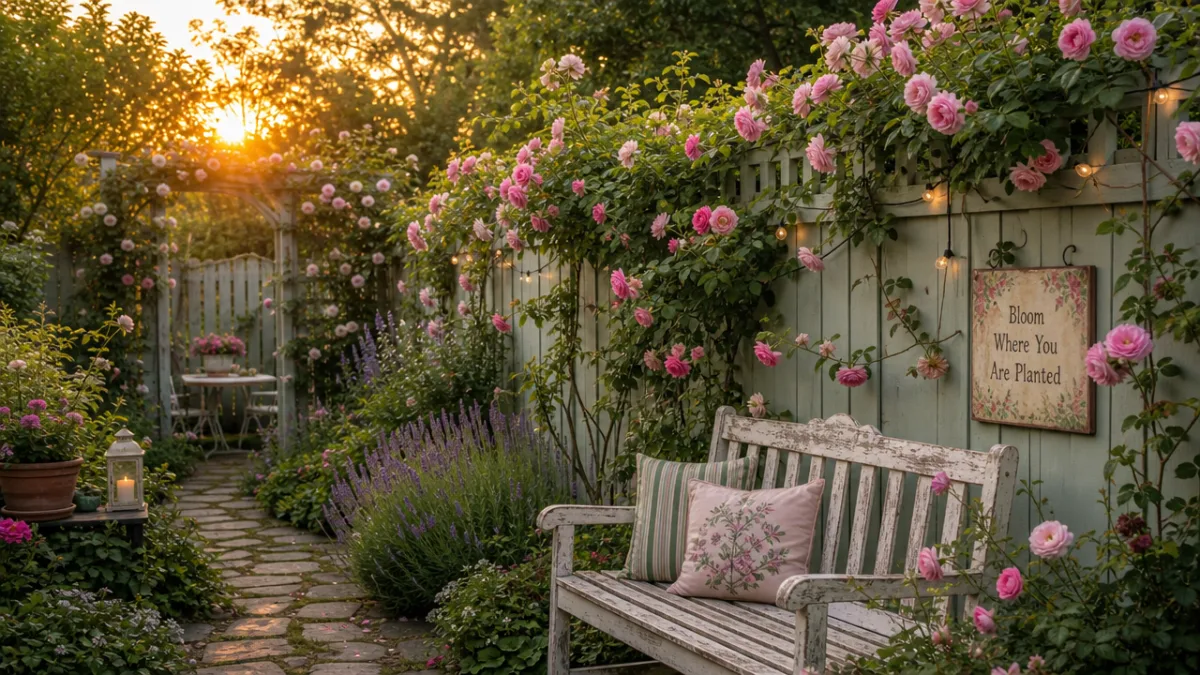
Once your fence is standing strong and properly finished, don’t underestimate the impact that landscaping can add to the overall effect. Planting climbing roses, jasmine, or clematis along a fence line softens the look and adds color and fragrance throughout the growing season. Raised planter boxes mounted to the interior face of a privacy fence bring vertical gardening space that would otherwise go unused. String lights draped along the top rail create a magical ambiance for evening gatherings. These finishing details cost very little but elevate a functional fence into a genuine focal point of your outdoor living space, turning a weekend work project into a lasting source of pride and enjoyment every time you step into your backyard.
Budget Breakdown: What to Realistically Expect to Spend
Actual project costs vary based on your fence’s total length, height, material choices, and local lumber pricing, but having a realistic framework helps you plan with confidence rather than sticker shock at the register. For a basic pressure-treated pine privacy fence covering 100 linear feet at six feet tall, most DIYers report spending between $400 and $900 in materials — a figure that accounts for posts, rails, pickets, concrete, screws, and basic hardware. Cedar in the same configuration typically costs somewhat more, ranging from $600 to $1,200 for the same run, but the natural beauty and rot resistance of cedar make it a compelling upgrade for many homeowners.
Pallet fences, as mentioned earlier, can dramatically undercut even those modest figures. If you can source free pallets and spend only on posts, concrete, and fasteners, your materials cost for the same 100-foot run might be as low as $100 to $200. The trade-off is that pallets require more preparation work — removing staples, sanding rough edges, and sometimes reinforcing weak sections — and the finished appearance is more casual. For the right backyard and the right aesthetic, though, pallet fences represent a remarkable value proposition that simply cannot be matched by any conventional material.
Don’t forget to factor in incidental costs that first-time builders sometimes overlook. These include wood stain or sealer for the finished fence, gate hardware including hinges and a latch, any tools you need to purchase or rent, and the cost of a permit if your jurisdiction requires one. A realistic miscellaneous budget of $75 to $150 on top of your materials estimate covers most surprises. Even accounting for all of these factors, a DIY fence project will almost always come in significantly under the cost of professional installation, making it one of the most financially rewarding weekend home improvement projects a homeowner can undertake.
- Pressure-treated pine privacy fence (100 ft): approximately $400–$900 in materials.
- Cedar privacy fence (100 ft): approximately $600–$1,200 in materials.
- Pallet fence with free pallets (100 ft): as low as $100–$200 in materials.
- Split rail fence (100 ft): approximately $300–$600 depending on rail material.
- Gate hardware (per gate): $30–$80 depending on style and weight rating.
- Exterior stain or sealer: $25–$60 per gallon, covering approximately 200–400 square feet.
Taking on your own fence project is ultimately about more than saving money, though the savings are very real and very significant. It’s about the confidence that comes from completing a substantial physical project with your own two hands, the satisfaction of looking out your back window at something you built yourself, and the knowledge that every detail reflects exactly what you wanted rather than what was convenient for someone else. With a clear plan, the right materials, a willing helper, and a free weekend, your backyard transformation is closer than you think — and far more affordable than you might have imagined.








What do you think?
It is nice to know your opinion. Leave a comment.