










10 Simple Pallet Fence Projects to Upgrade Your Outdoor Space
Why Pallet Fences Are the Ultimate Budget-Friendly Outdoor Upgrade
If you’ve been trying to figure out how to give your outdoor space some shape and definition without draining your wallet, pallet fences are worth a serious look. Wooden pallets are everywhere — warehouses, retailers, and shipping companies toss millions of them every year — and that makes them one of the most accessible building materials you can find. Turning them into a fence means you’re spending almost nothing while also keeping perfectly good wood out of a landfill. It’s a pretty easy win all around.
What really makes pallet fences fun is how flexible they are. You can go full rustic farmstead with weathered, natural wood, or clean things up with a coat of paint and some even spacing for a more modern feel. Pallets can be stacked, sliced apart, rearranged, and styled in a dozen different ways to match whatever you’re picturing. And honestly, even if you’ve never done a DIY project before, a lot of these builds just need basic tools, a free afternoon, and a decent tolerance for getting a little dusty.
On top of looking good and costing next to nothing, pallet fences actually do real work in your yard. They make great privacy screens for a patio, tidy up the edges of a garden bed, keep a dog from wandering off, or just give the whole space a more polished, intentional feel. With some basic upkeep and the right protective finish, a well-built pallet fence can hold up for years — which makes all that weekend effort genuinely worth it.
Choosing and Sourcing the Right Pallets for Your Project
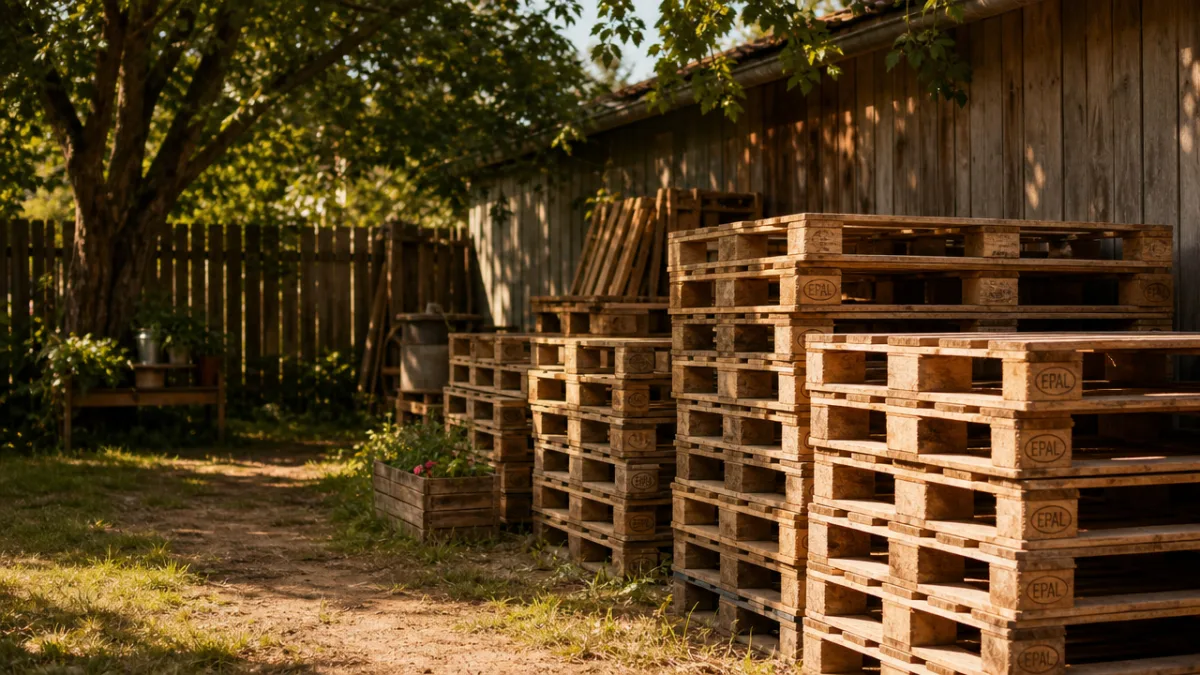
Here’s the thing — not all pallets are the same, and picking the right ones matters more than most people realize. The first thing to check is the IPPC stamp, a small marking that tells you how the pallet was treated. You want to see “HT,” which means heat-treated and is totally safe for outdoor use. What you want to avoid is anything stamped “MB,” which stands for methyl bromide — a toxic chemical that has no business being in your backyard, especially anywhere near a vegetable garden.
Once you’ve confirmed a pallet is safe, give it a good once-over for condition. Look for boards that are reasonably straight and solid enough to hold a screw without crumbling. A bit of warping is fine and can actually add charm to the finished look, but heavily rotted boards, deep cracking, or anything that smells like mold should go straight to the discard pile. Run your hands along the surfaces too, since loose nails and rough splinters are a real hazard when you’re building.
Finding free or cheap pallets is easier than you’d think. Grocery stores, garden centers, furniture shops, and hardware suppliers regularly have surplus pallets sitting around and are often happy to let them go rather than pay to have them hauled away. Facebook Marketplace and Craigslist are also solid options, with free-pickup listings popping up pretty regularly. Some manufacturing or distribution companies will even let you load up your truck if you just call ahead and ask nicely. The smart move is to grab more than you think you need — having extras means you can be picky about which boards actually make it into your fence.
Essential Tools and Materials You Will Need Before You Begin
One of the best things about building a pallet fence is that you don’t need a garage full of fancy tools to pull it off. For most projects, a pretty modest setup will get you through the whole build comfortably. Getting everything laid out and ready before you start also saves you from making a dozen trips back inside or to the hardware store mid-project — which, trust me, gets old fast.
Here’s a rundown of what you’ll want to have on hand before you start most pallet fence projects:
- A circular saw or reciprocating saw for cutting pallets to size
- A drill and an assortment of screws, ideally exterior-grade or galvanized to resist rust
- A hammer and pry bar for disassembling pallets when needed
- A level, tape measure, and carpenter’s square for ensuring your fence is straight and even
- Fence posts, post-hole digger or auger, and quick-set concrete for anchoring
- Sandpaper or an orbital sander to smooth rough edges
- Exterior wood stain, paint, or a clear weatherproofing sealant to protect finished boards
- Safety equipment including gloves, safety glasses, and sturdy footwear
One thing that’s worth spending a bit more on is a quality exterior wood sealant or paint. Bare pallet wood looks great, but it soaks up moisture, fades in the sun, and attracts insects faster than you’d like. A good coat of sealant or exterior paint makes a significant difference in how long your fence holds up, and it cuts down on the maintenance you’ll be doing down the road. Look for something specifically formulated for outdoor wood, and plan to reapply it every year or two to keep everything in good shape.
Five Creative Pallet Fence Designs to Inspire Your Build
This is honestly the fun part. The simplest approach is the whole-pallet standing fence — you stand intact pallets upright in a row, anchor each one to a post, and you’re basically done. It’s fast, needs almost no cutting, and gives you that chunky, rustic look that feels right at home in a cottage garden or a more casual outdoor space. Leave them natural for a weathered vibe, or go bold with a bright color if you want them to really pop.
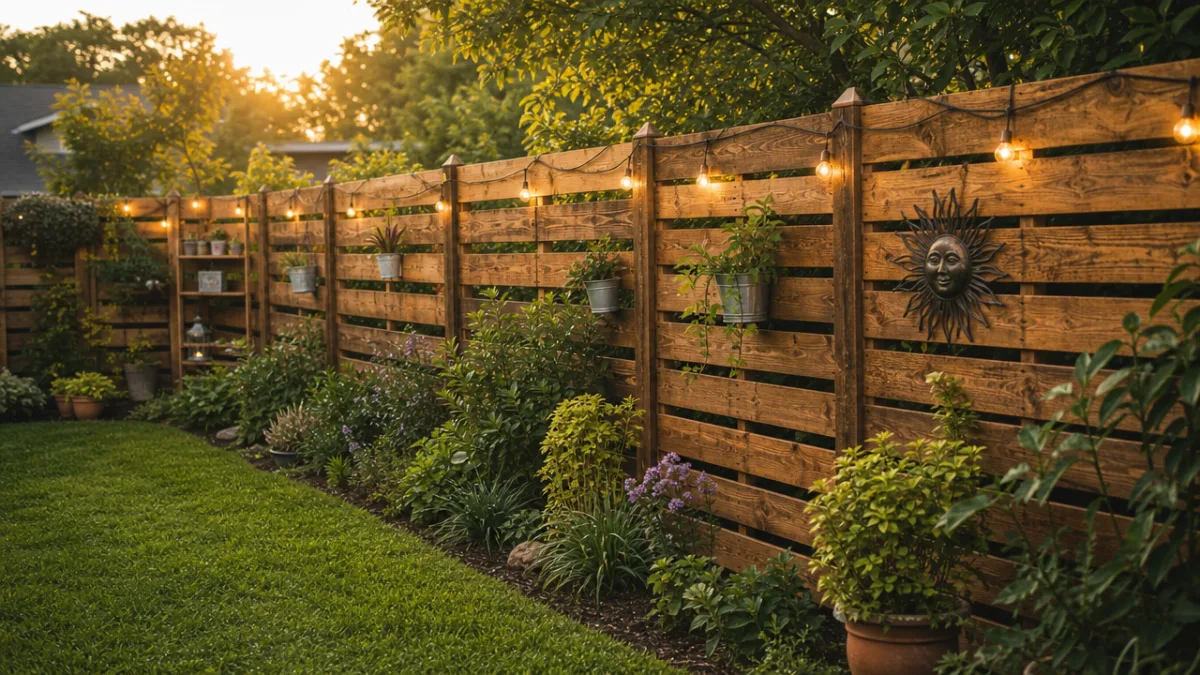
If privacy is more of a priority, the horizontal board fence is a great way to go. You take pallets apart and use the individual planks as horizontal boards fixed to vertical posts at whatever spacing you like. Tighter gaps mean more privacy, while leaving more space between boards keeps things airier and more open. When you sand and stain or paint those boards in a consistent color, the result can look surprisingly polished — not at all like something made from salvaged wood.
There are a handful of other pallet fence styles that are worth knowing about too:
- The Staggered Panel Fence: Alternate pallet panels at slightly different heights for a dynamic, layered look that adds visual interest to long fence lines.
- The Chevron or Herringbone Fence: Disassemble pallets and reattach boards at diagonal angles to create a geometric pattern that looks far more complex than it actually is to build.
- The Planter Fence: Attach small planter boxes or hanging pots directly to the fence panels, combining vertical gardening with boundary definition in one dual-purpose structure.
- The Painted Mural Fence: Use the flat surface of standing pallets as a canvas for painted designs, turning a simple boundary into a genuine piece of outdoor art.
- The Living Fence: Train climbing plants like ivy, morning glories, or clematis to grow through and over the pallet slats, creating a green, living wall effect over time.
Any of these can be tweaked, combined, or built on to fit your yard, your taste, and your skill level. Some of the most impressive pallet fences you’ll come across online are the result of someone who just started building and adjusted as they went — mixing techniques, trying things out, and ending up with something better than their original idea. That’s part of what makes pallets such a forgiving material to work with.

Step-by-Step Construction Tips for a Sturdy and Long-Lasting Fence
Making a pallet fence look good is one thing — making it actually last takes a little more care during the build. It all starts with the posts, which need to be solid because pallet panels are heavier and bulkier than traditional fencing materials. Set your posts in concrete at a depth of at least one-third of their total length, and let everything cure for 24 to 48 hours before you start attaching anything. Skipping that wait is tempting, but it’s not worth it.
When it comes to attaching pallets to posts, use exterior screws rather than nails whenever you can. Screws hold significantly better and are a lot easier to back out if you need to make an adjustment. Pre-drilling pilot holes before driving screws is also a good habit — pallet wood has already been through a lot, and it splits more easily than fresh lumber. If your fence is going to be tall or load-bearing in any way, adding metal L-brackets at the connection points gives you some real peace of mind.
Two things that first-time builders often overlook are drainage and airflow, and they both matter a lot for how long the fence actually holds up. Don’t let pallet boards sit directly on the ground — that constant soil contact speeds up rot dramatically. Keep the lowest board at least two or three inches above ground level, and if you can, lay a gravel strip along the base of the fence to help water drain away. Allowing air to move around and through the wood after it rains is what helps it dry out properly, which goes a long way toward preventing mold and decay from taking hold.
Finishing, Painting, and Maintaining Your Pallet Fence Over Time
Once the fence is up and standing solid, finishing it is where you really get to make it your own. Even if you’re after a rough, rustic look, it’s worth taking a few minutes to sand the boards before you apply anything. Sanding knocks down the worst splinters, opens up the grain so it soaks up sealant better, and just makes the whole fence look like something you built on purpose rather than something you threw together. Start with a coarser grit to knock down the rough spots, then follow up with a finer grit to smooth things out.
The finish you choose will do a lot to define both the look and the lifespan of the fence. Here are the main options and what you can expect from each:
- Clear weatherproofing sealant: Preserves the natural wood color and grain while protecting against moisture, UV rays, and mildew. Best for those who love the raw wood aesthetic.
- Exterior wood stain: Adds color while still allowing the wood grain to show through. Available in a wide range of tones from light honey to deep espresso and everything between.
- Exterior latex paint: Provides the most complete color coverage and the highest level of surface protection. Ideal for contemporary or cottage-style designs where a solid color is preferred.
- Whitewash or limewash: Creates a soft, semi-transparent effect that brightens the wood while still letting some grain and texture show through. Perfect for a beachy or Scandinavian-inspired look.
Keeping up with maintenance is what separates a fence that falls apart in two years from one that’s still going strong a decade later. Each spring, walk the fence line and look for boards that have warped, cracked, or worked loose over the winter. Tighten any loose screws, swap out boards that are past saving, and touch up any spots where the finish has worn through. A light power wash and a fresh coat of sealant every couple of years will keep everything looking sharp and add real years to the fence’s life without taking up much of your time.
When all is said and done, building a pallet fence is one of those projects that ends up being more satisfying than you expected. You’re taking something most people walk right past and turning it into a real, functional part of your outdoor space — built by you, tailored to your yard. Whether you start small with a single section to get a feel for it or go all in on a full perimeter build, you’ll probably find that working with pallets is a lot more approachable and enjoyable than you anticipated. The backyard you’ve been imagining is closer — and way more affordable — than you think.








What do you think?
It is nice to know your opinion. Leave a comment.