










Mulching Tips for Garden Beds: Do This Every Spring
Why Spring Mulching Is One of the Most Important Things You Can Do for Your Garden
Every spring, once the temperatures start climbing and the soil finally shakes off its winter sluggishness, there’s a short window that seasoned gardeners know not to waste. That’s your moment to get fresh mulch down on your garden beds — and if you do it right, you’ll be setting yourself up for a whole season of healthier, happier plants instead of fighting drought, weeds, and wild temperature swings all summer. Mulching isn’t just about making your beds look nice, either. It’s one of the most practical, affordable things you can do for your garden, full stop.
Here’s the basic idea, and it makes a lot of sense once you think about it: a good layer of organic mulch works like a blanket over your soil, softening those wild temperature swings that can stress plant roots in spring. Days warm up fast, but nights are still chilly, and bare soil just soaks all that up and spits it back out erratically. Mulch smooths that out and keeps the root zone more stable — which means your plants get to focus on growing instead of just surviving the ups and downs.
And that’s just the start. As summer creeps closer, keeping moisture in the soil becomes really important, and mulch is surprisingly great at it. Mulched beds can hold onto something like 70 percent more moisture than bare soil, which means you’ll water less often, spend less on your water bill, and watch your plants stay healthier through the dry spells. When you mulch in spring, you’re not just solving a right-now problem — you’re doing something genuinely good for your whole garden long-term.
Choosing the Right Type of Mulch for Your Garden Beds
Not all mulch does the same job, and picking the right kind for your beds is worth a little thought. Broadly speaking, you’ve got two camps: organic and inorganic. Organic mulches — things like shredded bark, wood chips, straw, compost, pine needles, and shredded leaves — break down over time and actually feed your soil as they go. Inorganic options like gravel, landscape fabric, or rubber mulch don’t decompose, which makes them a better fit for permanent plantings or spots where you really don’t want to think about maintenance.
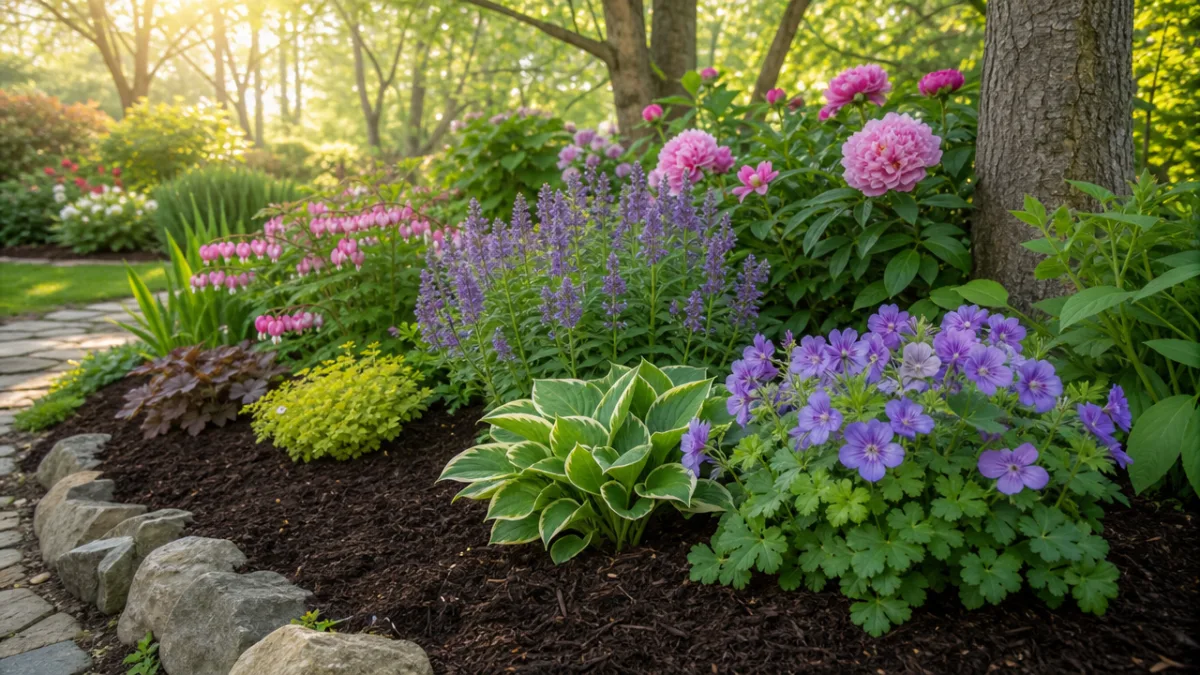
For most home garden beds — especially anything with perennials, annuals, veggies, or ornamental shrubs — shredded hardwood bark or wood chips are hard to beat. They’re easy to find, reasonably priced, and break down at a nice pace: slowly enough to last through the season, but fast enough to actually improve your soil over time. Pine bark nuggets are another solid choice, particularly if you’re growing acid-lovers like blueberries, azaleas, or rhododendrons, since they nudge soil pH downward as they break down.
For vegetable gardens and annual flower beds, lighter materials like straw, shredded leaves, or grass clippings often work better. They decompose faster, which is actually a good thing here since you’ll be turning the soil or replanting every season anyway. Straw is especially handy between veggie rows — it stays loose, lets rain soak through easily, and keeps muddy water from splashing up onto lower leaves, which can quietly spread all kinds of soil-borne disease. One word of warning: always buy straw, not hay. Hay is full of seeds that will turn your beds into a weed buffet.
Here are some popular mulch types and their best applications:
- Shredded hardwood bark — Ideal for ornamental beds, perennial borders, and foundation plantings. Long-lasting and visually polished.
- Wood chips — Excellent around trees and large shrubs. Breaks down slowly and improves soil structure over time.
- Straw — Best for vegetable gardens and strawberry beds. Lightweight, easy to apply, and weed-seed free when purchased correctly.
- Pine needles (pine straw) — Great for acid-loving plants. Stays in place well on slopes and has a natural, woodland aesthetic.
- Compost — A nutrient-rich choice that feeds plants as it protects. Best combined with a coarser mulch on top to prevent drying out.
- Shredded leaves — Free, abundant, and excellent for improving soil biology. Best when shredded to prevent matting.
How Much Mulch to Apply and the Critical Mistakes to Avoid
One of the most common mulching mistakes — and it really does cause problems — is going too thin or too thick. Too little and you’re barely doing anything; too much and you’re actually suffocating your plants and inviting disease. The sweet spot for most garden beds is two to four inches. At that depth, you’ll get solid weed suppression, good moisture retention, and root insulation, all without blocking the oxygen exchange that your soil microbes and plant roots genuinely need.
Go much thicker than four to six inches and you start creating what landscapers call an anaerobic environment — essentially a zone with too little oxygen underneath. When that happens, the beneficial bacteria in your soil can’t do their thing, and the mulch itself can mat up and start shedding water instead of absorbing it. Instead of soaking into the soil where your roots are, rain and irrigation just run off the surface. On top of that, overly deep mulch can harbor fungal pathogens that creep into plant stems and cause crown rot, which can take out even well-established perennials and shrubs.
The most notorious mulching blunder, though, is the “mulch volcano” — that cone-shaped pile heaped up against the base of a tree or shrub. It looks tidy, but it’s genuinely harmful. Mulch pressed against bark traps moisture and creates the perfect conditions for rot, fungal disease, and pests. Rodents love to nest in those warm, damp cones and chew on the bark underneath, and over a few years that can actually girdle and kill a tree. Always keep mulch two to four inches away from any woody stem or trunk — a little breathing room goes a long way.
To calculate how much mulch you need for a project, use this simple approach:
- Measure the length and width of each bed in feet and multiply to get the square footage.
- Decide on your desired depth in inches (typically 3 inches for most beds).
- Divide the square footage by 12 to convert inches to feet, then multiply by your depth.
- Divide that number by 27 to convert cubic feet to cubic yards, which is the standard unit sold in bulk.
- Add 10 to 15 percent to your total to account for settling and uneven application.
Preparing Your Garden Beds Before Applying Mulch
Skipping bed prep before you mulch is one of those shortcuts that tends to bite you later. Before you haul out a single wheelbarrow load, spend some time getting the bed itself ready. Start with weeding — a thorough one. Any weeds that are already in the bed when you mulch will keep right on growing underneath, and they’ll actually benefit from the extra moisture the mulch holds in. Pull or hoe out everything you can find, roots and all. Perennial weeds like bindweed, dandelion, and thistle are especially sneaky because they can come back from tiny root fragments left behind in the soil.
Once you’ve weeded, take a look at whatever mulch is left from last year. If it’s mostly broken down and worked its way into the soil, you’ll want a full fresh application. If there’s still a decent layer but it’s gotten compacted or developed a hard, crusty surface, loosen it up with a rake before adding new material on top — compacted old mulch can get hydrophobic and actually push water away instead of letting it in. A quick pass with a cultivator or garden fork does the trick. Then rake everything level, tidy up the bed edges, and you’re ready to go.
Spring is also a great opportunity to feed the soil before it gets covered for the season. If your beds are due for fertilizer, work some slow-release granules or a layer of finished compost into the top few inches of soil before the mulch goes down. You’ll also want to apply any pre-emergent herbicide or soil-pest treatments at this stage, since doing it before mulching makes them significantly more effective and reduces how often you’ll need to reapply through summer. Think of it as stacking all the good stuff in the right order before you seal it in.
The Right Timing and Technique for Spring Mulch Application
Getting the timing right for spring mulching means paying attention to what’s actually happening in your garden, not just what the calendar says. The big rule: don’t mulch too early. If the ground is still cold, you’ll trap that cold in and slow down the warming your plants are waiting on. A quick hands-in-the-dirt check tells you everything — if it feels cold and clammy, give it another week or two. If it feels cool but not cold, you’re probably in the right window.
For most temperate gardens, mid-spring is the sweet spot — after your last expected frost but before the real heat kicks in. In USDA zones 5 through 7, that’s usually somewhere in April or early May. If you’re in zones 8 and up, you might be mulching as early as late February or March. Gardeners in zones 3 and 4 may be waiting until late May. Local conditions will always tell you more than a generic date, and tuning into those signals makes a noticeable difference in how well your plants settle in for the season.
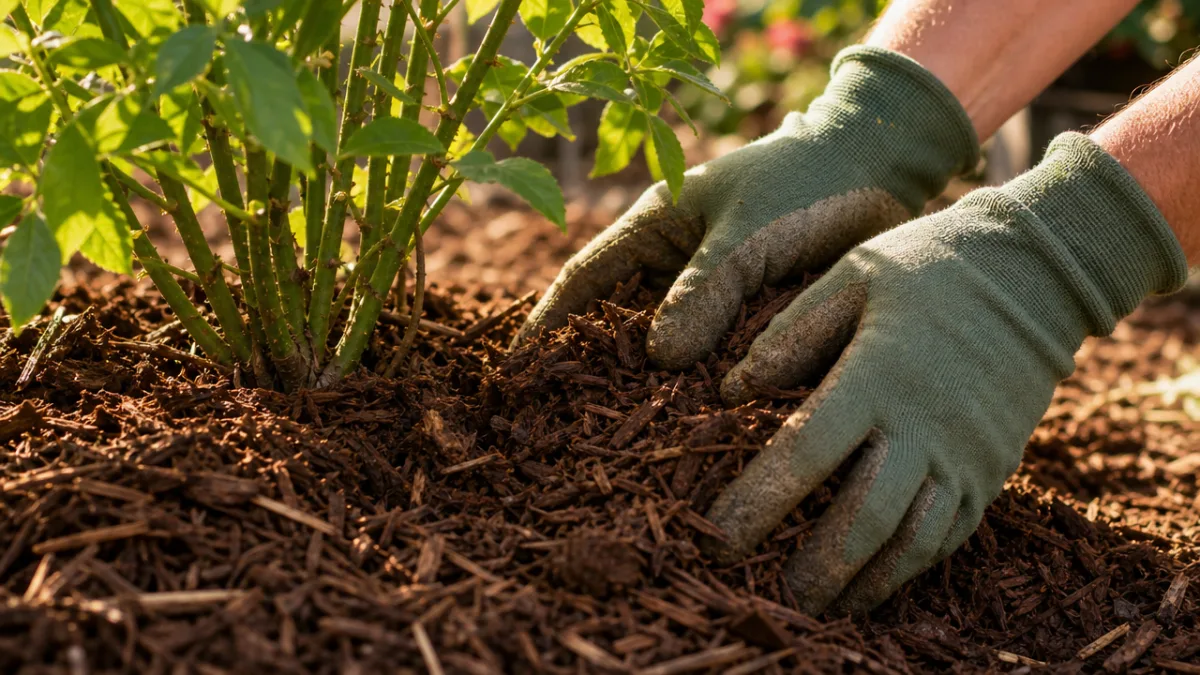
When you’re actually spreading the mulch, work from the back of the bed toward yourself so you’re not stepping all over what you just laid down. Use a flat-tined garden fork or a mulch rake to spread things evenly, and be careful around the base of plants — perennial crowns, shrub stems, and transplant stems can all get damaged if mulch piles up against them. New seedlings and fresh transplants especially need a little extra breathing room; keep the mulch light and pulled back around them until they’re visibly growing and established.
Long-Term Benefits of Consistent Annual Mulching
If you mulch every spring for a few years running, something really satisfying starts to happen: your soil actually gets better. As all that organic material breaks down, it feeds the earthworms and microorganisms that loosen and aerate the soil, improve drainage, and turn organic matter into nutrients plants can actually use. After three to five years of consistent mulching, a bed that started out compacted and worn out can become dark, rich, and crumbly — without ever being tilled or heavily amended. It’s one of those slow payoffs that’s genuinely worth it.
The weed situation improves too, though it happens gradually. One season of mulching won’t eliminate weeds, but year after year you’re depleting the weed seed bank in your soil. Seeds that don’t get light can’t germinate, and weeds that never finish their life cycle can’t drop new seeds. Gardeners who’ve been mulching consistently for four or five years tend to report way less weeding than neighbors who skip it. That’s real time back in your pocket — which, honestly, is one of the best things a gardening habit can give you.
Water conservation compounds too. As your soil structure improves from years of decomposing mulch, it gets better at holding and releasing moisture on its own. Pair that with an active mulch layer cutting down on surface evaporation, and you’ve got a garden that handles dry spells pretty gracefully. During summer droughts or water restrictions, well-mulched beds with good soil will keep plants going long after unmulched beds are showing stress. In drought-prone areas, that resilience isn’t just convenient — it can genuinely determine whether your landscape makes it through a tough summer.
There’s also a broader ecological ripple effect that’s easy to overlook. Organic mulch creates habitat for ground beetles, beneficial spiders, and other predatory insects that help keep pest populations naturally in check. It slows runoff during heavy rain, which means less soil erosion and fewer nutrients washing into local waterways. And because mulching cuts down on how much you need to irrigate, fertilize, and spray for weeds, it quietly reduces your garden’s overall environmental footprint every single year. What starts as a spring weekend chore gradually becomes one of the most meaningful things you do for your garden — and, in a small but real way, for the ecosystem around it.








What do you think?
It is nice to know your opinion. Leave a comment.