










How to Preserve Flowers: Step-by-Step Easy Methods That Actually Work
Why Preserving Flowers Is Worth Your Time
There’s something deeply sentimental about a bouquet of flowers — whether it arrived on your birthday, came from a garden you spent all summer nurturing, or played a role in the most important day of your life. Flowers hold memories in a way that almost nothing else does, and watching them wilt and fade can feel like losing a tiny piece of something you wanted to hold onto. That’s really what makes flower preservation such a beloved hobby for so many people.
The good news is that you don’t need a professional studio, expensive equipment, or any kind of botanical background to do this well. With a few simple household supplies and a bit of patience, you can turn fresh blooms into lasting keepsakes that keep their colour, shape, and beauty for months or even years. The methods range from good old-fashioned air drying to more modern techniques using silica gel, and each one produces its own kind of beautiful result.
Before you dive in, the one thing worth knowing upfront is that you’ll get the best results from flowers that are at their peak — not fully open yet, and definitely not starting to droop. Getting that timing right makes a real difference to how well they preserve. Once you’ve got that down, the whole process is pretty straightforward, and seeing your finished flowers on display makes it absolutely worth it.
Method One: Air Drying — The Classic Approach
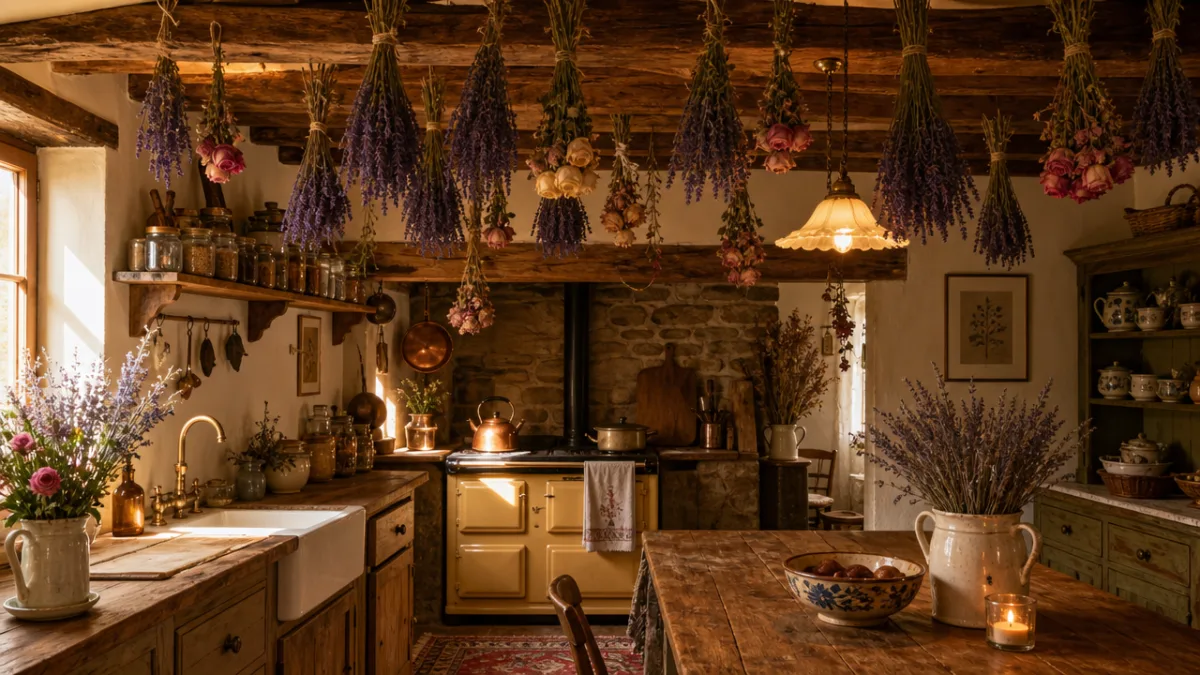
Air drying is the oldest trick in the book when it comes to preserving flowers, and honestly, it’s earned its reputation. It requires zero special equipment, costs nothing, and works brilliantly with all sorts of flowers — roses, lavender, statice, strawflowers, you name it. The idea is simple: you let the blooms lose their moisture slowly and naturally by hanging them upside down somewhere warm, dry, and airy. The results have that lovely rustic charm that works perfectly in farmhouse kitchens, on craft projects, and woven into wreaths.
To get started, gather your stems into small bunches of about five to ten stems each. Strip away any excess foliage from the lower part of the stems, since leaves trap moisture and can lead to mould. Here’s a little tip that makes a bigger difference than you’d expect: use a rubber band rather than string to secure each bunch. As the stems shrink and dry out, the rubber band shrinks with them and keeps everything snug and together.
Find somewhere warm, dark, and well-ventilated to hang them upside down — a spare room, an airing cupboard, or even a garden shed can all work well. Steer clear of damp spots like bathrooms or basements, and keep them out of direct sunlight, which will bleach the colours out fast. Most flowers will be fully dry within two to three weeks, though chunkier blooms like peonies or sunflowers might take a little longer. You’ll know they’re done when the petals feel papery and completely dry all the way through.
Method Two: Using Silica Gel for Faster, More Vivid Results
Silica gel is a desiccant — basically a substance that pulls moisture out of its surroundings — and it’s become a go-to method for craft enthusiasts and floral artists for good reason. While air drying can take weeks, silica gel can get the job done in as little as two to seven days, depending on how thick and water-heavy your blooms are. It also does a much better job of holding onto the flower’s original shape and colour, which makes it the method of choice for real showstoppers like roses, dahlias, and peonies.
You can pick up silica gel in granular form from most craft shops or online, and it often comes with colour-indicator crystals that turn pink when the gel is fully saturated and needs to be recharged. To use it, pour about an inch of silica gel into an airtight container, set your flowers face-up on top, then slowly and carefully pour more gel around and over the petals — you want to support them without crushing or distorting them. Seal the lid and leave the container somewhere dry.
When the drying time is up, gently pour off the gel and lift your flowers out carefully, because they’ll be delicate. Use a soft paintbrush to brush away any clinging crystals. The results are often genuinely breathtaking — flowers that look almost as fresh as they did on day one, with vivid colour and perfect shape. A light spritz of hairspray or a dedicated floral preserving spray will help protect them from humidity and keep them looking great for even longer.
Method Three: Pressing Flowers for Flat, Artistic Keepsakes
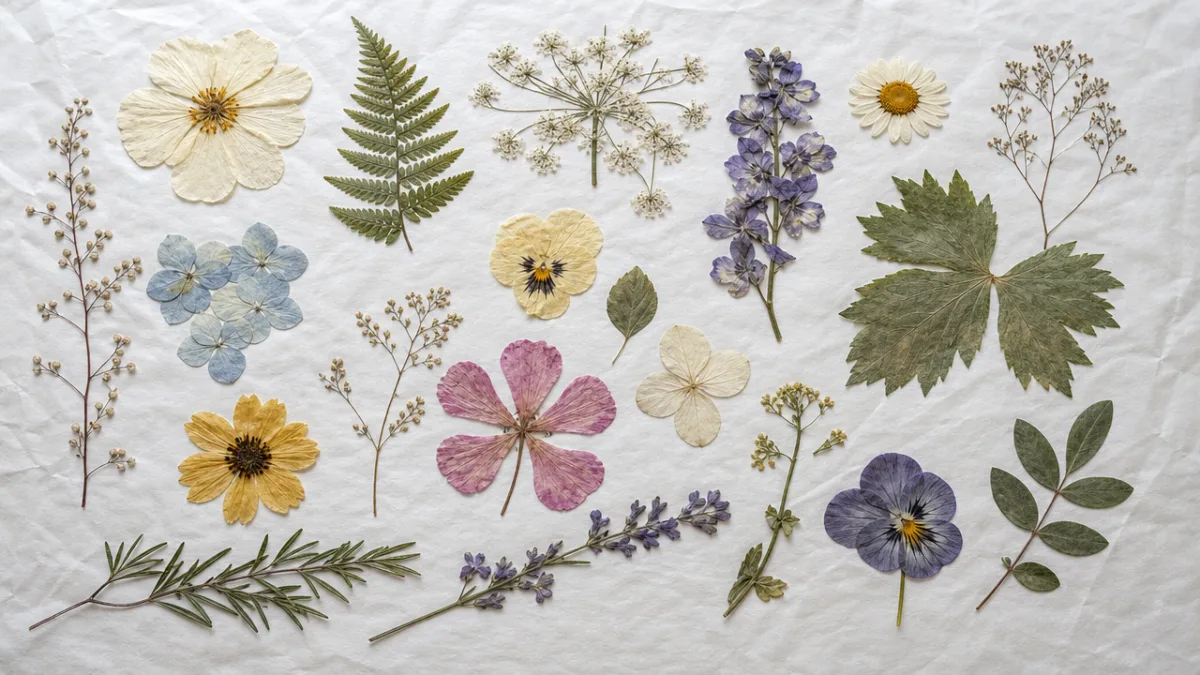
Pressed flowers have been cherished for centuries — tucked into botanical journals, slipped inside love letters, turned into wall art and greeting cards. Pressing works best with naturally flat or thin flowers like pansies, violas, daisies, and ferns, though plenty of other blooms press beautifully too. It’s wonderfully simple, needing nothing more than some absorbent paper and something heavy, which makes it one of the most accessible methods going.
For the classic book method, open a large heavy book and lay a sheet of blotting paper or plain printer paper on the page. Arrange your flowers on top with a little space between each one so they don’t overlap, then lay another sheet of paper over them and carefully close the book. Stack some extra heavy books on top for good measure. It’s worth checking on them after the first day or two and swapping out the paper if it feels damp — this helps prevent mould and speeds things up a bit.
After two to four weeks, your flowers should be completely flat and dry, and that’s when the fun really starts. Framed pressed flower displays make beautiful wall art and genuinely thoughtful handmade gifts. You can also use them in resin jewellery, as candle decorations, laminated into bookmarks, or arranged on card for personalised stationery. The possibilities really are endless, and every piece you make carries the meaning of the original flowers behind it.
Method Four: Preserving Flowers in Resin
Encasing flowers in resin is honestly one of the most jaw-dropping things you can do with preserved blooms — flowers suspended in perfect, glassy clarity, like something caught in amber. Resin preservation has really taken off in recent years, and while it involves a bit more investment in materials and technique than the simpler methods, the results are extraordinary. You can use the finished pieces to make jewellery, paperweights, coasters, keyrings, and decorative objects that will genuinely last a lifetime.
One important thing to know before you start: the flowers must be completely dried first using one of the methods above. Any moisture left in the petals will turn the resin cloudy, so don’t rush this stage. You’ll also need epoxy resin, a hardener, moulds in whatever shapes you like, some disposable mixing cups, and protective gloves and goggles — resin can be an irritant, so working in a well-ventilated space and following the manufacturer’s mixing ratios carefully isn’t optional. Getting the proportions wrong can prevent the resin from curing at all.
Start by pouring a base layer of resin into your mould and letting it partially cure until it’s gel-like but not fully set — this gives your flowers something to rest on rather than sinking straight to the bottom. Arrange your dried flowers in position, then pour the remaining resin over the top. Cover the mould loosely to keep out dust and leave it to cure fully, which usually takes between 24 and 72 hours. Once it’s set, you can demould your piece and sand and polish it to a crystal-clear finish. There’s nothing quite like holding a finished resin flower piece in your hands for the first time — it’s easy to see why people get completely hooked on this craft.
Tips for Getting the Best Results Every Time
Whatever method you go with, there are a few universal principles that will make a real difference to your results. The most important one is choosing the right flowers at the right moment. Always start with blooms that are fresh, healthy, and free from browning, bruising, or any sign of pest damage. Flowers with thinner petals tend to preserve more easily and quickly than thick, fleshy ones, and flowers that are just beginning to open will generally give you better results than ones that are fully bloomed or past their best.
Managing moisture well throughout the whole process is the other big one. Moisture is really the main thing working against you in flower preservation, regardless of which technique you’re using. Always start with flowers that are completely dry on the surface — don’t preserve them right after watering or a rainy day. If you’re picking from your own garden, early morning is your best window: after the dew has dried but before the heat of the day starts stressing the blooms. A gentle pat with a dry cloth before you start never hurts either.
How you store and display your preserved flowers matters just as much as the preservation itself. Even beautifully preserved blooms can go downhill quickly in the wrong conditions. Keep the following in mind to help yours last as long as possible:
- Keep preserved flowers away from direct sunlight — it causes colour fading faster than almost anything else, regardless of which preservation method you used.
- Avoid humid rooms like bathrooms or spots near the kitchen sink, since moisture in the air can soften and damage dried petals over time.
- Dust them gently and regularly with a soft paintbrush or a puff of compressed air to stop build-up from causing deterioration.
- If you’re storing flowers rather than displaying them, keep them in an airtight box with a silica gel sachet inside to absorb any ambient moisture.
- Handle all preserved flowers with care — even ones that look quite robust can be surprisingly fragile and prone to snapping.
And finally, don’t get disheartened if your first few attempts aren’t perfect. This is genuinely a skill you develop over time, and part of the enjoyment is experimenting with different flowers, methods, and timings to see what works. Keep a few notes along the way and you’ll start building up an intuitive feel for how different blooms respond to different techniques. Many experienced crafters have a firm favourite method, but the most rewarding thing you can do is keep exploring and trying new things.
Creative Ways to Display and Use Your Preserved Flowers
Once you’ve successfully preserved your flowers, the next fun challenge is figuring out what to actually do with them. The creative possibilities are genuinely vast, and a lot of the beauty of this craft is that every finished piece has a story behind it. A rose saved from a first date, a sprig of lavender from your grandmother’s garden, a wedding bouquet frozen in resin — these are objects with real emotional weight, and they deserve to be displayed in a way that does them justice.
Some of the most striking display options include shadow box frames, where you can arrange three-dimensional dried or silica-preserved flowers behind glass to create a piece of botanical-style wall art. Glass cloches and bell jars are another lovely choice, especially for fuller blooms like roses and peonies preserved in silica gel. They have that Victorian botanical charm that never really goes out of fashion and looks wonderful on a mantelpiece, bookshelf, or dressing table.
Beyond display, preserved flowers lend themselves to a whole range of practical and gift-worthy projects. Here are a few ideas to get you inspired:
- Botanical candles: Pressed flowers can be arranged against the outside of pillar candles and sealed with a layer of wax to make a stunning handmade gift.
- Resin jewellery: Tiny preserved flowers encased in small resin pendants, rings, or earrings make incredibly personal and unique pieces of wearable art.
- Framed herbarium prints: Arrange pressed flowers in the style of a Victorian botanical specimen sheet, labelled in handwriting, for a timeless framed display.
- Greeting cards and stationery: A pressed flower glued to a handmade card turns any written message into something truly special.
- Wreaths and garlands: Air-dried flowers are perfect for making dried floral wreaths that look beautiful on a front door or hung on the wall all year round.
Flower preservation is a hobby that really rewards curiosity, patience, and a genuine love of natural beauty. Whether you’re trying to save a meaningful bouquet, pick up a new creative skill, or find a source of heartfelt handmade gifts, these techniques have something genuinely satisfying to offer. Start with whichever method appeals to you most, gather your materials, and enjoy the process of turning living blooms into something that lasts. You might just find, as so many people have before you, that it becomes far more than a hobby — it becomes a bit of a passion.








What do you think?
It is nice to know your opinion. Leave a comment.