










How and When to Prune Morning Glory Vines: A Complete Guide
Understanding Morning Glory Vines and Why Pruning Matters
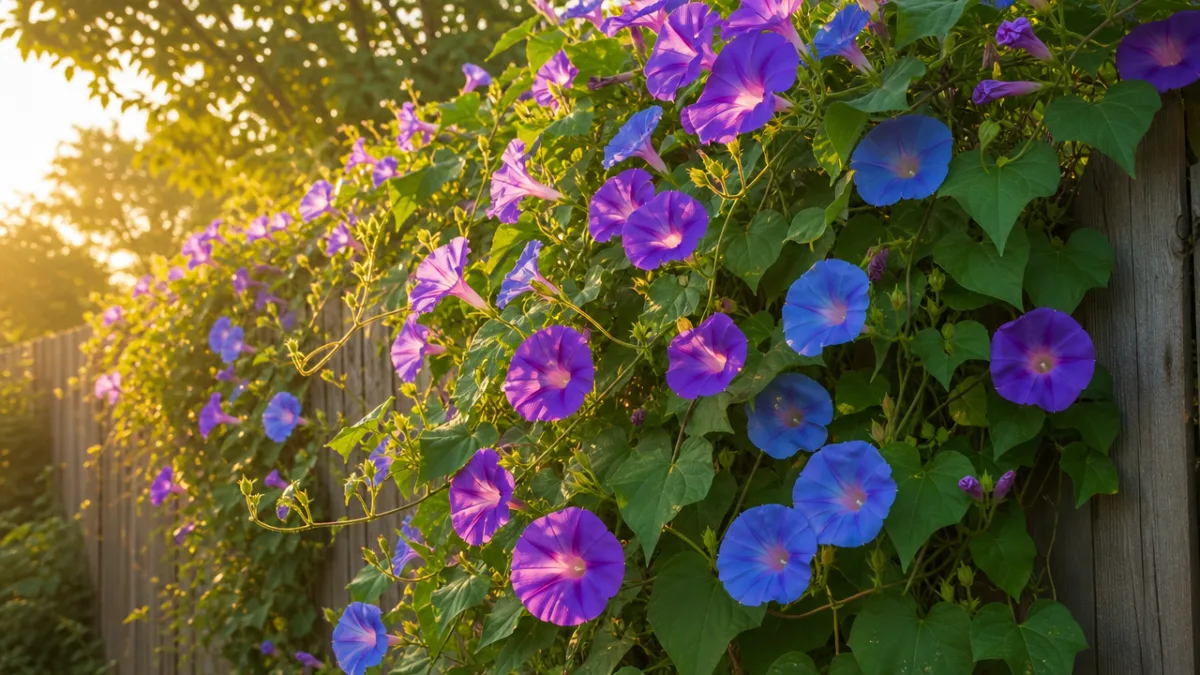
Morning glory vines (Ipomoea purpurea and related species) are some of the most cheerful climbers you can grow at home. Those trumpet-shaped flowers that pop open each morning in shades of violet, blue, pink, red, and white are genuinely hard to beat. But here’s the thing — these plants are fast. We’re talking six to ten feet or more in a single season, which is wonderful until it isn’t. Left to their own devices, morning glories will happily smother neighboring plants, turn your fence into a tangled mess, and drop so many seeds that you’ll be pulling up volunteers for years.
Pruning isn’t just about keeping things looking tidy, though. It actually does real work for the plant. When you prune with a little intention, you’re redirecting energy away from all that wild leafy growth and toward flowers — which is what you planted these for in the first place. A well-pruned vine shows off its blooms against a clean framework instead of burying them under a heap of overlapping stems.
A lot of gardeners are surprised by how well morning glories handle pruning. Cut them back and they bounce back fast, which makes sense when you think about it — as warm-season annuals, they’re biologically driven to grow, flower, and set seed before the season ends. Once you understand that, it’s easier to time your pruning for real impact. The goal isn’t to fight the plant. It’s to work with that energy and point it somewhere useful.
The Best Time to Prune Morning Glory Vines
There’s no single “prune day” for morning glories — it works better as a series of smaller interventions spread across the season. The first chance comes early on, when young plants have grown their third or fourth set of true leaves. At that point, pinching back the growing tips nudges the plant to branch out from lower nodes instead of just shooting upward. The result is a fuller, bushier base that ends up supporting far more flowering stems down the line.
By midsummer — July and August in most temperate gardens — things can get a little wild. Morning glories can put on several inches of new growth in a single day when conditions are right. This is a good time to step back, look at the overall structure, and cut out any stems that are crossing, crowding other plants, or wandering somewhere you don’t want them. A bit of deadheading during this phase keeps things looking neat and gives flower production a gentle nudge, though morning glories are less reliant on deadheading than, say, roses.
Come early autumn, the focus shifts to seed management. Morning glories are prolific self-seeders, and if you let every spent flower go to pod, you could be facing dozens — or hundreds — of uninvited seedlings next spring. Some gardeners love this; in a more structured garden, it can get out of hand quickly. Cutting back seed-bearing stems before the pods have a chance to fully ripen and split gives you back control over where and how thickly the plant comes back. That said, if you do want some self-sown seedlings, just let a few pods from your strongest plants go all the way.
Tools and Techniques for Effective Pruning
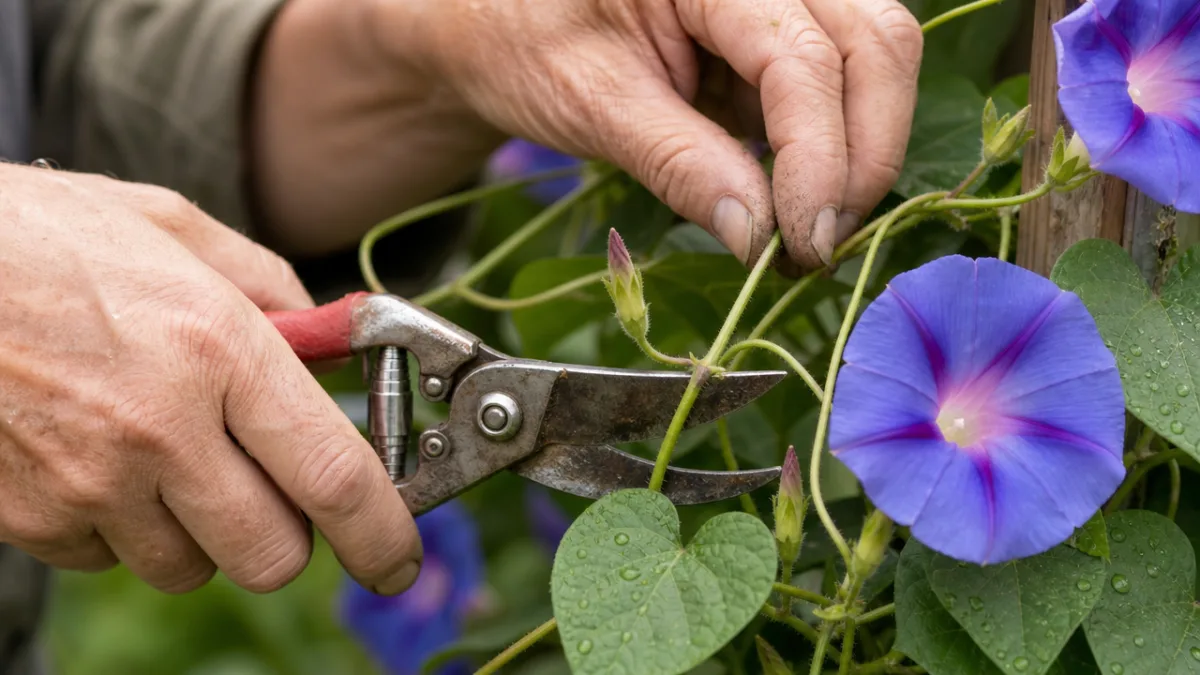
The right tools really do matter here. A clean cut heals; a ragged tear invites trouble. Fortunately, morning glory stems are soft and herbaceous, so you don’t need anything heavy-duty. A pair of sharp bypass hand pruners will handle almost everything, from nipping out growing tips to removing full stems at the base. The key word is sharp — dull blades crush plant tissue instead of cutting it cleanly, and that kind of damage makes it much easier for fungal and bacterial problems to take hold, especially during the humid stretch of summer.
For the more delicate work of pinching young growing tips, a small pair of scissors or even your fingernails does the job just fine. If your vines have climbed high on a trellis or pergola, long-handled pruning shears can save you from having to juggle a ladder and a tangle of stems at the same time. And whatever tools you’re using, wipe them down with diluted bleach or rubbing alcohol when moving between plants — it only takes a minute and keeps you from accidentally carrying pathogens from one vine to the next.
Pinching is worth understanding in a bit more detail, because it’s the move you’ll use most with morning glories. All it means is removing the very tip of a growing stem — the apical bud and those tiny newest leaves — with your fingers or scissors. When you do that, the plant activates the lateral buds tucked into the leaf axils just below the cut, sending out two or more new shoots where there was previously just one. Do this a few times early in the season and you can turn a skinny, single-stemmed seedling into a dense, multi-stemmed plant that fills its support structure beautifully.
Essential Pruning Tools for Morning Glories
- Sharp bypass hand pruners for stems thicker than a pencil
- Small, pointed scissors for precise cuts near flowers and buds
- Long-handled pruning shears for reaching tall growth on trellises
- Clean cotton gloves to protect hands from the plant’s mildly irritating sap
- A small bucket or bag for collecting removed plant material
- Rubbing alcohol or diluted bleach for sterilizing tools between plants
How to Prune for Maximum Flower Production
To prune for flowers, you first need to understand how morning glories grow. These vines bloom on new growth — the freshest, youngest stems are where the flower buds show up. Older stems near the base may eventually stop producing flowers altogether and just act as structural support. Keeping that in mind changes how you prune, because you want to protect and encourage those young lateral shoots rather than spending your energy on wood that’s already past its prime.
One of the most effective things you can do in midsummer is what’s sometimes called renewal pruning: cutting back a portion of the oldest stems to trigger a fresh flush of vigorous new growth. This works especially well when the lower stems are starting to look tired, bare, or a little woody. Take out a third to half of the oldest stems, cutting close to the main framework, and you open up space and light for new shoots to push through. Often this results in a second wave of particularly abundant flowering right as summer tips into early autumn — which is a very satisfying outcome.
Deadheading is worth doing, but don’t stress about it the way you might with roses or zinnias. Morning glories will keep blooming either way, but snipping off spent flowers before they swell into seed pods does tidy things up and helps stretch the flowering season a bit longer. A few minutes every couple of days — just nipping away those withered, papery trumpets — makes a noticeable difference over the course of the summer without feeling like a chore.
Step-by-Step Guide to Renewal Pruning
- Identify the oldest, least productive stems by their thicker, slightly woody appearance and relative absence of flower buds.
- Trace each selected stem back toward the base of the plant and locate a healthy lateral shoot or leaf node from which new growth can emerge.
- Make a clean cut just above this node using sharp bypass pruners, removing the old stem entirely above that point.
- Gently untangle and remove the pruned stem from the trellis or support structure, taking care not to damage surrounding healthy growth.
- Water the plant well after pruning and apply a light dose of balanced liquid fertilizer to support the flush of new growth that will follow.
- Monitor the pruned areas over the following one to two weeks for signs of new lateral shoots developing from the remaining nodes.
Managing Self-Seeding and Controlling Spread
Here’s something many beginner gardeners don’t fully appreciate until they’ve lived through it: morning glories are extraordinary self-seeders. Every flower that sets seed produces a small round capsule holding anywhere from three to six seeds, and a single healthy plant can churn out hundreds of these over a season. The seeds can stay viable in the soil for years, germinating eagerly whenever conditions suit them. In some regions, this has nudged certain morning glory species into invasive territory.
The main way to stay ahead of this is consistent seed pod removal before the pods get a chance to dry out and split. The progression is easy to follow: after the flower fades, the base swells into a small green globe, which slowly turns tan and papery as it dries. Your window for intervention is while those pods are still green and firmly attached — at that stage, the seeds inside aren’t yet viable. Once a pod goes brown and starts to crack, the seeds are ready and may already be on the move, carried off by birds, wind, or just gravity.
If you want morning glories to come back year after year without a free-for-all of random seedlings everywhere, selective seed saving is your best approach. Instead of trying to police every single pod — which would take more vigilance than most of us have — pick two or three of your healthiest, most beautiful plants at the end of the season and let each one ripen a small number of pods from the flower colors or forms you liked best. Collect those pods into a labeled envelope, keep them somewhere cool and dry over winter, and sow them deliberately in spring where you actually want them. You get the pleasure of morning glories coming back each year, but on your terms.
Troubleshooting Common Pruning Problems
Even gardeners who’ve been at this for years run into snags with morning glory pruning, so it helps to know what to expect. One of the most common situations is dealing with a vine that’s gone completely wild before you’ve had a chance to touch it. The instinct is to cut everything back hard all at once, but that tends to shock the plant more than it helps. A gentler approach works better: start with the outermost, most chaotic growth and work your way inward gradually over a few sessions. Try not to remove more than a third of the total plant mass at one time — that gives the vine room to recover without suspending flowering for weeks.
Morning glories are also enthusiastic grabbers, and they’ll twine themselves around nearby shrubs, perennials, and other vines without any invitation. Getting them separated without damaging their hosts takes patience. Use scissors or pruners to cut the morning glory stems at frequent intervals along their length, then gently unwrap them rather than pulling. Yanking a tangled vine can easily snap branches or uproot smaller plants, so slow and steady really is the way to go here.
If you notice yellowing leaves after a significant pruning, don’t panic right away. It’s often just a temporary stress response — the plant is redistributing its resources and some older leaves get dropped in the process. As long as the yellowing is limited to older foliage and the new growth coming in at the pruned tips looks green and healthy, watering and fertilizing as usual is all you need to do. Where it’s worth paying closer attention is if the yellowing moves to young leaves or shows up alongside spots, wilting, or distorted growth. Those can be signs of fungal disease, viral infection, or pest pressure — all of which tend to be made worse by overcrowding, which is exactly what good pruning helps prevent in the first place.
Quick Reference: Seasonal Pruning Calendar
- Early Spring (Seedling Stage): Pinch growing tips when plants have 3–4 sets of true leaves to encourage branching.
- Late Spring: Guide young vines onto their supports and remove any damaged or crossing stems.
- Early Summer: Continue pinching tips of lateral shoots to build a dense, multi-stemmed framework.
- Midsummer: Perform renewal pruning on oldest stems and begin regular deadheading of spent flowers.
- Late Summer: Intensify seed pod removal to prevent excessive self-seeding before pods mature.
- Early Autumn: Allow selected pods to mature for seed saving; cut remaining vines back as frost approaches.
Special Considerations for Container-Grown Morning Glories
Growing morning glories in containers is a slightly different experience than letting them run in the open garden. With their roots restricted, container plants tend to stay smaller and a bit less rampant, which honestly makes the pruning side of things easier to manage. The tradeoff is that the limited soil volume makes them more sensitive to both too much and too little pruning, so you need to find a balance between keeping growth full and flowering and avoiding the kind of stress that comes from pushing a root-bound plant too hard.
The same pinching and tip-pruning techniques work just as well for container morning glories trained on a small obelisk, trellis, or teepee of stakes — you’re just working at a smaller scale. Because these plants are more compact, you may need to prune a bit more frequently to keep things tidy, but each session should remove proportionally less. Taking more than a quarter of the total growth from a container plant at one time can send it into a stress response that delays flowering noticeably, which is especially disappointing when the pot is sitting front and center on your patio or balcony.
After any pruning, water and feeding matter more for container plants than for those in the ground. Between the restricted root space and the energy demands of recovery, these plants do best with consistent moisture and a balanced or bloom-promoting liquid fertilizer every one to two weeks through the growing season. If a container morning glory keeps pushing out lush foliage but almost no flowers despite regular pruning and deadheading, it’s worth checking whether the pot has simply gotten too small. A severely root-bound plant can behave in frustrating and unpredictable ways. Moving it up to a container one size larger with fresh potting mix often resolves the issue quickly — it’s not unusual to see a real renewal of flowering within just a few weeks of repotting.








What do you think?
It is nice to know your opinion. Leave a comment.