










Summer-Friendly Crochet Fishnet Sleeves Shrug Pattern: Your Complete Free Guide
What Is a Crochet Fishnet Sleeves Shrug and Why You Need One This Summer
A crochet fishnet sleeves shrug is one of those rare garments that manages to be simultaneously practical and breathtakingly stylish. At its core, it is a lightweight, open-stitch coverup that drapes over your shoulders and arms, leaving your torso mostly exposed while framing your outfit with delicate, lacy texture. The fishnet pattern — characterized by its diamond-shaped or square mesh openings — creates a fabric that is airy enough to wear comfortably in warm weather, making it the perfect companion for beach days, summer festivals, outdoor dinners, and everything in between.
Unlike heavier cardigans or full-coverage shrugs, the fishnet version lets your skin breathe while still offering a layer of visual interest and a touch of coverage that can feel flattering and fun. The openwork design means you are never truly adding warmth, which is exactly the point during summer months when you want style without the discomfort of extra fabric. It pairs beautifully over swimwear, sundresses, crop tops, or even a simple tank and shorts combination, instantly elevating a basic look into something that feels thoughtfully assembled.
The beauty of this pattern lies also in its versatility across skill levels. While the fishnet structure might look intricate to the uninitiated, it is built on a foundation of simple, repeating stitches that even beginner crocheters can master with a little patience. Once you understand the basic mesh repeat, your hands will move almost automatically, making this a wonderfully meditative project to work on during summer evenings on the porch or lazy weekend afternoons. The end result is a wearable piece of art that looks far more complex than the hours you put into it.
Materials and Tools You Will Need Before You Begin
Gathering the right materials before you start any crochet project saves time, prevents frustration, and ensures a finished garment that looks and feels the way it was intended. For a summer fishnet sleeves shrug, your yarn choice is arguably the most important decision you will make. You want to select a lightweight, smooth yarn that will slide easily through your hook and create clean, defined mesh openings. Cotton yarn is the top recommendation for this type of project because it is breathable, washable, and holds its structure beautifully without becoming limp in heat or humidity.
Look for a yarn labeled as fingering weight, lace weight, or sport weight for the most delicate and authentic fishnet appearance. Brands such as Lion Brand 24/7 Cotton, Paintbox Simply DK Cotton, or any similar mercerized cotton option will work wonderfully. If you prefer a little sheen and drape, a cotton-bamboo blend or a cotton-silk blend can elevate the finished piece into something that feels almost luxurious against the skin. Avoid wool or acrylic for this particular project, as they tend to trap heat and lack the crisp stitch definition that makes the fishnet pattern so visually striking.
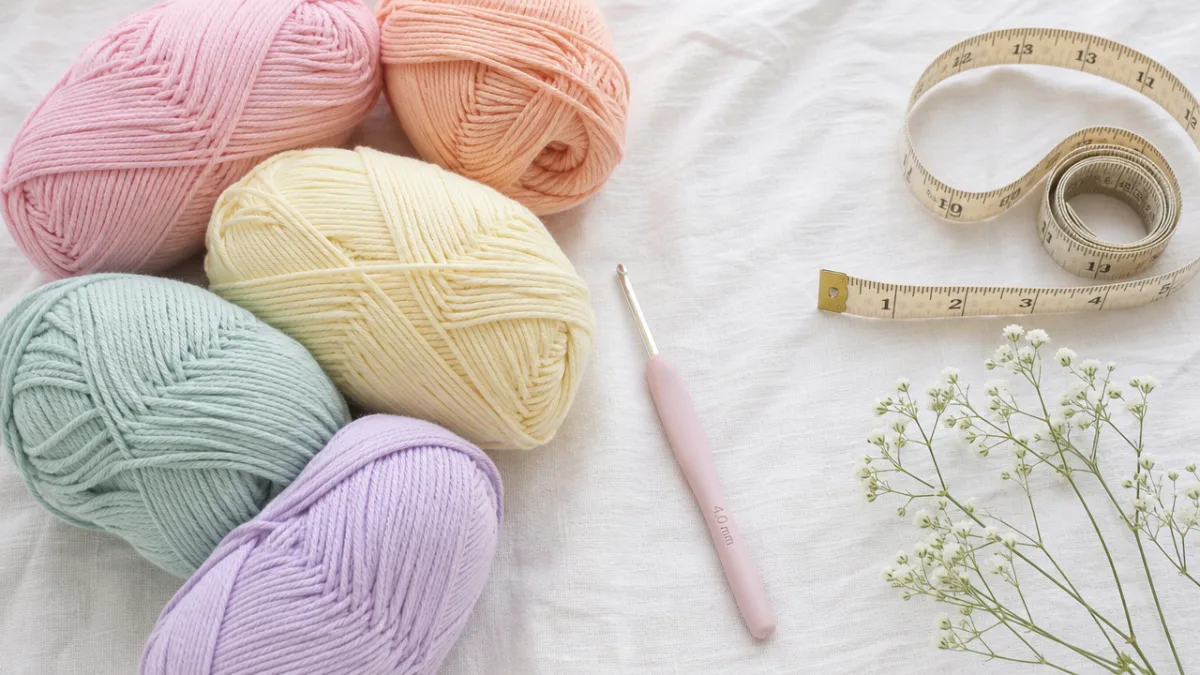
In terms of tools and notions, here is a practical checklist of everything you should have on hand before casting on your first chain:
- Crochet hook sized 4.0mm to 5.0mm, depending on your yarn weight and personal tension
- Approximately 200 to 350 yards of lightweight cotton or cotton-blend yarn
- Stitch markers to keep track of pattern repeats and shaping points
- A tapestry needle for weaving in ends and seaming sleeve sections
- Small scissors with sharp blades for clean yarn cuts
- A measuring tape for checking gauge and finished dimensions
- Row counter or a simple notepad to track your pattern repeats
Gauge matters more than many beginners realize, especially for a wearable garment. Before diving into the full shrug, crochet a small swatch of your fishnet pattern approximately four inches square and compare it to the pattern’s recommended gauge. If your swatch is too large, move down a hook size. If it is too small and tight, go up a hook size. Taking ten minutes to swatch properly can mean the difference between a shrug that fits beautifully and one that ends up either enormous or uncomfortably snug.
Understanding the Fishnet Stitch Pattern: A Step-by-Step Breakdown
The fishnet stitch is one of crochet’s most elegant mesh constructions, and understanding its logic makes the entire project feel approachable rather than intimidating. At its simplest, the fishnet pattern is created by alternating chain spaces with single or double crochet stitches, forming a grid of open diamonds or squares that mimics the look of actual fishing net fabric. The specific structure can vary slightly from pattern to pattern, but the underlying principle remains consistent: you are building a fabric made mostly of negative space, held together by a regular framework of yarn.
A standard fishnet mesh repeat typically looks something like this in written instructions: chain a multiple of four (or six, depending on your desired mesh size), then work a single crochet or slip stitch into a designated stitch, chain three, skip two or three stitches, and repeat across. On the return row, you work your anchor stitches into the chain spaces of the previous row rather than into the stitches themselves, which is what creates that characteristic offset diamond pattern. After a few rows, the visual rhythm becomes clear, and you will be able to read your work and self-correct without constantly consulting written instructions.
For this shrug specifically, the fishnet pattern is typically worked flat in rectangular panels or in the round for the sleeve portions, then assembled at key seam points. Understanding the difference between working flat and working in the round is important because it affects how you handle turning chains and stitch placement. When working flat, you will turn your work at the end of each row and add a turning chain that counts as your first stitch. When working in the round — which produces seamless tubes perfect for sleeves — you will join at the end of each round and work continuously without turning, which some crocheters find even easier and more enjoyable than flat work.
Here is a simplified version of the basic fishnet row pattern to practice before beginning your shrug:
- Foundation chain: Create a chain that is a multiple of 4, plus 2 for turning.
- Row 1: Single crochet in the 2nd chain from hook, *chain 3, skip 3 chains, single crochet in next chain*; repeat from * to end, turn.
- Row 2: Chain 4 (counts as first double crochet plus chain 1), *single crochet in chain-3 space, chain 3*; repeat across, ending with single crochet in last space, chain 1, double crochet in last stitch, turn.
- Row 3: Chain 1, single crochet in first double crochet, *chain 3, single crochet in chain-3 space*; repeat across, turn.
- Repeat Rows 2 and 3 for the main body of the pattern until desired length is reached.
How to Construct the Shrug: From Panels to Finished Garment
Constructing a fishnet sleeves shrug is a rewarding process because the design is cleverly simple in its architecture. Rather than working complex shaping from a single piece, most free patterns for this style break the garment into logical sections that are crocheted separately and then joined. The most common construction method involves creating two identical sleeve tubes or rectangular sleeve panels, then connecting them through a back panel or yoke section that sits across the shoulders. This modular approach makes the project less daunting and also allows you to adjust sizing easily by modifying individual pieces.
Begin with the sleeves, as they will define the overall scale of your garment and give you a feel for your gauge before committing to the larger back section. If the pattern calls for working sleeves in the round, start with a foundation chain long enough to encircle the widest part of your upper arm comfortably, join to form a ring, and work your fishnet rounds outward toward the wrist. If the pattern uses flat rectangular panels for sleeves, work your rows until the panel is long enough to wrap around your arm, then seam the short edges together using a slip stitch or whipstitch join for a nearly invisible seam.
The back panel or yoke is typically a wider, shorter rectangle that connects the two sleeves. Once your sleeves are complete, lay them flat alongside your back panel and use stitch markers to identify the joining points before committing to any permanent seams. Many crocheters find it helpful to pin or clip their pieces together first and try the assembly on a dress form or even drape it over their own shoulders to check the fit and silhouette before seaming. A shrug that sits correctly should feel comfortable across the shoulder blades, with the sleeve openings hitting comfortably at or near the elbow depending on your personal preference and the specific pattern dimensions you have followed.
Finishing details make an enormous difference in the professional appearance of your completed shrug. Once all pieces are joined, work a simple border around any raw edges using single crochet, reverse single crochet (crab stitch), or a shell stitch for a more decorative edge. A clean border stabilizes the mesh fabric, prevents curling, and gives the finished piece a polished look that distinguishes handmade garments from professionally manufactured ones. Weave in all ends carefully, wet block the finished shrug by soaking it in cool water and gently reshaping it on a flat surface to dry, and your garment will emerge beautifully even and drape-worthy.
Sizing, Fit Adjustments, and Customization Options
One of the most appealing aspects of making your own crochet shrug is the ability to tailor the fit precisely to your body rather than accepting the limitations of standard retail sizing. Most free fishnet shrug patterns are written for a range of sizes, typically from small through extra-large, with key measurements provided for the sleeve circumference, sleeve length, and back panel width. Before beginning, take accurate measurements of your own upper arm circumference, your arm length from shoulder to elbow or wrist depending on your preferred sleeve length, and your shoulder width from shoulder tip to shoulder tip across your upper back.
Adjusting width is straightforward in a mesh pattern: simply add or subtract complete pattern repeats from your foundation chain. Since the fishnet repeat is typically a multiple of four or six stitches, you can increase or decrease your starting chain in those increments to widen or narrow the piece proportionally. Adding one full repeat to a sleeve panel, for example, might add roughly half an inch to an inch of width depending on your gauge, so calculate carefully before making changes. Similarly, adjusting the length of any panel is simply a matter of working more or fewer rows until your piece reaches the measurement you need.
Beyond basic sizing, there are numerous creative customizations that can make this pattern feel uniquely your own. Consider experimenting with the following personalization ideas:
- Color blocking by using two or three complementary colors for different sections of the shrug, such as contrasting sleeves and back panel
- Adding a decorative trim of shell stitches, picot edging, or even small crocheted flowers along the cuffs and back hem
- Varying the mesh size within a single garment by using a larger hook for the back panel to create an interesting textural contrast
- Incorporating a self-tie ribbon or crochet cord at the center front for a cinched, adjustable fit
- Working the back panel in a solid or semi-solid stitch pattern such as granite stitch or extended single crochet for a textural contrast against the open sleeves
- Experimenting with variegated or hand-dyed yarn that creates organic color changes throughout the fishnet mesh
Remember that any modification you make should be tested in your gauge swatch first whenever possible, particularly if you are changing yarn weight, hook size, or stitch structure. What works beautifully on paper does not always translate perfectly in practice, and a small test swatch can save you hours of unraveling and reworking a larger piece. Keep notes as you go, recording your hook size, yarn brand, gauge measurements, and any row or stitch count modifications so that if you love the result, you can recreate it or make additional pieces in the future.
Caring for Your Finished Shrug and Styling It All Summer Long
Once you have invested the time and creativity into completing your fishnet sleeves shrug, caring for it properly ensures that it retains its shape, softness, and beautiful open texture for many summers to come. Cotton and cotton-blend yarns are generally among the most forgiving fibers when it comes to washing, but the open mesh structure of a fishnet fabric requires a little extra mindfulness to prevent distortion or snagging. Always check the care label on your specific yarn for the manufacturer’s washing recommendations, but most lightweight cotton shrugs can be hand-washed or machine-washed on a delicate cycle in cool or lukewarm water.
For hand-washing, fill a clean basin or sink with cool water and add a small amount of gentle wool or delicate fabric wash, or even a drop of mild dish soap in a pinch. Submerge your shrug and gently squeeze the water through the fabric without wringing, twisting, or rubbing, as these actions can stretch the mesh and distort the stitch definition. Drain the soapy water, refill with clean cool water, and rinse until the water runs clear. To remove excess water, lay the wet shrug flat on a clean dry towel, roll the towel up with the shrug inside, and gently press without twisting to absorb moisture before moving to the blocking stage.
Blocking after every wash keeps your fishnet shrug looking freshly made rather than worn and stretched. Lay the damp shrug on a clean, flat, padded surface such as an interlocking foam mat or a towel-covered carpet. Use rustproof pins to anchor the edges to your desired dimensions, checking that the mesh openings are evenly distributed and the overall shape is symmetrical. Allow the piece to dry completely before unpinning and wearing or storing. Store folded rather than hung to prevent the mesh from stretching under its own weight over time.
When it comes to styling your fishnet shrug, the options are genuinely exciting and nearly limitless. For a beach day, layer it over a brightly colored one-piece swimsuit or bikini top and pair with high-waisted linen shorts for a look that transitions effortlessly from the sand to a seaside café. For an evening out, slip it over a silk slip dress or a strappy bodysuit with wide-leg trousers, letting the texture of the crochet add dimension to a sleek, minimal outfit. The shrug also works beautifully as a festival piece layered over printed or embroidered tops, where its neutral open weave acts as a sophisticated counterpoint to bolder patterns beneath it.
Making and wearing something you have crocheted yourself carries a particular satisfaction that no store-bought garment can replicate. Every stitch in your fishnet shrug represents a small decision, a moment of focused creativity, and a piece of time you invested in making something beautiful and functional with your own hands. This summer, wear your handmade shrug with pride, share the pattern with friends who admire it, and consider making a second one in a new colorway or with a different trim style — because once you experience the joy of wearing your own crochet, one is almost never enough.








What do you think?
It is nice to know your opinion. Leave a comment.