










Quick & Easy Crochet Flower Pattern: A Complete Guide for Beginners and Beyond
Introduction to Crochet Flowers: Why Every Crocheter Should Learn This Skill
Crochet flowers might just be one of the best things you can learn to make, no matter where you are in your crafting journey. Whether you’ve never held a hook before or you’ve been crocheting for years and just want a satisfying quick project, flowers hit that sweet spot between simple and creative. Most of them take fifteen minutes or less, and yet the ways you can use them are practically endless.
There’s also something genuinely relaxing about making them. Once your hook finds its rhythm moving through each petal, it’s almost meditative — and then suddenly you’re holding a little bloom you made with your own hands. It’s the kind of small win that keeps experienced crafters coming back to flower patterns again and again, even after decades of practice.
And the usefulness? Don’t underestimate it. Crochet flowers can dress up hats, bags, and clothing, become standalone decorations, top a greeting card, clip into someone’s hair, or come together into a full floral wreath. Learning even one reliable flower pattern opens up a genuinely surprising number of creative directions — more than enough to keep you inspired for a long time.
Materials and Tools You Will Need
Before you dive in, let’s talk supplies. The good news is that crochet flowers are about as low-cost as projects get. They use very little yarn, which makes them a great way to work through scraps and leftovers sitting in your stash. Chances are you already have most of what you need.
For yarn, a worsted weight in any fiber is a great starting point. Cotton gives you crisp, well-defined petals — it’s a favorite for flowers that’ll go in your home or be worn against skin. Acrylic is easy to find, budget-friendly, and comes in basically every color imaginable, which is perfect when you want to play around without committing to anything expensive. If you’re after something a little more special, a wool blend or bamboo yarn adds a lovely drape and a subtle sheen that makes finished flowers look really polished.
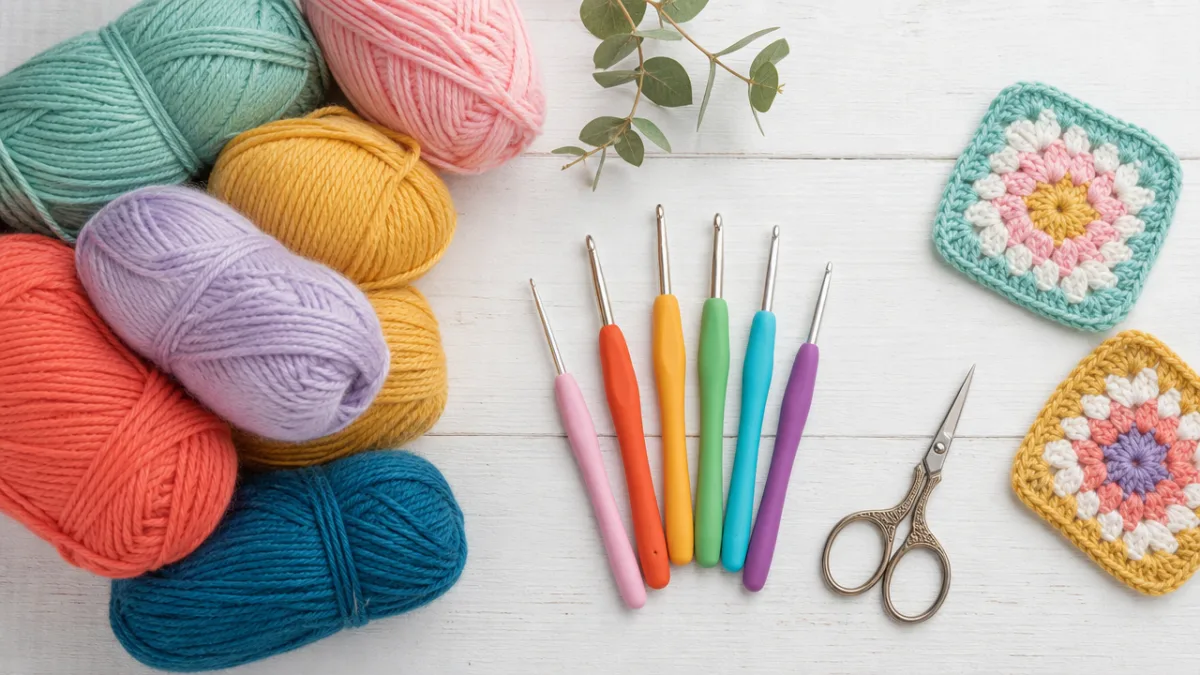
For tools, you’ll need a hook that matches your yarn — most worsted weight yarns do well with a 5mm or 5.5mm hook, but check the label for the manufacturer’s suggestion. Beyond that, a pair of sharp scissors, a yarn needle for weaving in ends, and a handful of stitch markers (optional, but handy) are all you need. A small ruler is worth having nearby if you’re making multiple flowers that need to match in size.
- Yarn: Worsted weight cotton, acrylic, or wool blend in your chosen colors
- Crochet Hook: Size 5mm or 5.5mm, or as indicated by your yarn label
- Scissors: Sharp embroidery or craft scissors for clean cuts
- Yarn Needle: A blunt-tipped tapestry needle for weaving in ends
- Stitch Markers: Optional but helpful for marking the beginning of rounds
Understanding the Basic Stitches Used in Crochet Flower Patterns
Here’s something reassuring: even flowers that look really intricate are almost always built from just a few basic stitches. If you can chain, single crochet, and double crochet, you already have everything you need to work through the vast majority of beginner and intermediate flower patterns. The real skill is understanding how those stitches interact — once that clicks, you can pick up almost any pattern and follow it confidently.
The magic ring (also called a magic circle or adjustable ring) is worth learning early, because it’s how most in-the-round flowers get started. Unlike chaining and joining into a loop — which tends to leave a visible hole at the center — the magic ring lets you cinch everything closed once you’ve finished your first round of stitches. The result is a neat, tight center that looks clean and intentional. If it feels awkward at first, no worries: just chain four and join with a slip stitch as a stand-in while you build confidence.
Slip stitches, chains, single crochets, half double crochets, and double crochets each show up regularly in flower patterns, and each one does something visually distinct. Single crochets make short, compact petals — great for flowers with a realistic, rounded look. Double crochets go taller and more open, giving petals an airy, whimsical quality. The best part? Swapping one stitch height for another in the exact same pattern can completely change the character of the flower. One foundation design, many different blooms.
Step-by-Step Pattern Instructions for a Classic Five-Petal Crochet Flower
Alright, let’s actually make something. The classic five-petal flower is one of the most-loved designs in the crochet world for good reason — it’s quick, uses barely any yarn, and comes out looking like a proper flower every time. Work through it carefully on your first attempt, and by the second or third repeat you’ll probably have it memorized without even trying.
Start with your magic ring. Chain one into the ring, then work ten single crochets, pull the ring closed, and join with a slip stitch to your first single crochet. That’s your center — a tight little circle that sets up the stitch count for the petals. If you’d rather skip the magic ring for now, chain four, join with a slip stitch to form a loop, and work ten single crochets into it. Either way works fine, so go with whichever feels more comfortable.
For the petals, you’ll work a shell stitch sequence into the center stitches. Into each single crochet, work: one single crochet, chain two, four double crochets, chain two, then slip stitch back into the same stitch. Repeat that into every other stitch around — five times total — and you’ll have five evenly spaced, gently curved petals. Once the last petal is done, fasten off, weave in your ends with the yarn needle, and you’re finished. That’s a whole flower.
- Form a magic ring and work 10 single crochets into the ring, then close and join.
- Chain 1, single crochet into the first stitch to begin the petal round.
- Into each of 5 alternate stitches, work: chain 2, four double crochets, chain 2, slip stitch.
- Continue around until all 5 petals are formed.
- Fasten off, leaving a tail long enough to weave in or sew the flower to a project.
Creative Ways to Use and Display Your Crochet Flowers
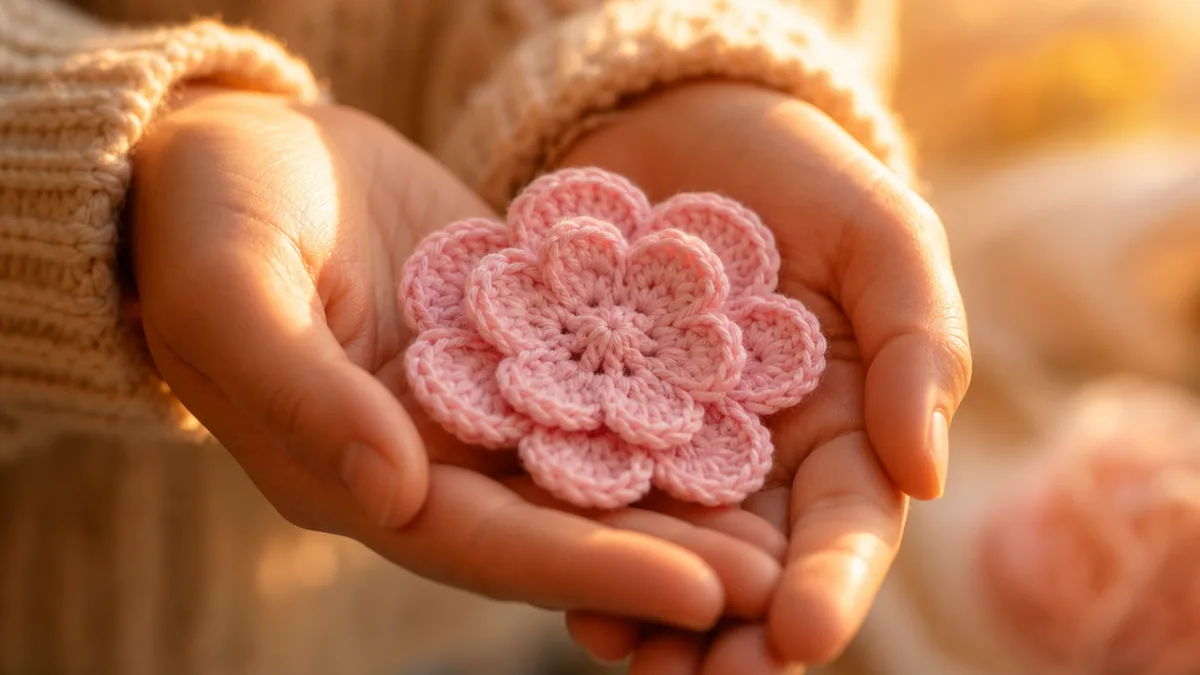
Once you’ve got the basic flower down, things get really fun. One of the most popular ways to use them is as embellishments on wearable pieces — stitch a bright flower onto a beanie or sun hat and suddenly a plain accessory has real personality. A few small flowers along the neckline of a cardigan or at the waist of a summer dress adds that handmade quality that you just can’t get from anything off the rack.
Home décor is another area where crochet flowers genuinely shine. Group a bunch of them in complementary or contrasting colors, attach them to a grapevine wreath, and you’ve got a wall piece that works beautifully in farmhouse, cottagecore, or eclectic spaces. Arrange a collection in a small basket or vase for a centerpiece that never wilts and never needs water — practical magic. For something more subtle, a single flower glued or sewn to a picture frame, lampshade, or decorative box adds warmth and texture without overwhelming the space.
Gift wrapping and cards are also worth mentioning. A small crochet flower tied onto a ribbon around a birthday gift instantly elevates the whole presentation — and gives the recipient something to keep long after the wrapping is gone. Glue one to the front of a handmade card and it goes from sweet to genuinely memorable. Bookmarks, keychains, hair clips, brooches — the list really does go on. There’s no shortage of good uses for your growing stash of handmade blooms.
Tips for Customizing Colors and Experimenting with Variations
Color is honestly your biggest creative lever here. The exact same flower pattern worked in deep jewel tones feels rich and autumnal, while the same design in soft pastels reads as fresh and springlike. Working the center in one color and the petals in a contrasting shade creates a two-tone effect that adds instant visual depth. And don’t shy away from combinations that feel a little unexpected — some of the most striking color pairings are the ones that shouldn’t work on paper but absolutely do in practice.
Once you’re comfortable with the basic structure, there are plenty of fun variations to try. Adding a second layer of petals behind the first is one of the easiest ways to make a flower look much more complex and dimensional than it actually is. After completing the first layer, just fasten off, reattach your yarn into the skipped stitches from the center round, and work a second petal sequence. The result is fuller and more realistic — perfect for wreaths and larger decorative pieces.
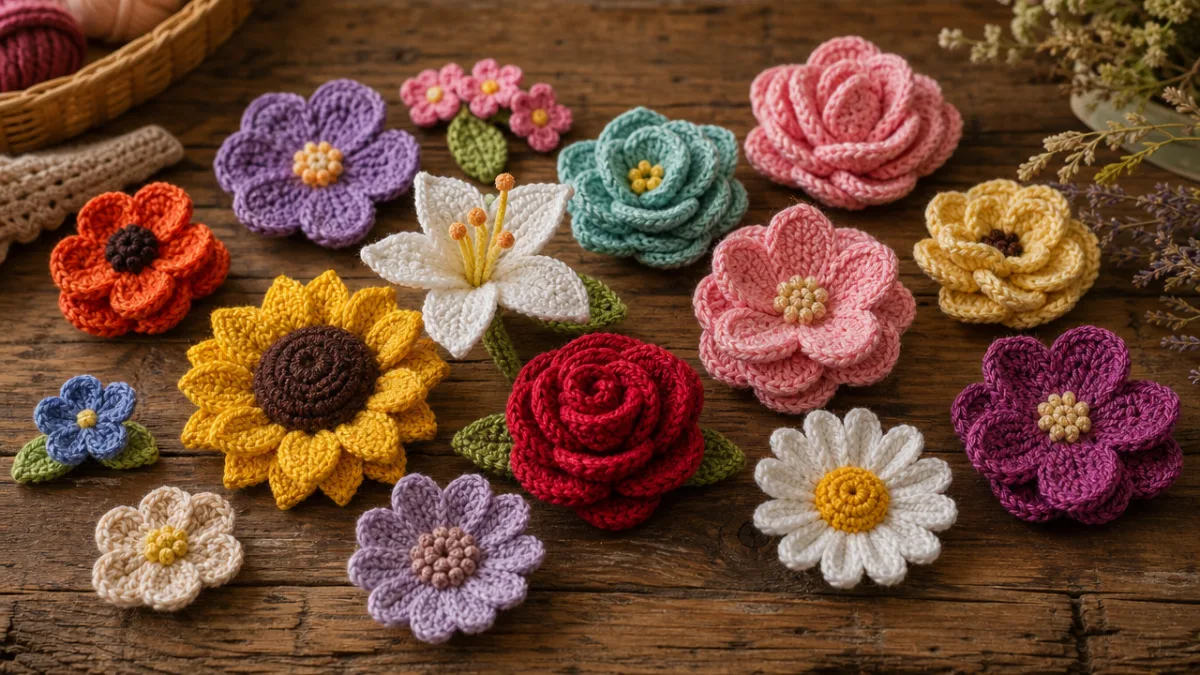
You can also play with stitch heights to completely change the shape of your petals. Swapping in treble crochet stitches instead of double crochets makes the petals longer and more dramatic — think daisy or cosmos. Going shorter with single and half double crochets gives you something stubbier and rounder, more like a tulip or pansy. And if you adjust the stitch count in your foundation round to get six or eight petals instead of five, you’ve essentially got brand new flowers — all from the same basic technique you already know.
- Try ombre effects by switching to a lighter or darker shade partway through a round
- Add a small button or bead at the flower center for extra texture and dimension
- Experiment with metallic or variegated yarn for a unique, eye-catching finish
- Mix different yarn weights within a single flower for a sculptural, layered look
- Use thread-weight yarn and a 1.5mm hook to create miniature flowers for jewelry
Troubleshooting Common Problems and Building Your Confidence
Every crafter hits a few snags when picking up something new, and crochet flowers are no different. One of the most common beginner frustrations is a center ring that won’t close all the way, leaving a little hole right in the middle of the flower. This usually comes down to the magic ring not being started tightly enough, or the initial single crochets being worked a bit loosely. The fix is straightforward: practice the magic ring a few times on its own before putting it into a full flower, and try to keep your tension firm and consistent through that first round.
Uneven petals are another thing that trips people up early on. If some look noticeably bigger or smaller than others, it’s almost always a tension issue — and tension tends to wander naturally when your hands are still learning the movements. The honest answer is that it evens out with practice as the motions become more automatic. In the meantime, blocking your finished flower (wetting it lightly, pinning it into shape, and letting it dry) can smooth out minor inconsistencies surprisingly well.
The most important thing, though? Don’t hold your early flowers up against polished photos of professional work. The flowers you see in beautifully styled blog images and tutorials were made by someone who has been doing this for years, and were probably blocked and photographed with a lot of care. Your first flower is not going to look exactly like that — and that’s completely fine, completely normal, and honestly just part of learning. Every imperfect little bloom you make is practice, and practice is what gets you to the point where beautiful flowers come easily, quickly, and with a whole lot of satisfaction.








What do you think?
It is nice to know your opinion. Leave a comment.