










Learn How To Crochet a Shells Blanket Stitch: A Complete Guide
Introduction to the Crochet Shells Blanket Stitch
If you’ve ever seen a blanket with those beautiful, fan-shaped clusters rippling across it like soft ocean waves and thought “I want to make that,” you’re in the right place. The crochet shells blanket stitch is one of those patterns that looks far more impressive than it actually is to create — which is part of why so many people love it. Whether you’re just starting to branch out beyond basic stitches or you’ve been crocheting for years and want a satisfying new project, this one hits a really sweet spot between approachable and rewarding.
What keeps people coming back to this stitch year after year is how versatile it is. Work it up in soft pastels and you’ve got a gorgeous heirloom baby gift. Use the exact same pattern in deep jewel tones and suddenly you have a bold, cozy throw that looks like it belongs on a designer sofa. And once you get into the rhythm of the repeat — shell, single crochet, shell, single crochet — it becomes almost meditative. Long evenings of crocheting just fly by.
This guide covers everything from start to finish: what materials you’ll need, the key stitches that make up the shell cluster, a full row-by-row walkthrough, and tips for getting clean edges and consistent tension. By the end, you’ll have everything you need to pick up your hook and get started with confidence.
Materials and Tools You Will Need
Before you cast on your foundation chain, it’s worth taking a few minutes to pull together the right supplies. Your yarn weight choice will have a bigger impact on the finished blanket than almost anything else. If you’re making a cozy throw for an adult, a bulky or super bulky yarn (weight 5 or 6) gives you large, defined shells with a nice substantial drape. For a baby blanket or something lighter, a DK or worsted weight (3 or 4) creates a more delicate shell structure that still has great drape without being too heavy.
Fiber content is worth thinking about too. Acrylic is the go-to for most blanket projects — it’s affordable, easy to care for, and comes in basically every color imaginable. That said, cotton blends are a lovely choice for baby items, and wool or alpaca blends take an adult throw to a whole other level of luxurious. Whatever you reach for, try to choose a yarn with good stitch definition. You want those shell clusters to pop clearly against the background, not get lost in a fuzzy haze.
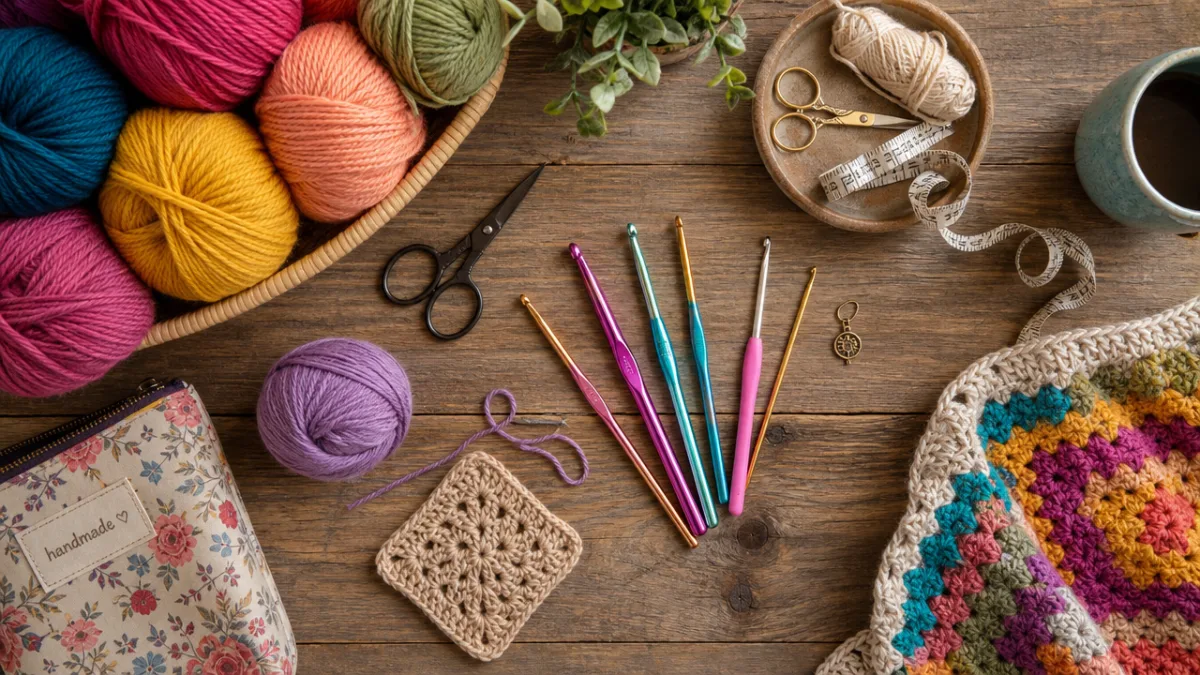
For tools and notions, here’s what you’ll want to have on hand before you start:
- A crochet hook sized to match your yarn — typically 5.0mm to 6.5mm for worsted weight, or 8.0mm to 10.0mm for bulky yarn
- Scissors and a yarn needle for weaving in ends cleanly at the start and finish of the project
- Stitch markers to track your pattern repeats and flag the first and last stitch of each row
- A tape measure or ruler to check your gauge and keep an eye on your blanket dimensions as you go
- A row counter or notebook to track your progress — especially helpful on those long blanket rows when you lose count
Don’t skip the gauge swatch, even though it’s tempting. A quick swatch lets you calculate exactly how many chains to cast on for your target width, and it gives you a chance to practice the shell pattern before you’re committed to hundreds of stitches. Honestly, fifteen minutes swatching now can save you hours of ripping out later — totally worth it.
Understanding the Foundation: Key Stitches Explained
The shells blanket stitch is really built on just a few basic stitches, which is great news if you’re still building your crochet vocabulary. If you’re newer to crochet, spending a little time practicing each stitch on its own before jumping into the full pattern will make everything click so much faster. The most important one to get comfortable with is the double crochet, since it forms each individual “petal” of the shell. To make one: yarn over, insert your hook into the stitch, pull up a loop, then work off your loops two at a time until you’re back to one loop on the hook.
The shell itself is just a group of double crochets — typically five — all worked into the same stitch or chain space. Because you’re cramming all those stitches into one point, the fabric naturally fans outward into that rounded, scalloped shape that gives the pattern its name. Between each shell, single crochet stitches and chain spaces do the structural work of holding everything together and setting up the spacing for the next row. Once you understand how those pieces fit together geometrically, troubleshooting becomes a lot less stressful.
You’ll also need to pay attention to the turning chain at the start of each row. Depending on the pattern, a chain three at the beginning of a double crochet row might count as your first double crochet — or it might not. This is one of those small details that really matters, because getting it wrong throws off your stitch count and your shells won’t stack up neatly as the blanket grows. When in doubt, check your specific pattern’s notes on this.
Step-by-Step Pattern Instructions
To get started, you’ll need to work out your foundation chain. The shells pattern repeats over six stitches, plus a few extra for your border and turning chain. For a lap blanket around 50 inches wide in worsted weight yarn with a 5.5mm hook, somewhere between 162 and 168 chains is a good starting point. Count those chains carefully before you begin row one — an off-by-one mistake here will mess up your entire stitch count and keep the shells from lining up.
Here’s a simplified breakdown of the basic row sequence to get you going:
- Foundation Chain: Chain a multiple of 6, plus 2 extra stitches for the edge.
- Row 1 (Right Side): Single crochet into the second chain from your hook, skip two chains, work five double crochets into the next chain to make your first shell, skip two chains, single crochet into the next chain. Keep repeating that shell sequence across, ending with a single crochet in the last chain.
- Row 2 (Wrong Side): Chain three and turn. Work two double crochets into the first single crochet to make a half shell at the edge, single crochet into the center (third) double crochet of the next shell, then five double crochets into the next single crochet. Continue alternating across, finishing with three double crochets into the last single crochet.
- Row 3: Chain one and turn. Single crochet into the first double crochet, work a full five-double-crochet shell into the next single crochet, single crochet into the center stitch of the next shell. Repeat across, ending with a single crochet into the top of the turning chain.
- Repeat Rows 2 and 3 until your blanket is as long as you want, then fasten off and weave in your ends.
After a few rows, something really nice happens: you stop needing to think so hard about it. The rhythm of shell, single crochet, shell, single crochet just starts to flow, and you can see the previous row’s shells peeking up through the gaps below you. Most people find they can work on autopilot after just two or three pattern repeats, which is exactly what makes this stitch such a pleasure for long cozy evenings of crocheting.

Tips and Techniques for a Professional Finish
Getting that clean, polished look comes down to a few habits you’ll want to build from stitch one. The biggest one is tension. This is how tightly or loosely you hold the yarn as it feeds through your fingers and over your hook — and it matters more than most beginners expect. Too tight, and your shells will look closed up and cramped, with a stiff fabric that doesn’t drape well. Too loose, and the blanket goes floppy and the shells lose their definition. It takes a little experimenting to find the grip that works for you, but once you’ve got it, try to keep it consistent all the way through.
Blocking is another one of those steps that beginners tend to skip and experienced crocheters would never dream of skipping. Once your blanket is finished, blocking it — either by steaming or wet-soaking and then pinning it flat to dry — evens out tension inconsistencies, opens up the shells so their fan shape really shows, and gives the whole piece a crisp, intentional finish. For acrylic yarn, hold a steam iron just above the surface without touching it. For natural fibers like wool, soak the blanket in cool water, gently press out the excess, and pin it flat to dry. The difference is genuinely remarkable.
Joining new yarn cleanly is worth learning early too. Instead of knotting in a new skein and hoping it stays put, try leaving a six-inch tail and crocheting over both old and new tails for several stitches to lock them in place. No knot, no bump, and nothing to work loose after years of washing. At the end of the project, use your yarn needle to weave any remaining tails through several stitches in different directions for extra security — it takes just a few extra minutes and makes a real difference.
Color Variations and Creative Customization
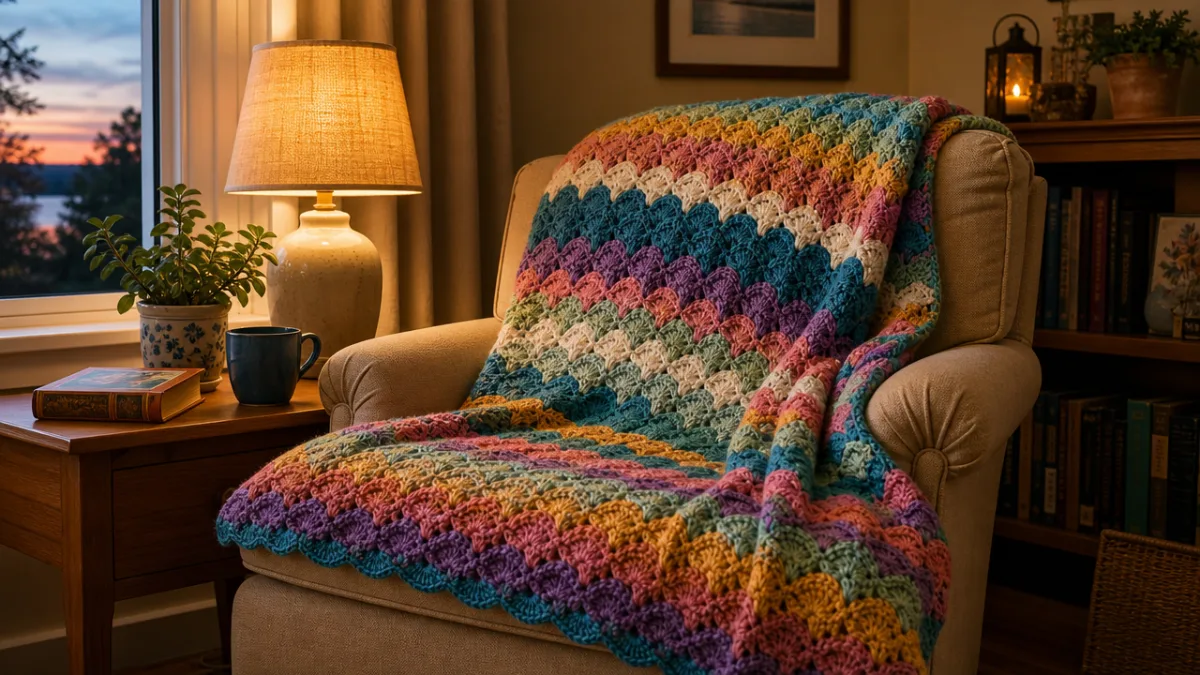
One of the best things about the shells blanket is how completely different it can look depending on the colors you choose. A single-color blanket in a heathered or variegated yarn lets the texture take center stage — the shifting tones within one skein catch the light differently across each shell, giving the whole piece a subtle, painterly depth. Self-striping yarn is especially fun for this pattern, because the color transitions happen on their own as you work through the skein. No intentional color changes required, and the result always surprises you.
If you want more control over your color story, deliberate color blocking is a beautiful direction to take. Switching colors every two or three rows creates bold horizontal stripes that play up the wave-like quality of the shells in a really satisfying way. For something more understated, try alternating between two closely related shades — soft cream and warm ivory, say, or dusty blue and soft teal — for a tone-on-tone effect that reads as quietly sophisticated rather than stripy. And if you’re feeling adventurous, you can work each shell in a different color for a confetti burst of playful, vibrant energy.
Don’t overlook the border either — it’s your last chance to put your own stamp on the piece. A simple single crochet border in a contrasting color frames the blanket neatly and gives it a finished, intentional edge. For something more decorative, a picot border adds tiny chain loops at regular intervals around the perimeter, giving it a delicate lacy quality that complements the shells beautifully. If you want something that feels more modern and substantial, try a reverse single crochet (also called the crab stitch) — it creates a twisted rope-like edge that works especially well on larger adult throws. Whatever you choose, make it yours.
Caring for Your Finished Shells Blanket
A blanket you’ve put real time and love into deserves to be cared for properly. The most important thing is to follow the care instructions for whatever yarn you used — so if you haven’t already, save your yarn labels or snap a photo of them before you toss them. Most acrylic yarns are machine washable and dryable, which is a big part of why they’re so popular for blankets that will actually get used. Just wash on a gentle or delicate cycle with cool water to keep pilling at bay and preserve that soft feel.
Natural fiber blankets need a little more attention, but they reward it. Wool and alpaca should generally be hand washed in cool water with a wool-safe detergent, then gently pressed (never wrung or twisted) to remove excess water and laid flat to dry away from direct sunlight. Cotton is a bit more forgiving and can usually handle a gentle machine wash, though air drying rather than tumble drying will help it hold its shape over time and avoid shrinkage.
When it comes to storage during the warmer months, how you put a blanket away matters more than you might think. Always make sure it’s clean before storing, then fold it loosely — compressed storage can distort the shape over time — and tuck it into a breathable cotton bag rather than a sealed plastic bin, which can trap moisture and lead to mildew. For wool blankets especially, add a few cedar blocks or lavender sachets to your storage space to deter moths naturally, without the harsh chemical smell of traditional repellents. Take good care of it, and a handmade shells blanket can genuinely last for generations — a real testament to the craft and the person who made it.








What do you think?
It is nice to know your opinion. Leave a comment.