










Crochet Modern Granny Square: A Stylish Twist on a Timeless Classic
The Evolution of the Granny Square
If there’s one crochet motif that’s truly stood the test of time, it’s the granny square. It’s been around for centuries, showing up on blankets, afghans, clothing, home décor — you name it. For generations, crafters passed the basic pattern down from grandmother to grandchild like a cherished family recipe. But somewhere along the way, the classic granny square picked up a bit of a reputation for being, well, old-fashioned. A little too nostalgic. Too closely associated with earth-toned acrylic yarn and color combinations that only made sense in 1975.
In recent years, though, something quietly exciting has been happening in the crochet world. Modern makers have been taking the beloved granny square and reinventing it — stripping away the dated look while keeping the core structure that made it so enduring in the first place. The result is something fresh and genuinely contemporary, just as at home on a designer throw pillow as on a statement tote bag. Sleek, sophisticated, and incredibly versatile, the modern granny square has captured the imagination of a whole new generation of crochet enthusiasts.
What’s so remarkable about this evolution is how it manages to honor the past while firmly planting itself in the present. The basic construction — working in rounds outward from a central ring — hasn’t changed at all. But nearly everything else has been rethought: the color palettes, the yarn weights, the stitch combinations, the finishing techniques. Understanding where the granny square came from makes it all the more satisfying to see just how far it’s come, and why its modern reinvention feels like such a genuinely exciting moment for fiber arts.
What Makes a Granny Square “Modern”
Okay, “modern granny square” might sound like a contradiction — but it actually refers to a pretty specific set of design choices that set contemporary versions apart from the traditional ones. The biggest shift is toward clean lines, minimal color use, and thoughtful negative space. Where a classic granny square might pack four or five different colors into a single motif, a modern one might use just two — or even just one — letting the texture of the stitches do the talking instead.
Another defining trait of the modern granny square is its preference for solid construction. Traditional patterns usually rely on open cluster stitches separated by chain spaces, which gives the fabric that airy, lacy quality. Modern versions tend to fill those spaces in, using solid rounds of single crochets, half double crochets, or textured stitches like the moss stitch or linen stitch. The result is a denser, more structured fabric that drapes beautifully and holds its shape — which makes it ideal for bags, cushion covers, and more structured garments.
Yarn choice plays a huge role here too. Contemporary makers tend to reach for natural fibers — cotton, linen, merino wool, bamboo blends — which bring a softness and visual sophistication that most acrylics just can’t replicate. There’s something about the feel of natural yarn that elevates the whole finished object, giving it that handmade-but-refined quality that really resonates with modern sensibilities. Pair that with a thoughtfully curated color story — say, warm neutrals with a single bold accent — and a simple square can end up looking genuinely gallery-worthy.
Choosing Your Color Palette and Materials
Choosing a color palette is one of the most exciting parts of working with modern granny squares — and, if we’re being honest, one of the most occasionally overwhelming. Unlike traditional patterns that take a cheerful, anything-goes approach to color, modern designs tend to rely on intentional, restrained choices that create visual cohesion across an entire project. A great modern palette might pull from a single color family — dusty rose, terracotta, and cream, for example — or it might go bold with a deep navy or forest green against clean white for that graphic, high-contrast look.
When it comes to yarn, it’s really worth investing in quality, especially for a bigger project. Cotton and cotton-blend yarns are perennial favorites for modern granny squares because they give you that crisp, defined stitch definition that makes textured patterns really pop. Merino wool is another fantastic option — incredibly soft with a subtle warmth that gives finished squares a luxurious feel. And if budget is a concern, don’t write off acrylics entirely; there are some genuinely impressive premium acrylics out there now that do a convincing job mimicking the drape and appearance of natural fibers, making the modern granny aesthetic accessible at any price point.
One thing that often gets overlooked is hook size — and it makes more of a difference than you’d think. Many modern crochet designers recommend going up a size or two from what the yarn label suggests, because a slightly larger hook creates a more relaxed, drapey fabric with better stitch definition. It also just makes crocheting more enjoyable; the stitches flow more easily and your work grows faster. Do yourself a favor and swatch before committing to a full project. It takes maybe twenty minutes, but it can save you a lot of frustration and ensure your squares come out consistent in size and tension.
- Cotton and cotton blends: Ideal for structured projects like bags, dishcloths, and cushion covers; offers excellent stitch definition and is easy to wash.
- Merino wool: Perfect for garments and blankets where softness and warmth are priorities; has a beautiful natural drape.
- Linen: Produces a wonderfully rustic, textured finish; softens beautifully with washing and is highly durable.
- Bamboo blends: Silky smooth with a subtle sheen; great for lightweight summer projects and accessories.
- Acrylic: Budget-friendly and widely available; modern premium acrylics have improved dramatically in quality and appearance.
Step-by-Step Construction of a Modern Granny Square
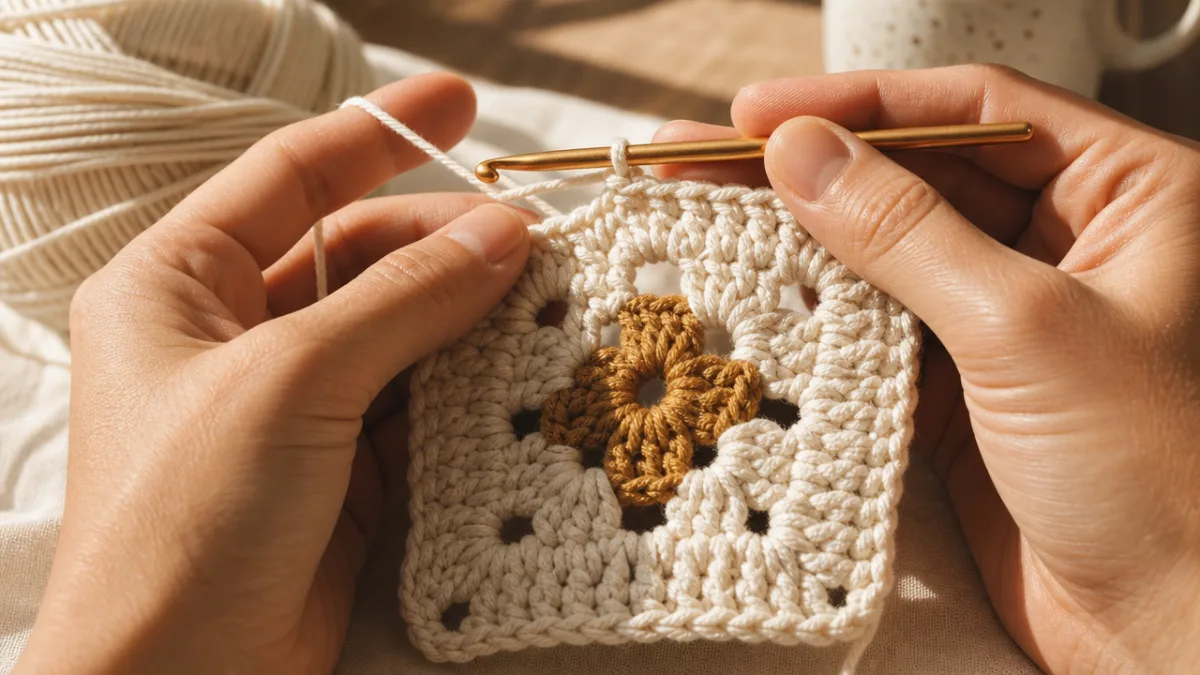
Working a modern granny square is a deeply satisfying process once you get the hang of the basic principles. The square is always worked in the round, starting from a magic ring or a foundation chain joined into a loop. From that central point, you build stitches outward in a series of rounds, each one adding height and width to the motif. What I love about this construction method is how flexible it is — you can stop at any round to create a small motif, or keep going for something larger, depending entirely on what your project needs.
For a basic modern solid granny square, you’ll typically start with a magic ring and work a set number of stitches into it — often eight to twelve single crochets or half double crochets — before joining to close the first round. From there, each subsequent round involves increasing at the corners to maintain the square shape while working straight across the sides. Those crisp, geometric corners that are so characteristic of the modern aesthetic come down to consistent tension and precise placement of your corner stitches. A lot of designers use a specific corner combination — something like two double crochets, a chain two, and two more double crochets — to get that clean, defined angle.
As you add rounds, the square grows outward in a satisfying, almost mathematical progression. Honestly, that predictability is one of the best things about granny square construction — it’s meditative, rhythmic, and genuinely calming to work. Every completed round feels like a small win, and watching that tiny ring gradually become a full-sized square never really gets old. Once you’ve reached your desired size, fasten off, weave in your ends securely, and block the square to help the stitches relax and the edges lie nice and flat.
- Create a magic ring or foundation chain and join into a loop.
- Work the first round of stitches into the ring, increasing evenly to create four corner sections.
- Join at the end of each round and begin subsequent rounds with the appropriate turning chain.
- Work corner increases consistently at all four corners to maintain the square shape.
- Work straight across the sides without increases to keep edges flat and even.
- Continue adding rounds until the square reaches your desired dimensions.
- Fasten off, weave in all ends, and wet block for a polished finish.
Joining Methods and Assembling Your Project
Once you’ve got a pile of finished squares, the next question is how to join them together — and this decision matters more than you might expect. The joining method you choose can dramatically change the look of the finished piece. Some techniques create a visible seam that becomes a decorative element in its own right; others are nearly invisible, letting the squares read as one seamless expanse of fabric. It really comes down to the aesthetic you’re going for and what the finished object is actually for.
The flat slip stitch join is a favourite among modern makers because it produces a neat, flat seam that sits flush against the right side of the work. You simply hold two squares together with right sides facing and work slip stitches through the corresponding edge stitches of both pieces at once. The result is a clean, defined line that can actually enhance the geometric quality of a modern granny square project — especially when worked in a coordinating or contrasting color. It’s quick, it’s satisfying, and it makes for a really sturdy seam.
The join-as-you-go method is another great option, particularly for larger projects where the thought of sewing dozens of squares together at the end feels a bit daunting. With this approach, each new square is joined to its neighbours during the final round of crocheting, so there’s no separate assembly stage at all. It takes a bit more planning and focus during construction, but the payoff is enormous — you get to watch your project come together in real time. By the time you fasten off that last square, your blanket or bag is essentially done. Highly recommend it for the sheer satisfaction factor alone.
Creative Projects and Modern Applications
One of the most exciting things about the modern granny square revival is just how many different things people are making with it. We’re well beyond the traditional afghan at this point. Today’s crochet designers are using modern granny squares to make structured tote bags, stylish garments, wall hangings, pillow covers, and even jewelry. The motif’s inherent geometry and graphic quality lend themselves beautifully to projects that call for a bold, contemporary visual statement.
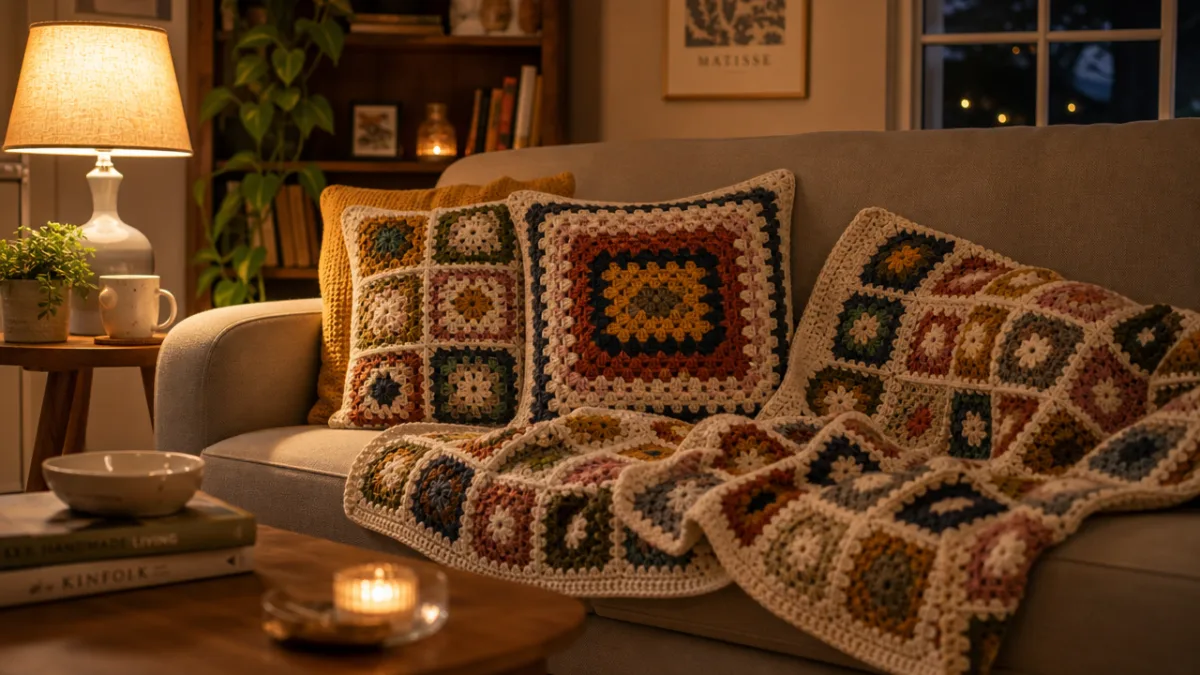
In home décor particularly, modern granny squares have found a really enthusiastic audience. A cushion cover worked in solid linen squares in shades of oatmeal, sand, and warm white is effortlessly chic — handmade but understated, tactile but refined. A wall hanging made of squares in varying sizes, arranged in an asymmetric composition and hung from a natural wooden dowel, brings warmth and texture to a wall without overwhelming it. Even a simple table runner in a sequence of modern granny squares can make an everyday dining space feel considered and intentional rather than just thrown together.
For wearables, the possibilities are genuinely exciting and go well beyond the patchwork sweaters of decades past. Contemporary designers have used a single large square as the entire body panel of a summer top, with minimal shaping and finishing required. Others have joined small squares into a seamless vest, a wrap skirt, or a flowing cardigan that moves beautifully. The modular construction of granny square garments also makes them really adaptable — you can scale a project up or down simply by adjusting the number of squares, which makes them accessible to makers at just about every skill level.
- Home décor: Cushion covers, wall hangings, table runners, placemats, and plant pot holders.
- Bags and accessories: Tote bags, market bags, clutches, and coin purses.
- Garments: Summer tops, cardigans, vests, ponchos, and wrap skirts.
- Blankets and throws: Baby blankets, lap blankets, and full-sized bed throws.
- Small gifts: Coasters, dishcloths, keyrings, and bookmarks.
Tips for Achieving a Polished, Professional Finish
The difference between a crochet project that looks intentionally handmade and one that just looks unfinished usually comes down to a few finishing details that are easy to skip — especially when you’re itching to hold the completed object in your hands after a long project. For modern granny squares, where clean lines and graphic geometry are so central to the whole appeal, those finishing details really count. Getting them right is what separates a charming hobby project from something that genuinely holds its own against professional craftsmanship.
Blocking is probably the single most transformative technique available to crochet makers, and it’s the one beginners most often skip — usually to their later regret. The idea is simple: you wet or steam your finished squares, pin them into shape on a foam blocking board, and let them dry completely before removing the pins. This relaxes the fibers, evens out any tension inconsistencies, and helps the square lie perfectly flat with crisp, defined edges. For modern granny squares, where precise geometry is everything, the difference blocking makes can be genuinely astonishing — a slightly uneven, curling motif becomes a beautifully flat, perfectly shaped square almost like magic.
Weaving in ends is another task that deserves a bit more care and attention than it usually gets. With granny square projects that involve a lot of color changes, those yarn tails can accumulate fast, and if you rush through securing them, they have a nasty habit of working loose over time and unraveling your work from the inside. The most secure method is to weave each tail through at least two inches of stitches in one direction, then double back through a different set of stitches in the opposite direction — a figure-eight path through the fabric that locks the tail in place without any knots. All it takes is a sharp yarn needle and a bit of patience, but the result is a clean, professional interior that’ll hold up for years.
Finally, don’t underestimate what a good border can do for a finished piece. Adding even a single round of single crochets around the perimeter in a coordinating color frames the whole project beautifully and gives it that finished, deliberate look. If you want to go a little further, a picot edge or a shell stitch border can add a lovely decorative touch without overwhelming the overall design. Whichever way you go, a thoughtful border is the final signature of a maker who cares about every last detail — from that very first magic ring all the way to the final stitch.








What do you think?
It is nice to know your opinion. Leave a comment.