










Introduction to Fingerless Gloves: Why Every Beginner Should Try This Pattern
Fingerless gloves are one of those timeless accessories that manage to be both practical and stylish at the same time. Whether you’re typing at a desk, commuting on a chilly morning, or simply want to keep your wrists warm without sacrificing dexterity, a well-made pair of ribbed wrist warmers is an absolute wardrobe essential. The beauty of crocheting your own is that you can customize the length, color, and fit to perfectly suit your hands and personal style, making every pair completely unique.
For anyone who has been wanting to pick up a hook and yarn but felt intimidated by complex stitches or confusing instructions, this beginner fingerless gloves pattern is genuinely one of the best starting points you could choose. The ribbed wrist warmer design relies on simple, repetitive stitch combinations that build muscle memory quickly, so even someone who has only just learned to crochet a chain can work through this pattern with confidence. You don’t need a large selection of tools or an expensive yarn stash to get started, which makes the barrier to entry beautifully low.
Beyond the practical reasons to make fingerless gloves, there is something deeply satisfying about completing a wearable project that fits perfectly on your hands. Seeing a flat piece of fabric take shape into something three-dimensional and functional is one of the most rewarding experiences in fiber arts, and this pattern delivers that feeling in a relatively short amount of time. Most beginners can complete a single glove in an evening, meaning you could have a finished pair ready to wear by the weekend, which is wonderful motivation for anyone who tends to abandon longer projects.
What Makes Ribbed Wrist Warmers Special
The ribbing technique used in this pattern creates a fabric with natural stretch and texture that is distinctly different from a simple single or double crochet flat panel. Ribbing is achieved by working into the back loops only, or by using a combination of front and back post stitches, both of which create raised vertical lines that mimic the look of knitted ribbing. This texture is not only visually appealing but also functionally superior for wrist warmers because the elasticity ensures a snug, comfortable fit across a range of hand sizes without the need for precise gauge adjustments.
Ribbed crochet fabric is also notably thicker and warmer than standard crochet fabric made with the same yarn weight, because the way the stitches interlock traps more air within the structure of the fabric. This makes ribbed wrist warmers far more effective at retaining warmth than a simple flat-stitch equivalent, even if both are made from identical yarn. For someone living in a cold climate or working in a drafty office, this added insulating quality can make a tangible, noticeable difference in day-to-day comfort during the autumn and winter months.
Another reason ribbed wrist warmers have remained popular across generations of fiber artists is their aesthetic versatility. The clean, structured look of ribbing pairs beautifully with both casual and smart-casual outfits, meaning these gloves can be worn with a cozy sweater on a weekend hike or dressed up slightly with a wool coat on a commute. When worked in a neutral or neutral-adjacent color like oatmeal, charcoal, navy, or forest green, they become an accessory that genuinely goes with everything in a wardrobe, providing excellent value for the time and materials invested.
Materials and Tools You Will Need
One of the most appealing aspects of this pattern is how minimal the supply list is. You don’t need a full craft room or a dedicated crochet corner to get started — in fact, you can keep everything you need in a small bag or basket. The simplicity of the materials list means this is an excellent on-the-go project that can travel with you to waiting rooms, long car rides as a passenger, or quiet evenings spent watching television. Gathering your supplies before you begin will make the crocheting process smoother and more enjoyable from the very first stitch.
The yarn choice for this pattern is an important decision that will affect both the texture of the finished gloves and how pleasant the project is to work on. A worsted weight yarn in a smooth, tightly-plied construction is generally recommended for beginners because the individual stitches are easy to see and count, which helps when learning to read the structure of ribbing. Natural fibers like merino wool or wool blends are ideal for wrist warmers because of their warmth and slight elasticity, but acrylic yarns also work very well and are significantly more budget-friendly, easier to care for, and widely available in a huge range of colors.
In addition to yarn, you will need a crochet hook in the appropriate size for your chosen yarn — typically a 5mm or 5.5mm hook works well for standard worsted weight yarn, though you should always check the yarn label for the manufacturer’s recommendation and swatch to check your gauge before beginning. A pair of scissors, a yarn needle for weaving in ends, and stitch markers to keep track of your rounds or rows are the only other tools you’ll need. Some crocheters also find it helpful to have a row counter handy, whether physical or as an app on their phone, especially when working longer ribbing sections.
- Worsted weight yarn, approximately 80–120 yards per glove depending on desired length and hand size
- Crochet hook, size 5mm or 5.5mm (or as indicated on your yarn label)
- Yarn needle for finishing and weaving in ends
- Scissors
- Stitch markers, at least two
- Optional: row counter, measuring tape, and blocking mat for finishing

Understanding the Pattern: Stitches and Techniques Explained
Before diving into the pattern itself, it helps to have a clear understanding of the stitches involved so that you can work through the instructions with confidence rather than stopping to look things up mid-row. The primary stitches used in most ribbed fingerless glove patterns are the chain stitch, the slip stitch, the single crochet, and either the half double crochet or double crochet worked into the back loops only. Each of these stitches is considered foundational in crochet, meaning that mastering them for this project will set you up well for countless other patterns in the future.
Working into the back loop only, often abbreviated as BLO in written patterns, is the key technique that creates the ribbed effect in this design. When you insert your hook into only the back loop of a stitch rather than both loops, the front loop remains unworked and creates a raised horizontal ridge on the surface of the fabric. When this is done consistently across every stitch in every row, those ridges align into the vertical columns of texture that we recognize as ribbing. It sounds subtle, but the visual and tactile difference between a fabric worked in both loops and one worked in the back loop only is immediately apparent and quite striking.
Many beginner patterns for fingerless gloves are worked flat as a rectangle and then seamed up the side, leaving a gap for the thumb. This construction method is particularly beginner-friendly because it avoids the need to work in the round, manage increases and decreases, or understand more complex shaping. The rectangle is simply long enough to wrap around your hand, and the seam is closed with a slip stitch or whip stitch, leaving a thumb gap at the appropriate point. Understanding this overall construction before you begin helps the individual steps make much more sense as you work through them.
Reading the Pattern Instructions
PDF crochet patterns can sometimes feel overwhelming at first glance, particularly if you’re new to the abbreviations and shorthand that fiber artists use to communicate instructions efficiently. The good news is that most beginner-friendly patterns — and this one in particular — are written with clear, spelled-out instructions alongside any abbreviations, and often include a glossary or stitch key at the beginning of the document. Taking five minutes to read through the entire pattern before you begin, even if you don’t fully understand every step yet, gives you a helpful mental map of where the project is going.
Common abbreviations you’ll encounter in fingerless glove patterns include ch for chain, sc for single crochet, hdc for half double crochet, sl st for slip stitch, BLO for back loop only, and rep for repeat. When a pattern says something like “sc in each st across” it means you’ll work one single crochet into every stitch from one end of the row to the other. When it says “rep rows 2–4 until piece measures 7 inches,” it means you’ll keep repeating that set of rows until your fabric reaches the specified measurement. Breaking down the language like this makes even a densely written pattern much more approachable.
It’s also worth noting that PDF patterns, like this one available for download, have the advantage of being printable. Many crocheters find it helpful to print the pattern and use a highlighter or pencil to mark off each row as they complete it. This simple system prevents the common frustration of losing your place mid-project, which can be particularly discouraging for beginners who are still building their ability to “read” the stitches themselves. Keeping a small notepad nearby to record your stitch count at the end of each row is another habit that more experienced crocheters swear by and that can save significant time in frogging and re-doing work.
Step-by-Step Construction Guide for Ribbed Wrist Warmers
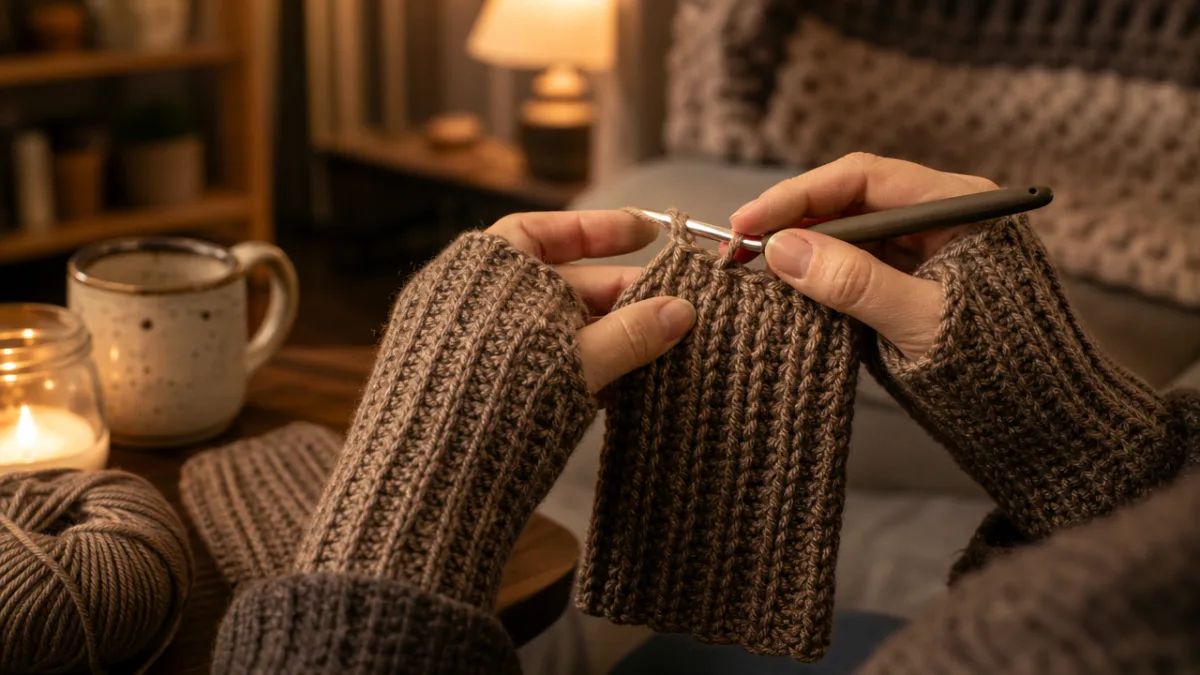
The construction of these ribbed wrist warmers follows a logical sequence that builds on itself naturally, so each step you complete prepares you directly for the next one. You’ll begin by creating a foundation chain long enough to form the width of the glove — this is typically worked to a length that will wrap around the widest part of your palm, plus a small amount of ease for comfort. Getting this initial chain right is important, so it’s worth taking the time to count carefully and compare the length against your hand before moving on to the first row of stitches.
Once your foundation chain is established, you’ll work rows of your chosen ribbing stitch back and forth, turning the work at the end of each row and chaining one or two at the beginning of the next, depending on the stitch height. The rows will gradually build up the length of the glove — essentially the circumference of your wrist — and you’ll continue until the fabric is long enough to wrap around your hand from one side to the other with a small seam overlap. Throughout this process, keeping your tension consistent is more important than working quickly, so don’t rush the early rows while you’re still getting comfortable with the back-loop technique.
After your rectangle of ribbed fabric is complete and has reached the appropriate length, the finishing steps involve seaming the piece into a tube and leaving a deliberate gap for the thumb. The seam is typically worked with a yarn needle using a whip stitch or mattress stitch along the short edges of the rectangle, and the thumb gap is simply left open during seaming at the appropriate height — usually about an inch to an inch and a half from the lower edge of the glove. Trying the glove on periodically during this step is highly recommended, as everyone’s hand proportions are slightly different and the thumb gap placement is highly personal.
- Create your foundation chain to the correct width measurement for your hand size.
- Work row one in your chosen ribbing stitch, working into the back loops only if directed.
- Continue working rows back and forth, turning at the end of each row, until your fabric reaches the required length.
- Check your stitch count and fabric measurements against the pattern specifications before proceeding.
- Seam the short edges of the rectangle together with a yarn needle, leaving the thumb gap open.
- Weave in all loose ends securely using the yarn needle.
- Block the finished glove if desired, then repeat the entire process for the second glove.
Customizing Fit and Length
One of the greatest advantages of making your own wrist warmers rather than buying them is the ability to tailor every dimension of the glove to your specific hand. For shorter wrist warmers that end just above the wrist, you’ll simply work fewer rows in the foundation rectangle. For longer warmers that extend partway up the forearm — a style that is particularly popular for desk workers and gamers — you’ll add additional rows until you reach your desired length. This flexibility means that a single downloaded pattern can effectively yield multiple different styles depending on your preferences.
Width adjustments are equally straightforward: a longer foundation chain creates a wider glove that will accommodate larger hands or those who prefer a looser fit, while a shorter chain produces a narrower glove for smaller hands or a snugger style. The ribbed fabric itself has inherent stretch, which provides a forgiving range of fit, but taking the time to measure your hand and compare against the pattern’s size guidance before you begin will save you from the disappointment of a finished glove that doesn’t fit comfortably. Swatching — working a small sample piece and measuring your stitch and row gauge — is always recommended, even for beginner patterns.
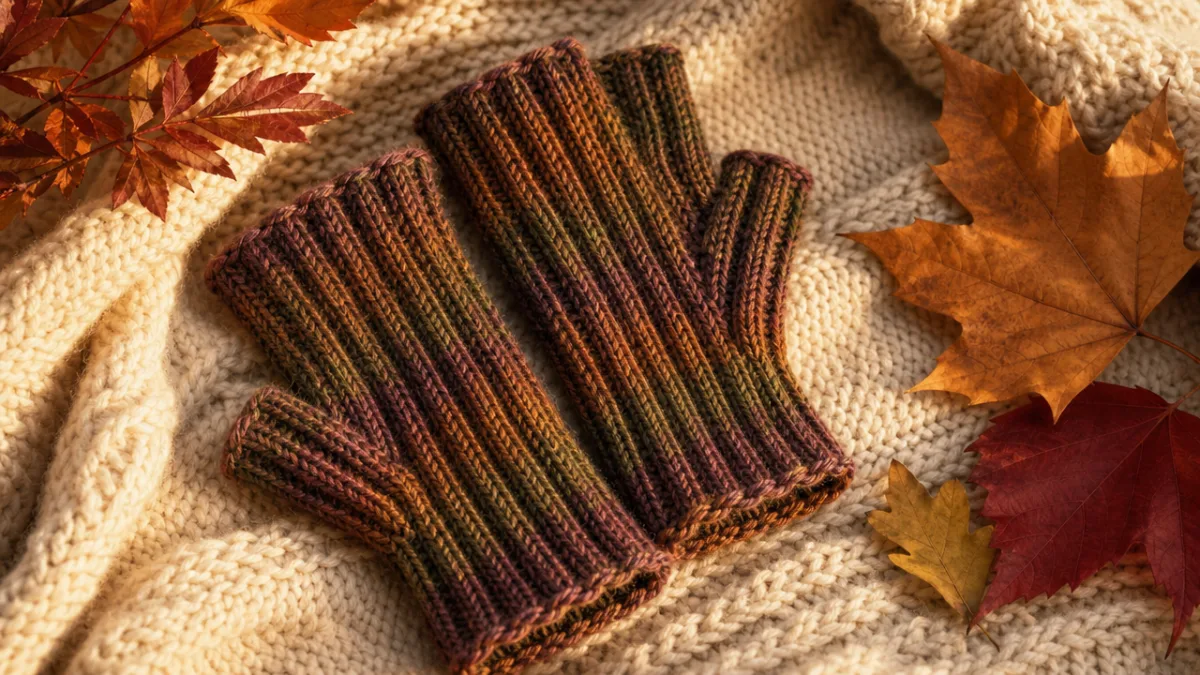
Color is perhaps the most immediately exciting customization option, and the simplicity of this construction means that colorwork can be introduced with very little additional complexity. Striped wrist warmers are easy to achieve by simply changing yarn color at the beginning of a new row, securing the old color end and beginning with the new. Two-color or multicolor striping creates a bold, graphic effect that transforms the simple ribbed texture into something genuinely eye-catching. Variegated or self-striping yarns, which shift color gradually along the skein, are another option that produces beautiful results with no color-change work required on your part at all.
Finishing Techniques and Care Instructions for Your Wrist Warmers
The finishing stage of any crochet project is just as important as the crocheting itself, and wrist warmers are no exception. Weaving in your yarn ends thoroughly and securely is the first priority, as loose ends that are not properly secured have a tendency to work their way out with wear and washing, eventually unraveling your careful work. Using your yarn needle, thread each tail through at least four to five stitches in different directions, including one change of direction to lock the end in place, before trimming closely. Take your time with this step — it’s worth the extra few minutes.
Blocking your finished wrist warmers can make a remarkable difference to the final appearance, particularly if your tension was slightly inconsistent during the crocheting process. Blocking simply means dampening the finished piece and gently reshaping it to the correct dimensions, then allowing it to dry flat. Wool and natural fiber yarns respond most dramatically to wet blocking, but even acrylic yarns can benefit from steam blocking, which softens the stitches and helps them lie more evenly. A blocking mat and T-pins are the ideal tools for this process, though a folded towel and a few strategic pins can work in a pinch for beginners.
Care instructions for your finished wrist warmers will depend largely on the fiber content of the yarn you used. Wool and wool-blend gloves should generally be hand-washed in cool water with a gentle wool wash or mild detergent, then pressed gently between towels to remove excess water and laid flat to dry — never wrung out or hung up, as both methods can distort the shape. Acrylic and acrylic-blend gloves are much more forgiving and can typically be machine-washed on a gentle cycle and laid flat to dry, though always check the yarn label for specific guidance. Proper care will significantly extend the life of your handmade gloves.
Gifting and Presenting Your Handmade Wrist Warmers
Handmade wrist warmers make a genuinely thoughtful and personal gift for friends and family, and the relatively quick completion time of this pattern means you can make multiple pairs in a season without burning out. When gifting handmade items, presentation adds a lovely finishing touch that elevates the whole experience — consider folding the gloves neatly, tying them together with a ribbon in a coordinating color, and attaching a small tag that notes the fiber content and care instructions. Recipients always appreciate knowing how to look after a handmade item, and it shows the care and thought you’ve put into the gift.
If you plan to sell your finished wrist warmers at craft fairs, online marketplaces, or through social media, it’s worth noting that the PDF pattern license typically covers personal use and small-scale selling of finished items, though you should always read the specific terms included in any downloaded pattern to confirm the seller’s permissions. Pricing handmade crochet items can be challenging, but a good rule of thumb is to account for the cost of materials, the time spent at a fair hourly rate, and any overhead costs such as packaging and marketplace fees. Many makers find that their handmade goods are genuinely valued by customers who understand the craft involved.
Photographing your finished wrist warmers for social media or for pattern reviews is a wonderful way to share your work with the broader crochet community and to contribute to the collective knowledge base that makes learning fiber arts so accessible today. Natural light produces the most accurate color representation and shows the texture of ribbing particularly well, so try photographing near a window on an overcast day for soft, even illumination. Wearing the gloves in the photo, or draping them over an interesting surface like a stack of books or a mug of tea, creates a lifestyle image that captures the cozy, handmade spirit of the project beautifully and tends to resonate warmly with other crafters online.








What do you think?
It is nice to know your opinion. Leave a comment.