










Turn Paper Strips into a Magical Spinning Toy: The Complete Guide to Paper Whirligigs
The Timeless Joy of Handmade Paper Toys
There is something deeply satisfying about transforming a simple sheet of paper into a toy that actually moves, spins, and delights everyone who sees it. Paper spinning toys, often called whirligigs or paper spinners, have entertained children and adults alike for centuries across cultures around the world. From the streets of ancient China to modern classroom craft tables, the humble paper strip has proven itself to be one of the most versatile and rewarding materials a crafter can work with. The best part is that everything you need is probably already sitting in your recycling bin or craft drawer right now.
What makes paper spinning toys so magical is the elegant relationship between simple materials and surprisingly complex motion. When you hold a completed paper whirligig and release it into the air, the carefully folded and shaped strips catch the air currents and begin to rotate in a hypnotic spiral. Children are invariably astonished that something they made themselves with their own hands could behave so dynamically. This sense of wonder and accomplishment is precisely why paper toy crafting has remained a beloved pastime across generations and continues to find new audiences in the age of social media and DIY culture.
Beyond the entertainment value, making paper spinning toys offers genuine educational benefits for both children and adults. The process of cutting, folding, and assembling requires patience, fine motor skill development, and an intuitive understanding of basic aerodynamics. When young crafters experiment with different strip widths, lengths, and folding angles, they are unknowingly conducting physics experiments. Teachers have long used paper toy projects as engaging entry points into lessons about force, motion, gravity, and air resistance, making these little spinning wonders far more academically valuable than they might first appear.
Materials and Tools You Will Need
One of the greatest advantages of making paper spinning toys is the minimal investment required to get started. You do not need expensive supplies or specialized equipment to create something truly impressive. The most important material is, of course, paper itself. Standard printer paper works perfectly well for beginners, but as you gain experience you will discover that different paper weights and textures produce noticeably different spinning behaviors. Heavier cardstock creates toys with more momentum and a slower, more graceful spin, while lightweight tissue paper produces fast, fluttery movement that feels almost alive in the air.
For cutting your paper strips to precise widths, a good pair of scissors is essential, though a craft knife and cutting mat will give you cleaner, more consistent edges if you have them available. A ruler is non-negotiable — even small variations in strip width can dramatically affect how your spinner performs, so taking the time to measure accurately pays dividends when you finally let your creation fly. A pencil for marking measurements, a small hole punch, and either string or thin wooden dowels for handles round out your basic toolkit. Many crafters also keep a bone folder on hand to create sharp, crisp folds that hold their shape reliably.
When it comes to decorating your paper strips before assembly, the possibilities are essentially limitless. Markers, watercolor paints, washi tape, metallic foil stickers, and even rubber stamps can all be used to add color and pattern to your strips before they are folded into spinning form. Keep in mind that very wet media like watercolor can warp thin paper and affect performance, so either use heavier paper when painting or allow pieces to dry completely under a heavy book before assembly. The decorative stage is also a wonderful opportunity to involve younger children who may not yet have the dexterity for the precise folding steps but can express tremendous creativity with colors and patterns.
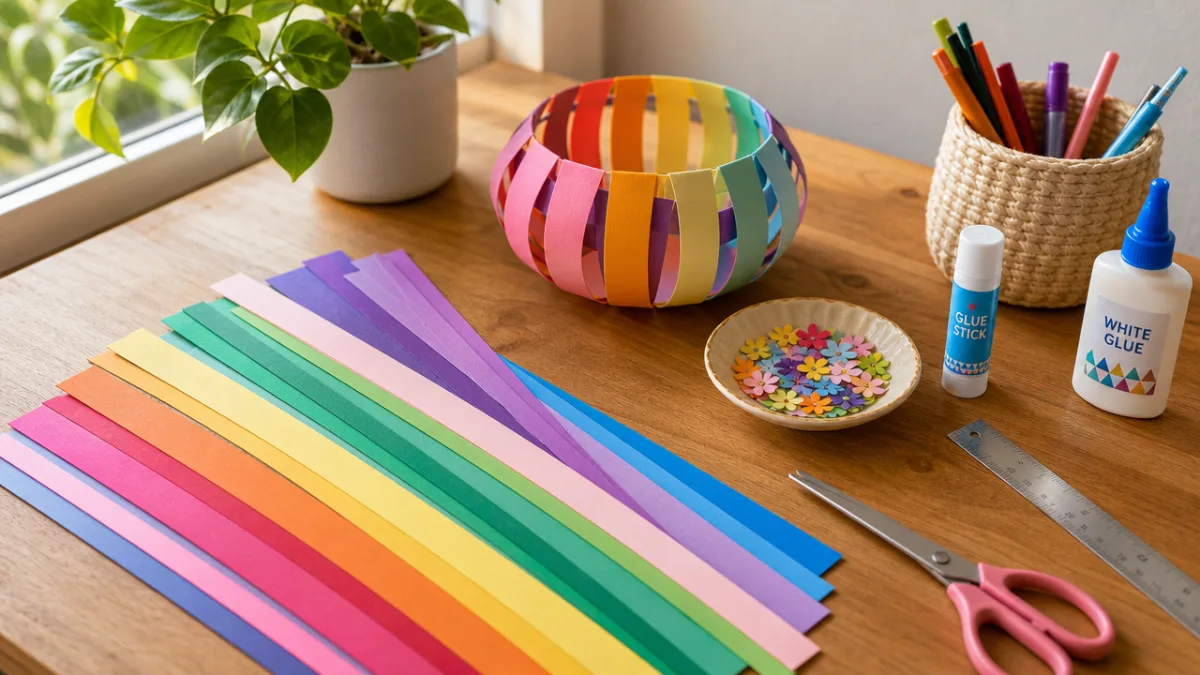
- Standard printer paper or cardstock (20–110 lb weight range recommended)
- Scissors or craft knife with cutting mat
- Metal ruler for accurate measurements
- Pencil and eraser for marking cut lines
- Small hole punch for string attachment
- Thin string, thread, or fishing line
- Wooden skewers or thin dowels for handles (optional)
- Markers, colored pencils, or paint for decoration
- Bone folder or scoring tool for crisp folds
- Glue stick or double-sided tape for securing joints
Step-by-Step Instructions for Your First Paper Spinner
Begin by cutting your paper into strips of uniform width — for your first attempt, a width of approximately one inch and a length of eleven inches works beautifully and is easy to handle. Cut at least four strips to start with, though more advanced designs can incorporate eight, twelve, or even sixteen strips for a fuller, more dramatic effect. Take your time with the cutting step and use your ruler for every single strip rather than using one cut strip as a template for the next, since any small inaccuracy compounds quickly when multiplied across many pieces. Once you have your strips cut and decorated to your satisfaction, you are ready to begin the folding sequence that will transform flat paper into three-dimensional spinning magic.
Hold your first strip horizontally and fold it in half lengthwise, creasing firmly with your fingernail or bone folder. Open it back up and you will see a center guide line running the length of the strip. Now fold each long edge in toward that center line, as if you are making a paper airplane, then fold the whole strip in half along the center line again so that all the raw edges are hidden inside. You should now have a long, narrow strip that is four layers thick, with a clean edge on each side. Repeat this process for every strip — consistency here is the key to a spinner that rotates smoothly and symmetrically rather than wobbling erratically in the air.
To assemble your spinner, you will weave the strips together through each other at their midpoints, creating a central hub from which all the strips radiate outward like spokes on a wheel. If you are using four strips, position them so they cross at ninety-degree angles to each other; with more strips, divide three hundred and sixty degrees evenly by the number of strips to find your spacing angle. Secure the center junction with a small piece of double-sided tape or a dab of glue, then use your hole punch to create a small hole directly through the center of the assembled hub. Thread your string or fishing line through this hole and knot it securely. Now comes the most exciting part: bend the ends of each strip gently upward at the same angle to create the curved vanes that will catch the air and drive the spinning motion.
- Cut paper strips to uniform width of one inch and length of eleven inches
- Fold each strip lengthwise to create a narrow, sturdy four-layer strip
- Arrange strips crossing at the midpoint, spacing them evenly around 360 degrees
- Secure the central hub with tape or glue and allow to dry completely
- Punch a small hole through the exact center of the assembled hub
- Thread string through the hole and tie a secure double knot
- Curve the end of each strip upward at a consistent fifteen to twenty degree angle
- Hold the string and gently drop the spinner to test its rotation
Understanding the Science Behind the Spin
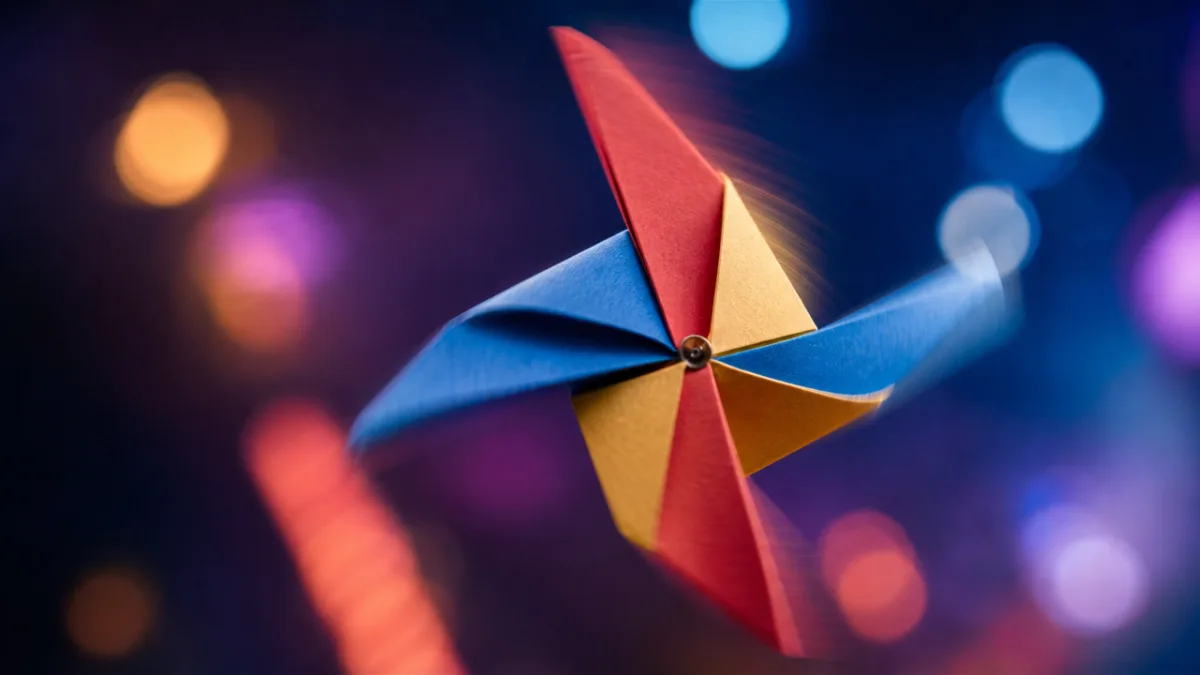
The spinning motion of a paper whirligig is not random or accidental — it is a beautiful demonstration of aerodynamic principles that engineers and scientists study in great detail. When you curve the vanes of your spinner and release it into the air, the angle of each vane relative to the airflow creates what physicists call lift force. Just as an airplane wing generates lift by creating different air pressures above and below its curved surface, each vane of your spinner generates a small rotational force as air flows around it. Because all the vanes are curved in the same direction, these small forces all push in the same rotational direction, causing the entire assembly to spin consistently rather than randomly oscillating back and forth.
The rate at which your spinner rotates depends on several variables that you can control and experiment with deliberately. The angle of the vane curve is perhaps the most significant factor — a steeper angle generates more rotational force but also more air resistance, while a shallower angle produces less force but allows the spinner to fall more quickly through the air. The number of vanes affects the smoothness of rotation; more vanes create a more continuous interaction with the surrounding air, resulting in a steadier, more consistent spin. The weight of the paper also matters significantly because heavier paper carries more momentum, which helps it maintain spin even when air currents are less favorable.
There is also a fascinating phenomenon called autorotation at work in these toys, which is the same principle that allows helicopter blades to keep a helicopter from falling catastrophically if the engine fails. As the spinner descends through the air, the relative motion of air flowing upward past the vanes continuously reinforces the spinning motion, creating a self-sustaining rotation that persists as long as the toy is in motion. This is why a well-made paper spinner can seem to spin almost endlessly when tossed gently upward — the combination of falling motion and spinning motion creates a stable aerodynamic state that the toy naturally wants to maintain. Exploring these principles with different spinner designs can spark a genuine and lasting interest in physics and engineering.
Creative Variations and Advanced Designs
Once you have mastered the basic four-strip spinner, an entire world of creative variations opens up before you. One of the most popular advanced designs is the layered spinner, which involves creating two or more complete spinner assemblies of different sizes and stacking them concentrically on the same string. When this compound spinner is released, the different layers often spin at different speeds and sometimes in opposite directions, creating a hypnotic visual effect that seems far too complex to have come from nothing but paper strips. The contrast between layers is even more dramatic when you use complementary colors or bold geometric patterns on each separate layer.
For a more sculptural approach, try the three-dimensional spiral spinner, which uses longer strips folded into a continuous helix rather than flat vanes. Instead of folding strips straight and then curving only the tips, you introduce a gradual twist along the entire length of each strip before assembly. The result is a spinner that looks like a delicate paper propeller from an imaginary flying machine, with smooth organic curves that seem almost impossible to achieve from flat paper. This design is more challenging to assemble consistently but rewards the extra effort with a visual elegance that reliably stops people in their tracks and prompts the inevitable question: how did you make that?
Color and pattern offer another entire dimension of creative exploration. Gradient effects, where strips transition gradually from one color to another, create a stunning visual impression when the spinner is in motion because the spinning blurs the colors together in ways the eye perceives as new, intermediate colors. Geometric patterns that appear simple when static can transform into surprisingly complex optical illusions when spinning. Some advanced crafters print custom designs on their paper before cutting, using software to calculate exactly how patterns will transform under rotation and designing specifically for the spinning state rather than the static one. This intersection of art, mathematics, and craft is one of the things that makes paper spinning toys endlessly fascinating to serious enthusiasts.
- Layered spinner: stack multiple sizes on one string for multi-speed rotation
- Spiral spinner: introduce a full-length twist for organic, propeller-like vanes
- Gradient color design: create visual color mixing when spinning at full speed
- Optical illusion patterns: design for the spun state rather than the static state
- Giant wall spinner: scale up to create decorative hanging art installations
- Miniature spinner: use narrow strips for a delicate, fast-spinning tiny version
- Glow-in-the-dark version: use phosphorescent paper for nighttime magic
Making Paper Spinners with Kids: Tips for a Successful Craft Session
Paper spinning toys are an ideal group craft activity for children ranging from approximately age five all the way through the teenage years, with different levels of involvement appropriate at different ages. Younger children in the five to seven age range will likely need adult assistance with the measuring and folding steps but can participate meaningfully in decoration and in the sheer excitement of the final test flight. Children aged eight and older can typically manage the full process independently with some initial demonstration and guidance, and the sense of accomplishment they feel when their self-made spinner performs well is palpable and genuinely moving to witness. Teenagers can be challenged with the physics explanations and invited to experiment systematically with variables to improve performance.
Preparation is the secret to a smooth and enjoyable group crafting experience. Pre-cutting strips to the correct dimensions before the session begins removes a significant source of frustration for younger children and allows the group to spend its energy on the more rewarding folding, assembly, and decoration stages. Setting up individual workstations with all necessary supplies already laid out prevents the chaos of children reaching across each other and accidentally damaging work in progress. Having a few completed example spinners on hand — ideally in a range of styles — helps children visualize the goal and gives them concrete reference points when they encounter challenges during assembly. Most importantly, build in plenty of time for free experimentation and test flights, because that is invariably the moment when the real learning and the loudest laughter happen.
The cleanup and storage considerations for paper craft sessions are worth thinking through in advance, particularly in classroom or community center settings. Paper scraps accumulate quickly and can become a slipping hazard on smooth floors, so having a designated scrap bin at each workstation is a simple but valuable precaution. Finished spinners are surprisingly fragile when it comes to moisture, so storing them in a dry location away from humid areas will preserve them much longer. Encouraging children to write their names on the underside of the central hub with a pencil helps prevent the inevitable confusion when multiple similar-looking spinners end up in the same collection basket at the end of a session. With a little advance planning, paper spinning toy workshops can be among the most memorable and smoothly-run craft activities in any educator’s repertoire.

Sharing, Gifting, and Displaying Your Paper Spinning Creations
A beautifully made paper spinner is far more than a throwaway craft project — it is a genuine handmade gift that carries real sentimental and aesthetic value. When presented thoughtfully, perhaps attached to a hand-written card or nestled inside a small box with tissue paper, a paper spinner communicates care, creativity, and personal investment in a way that purchased gifts rarely manage. The recipient receives not just an object but an experience, because the instructions for flying and spinning the toy are as much a part of the gift as the spinner itself. Including a small card that explains the aerodynamic principles at work adds an educational dimension that many adult recipients find unexpectedly fascinating and appreciate long after the initial surprise of the gift has faded.
For display purposes, paper spinners can be surprisingly effective as decorative elements when grouped and hung at varying heights from a ceiling or window frame. A collection of spinners in a coordinated color palette suspended above a child’s bed or play area creates a dynamic mobile that moves gently in air currents from heating vents or open windows, providing ongoing visual interest. When used as party decorations, a cascade of handmade spinners hung above a table transforms an ordinary space into something genuinely special and personal, and guests invariably comment on the handmade quality. Photographers and content creators have discovered that paper spinners make striking props for flat-lay photography, where their geometric forms and bold colors add visual complexity and texture to compositions.
Sharing your paper spinning toy creations on social media platforms like Pinterest, Instagram, and YouTube has become an important part of the broader DIY and paper craft community, and the feedback loop between creators and viewers continually drives innovation in designs and techniques. Short video clips that show the spinning toy in action are particularly effective at conveying the magic of these creations, since still photographs cannot capture the motion that makes them so special. Many creators find that including a brief explanation of the science behind the spin alongside their making videos generates significantly higher engagement, as viewers appreciate understanding not just what they are seeing but why it works. Whatever your level of craft experience, the paper spinning toy community is extraordinarily welcoming, generous with tutorials and encouragement, and perpetually inventive in finding new ways to coax movement and magic from something as simple and humble as a strip of paper.








What do you think?
It is nice to know your opinion. Leave a comment.