










The Ultimate Guide to Tote Bag Painting: Transform Plain Canvas Into Wearable Art
Introduction to Tote Bag Painting
If you’re looking for a craft that’s equal parts practical and personal, tote bag painting might just be your new favorite thing. It sits in this sweet spot between functional and expressive — you end up with something you actually use every day, not just something pretty to hang on a wall. And honestly, it doesn’t matter if you’re a working artist or someone who hasn’t picked up a brush since middle school. The canvas tote is a wonderfully forgiving surface that practically invites you to experiment.
Part of what makes this craft so appealing is how little it costs to get started. A plain canvas tote runs just a few dollars, and the paints you need are at every craft store. There’s no expensive equipment to invest in, no specialized studio space required. In that sense, tote bag painting is about as accessible as creative hobbies get — which is probably why so many people have discovered it and fallen in love with it.
There’s also just something deeply satisfying about turning a plain, boring bag into something that’s unmistakably yours. People notice it, they ask about it, and if you give one as a gift, it hits differently than anything you could pull off a shelf. A lot of people who start here also find it opens the door to other textile crafts — embroidery, block printing, screen printing — because once you realize how much fun it is to make things with fabric, it’s hard to stop.
Gathering Your Materials and Preparing Your Workspace
Getting your materials right before you start will save you a lot of frustration down the road. The biggest decision you’ll make is what paint to use. Fabric paint or regular acrylic paint mixed with a textile medium are your best options here. Plain acrylic without a textile medium tends to dry stiff and crack over time, especially in the parts of the bag that get flexed a lot. Fabric-specific paints are formulated to actually bond with the fibers and stay flexible through washing, which is exactly what you want if this bag is going to get real use.
Brushes matter more than most beginners expect. Having a few different sizes makes a huge difference — flat brushes for filling in larger shapes and bold areas, fine round-tipped brushes for detailed line work, and maybe a foam brush or brayer if you plan to work with stencils or need smooth, even coverage over a big area. Good brushes give you cleaner lines and honestly just make the whole experience more enjoyable.
Don’t skip the workspace prep either. Cover your table with plastic or old newspaper, then — this is important — slip a piece of cardboard inside the bag before you paint anything. It does two things: it gives you a firm, flat surface so the bag doesn’t shift and wrinkle while you work, and it stops the paint from bleeding through and ruining the back panel. Take a minute to smooth the bag out and push the cardboard all the way into the corners before you even uncap your paint.
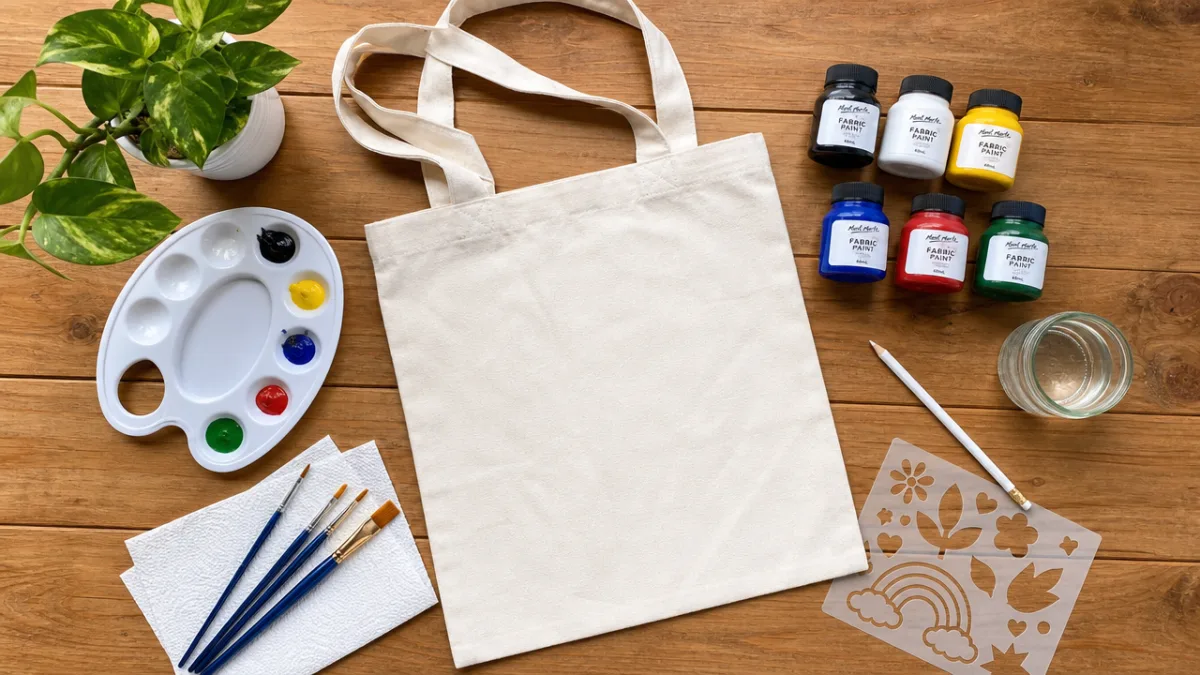
- Canvas tote bags in white or natural cotton — these absorb paint evenly and provide the best surface for detailed work
- Fabric paint or acrylic paint with textile medium for flexibility and wash durability
- A range of brush sizes from broad flat brushes to fine-tipped detail brushes
- Cardboard insert to keep the bag flat and prevent bleed-through
- Pencil or chalk for sketching your design before committing with paint
- Palette or mixing tray for blending custom colors
- Heat-setting iron or dryer for sealing the finished design
Design Planning and Transferring Your Artwork
The design phase is worth slowing down for — it’s where everything either comes together or falls apart before you even touch paint. Start by sketching your ideas on paper first. One thing that trips people up is scale: something that looks nicely proportioned on a regular sheet of paper can look tiny and lost on the broad front panel of a tote bag, and on the flip side, a busy all-over pattern that seems manageable on paper can quickly become overwhelming on fabric. Doing a few rough thumbnail sketches at closer to actual size helps you catch those issues early.
Color planning is another step that’s easy to rush past when you’re excited to start — but it’s really worth doing. The color of your base bag affects how your paints will look on top of it. Pastels and light yellows tend to look washed out on a cream bag but pop on white. High-contrast and dark-color designs read well on pretty much any base. Before you commit to the actual bag, do a quick swatch test on a scrap piece of similar fabric to see how your colors behave. It takes five minutes and can save you from a real headache.
When it comes to actually getting your design onto the bag, you’ve got options depending on how confident you feel. If you’re comfortable drawing freehand, just sketch your design lightly in pencil — it’ll either disappear under the paint or fade out with the first wash. If freehand sketching isn’t your thing, tracing paper and transfer paper are reliable and easy to use. Stencils — either bought or cut from acetate sheets yourself — are great for anything geometric or typographic where you need consistent, clean edges.
If you’re comfortable with digital tools, there’s a really nice workflow where you design everything in Procreate or a similar app first, print it at full scale, tape it inside the bag, and use it as a light-box-style guide showing through the fabric. It gives you the precision of a digital design with the warmth and character of hand-painted work — kind of the best of both worlds.
Painting Techniques for Stunning Results
Even if you’re a total beginner, learning a handful of core techniques will take your results from okay to genuinely impressive. The most fundamental one is working in thin, layered coats rather than slapping on one thick coat all at once. Thick paint on fabric cracks, peels, and feels stiff and unpleasant to wear. Thin layers built up gradually produce rich, opaque color while keeping the fabric soft and flexible. Yes, it requires patience, but the difference in the final result is dramatic.
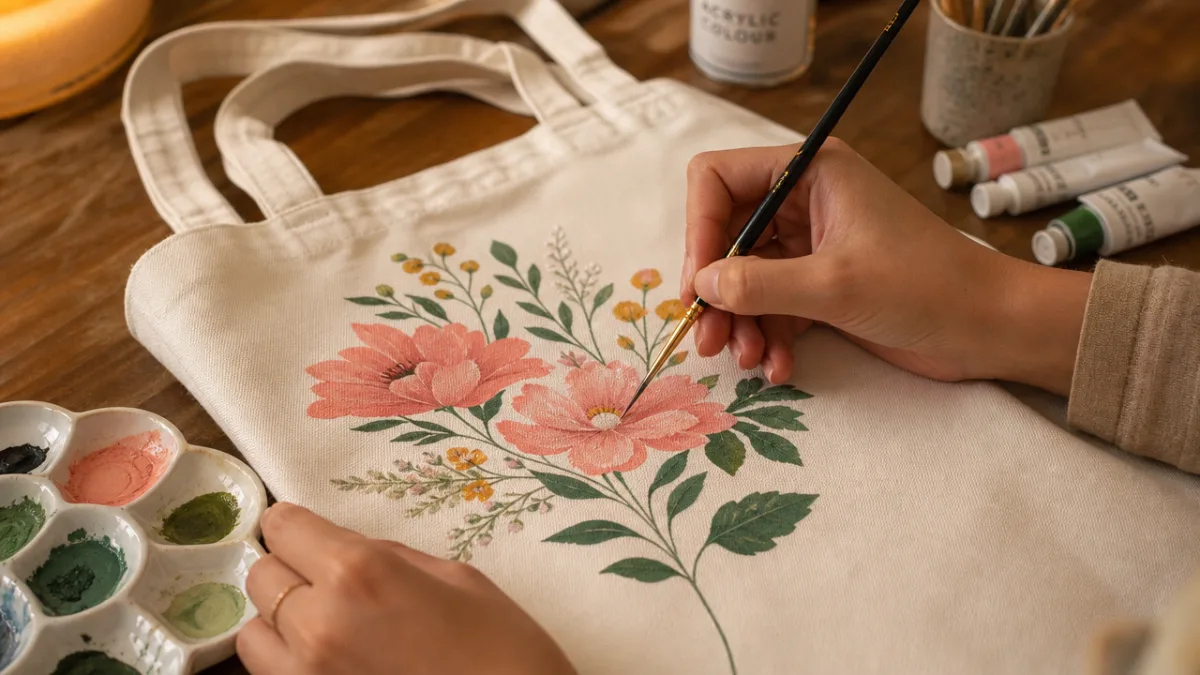
Blending colors directly on the fabric is one of the most exciting things you can do with this medium — and it’s what really sets hand-painted pieces apart from anything stenciled or printed. The wet-on-wet technique, where you apply a second color while the first is still damp, lets the two bleed softly into each other, creating gradients and depth that give your design a real painterly quality. It works especially well for botanical subjects like flowers and leaves, where those soft, natural color transitions make everything feel alive.
Texture techniques are surprisingly easy to pull off and add a lot of visual interest. Sponging creates a soft, mottled effect that’s perfect for backgrounds. Stippling with the tip of a stiff brush gives you a dotted texture that’s great for suggesting foliage or fur. Dry brushing — a barely-loaded brush dragged lightly across the surface — produces a scratchy, worn quality that suits rustic or vintage-style designs beautifully. And masking tape laid down before you paint and peeled off after gives you crisp geometric edges that would be nearly impossible to achieve freehand.
Outlining is usually the last step, and it’s often what makes a design look truly finished. Going around your shapes with a fine liner brush in black or a deep contrasting color sharpens everything up and gives it a graphic clarity that reads well from across the room. If outlining with a brush feels tricky, fabric paint pens are a great alternative — consistent line width, no brush loading, very controlled. A lot of artists combine brush-painted areas with paint pen outlines, and the result tends to look both expressive and polished.
Popular Design Styles and Themes for Tote Bags
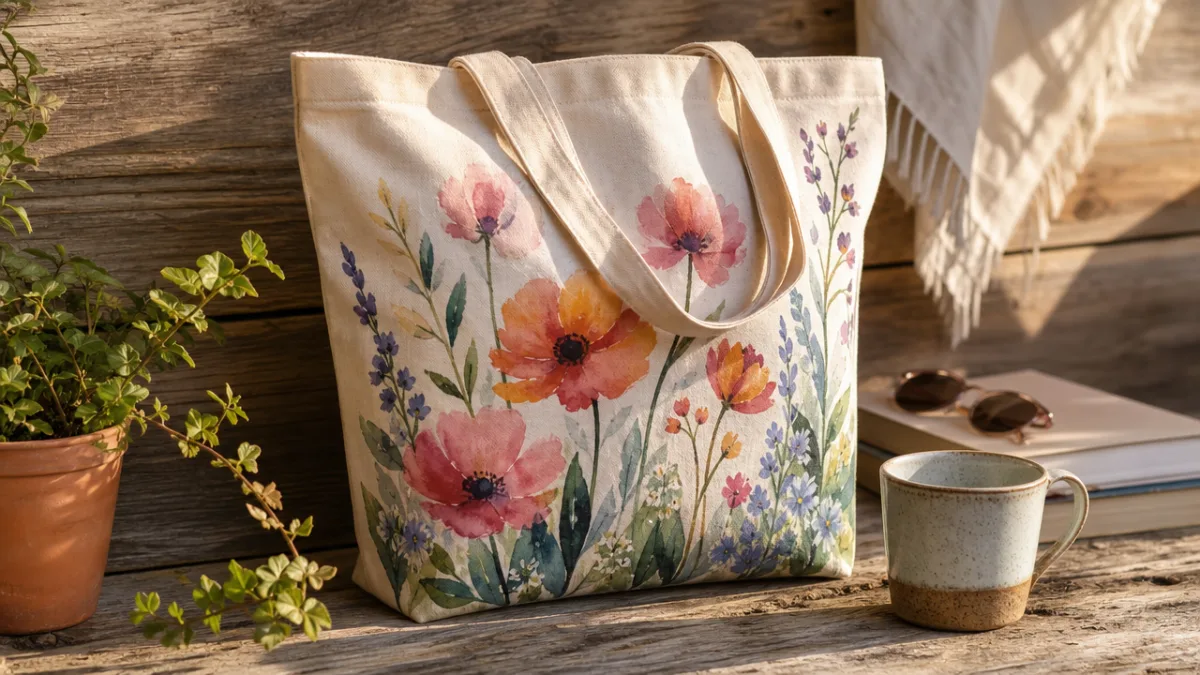
Technically you can paint anything on a tote bag, but certain themes have really found their home in this craft community. Botanicals — flowers, leaves, vines, herbs — are probably the most beloved category, and for good reason. Plant forms are naturally forgiving of small imperfections, the color palettes are inherently pleasing, and people just love them. Whether you’re going for loose impressionistic wildflowers or something closer to a detailed botanical illustration, there’s almost infinite room to make it your own.
Abstract and geometric designs are another hugely popular direction, especially for people who don’t feel totally confident drawing recognizable objects. Bold color blocking, tessellating shapes, and repeated geometric patterns can produce seriously striking bags without requiring any representational drawing skills at all. If you draw inspiration from Bauhaus aesthetics, color field painting, or Scandinavian design, you’ll have plenty to work with — and the results tend to have a clean, modern look that pairs well with a lot of different styles.
Hand lettering has become a staple too, riding the broader wave of interest in calligraphy and typography. A well-painted phrase — a quote that means something to you, someone’s name, a single meaningful word — makes a plain bag feel remarkably personal. Brush lettering in particular, where the letters are painted rather than drawn, has an expressive, lively quality that looks great even when you’re still learning. Pair it with some illustrated botanicals framing the text and you’ve got a classic combination that almost always looks lovely.
- Botanical and floral motifs — versatile, forgiving, and universally appealing across age groups and styles
- Abstract color blocking and geometric patterns — modern, graphic, and approachable for beginners
- Hand lettering and typography — personal, expressive, and endlessly customizable
- Animal illustrations and portraits — charming and highly giftable, especially for pet owners
- Landscapes and nature scenes — dramatic and atmospheric, particularly effective with a painterly technique
- Celestial and mystical themes — stars, moons, and cosmic imagery remain perennially popular
Caring for Your Painted Tote Bag
Getting a beautiful design onto your bag is only half the job — you also want it to still look great a year from now. The single most important thing you can do is heat-set the finished design before you ever use or wash the bag. Heat setting is what causes the paint to permanently bond with the fabric fibers, turning a surface that’s somewhat fragile when freshly painted into one that can handle real washing and everyday wear. Most fabric paints recommend letting the design cure for at least 24 hours before you heat-set it.
To do it, lay a thin cloth or piece of parchment paper over the painted area and press firmly with a hot iron set to the appropriate temperature for your fabric. Move the iron steadily across the design for about 30 to 60 seconds with firm, even pressure. Alternatively, you can toss the bag in the dryer on high heat for 30 minutes, which works well for most fabric paint formulations. Check your specific paint’s packaging for its exact recommendations since different paints vary a bit. Rushing or skipping this step is by far the most common reason painted designs start peeling or fading after a few washes.
After heat-setting, wash the bag inside out on a gentle cycle in cold water with a mild detergent. Skip the bleach, fabric softener, and harsh detergents — all of these wear down the paint film over time. Air drying is your best bet for long-term preservation, though occasional machine drying on low heat won’t ruin a properly heat-set design. Take care of it thoughtfully and there’s no reason a well-painted tote bag can’t look great through years of regular use — which makes it one of the more durable things you’ll ever make by hand.
Sharing Your Work and Finding Inspiration
One of the genuinely lovely things about tote bag painting is the community around it. Pinterest, Instagram, and TikTok are full of tutorials, finished designs, and process videos — more than enough to pull you out of any creative rut. Following artists whose work resonates with you gives you a steady feed of fresh ideas, and the tote bag painting community tends to be generous about sharing tips and encouragement, which makes it a nice corner of the internet to spend time in.
Sharing your own work, even early on when you’re still finding your footing, can be more rewarding than you’d expect. This community genuinely celebrates creative effort and personal style, not technical perfection. Documenting your process — from blank bag through sketching and painting to the finished product — makes for content that actually helps other people learn, and it gives you a record of how much you’ve grown that’s really satisfying to look back on. A lot of people who start sharing casually end up building a small, engaged following of people who genuinely love their particular aesthetic.
And don’t overlook painted tote bags as gifts. A bag painted with someone’s favorite flowers, their pet, or a phrase that means something to them is one of the most personal, thoughtful presents you can give — the kind that people actually keep and use and remember. If you want to take it further, craft fairs, farmers markets, and local art shows are wonderful places to get your bags in front of a wider audience and potentially turn your hobby into something more. It’s not unusual for what starts as a quiet Sunday afternoon project to grow, slowly and happily, into a real creative practice — and for some people, an actual small business built on something they made with their own hands.








What do you think?
It is nice to know your opinion. Leave a comment.