










The Ultimate Guide to Surprise Explosion Gift Boxes: Everything You Need to Know
What Is a Surprise Explosion Gift Box?
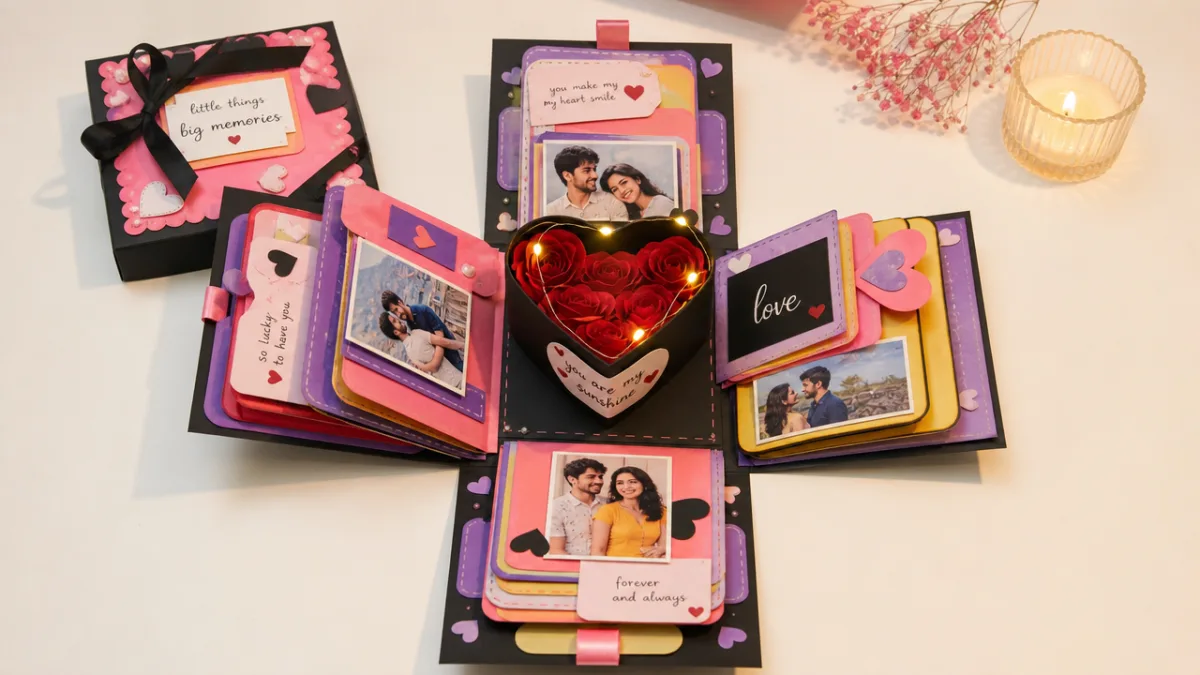
If you’ve never seen someone open a surprise explosion gift box, you’re in for a treat. From the outside, it looks like any other neatly wrapped present. But the second the recipient lifts the lid, the whole thing bursts open — panels fan out in every direction, revealing photos, handwritten notes, tiny gifts, and decorations layered throughout. It’s part unwrapping experience, part scrapbook, and entirely unforgettable.
These boxes blew up (pun intended) on Pinterest, Instagram, and TikTok, where reaction videos of people opening them racked up millions of views. It’s easy to see why — watching someone’s face go from confused to absolutely delighted in a matter of seconds is just genuinely feel-good content. That wave of viral moments turned explosion boxes into a full-blown gifting trend, and people all over the world started making their own.
The basic structure is pretty clever: there’s a flat base, four or more panels connected with accordion-style folds, and a removable lid that holds it all together. When the lid comes off, everything springs open at once. Every part of the box can be customized — the cardstock colors, the fonts, the photos, the messages — which means no two boxes ever look quite the same. Most people who receive one end up keeping it as a keepsake long after the occasion is over.
Why Explosion Gift Boxes Make the Perfect Present
There’s something different about getting a handmade gift. You can just feel the effort that went into it. An explosion box takes that feeling even further, because it’s not just handmade — it’s a whole curated experience packed into one object. Photos from your favorite memories together, handwritten notes, tiny trinkets, dried flowers, a piece of jewelry tucked into a little pocket — it can hold all of it, and the way it reveals everything makes each discovery feel intentional.
What really makes explosion boxes stand out is how well they work for basically any occasion. Birthdays, anniversaries, Valentine’s Day, Mother’s Day, Father’s Day, graduations, weddings, even corporate thank-you gifts — the format adapts to all of it. You just change the colors, the theme, and the contents, and suddenly the same concept feels completely tailored to the moment and the person.
There’s also something really lasting about them. A lot of recipients keep the box exactly as it was given to them — every note, photo, and decoration right where the creator placed it — and pull it out whenever they want to revisit that memory. It stops being just a gift and starts being a little monument to something meaningful. That’s a pretty rare thing for any present to achieve.
Materials You Need to Create Your Own Explosion Box
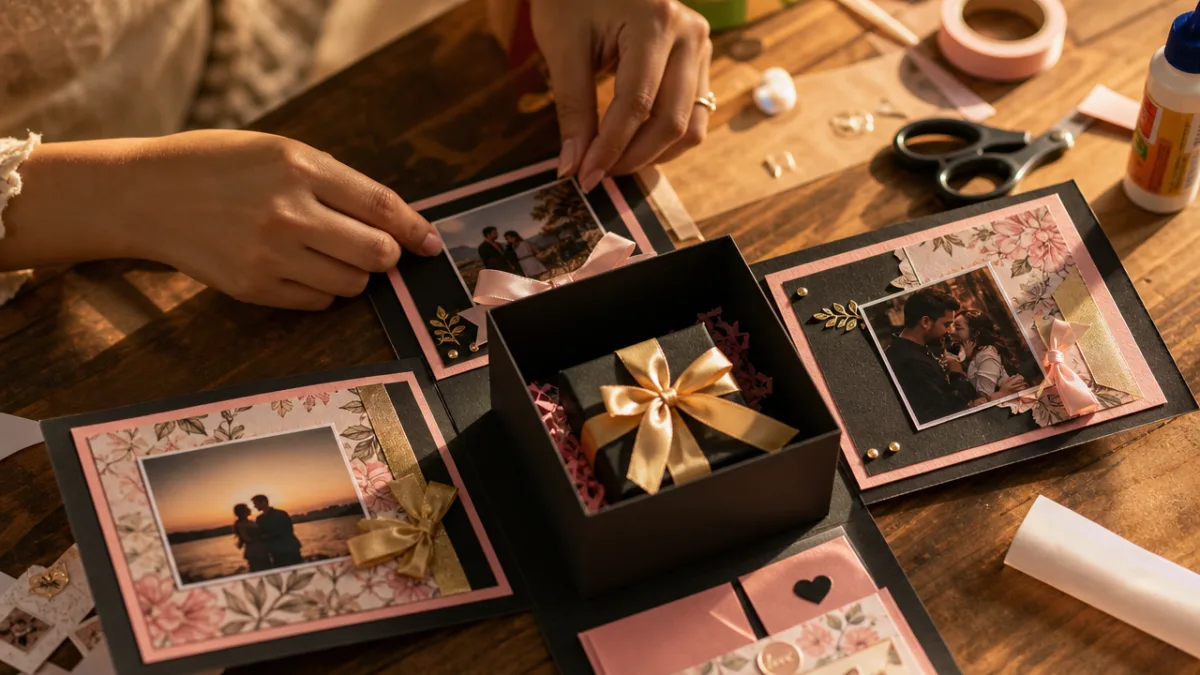
Making an explosion box at home is more approachable than it looks, and most of what you need is easy to find at any craft store or online. The single most important material is good cardstock — thick enough to hold its shape through all those folds, but still flexible enough to crease cleanly. For most projects, 80 to 110 pound cardstock in a mix of colors and patterns is a great place to start, whether you’re a first-timer or you’ve made dozens of these.
Beyond the cardstock, a few tools make a real difference. A bone folder is probably the most underrated item on the list — it gives you those sharp, satisfying folds without tearing anything. A craft knife or a good pair of precision scissors handles the cutting, while a ruler and a self-healing cutting mat keep your lines straight and your table intact. For adhesive, double-sided tape or an adhesive runner keeps things clean and flat without any visible glue blobs sneaking through your layers.
Some of the most popular embellishments used to decorate explosion boxes include the following:
- Printed or hand-stamped photographs sized to fit each panel
- Washi tape in coordinating colors and patterns for borders and accents
- Die-cut shapes such as hearts, stars, flowers, and letters
- Ribbon, twine, or lace for tying the lid closed and adding texture
- Stickers, stamps, and ink pads for custom patterns and messages
- Dried flowers, fabric petals, or pressed botanicals for a natural touch
- Glitter, sequins, or metallic foil for glamorous, eye-catching finishes
- Small charms, buttons, or miniature ornaments as three-dimensional accents
If cutting everything from scratch sounds like a lot, pre-cut explosion box kits are a genuinely great alternative. They come with all the cardstock pieces already sized and cut, plus basic embellishments and step-by-step instructions. They’re especially popular with people who are new to paper crafting but still want the finished product to look polished — and honestly, the results are hard to tell apart from scratch-built boxes.
Step-by-Step Guide to Assembling Your Explosion Box
Putting together an explosion box is a lot less intimidating once you break it down into stages. The trick is to take it one layer at a time and not rush ahead. Start by cutting your base square, which is the foundation everything else builds on. A five-by-five inch base is a popular beginner size — it’s big enough to fit plenty of content without becoming unwieldy — but you can go bigger or smaller depending on how much you want to pack in and how dramatic you want that opening moment to feel.
From there, you’ll score and fold your four main panels, each of which attaches to one side of the base with a small tab. When the lid is on, the panels fold down neatly over the base. When the lid comes off, they spring outward. The lid itself needs to be cut just slightly larger than the base so it fits snugly without sticking — getting that fit right is honestly one of the most important steps, so measure it carefully and do a test fit before you glue anything down.
Whenever possible, decorate your panels before doing the final assembly. Lay them out flat, arrange your photos and embellishments, and get a feel for the overall composition before committing to any adhesive. Think about what someone will see first when the box opens, and what they’ll find as they dig into the layers. A little narrative progression — building toward a central message or surprise — is what takes a pretty craft project and turns it into something genuinely emotional.
The following steps outline the basic assembly sequence for a standard four-panel explosion box:
- Cut and score the base square according to your chosen dimensions
- Cut and score the four side panels, including fold lines and connector tabs
- Decorate all panels and the base while they are still flat for easiest access
- Attach each panel to the corresponding side of the base using the connector tabs
- Add any interior elements such as mini envelopes, photo pockets, or pop-up features
- Test the folding and explosion action before adding final embellishments
- Cut and assemble the lid, ensuring a snug but removable fit
- Decorate the exterior of the lid to match the overall theme of the box
- Tie a ribbon around the assembled box to keep it closed during transport
Themes and Ideas for Every Occasion
One of the best things about explosion boxes is how much creative freedom you have. For a romantic anniversary gift, a deep red and gold palette with photos from your most cherished memories together sets the mood immediately. Add handwritten love letters tucked into tiny envelopes, small keepsakes like ticket stubs or pressed flowers, and maybe a timeline of your relationship across the panels — building from your earliest memories toward a message about what’s still ahead. Done right, it’s the kind of gift that makes people cry happy tears.
Birthday boxes are a natural fit for bright, energetic themes — confetti patterns, balloon motifs, bold cheerful fonts. For a milestone like a 30th or 50th birthday, try dedicating each panel to a different decade of the person’s life, pulling in era-appropriate photos, inside jokes, and tributes from people who love them. It turns the box into a group project and a tribute all at once, which feels a lot more meaningful than a generic card everyone signs.
For appreciation-based occasions like Mother’s Day, Father’s Day, or teacher gifts, the explosion box is a perfect way to gather messages from multiple people. Each panel can feature contributions from different kids, students, or coworkers, tied together with a cohesive color scheme. Seeing that many heartfelt notes assembled in one beautiful object hits differently than any single card could — and it’s the kind of thing people genuinely hold onto.
Some additional theme ideas that work particularly well for explosion boxes include:
- Travel-themed boxes for adventurous friends, featuring maps, passport stamps, and destination photos
- Baby shower boxes celebrating a new arrival with soft pastels and ultrasound photos
- Graduation boxes chronicling academic achievements and looking forward to future goals
- Wedding gift boxes combining engagement photos, venue details, and wishes for the couple
- Holiday boxes filled with seasonal imagery, family traditions, and year-in-review highlights
- Friendship appreciation boxes honoring the milestones and memories of a close relationship
Tips for Taking Your Explosion Box to the Next Level
Once you’ve got the basics down, there are a lot of fun ways to make your boxes feel even more special. Interactive elements are one of the biggest upgrades you can add — think tiny pocket envelopes that hold folded notes, little accordion-fold photo strips that pull out to reveal a sequence of pictures, or small sliding panels that hide messages underneath. Each of those small discoveries keeps the recipient exploring long after the initial explosion, which extends that moment of delight in a really satisfying way.
One trick that experienced makers swear by: a small battery-operated LED fairy light strand tucked inside. When the lid lifts and those little lights glow, especially in a dimmer room, the effect is genuinely magical. It works especially well for romantic gifts and holiday-themed boxes. The lights are cheap, lightweight, and easy to coil between layers where they’re completely hidden until the reveal.
Don’t overlook the presentation, either. The way you deliver the box matters as much as what’s inside it. Nestling your finished explosion box in a plain outer box lined with tissue paper, or presenting it inside a gift bag surrounded by complementary extras, adds another layer of anticipation. And if you’re giving it in person, slow the moment down — encourage them to open it carefully, build a little suspense — because that shared instant of genuine surprise is really the whole point. It’s something both of you will remember for a long time.
Where to Buy Explosion Gift Boxes If You Prefer a Ready-Made Option
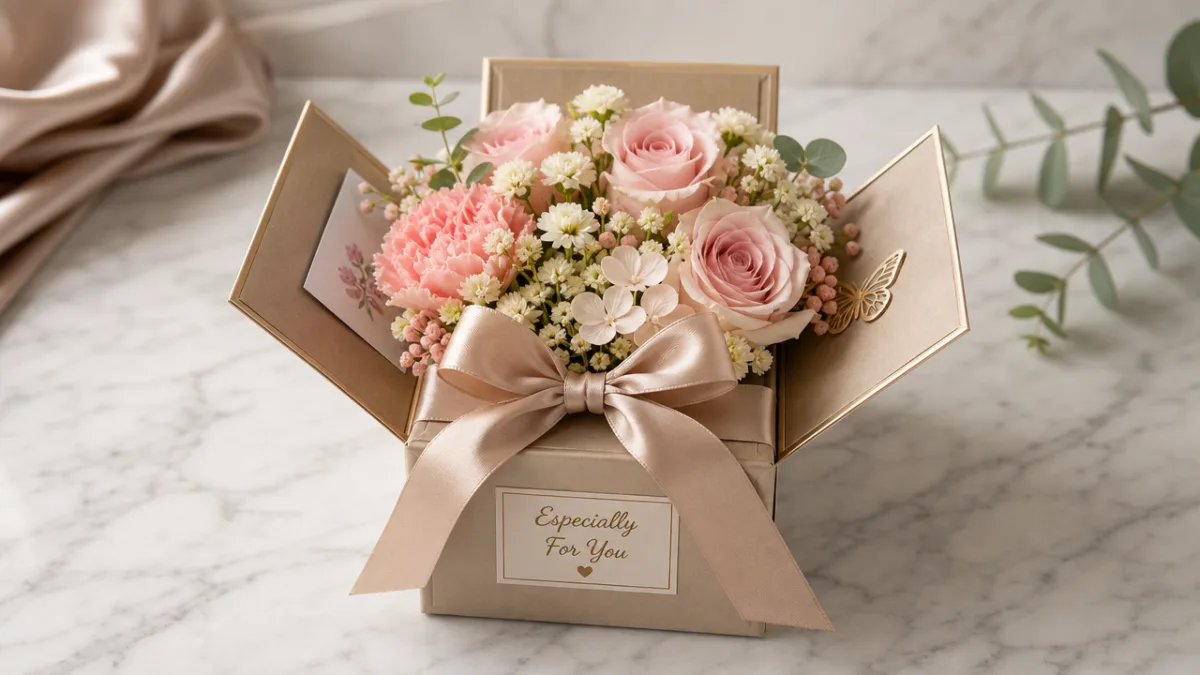
Making your own is incredibly rewarding, but it’s not always realistic when life gets busy. Luckily, the explosion box trend has brought with it a whole community of talented makers who create custom boxes to order. Etsy is probably your best starting point — there are hundreds of skilled paper crafters there who can build a fully personalized box from your photos, your color preferences, and your occasion. You get something genuinely custom while also supporting a small independent business, which feels good on both ends.
When you’re browsing for a maker, a few things are worth paying attention to. Look at their portfolio carefully, read reviews that specifically mention the quality of the customization (not just that the item arrived on time), and ask about turnaround upfront. Most custom explosion boxes take one to two weeks to complete, so don’t leave it to the last minute, especially for big occasions. When you place your order, be as specific as you can — high-resolution photos, full names, exact quotes or messages you want included. The more detail you give, the better the result.
If personalization isn’t a priority, pre-made explosion boxes with generic designs are widely available through major retail sites and gift shops. They come in popular themes like birthdays, weddings, and holidays, and while they don’t have that deeply personal touch, they still deliver that signature wow moment when the lid comes off. For someone who’s never given an explosion box before, a pre-made version is a great low-stakes way to introduce the concept — and it might just inspire you to try making one yourself next time.
However you end up giving one — handmade, custom-ordered, or bought off the shelf — the thing that matters most is the thought behind it. An explosion gift box is a way of saying that someone’s joy is worth going out of your way for. That their surprise, their happiness, their reaction in that specific moment is worth the extra effort. In a world where most gifts are a few clicks and a shipping label, that still means something.








What do you think?
It is nice to know your opinion. Leave a comment.