










Merry Mushroom Felt Ornament Tutorial: A Complete Guide to Crafting Whimsical Holiday Decorations
Introduction to the Merry Mushroom Felt Ornament
There’s something genuinely magical about a handcrafted felt ornament, and the Merry Mushroom is one of my favorites. It’s got this wonderful mix of vintage charm and playful whimsy that makes it feel like a keepsake from the moment you finish it. Whether you’ve been sewing for years or you’re picking up a needle for the very first time, this tutorial will walk you through everything step by step — no guesswork, no frustration.
The mushroom motif has deep roots in European and North American folk art, where it’s long been tied to good luck, forest magic, and the cozy comfort of winter indoors. That history gives this little ornament a lot of heart — it feels nostalgic and fresh at the same time, and it fits right in whether your style leans rustic, cottagecore, or fairytale. That iconic red cap with white spots is instantly cheerful without feeling like it belongs exclusively to one holiday tradition.
Felt is just about the perfect material for a project like this. It’s inexpensive, comes in every color imaginable, and — best of all — it doesn’t fray when you cut it. That means clean edges with no hemming required, which makes the whole thing much more approachable, especially if you’re crafting with kids. By the time you work through this guide, you’ll have a finished ornament you’re genuinely proud of, whether it ends up on your tree, wrapped up as a gift, or tucked into a little holiday display on your mantel.
Materials and Tools You Will Need
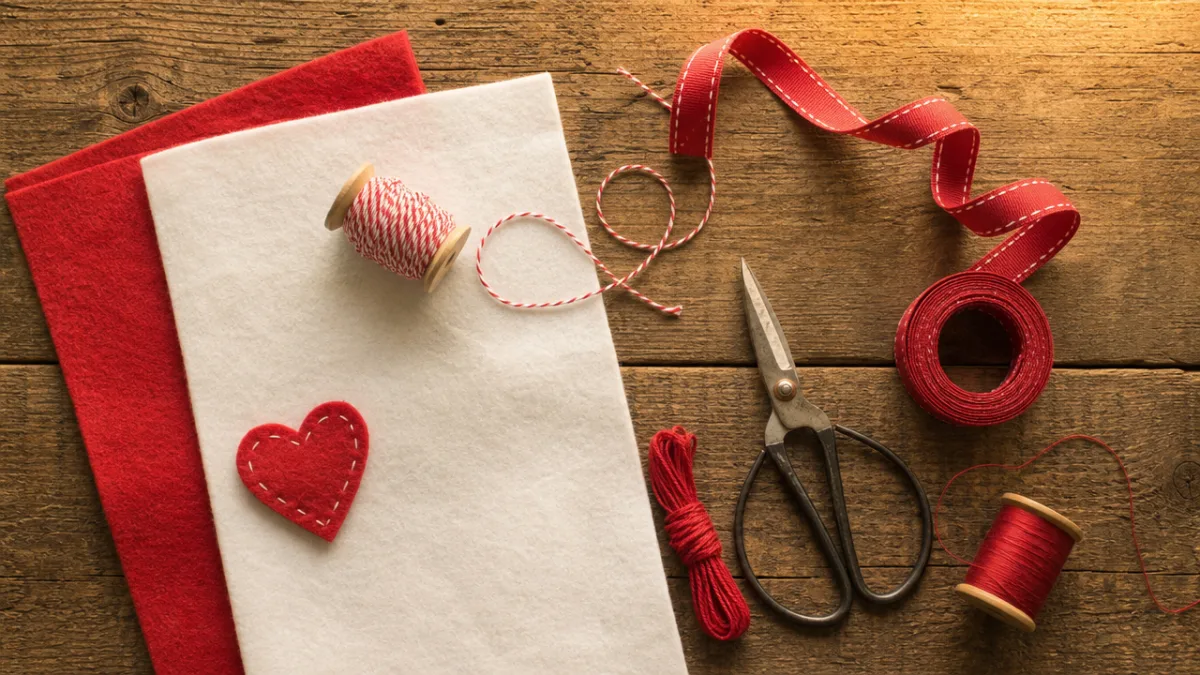
Before you dive in, take a few minutes to gather everything you need. Trust me — having all your supplies within arm’s reach makes the whole process more enjoyable and keeps you from making improvised substitutions mid-project. The good news is that the material list for this ornament is short and pretty affordable, so there’s no need to make a big production of the supply run.
For materials, you’ll need wool or acrylic felt in red or crimson for the mushroom cap, white or cream for the stem and polka dots, and optionally a small scrap of green for a leaf accent at the base. You’ll also want a small amount of polyfill stuffing or cotton batting to give the ornament its satisfying plumpness, plus a length of festive ribbon or natural twine for the hanging loop — red, gold, or linen all look lovely.
On the tools side, grab a pair of sharp fabric scissors, a hand-sewing needle, embroidery floss in red and white, and some fabric glue for attaching smaller details. A water-soluble fabric marker or tailor’s chalk is really helpful for tracing your template pieces cleanly. And if you have a wooden dowel or a chopstick lying around, hold onto it — it’s great for pushing stuffing into tight corners without creating lumpy spots.
- Red or crimson felt, at least one 9×12 inch sheet
- White or cream felt, one 9×12 inch sheet
- Green felt for optional leaf details, small scrap piece
- Polyfill stuffing or cotton batting, a small handful
- Embroidery floss in red, white, and optionally brown
- Sharp fabric scissors and a hand-sewing needle
- Water-soluble fabric marker or tailor’s chalk
- Festive ribbon or natural twine for hanging loop
- Fabric glue for securing small decorative dots
- Printable or hand-drawn template for mushroom cap and stem
Creating and Using Your Mushroom Template
A good template is really the foundation of the whole project, so it’s worth spending a few minutes getting it right. Your mushroom has two main pieces: the rounded cap and the barrel-shaped stem. You can search online for a free printable “Merry Mushroom felt ornament template,” or just draw your own — an oval for the cap and a slightly tapered rectangle for the stem work perfectly. Aim for a finished ornament around four to five inches tall. That’s big enough to read well on a tree without being so large it takes over a branch.
Once you’ve got your template drawn or printed, cut each shape out carefully — these paper pieces are your master pattern, so a little precision here saves you headaches later. Pin or tape each piece to the right felt color, trace around the edges with your fabric marker, and remember to trace every piece twice. You need a front and a back for each component to get that lovely stuffed, dimensional look. For the polka dots, cut several small circles in white felt, anywhere from half an inch to three-quarters of an inch across.
If you’d rather not pin, just hold the template firmly against the felt and trace in one smooth, steady motion, keeping your marker perpendicular to the surface. It helps to lightly label the back of each traced piece — “cap front,” “cap back,” “stem front,” “stem back” — so you’re not second-guessing yourself when you’re mid-assembly. Once everything’s traced and cut, go over any visible marker lines with a damp cotton swab before you start sewing. They wipe away easily and you’ll appreciate starting with a clean surface.
Sewing and Assembling Your Ornament
Now comes the fun part. Start by decorating the cap front before you do any assembly — it’s so much easier to work on a flat piece of felt than to try embellishing a stuffed, rounded form. Arrange your white felt circles across the red cap in a loose, irregular pattern, like the classic fly agaric mushroom. You can glue them down for speed, or stitch around each one with a whipstitch or running stitch if you want a more polished, heirloom-quality finish. Both approaches look great.
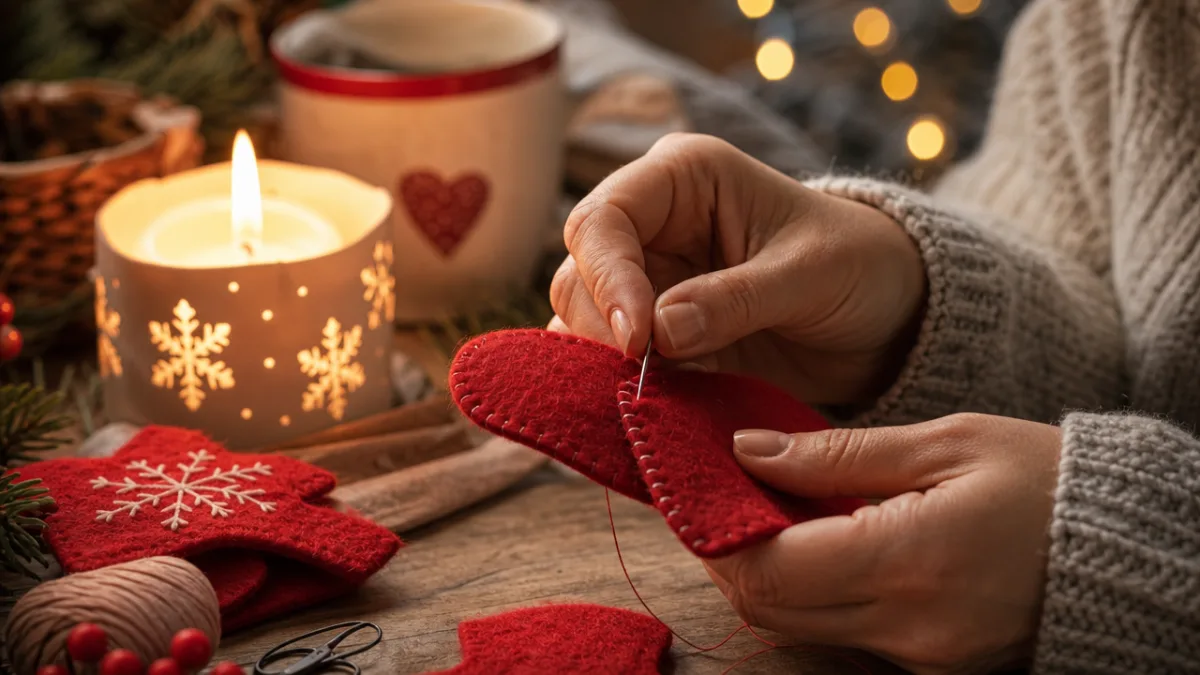
Once the dots are secure and any glue is completely dry, place the cap front and back together — decorated side facing out — and use a blanket stitch in white or red embroidery floss to sew around the curved outer edge, leaving the flat bottom open for stuffing. The blanket stitch does double duty here: it holds the layers together and adds that pretty decorative border that’s so characteristic of quality felt work. Aim for stitches about a quarter inch from the edge, spaced as evenly as you can manage.
After the cap is stuffed to your liking and closed up, do the same thing with the stem pieces. Before you fully close the stem, tuck one end of your ribbon or twine loop down inside the top so it gets anchored as you finish sewing — this becomes your hanging loop. Then attach the stem to the open bottom of the cap using a whipstitch or ladder stitch, centering it carefully. This seam is the structural core of the whole ornament, so take your time and use a double strand of embroidery floss to make sure it’ll hold up through many holiday seasons.
- Decorate the cap front with white felt dots using glue or stitching.
- Place cap front and back together, wrong sides facing, and blanket stitch around the curved edge.
- Stuff the cap through the open bottom until plump and firm.
- Close the bottom of the cap with a running or whipstitch.
- Blanket stitch the stem pieces together, inserting the ribbon loop before fully closing.
- Attach the stem to the bottom of the cap with a firm whipstitch.
- Add any final embellishments such as a green felt leaf or embroidered facial features.
Adding Decorative Details and Personal Touches
Here’s where you get to make the ornament truly yours. Once the basic mushroom is assembled, there are so many ways to add personality. One of my favorites is giving the stem a tiny embroidered face — two French knot eyes and a curved backstitch smile instantly turn your mushroom into a little character with genuine charm. Kids especially love this detail, and it works beautifully for any whimsical or storybook-inspired holiday display.
A few green felt leaves cut into teardrop or simple holly shapes, glued or stitched around the base where the stem meets the cap, add a nice pop of color and lean into that forest-floor aesthetic. You can also place a tiny bead or sequin at the center of each white dot to catch the light from the tree — it creates a subtle shimmer that’s really lovely in person. Swapping out standard cotton floss for gold or silver metallic thread on your blanket stitch border is another easy upgrade that makes the whole piece feel a little more festive and special.
If you enjoy mixing materials, try sewing on a small button as an oversized polka dot, or stringing a loop of miniature pearls along the cap’s edge for some texture and dimension. And if you want to turn the ornament into a true keepsake, embroider a name or year on the back of the stem in small backstitch lettering. It’s one of those small touches that doesn’t take long but makes an enormous difference — suddenly it’s not just a cute decoration, it’s a dated document of a specific holiday season that someone will treasure for years.
Displaying, Gifting, and Storing Your Merry Mushroom Ornament
A finished Merry Mushroom deserves a spot where it can actually be seen and appreciated. On the tree, they look especially wonderful in clusters of two or three at different heights — it creates this sweet little forest scene nestled in the branches. They also work really well on a tiered tray, strung along a mantel garland, or tucked into a bowl of evergreen branches and pinecones. Their folk-art quality makes them surprisingly versatile; they look at home in rustic, Scandinavian, and cottagecore settings alike.
As a gift, a handmade felt ornament communicates something a store-bought one simply can’t — the time and care that went into making it. Tuck it into a small box lined with tissue paper and tied with a coordinating ribbon, and it feels genuinely thoughtful. A set of ornaments in varying sizes — a large parent mushroom with a couple of smaller ones alongside — makes a sweet family-themed gift. Adding a little handwritten tag about the mushroom’s folk symbolism as a good luck charm is the kind of extra touch that people really do remember.
When the season winds down, store your ornaments a little carefully and they’ll last for decades. Felt can compress under weight, so wrap each one loosely in acid-free tissue paper or tuck it into its own small zip-lock bag. Keep them in a shallow box where nothing will press down on them, somewhere cool and dry, away from direct light (which can fade that beautiful red felt over time). With just a bit of care, these ornaments become the ones that get handled gently every December, the ones family members look for specifically when the holiday boxes come down from the shelf.
Tips for Crafting with Kids and Beginners
This is genuinely one of the best projects to do with kids or with someone who’s just starting out with handmade crafts. The shapes are simple, felt is forgiving, and there’s no hemming or finishing work to worry about. For younger children, pre-cutting all the felt pieces beforehand is a great move — it lets the crafting session focus on the most satisfying parts: decorating, stuffing, and gluing, without the frustration of precise cutting and tracing.
When kids are involved, you can skip hand stitching altogether and use fabric glue or a hot glue gun (adult-operated, of course) for the assembly. The result is just as cute, and everyone gets to enjoy the creative process without any needle-related stress or tangled thread meltdowns. The key is letting kids make the decorating decisions themselves — where the dots go, what color ribbon to use, whether their mushroom gets a face. When the choices are theirs, the finished ornament genuinely reflects who they are at that age, which makes it even more worth keeping.
For adults who want to use this project to build their hand-stitching skills, the blanket stitch is a wonderful place to start — it shows up constantly in felt crafting, appliqué, and embroidery, so learning it here pays off well beyond this one project. Practice on scrap felt first to get a feel for consistent spacing and tension before you work on the actual ornament pieces. A slow-motion video tutorial alongside a written guide like this one can make a huge difference when you’re learning a new stitch. And please, don’t stress about imperfections — slightly uneven stitches and little quirks are not flaws in a handmade ornament. They’re the whole point. They’re proof that a real person made this, with care, and that’s exactly what makes it irreplaceable.








What do you think?
It is nice to know your opinion. Leave a comment.