










How to Turn Your Backyard Shed into a Crafting Oasis
There’s something genuinely magical about having a space that’s entirely your own — somewhere you can leave a half-finished project on the table, keep your supplies exactly where you want them, and just create without worrying about taking over the kitchen. Whether you paint, sew, sculpt, or make jewelry, converting a backyard shed into a crafting studio gives you something most homes can’t: a room devoted entirely to your imagination. This guide walks you through everything you need to know to turn that neglected storage space into the creative retreat you’ve been dreaming about.
Assessing Your Shed and Planning the Transformation
Before you buy a single shelf bracket or pick up a paint swatch, take a good honest look at what you’re actually working with. Walk around the outside and inside of your shed and look for signs of water damage, rot, pests, or anything structurally sketchy. Building your dream studio on a shaky foundation is just asking for headaches and expensive repairs later — so dealing with those issues first isn’t optional, it’s just the smart move. Check the roof for missing shingles or sagging spots, press on the floor to feel for soft areas, and scan the walls for gaps where light or moisture is sneaking in.
Once you’re confident the structure is sound, it’s time to think about what you actually need as a crafter. What do you mainly make, and what does that craft demand in terms of space, light, and storage? A watercolor painter needs great natural light and a flat, stable surface to work on. A sewer needs room for a machine, an ironing board, and somewhere to wrangle fabric. Really thinking through your craft at this stage shapes every decision you’ll make during the renovation — from where you put electrical outlets to how tall your workbench should be.
Sketch out a rough floor plan of the shed, even if your drawing skills are, let’s say, impressionistic. Measure the interior carefully and mark down where the windows and door are. Think about how you’ll move through the space — where you’ll enter, where you’ll work, where your supplies will live. Try to plan for a clear path between the door and your main work area, and think in zones: a creating zone, a storage zone, and ideally a little relaxation corner where you can sit with a cup of tea and stare at your mood board. Good planning here will save you a lot of time and money down the road.
Insulation, Weatherproofing, and Essential Upgrades
A shed that turns into an oven in July and a freezer in January isn’t a crafting oasis — it’s just a seasonal annoyance. Insulation is hands-down the most impactful upgrade you can make to turn a raw shed into a space you’ll actually want to spend time in year-round. For the walls, rigid foam board insulation is a favorite among DIY shed converters because it’s easy to cut, reasonably affordable, and gives you a solid R-value without eating up too much of your interior space. Fiberglass batt insulation is another solid option, especially if your walls already have framing to tuck it into. Don’t forget the ceiling and floor either — you lose a surprising amount of heat through both.
Weatherproofing goes right alongside insulation, and it’s really about sealing the shed against drafts, moisture, and anything with more than two legs. Use expanding foam sealant around any gaps where pipes, cables, or conduit pass through the walls. Make sure the door fits its frame properly and add a door sweep along the bottom to block drafts and bugs. If your shed has single-pane windows, replacing them with double-pane units makes a real difference — or at minimum, put up window insulation film during the colder months. Adding a vapor barrier to the walls before you put up any interior cladding will also protect your materials and equipment from condensation over time.
Electricity might be the single most life-changing upgrade you can bring to your shed. Proper lighting, power tools, a space heater or small AC unit, a phone charger, a kettle for afternoon tea — all of it needs a reliable power source. Unless you’re a licensed electrician, hire one to run a dedicated circuit from your home’s main panel to the shed. Plan for more outlets than you think you’ll ever need, at both workbench height and floor level. Throw in at least one outdoor outlet too, for those beautiful days when your project spills outside. Having the work inspected when it’s done protects your home insurance and just gives you peace of mind.
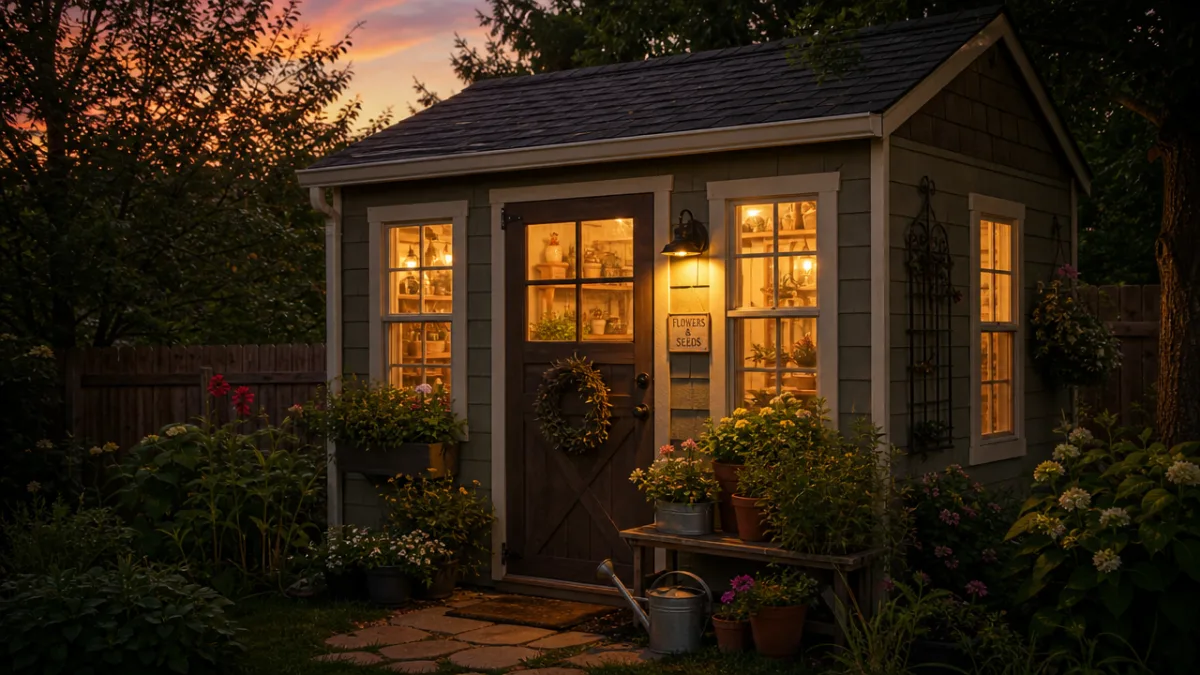
Designing Your Layout for Maximum Creativity and Efficiency
The layout of your crafting studio will either make you excited to walk through the door or quietly drain you every time you do — so it’s worth thinking through carefully. Start by placing your main work surface where the natural light is best, which usually means near a window. In the northern hemisphere, north-facing light is beloved by artists because it stays consistent throughout the day, while south-facing windows bring in that warm, cheerful brightness. If you do any kind of detailed handwork, being able to work in good daylight without fighting glare or harsh shadows is genuinely worth planning for.
Storage is what separates a chaotic craft shed from one that actually feels like an oasis. Think about combining open shelving for supplies you reach for all the time, closed cabinets for things you’d rather keep out of sight, and pegboards for tools and small items you want visible and within reach. In a small shed, vertical wall space is your best friend — think upward. Floating shelves that go up toward the ceiling are perfect for seasonal supplies, finished projects waiting to be gifted, or materials you only pull out occasionally. Label everything clearly so you feel calm when you walk in, not immediately overwhelmed.
When it comes to furniture, function and feeling both matter — because how your studio looks genuinely affects how you feel while you’re working in it. A sturdy workbench or table at the right ergonomic height for your body and your craft will save your back and shoulders during long sessions. An adjustable-height table is a worthwhile splurge if your budget stretches to it. Add a comfortable stool or chair with proper back support, maybe a small rug to soften things underfoot, and choose colors and materials that make you happy. This is your personal sanctuary. Nobody’s requiring you to make it beige and boring.
Lighting: The Crafter’s Most Critical Tool
Lighting in a crafting studio is so much more than just flipping a switch and hoping for the best — it’s genuinely a tool, as important as any brush, needle, or blade you own. Bad lighting leads to eye strain, color-matching disasters, missed details, and a general reluctance to spend time in the space. Good lighting, on the other hand, invites you in and makes even tricky projects feel approachable. Aim for at least three types: ambient lighting that brightens the whole room evenly, task lighting that focuses on your work surface, and accent lighting that makes the space feel warm and cozy when you’re winding down.
For ambient lighting, LED panel lights or daylight-balanced fluorescent tubes work really well in shed studios — they’re energy efficient, they last forever, and they produce even, shadow-free light. Aim for a color temperature around 5000K to 6500K for your crafting space, since that range mimics natural daylight most closely and helps you see true colors accurately. That matters a lot when you’re picking fabric swatches, mixing paint, or trying to decide whether two yarns actually match. If your budget allows, add dimmers so you can bring the intensity down when you’re watching a tutorial on your laptop rather than actively working.
Task lighting should be set up specifically to eliminate shadows falling across your work area. An articulated LED desk lamp with adjustable brightness is a great option for a craft table — you can point it exactly where you need it without flooding the whole room. For sewers, an under-cabinet LED strip above the machine can be a genuine game-changer, getting rid of the shadows that overhead lights almost always cast right onto the needle. Magnifying lamps with built-in illumination are invaluable for jewelry making, embroidery, or anything that requires you to really squint at fine details. The right task light genuinely improves both your work and your enjoyment of making it.
Accent lighting is the layer that turns a functional workspace into somewhere with actual personality. String lights along a beam, a small lamp on a side table, LED strip lights tucked under shelving — these little pools of warm light make the space feel intentional and lived-in rather than purely utilitarian. Candles or flameless LED candles on a windowsill add a cozy, cottagecore quality that a lot of crafters find really inspiring. There’s something about walking into a beautifully lit space you’ve designed entirely for yourself that tells your brain it’s time to relax and make things. Don’t underestimate that.
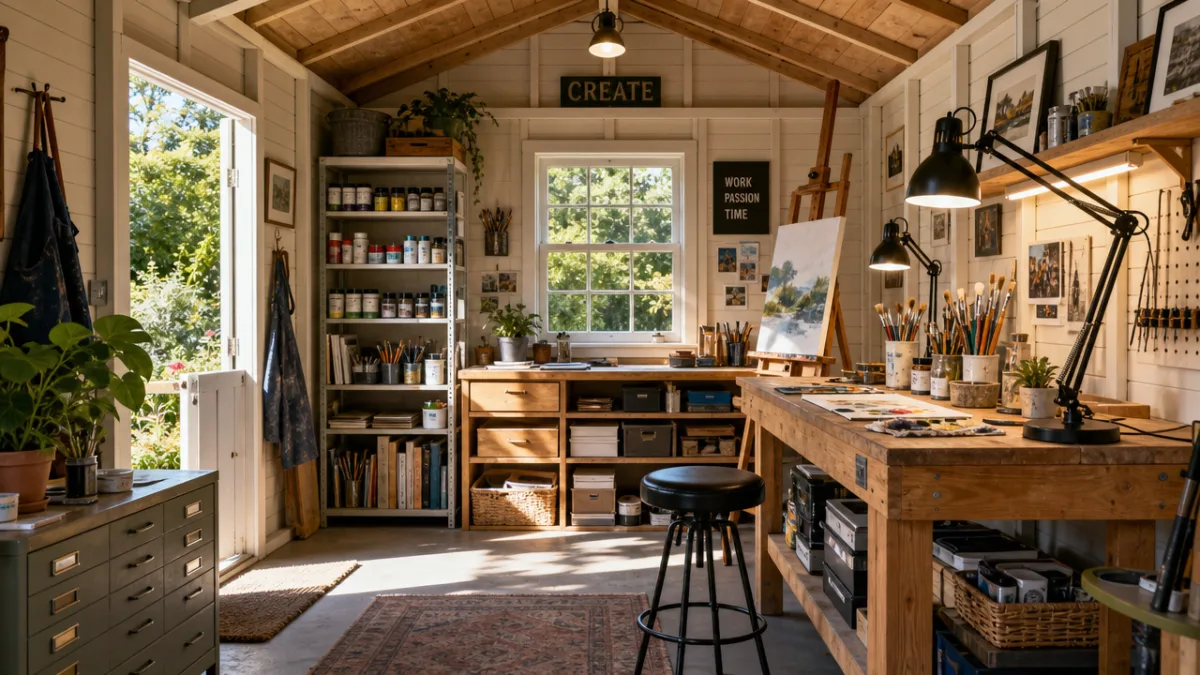
Personalizing Your Oasis: Decor, Inspiration, and Comfort
Here’s the fun part. Personalization is what takes a renovated shed from “functional workspace” to “place that genuinely feeds your creative soul.” Start with a color palette that feels right to you emotionally. Some crafters love crisp whites and neutrals that let their materials do the talking. Others want deep, jewel-toned walls that create a sense of lush, cozy intimacy. Earthy tones, pale sage greens, and soft blush pinks are popular in creative studios because they’re calming without feeling cold or clinical. Go with what makes you happy when you walk in.
An inspiration wall or mood board is something a lot of professional artists and designers swear by, and it belongs in your shed too. Dedicate one wall — or a generous section of one — to pinning up images, color swatches, fabric samples, postcards, quotes, pressed flowers, whatever sparks something in you. A big corkboard works perfectly for this, or you can paint a section of wall with magnetic or chalkboard paint for something more flexible. Swap out the contents seasonally or whenever your inspiration feels a little flat. Having those visual cues around you while you work keeps ideas bubbling and reminds you why you love doing this.
Comfort features can feel like luxuries, but when you’re spending long creative sessions in your studio, they’re really necessities in disguise. A small electric kettle and a little shelf for your favorite mugs, teas, and snacks means creative flow never gets interrupted by a trip back to the house. A Bluetooth speaker for music or podcasts makes a huge difference to the atmosphere. A small bookshelf with technique guides, craft magazines, and sketchbooks keeps resources right where you need them. Even something as simple as a throw blanket over your chair sends a message: this space is for you, it’s comfortable, and it’s full of good things.
Organizing Your Supplies for a Functional, Joyful Space
The most beautifully decorated shed in the world will start to feel frustrating pretty quickly if you can never find anything. Good organization is the invisible infrastructure of a great crafting studio, and getting it right from the start pays off every single time you use the space. The golden rule is simple: every item should have a home, and putting it back should be easier than leaving it out. That means storage solutions that are actually easy to use in the moment — not just beautiful in a photo.
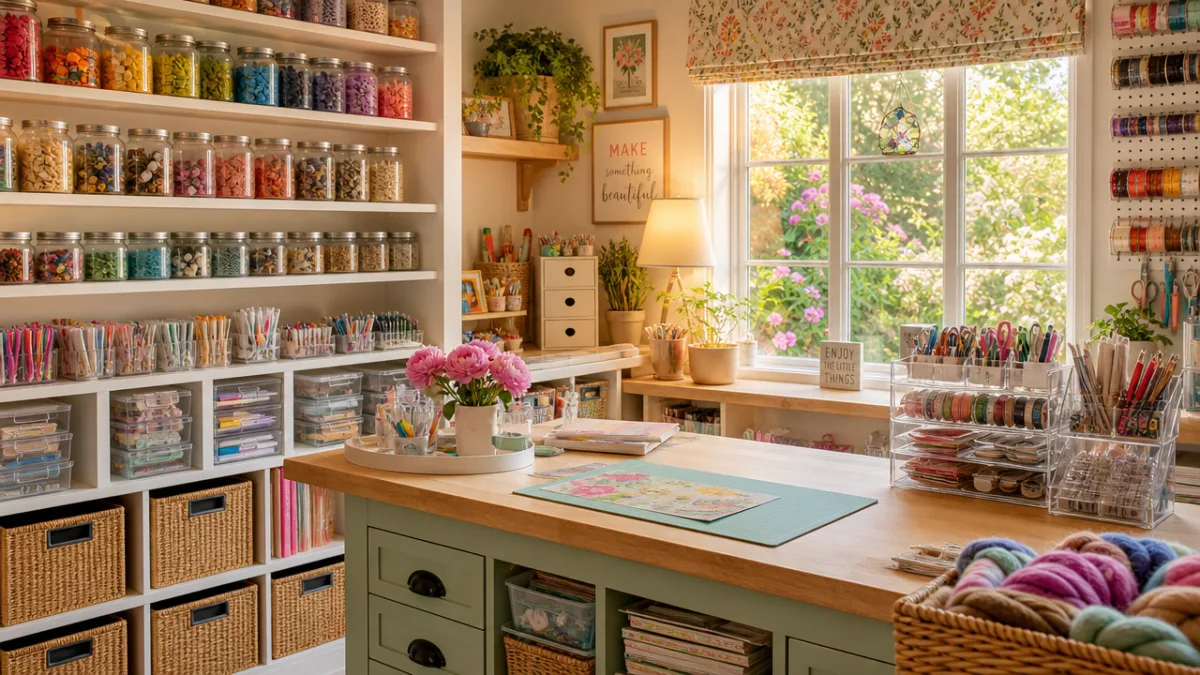
Clear containers are universally beloved in the crafting world, and for obvious reasons. Being able to see what’s inside without opening anything saves time and prevents that specific frustrated feeling of digging through six bins looking for your rotary cutter. Uniform container sizes make for flexible, modular storage that can grow and shift as your collection changes. Stackable clear bins, multi-drawer units for beads or buttons or embellishments, and large clear bins for bulky things like yarn or rolls of interfacing all have their place in a well-organized shed studio.
Organize your supplies by project type, material type, or how often you reach for them — whichever system actually matches how your brain works. There’s no single correct answer here; the best system is the one you’ll genuinely maintain. Some crafters organize everything by color because the visual harmony of color-coded shelves brings them real joy every time they look up. Others organize strictly by function — all cutting tools together, all adhesives together, all measuring tools together. It’s worth spending a week or two using the studio before you commit to anything permanent, because actually working in the space will show you what’s working and what’s quietly driving you nuts.
- Use pegboards near your main work area to keep frequently used tools within arm’s reach without cluttering your table.
- Install a dedicated charging station for devices so cords never end up tangled in your materials.
- Keep a small waste bin and recycling container at your feet so you can stay tidy during projects without interrupting your flow.
- Create a designated landing zone near the door for works in progress so unfinished projects don’t slowly take over the whole space.
- Label shelves and containers generously, even if it feels obvious right now — future-you in the middle of a creative frenzy will be very grateful.
Finally, build a little maintenance routine into your time in the studio. Ten minutes at the end of each session to put things away, wipe down surfaces, and reset the space is all it takes. Walking into a calm, tidy studio is so much more inviting than walking into one where last week’s project is still scattered everywhere. A monthly deeper clean — dusting shelves, reorganizing supplies that have drifted, clearing out materials you no longer use — will keep your oasis feeling fresh and inspiring for years to come. It’s your space. Keep it a place you love walking into.








What do you think?
It is nice to know your opinion. Leave a comment.