










“`html
How to Make a DIY Shark Paper Puppet: A Complete Step-by-Step Guide
Introduction to Paper Puppets and Why Sharks Are Perfect
Paper puppets have been a favorite craft for generations, and honestly, it’s easy to see why. There’s something really satisfying about making a puppet with your own hands — kids and adults both get into it. It’s hands-on, it sparks your imagination, and when you’re done, you’ve actually built something. No screens, no batteries, just paper and a little creativity.
And if you’re going to make a paper puppet, why not make a shark? There’s just something about sharks — that sleek shape, the big dramatic jaws, the whole mysterious-ocean-predator vibe — that makes them perfect for storytelling and play. Kids are obsessed with them, and honestly, a lot of adults are too. A shark puppet hits that sweet spot of being genuinely fun to make and even more fun to play with once it’s done.
This guide walks you through the whole process from start to finish. Whether you’re a parent looking for something to do on a rainy afternoon, a teacher who wants a classroom project with some real wow factor, or just someone who enjoys making things, you’re in the right place. By the time you’re done, you’ll have a shark puppet with a working mouth, ready to terrorize bathtubs and living rooms everywhere.
Materials and Tools You Will Need
One of the best things about this project is that you probably already have most of what you need. There’s nothing exotic on the list — we’re talking basic craft supplies that tend to live in desk drawers and kitchen junk drawers. Before you get started, it’s worth taking five minutes to gather everything and lay it out so you’re not hunting for scissors mid-project.
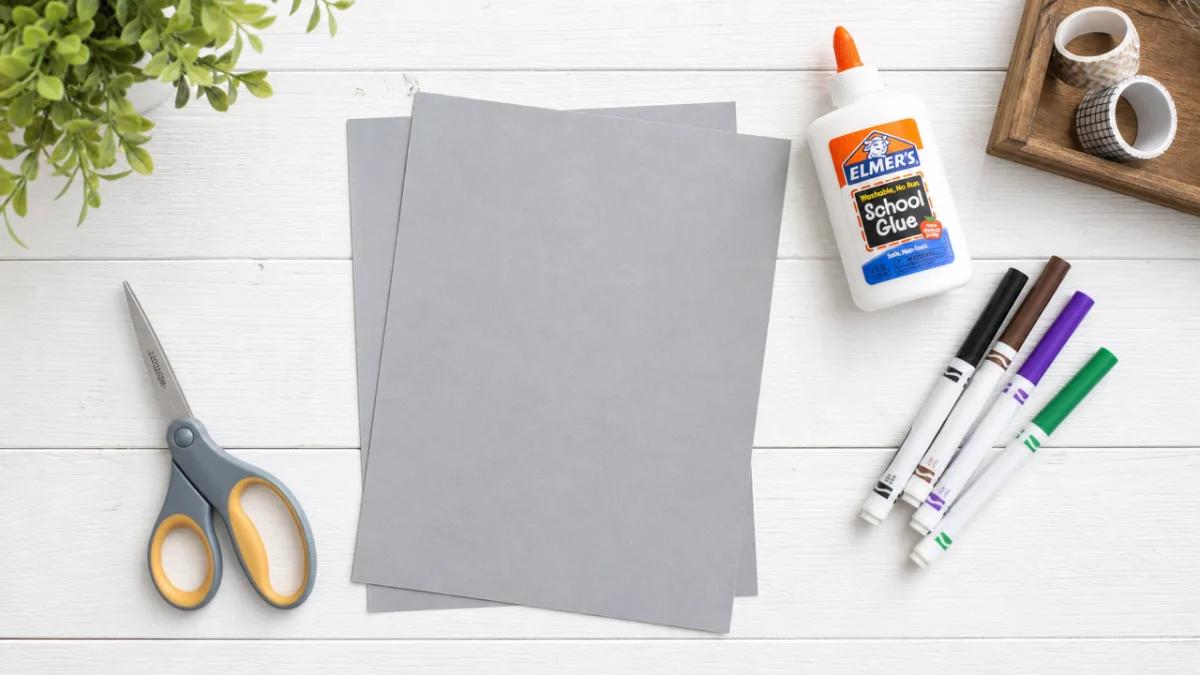
For the main body of the puppet, you’ll want heavy cardstock or thick construction paper in grey, blue-grey, or navy — something that looks roughly shark-colored. White paper handles the teeth and belly, a black marker does the eyes and gill lines, and you’ll need scissors, glue, and two craft sticks or wooden dowels for the handles. If you want to go the extra mile, a wiggle eye sticker adds a really fun little touch.
There are also some optional extras that can really elevate the finished puppet. Silver or metallic paint gives the dorsal fin a nice realistic sheen. Blue tissue paper makes a great watery backdrop for puppet shows. A stapler is handy for reinforcing any joints that take a lot of action during play. And a ruler with a pencil will help you sketch out your pieces before cutting so everything comes out neat and symmetrical.
- Grey or blue-grey cardstock or construction paper (at least two sheets)
- White paper or cardstock for teeth and belly details
- Black marker for eyes, gill lines, and outlining details
- Scissors (both regular and small craft scissors work well)
- Glue stick or craft glue for assembling pieces
- Two craft sticks or wooden dowels for handles
- Pencil and ruler for measuring and sketching templates
- Optional: wiggle eyes, metallic paint, and blue tissue paper
Cutting and Preparing Your Shark Body Pieces
Getting your cuts right is probably the most important part of this whole project, so don’t rush it. Before you touch the scissors, sketch everything out in pencil first. The main body is made from two identical teardrop shapes — these will become the upper and lower jaw. Aim for about eight to ten inches long and four inches wide at the fattest point, then tapering down toward the tail. That classic streamlined shark shape is what you’re going for.
Once you’ve cut out your two jaw pieces, set them aside and work on the fins. You’ll need a large triangular dorsal fin from the same grey cardstock — make it tall with a slight curve at the top so it looks like the real thing rather than a road sign. Two smaller triangular pectoral fins go on the sides, and you’ll cut a single forked tail fin to attach at the back. Careful cutting here makes a huge difference in how the finished puppet looks, so take your time.
Now for the best part: the teeth. Cut two strips of white paper about six inches long and two inches wide, then use small scissors to cut a zigzag pattern along one edge of each strip. Here’s a tip — make the triangles uneven. Some big, some small, some a little wonky. It actually looks more like a real shark that way, and honestly more menacing too. These strips get glued to the inner edges of the upper and lower jaw pieces to create that iconic toothy grin.
Don’t skip the belly detail — it’s a small thing that makes a big visual difference. Cut a slightly smaller teardrop shape from white or very pale grey paper and glue it to the underside of one of your main body pieces. It’s also anatomically accurate, since most sharks, including great whites, really do have lighter undersides. The contrast between the grey top and white belly makes the puppet look much more dynamic when it’s being played with.
Assembling the Puppet: Bringing Your Shark to Life
Assembly is where all your cut pieces suddenly start looking like an actual shark, and the order you do things in really matters. Start by gluing the white tooth strips to the inner curved edges of both jaw pieces, with the pointed teeth facing inward toward the mouth opening. Let this dry completely before you move on — if the teeth shift while you’re working on the next step, you’ll end up with a lopsided mouth that doesn’t open and close cleanly.
Next, attach the craft stick handles. Lay one stick along the back interior surface of the upper jaw piece so it extends past the tail end, giving you a comfortable grip length. Glue it down firmly and add a strip of tape for extra security. Do the same with the second stick on the lower jaw piece. When you hold both sticks and move them apart, the mouth should swing open — test this motion while things are still setting so you can adjust if needed before the glue locks everything in place.
With the handles secure, glue the two body halves together — but only along the back half, from roughly the middle of the body to the tail. The front jaw section needs to stay free so the mouth can open and close. This is what gives the puppet its snap. Press the glued section together firmly for a full minute, then lay the whole thing flat to finish curing. It might look a little odd at this stage, but trust the process.
Now attach the fins. Glue the dorsal fin to the top center of the body, standing straight up for maximum shark drama. Add the pectoral fins to either side, angling them slightly downward and forward the way they sit on a real shark. Finish with the tail fin at the back. Step back and take a look — at this point it should already be looking impressively shark-like, even before any of the finishing details go on.
Adding Details, Painting, and Final Touches
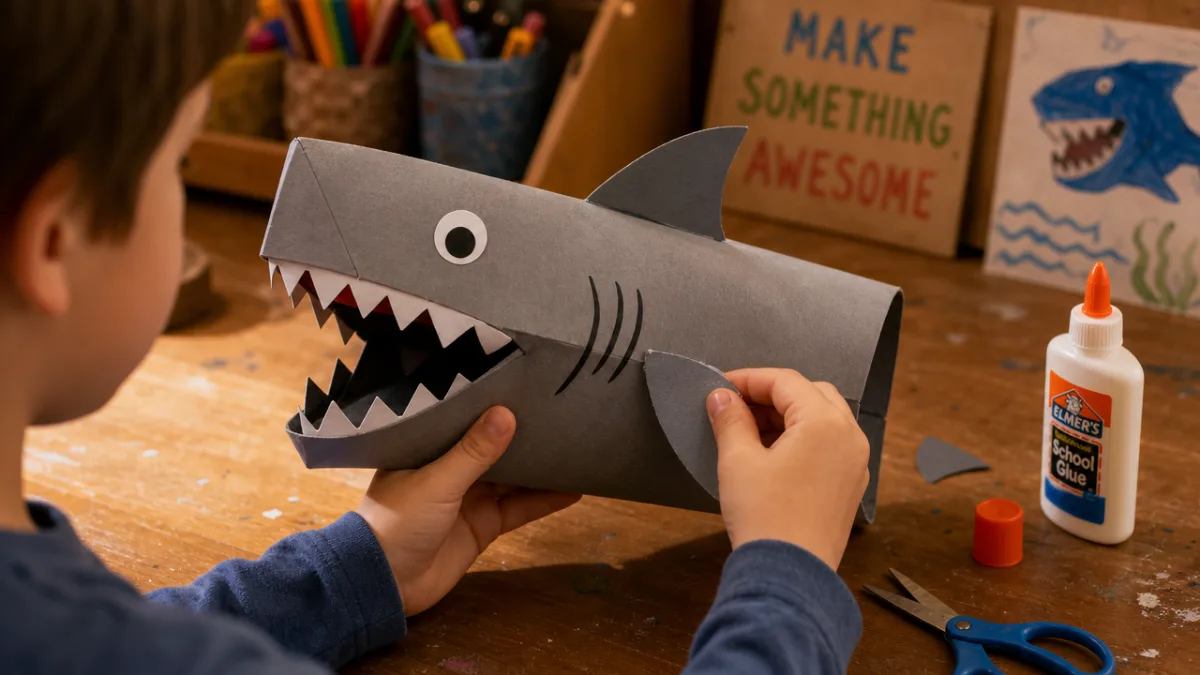
This is the stage where a decent puppet becomes a really great one. Start with the eyes — draw a large solid black circle on each side of the upper jaw. Sharks have those flat, dark, slightly unnerving eyes, so a bold filled-in circle is exactly right. If you went with wiggle eye stickers, press them on now just above the midline of the upper body. They add a little movement every time you shake the puppet, which kids absolutely love.
Use your black marker to draw three to five curved gill slits on each side of the body, just behind where the pectoral fins are attached. This is one of those small details that makes people do a double-take because it suddenly looks so much more like a real shark. Add a few light grey lines running along the length of the body to hint at muscle definition. If you have metallic silver paint, try dry-brushing a thin layer over the top surface of the shark — the shimmer effect looks really convincing, almost like how shark skin catches light underwater.
A few more finishing touches and you’re done. A small white highlight dot painted onto each eye gives it a lifelike, almost three-dimensional look. If you want to impress anyone who knows their shark biology, add tiny dots along the snout — those represent the ampullae of Lorenzini, the sensory pores sharks use to detect prey. And a very light wash of blue watercolor along the sides of the body ties the whole thing together, giving it that underwater feel without covering up the grey base color.
- Draw bold black circular eyes on both sides of the upper jaw
- Add three to five curved gill slit lines behind the pectoral fins
- Dry-brush silver or metallic paint over the dorsal surface for shimmer
- Paint white highlight dots on the eyes for a lifelike appearance
- Add tiny dots along the snout to represent sensory pores
- Apply a light blue watercolor wash to the sides for a watery effect
Creative Play Ideas and Storytelling with Your Shark Puppet
Once your shark is finished, the real fun begins. The most obvious way to enjoy it is just to perform with it — snap those jaws, narrate an underwater adventure, terrorize whoever happens to be nearby. But beyond pure play, puppet shows are genuinely great for kids. They naturally use puppets to explore emotions, try out language, and work through social situations in a way that feels safe and imaginative. Your shark puppet is actually a pretty solid developmental toy dressed up as a craft project.
If you want to go all in, build your shark an ocean theater to perform in. A painted cardboard box with paper seaweed, felt coral, and tissue paper bubbles makes an amazing backdrop. Then encourage kids to make companion puppets — a nervous clownfish, a grumpy octopus, a wise old sea turtle — so the shark has a whole cast to work with. Writing a script together is a surprisingly powerful exercise in storytelling, cooperation, and yes, even public speaking confidence. It’s the kind of thing screen time just can’t replicate.
The puppet also works really well as a jumping-off point for learning about real sharks. While kids are playing, drop in some genuinely mind-blowing facts: sharks have been on Earth for over 450 million years, which means they were swimming around long before the dinosaurs showed up. There are more than 500 species, ranging from the massive whale shark to the tiny dwarf lanternshark. And despite their scary reputation, sharks are crucial to ocean health as apex predators. When learning is woven into something hands-on and fun, it tends to actually stick.
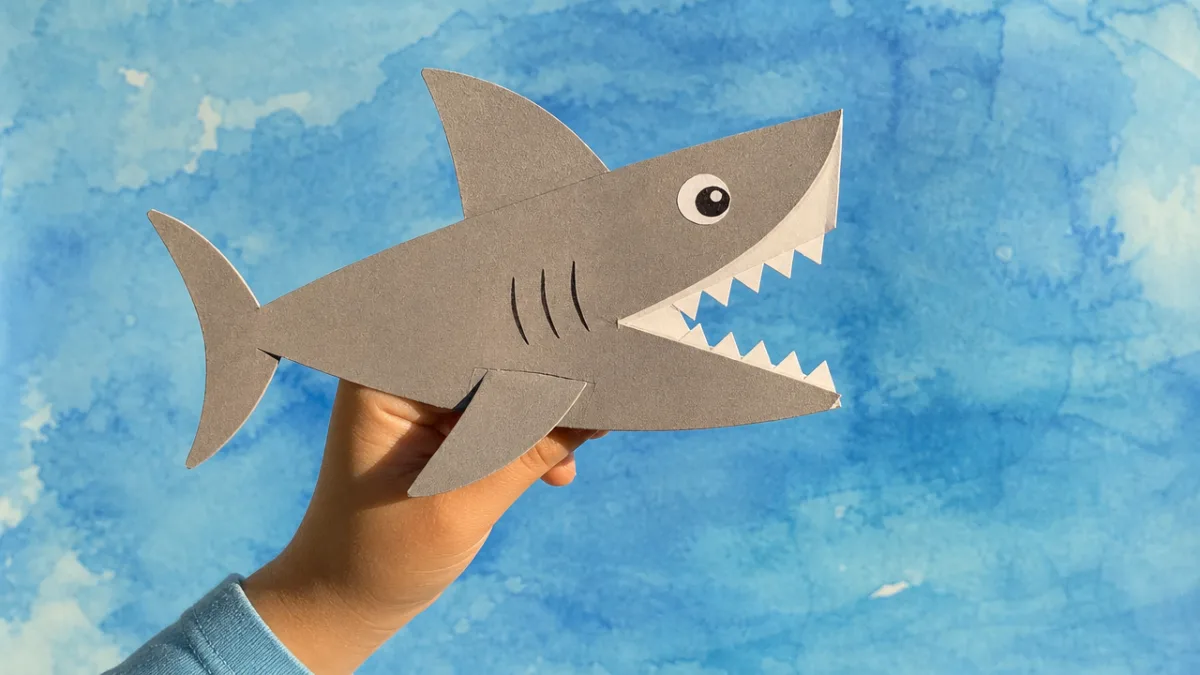
For older kids or adult crafters, the basic design opens up a lot of creative possibilities. You could make a whole collection representing different species and label each one with its scientific name for a school display. The puppets photograph beautifully against creative backgrounds for social media. They can be used in stop-motion animation or incorporated into theatrical performances. And the skills you’ve built making this puppet — planning, precision cutting, assembly, creative finishing — carry over really naturally to more complex paper craft and prop-making projects.
Tips, Troubleshooting, and Variations for All Skill Levels
Even a straightforward project like this can hit a few snags, so here are the most common ones and how to fix them. The issue people run into most often is the mouth not opening and closing smoothly — it just stays shut. This usually means glue seeped into the hinge area while you were assembling the body halves. The fix is to carefully score along the intended opening line with a craft knife or the tip of your scissors. Go slowly and you can free the stuck section without tearing anything.
Floppy fins are another common problem, especially the dorsal fin. If it won’t stand up straight, cut a small strip of cardstock and fold it into a V or L shape, then glue one side to the fin and the other to the body. It acts as a little support bracket and holds the fin upright even when the puppet is being waved around enthusiastically. For the dorsal fin specifically, a small rolled paper tube glued inside the base works just as well and you can barely see it from the outside.
For very young crafters — ages three to five or so — pre-cut all the pieces beforehand and let them focus on the gluing and decorating. That’s genuinely the most fun part at that age anyway, and it keeps frustration out of the equation. Use a glue stick instead of liquid glue to keep things tidy and faster-drying. For older kids and teenagers, try the opposite approach: challenge them to build the whole thing from imagination without any templates. Estimating proportions freehand and refining as they go builds a kind of spatial confidence that following instructions closely just doesn’t.
There’s also a lot of room to play with species variations once you’ve got the basic design down. A hammerhead just needs that distinctive T-shaped snout added to the head — once you see it, it’s unmistakable. A whale shark invites you to cover the body in tiny white paper dots. A great white can be set apart with a more pronounced conical snout and really crisp countershading between the dark dorsal surface and the white belly. Each variation is its own little lesson in how wildly different 500+ shark species can actually look.
- Pre-cut pieces for very young children to reduce frustration and maximize enjoyment.
- Score stuck glue joints carefully with scissors rather than tearing to fix sealed mouths.
- Use cardstock reinforcement brackets to keep fins upright and perpendicular.
- Allow each glue application to dry fully before adding the next piece.
- Experiment with species variations by modifying head shapes and surface patterns.
- Reinforce craft stick handles with tape for durability during active play.
- Photograph finished puppets against creative backgrounds for a rewarding keepsake record.
At the end of the day, this project is a good reminder that you don’t need much to make something genuinely delightful. A few sheets of paper, some basic supplies, and a bit of time is all it takes. Whether you’re making one on a quiet afternoon by yourself or guiding a room full of excited kids through the process, there’s a moment when that paper jaw snaps open for the first time and the shark comes to life in someone’s hands — and it really is kind of magical. That feeling of having made something with your own hands never really gets old.
“`








What do you think?
It is nice to know your opinion. Leave a comment.