










DIY Lava Lamp Suncatcher: Bring Mesmerizing Color and Light Into Your Home
What Is a Lava Lamp Suncatcher?
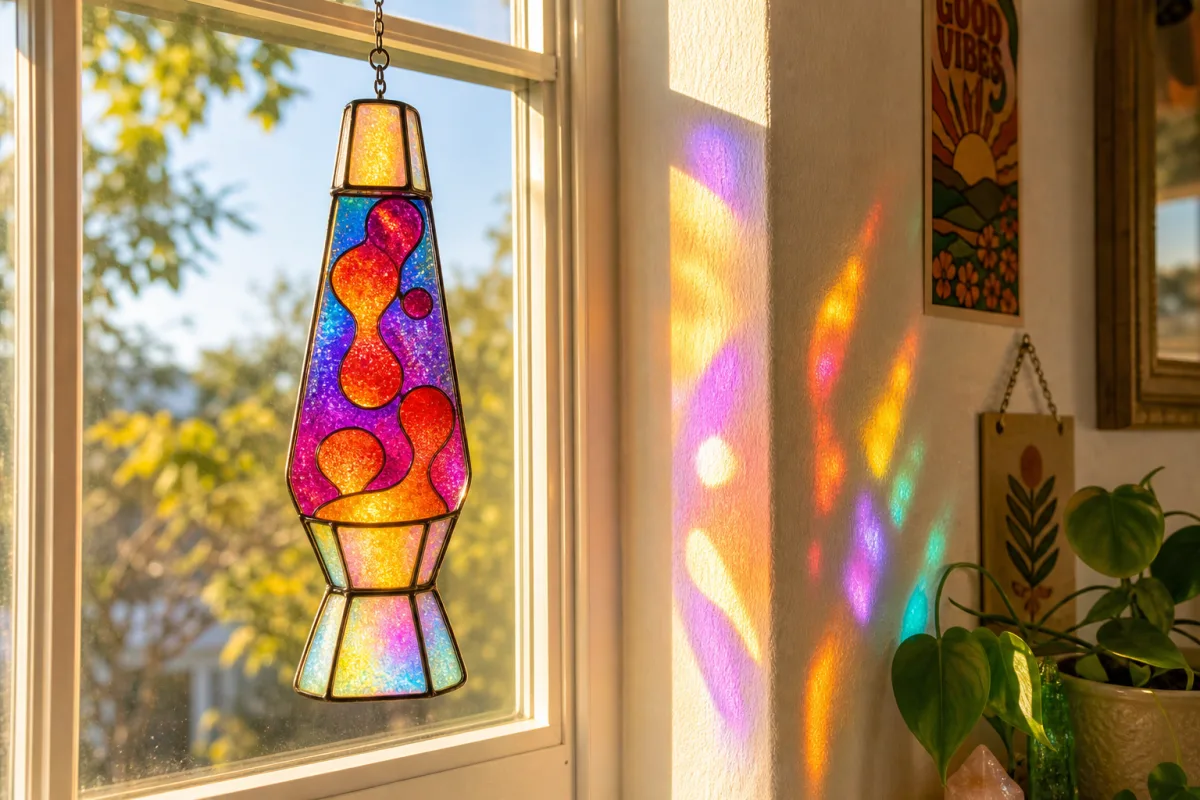
A lava lamp suncatcher is exactly what it sounds like — a mashup of two things people love: the hypnotic, bubbly vibe of a classic lava lamp and the glowing, light-catching charm of a traditional suncatcher. Hang one in a sunny window and it throws swirling blobs of color across your walls and floors, shifting and dancing as the sun moves throughout the day. It’s basically a living piece of art — and the best part? It looks way more complicated than it actually is.
Unlike stained glass or resin-mold suncatchers, this version leans into soft, organic shapes — rounded blobs and droplets floating inside a clear background, just like the wax inside a real lava lamp. You can use all sorts of materials to get there: liquid watercolors, transparent glass paint, clear contact paper, layers of colored cellophane. The end result feels retro and fresh at the same time, and it fits right in whether you’re going for a bohemian bedroom, a colorful playroom, or a sunny art studio.
Making one is also just a genuinely lovely way to spend an afternoon. It’s hands-on and sensory, and it rewards experimentation — kids are completely captivated by both the process and the finished piece, while adults tend to find it surprisingly meditative. Once it’s hanging in your window, it costs nothing to “run” and delivers a little hit of color and joy every time the light catches it. Honestly, it might be one of the best bang-for-your-buck craft projects out there.
Materials You Will Need
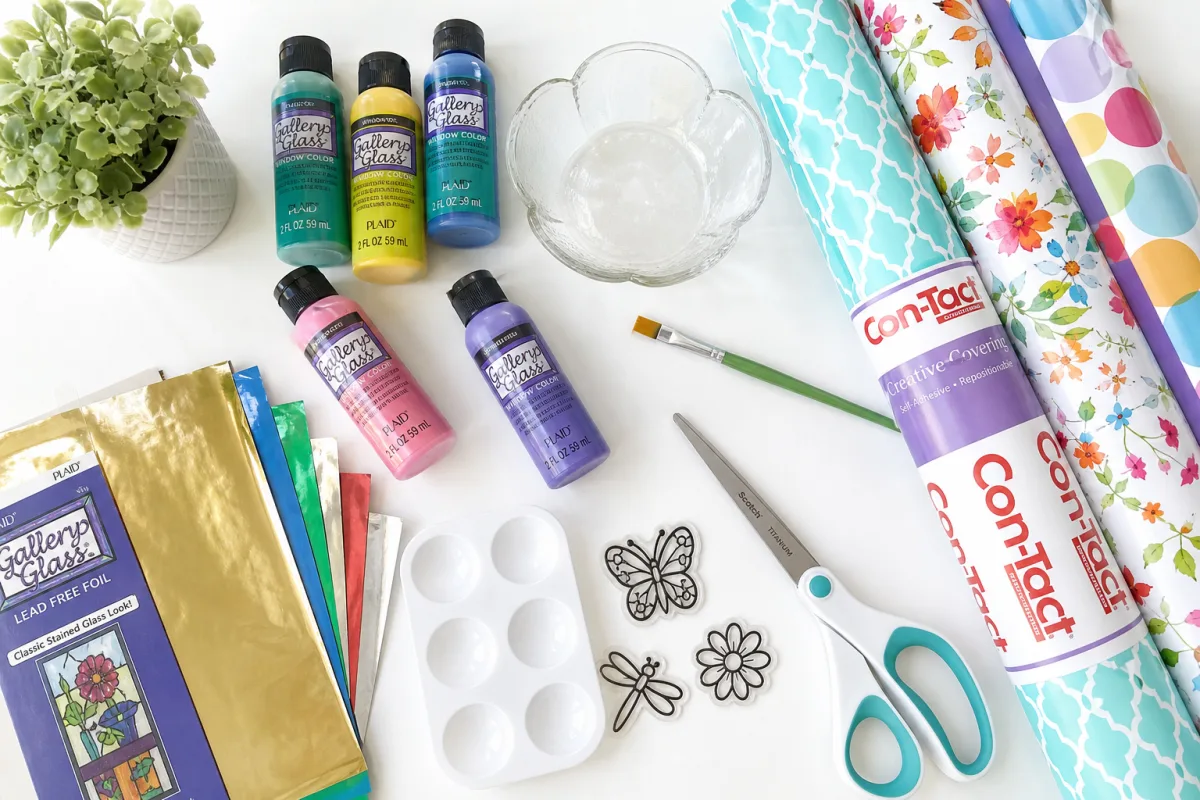
One of the nicest things about this project is how short the supply list is. Most of what you need is cheap, easy to find, and possibly already sitting in a drawer somewhere. The base of the suncatcher is usually built on two sheets of clear contact paper — the kind sometimes called self-adhesive vinyl or Con-Tact paper. It’s flexible, inexpensive, and lets light pass right through. If you can’t track down contact paper, a sheet of clear acetate or even a plastic document sleeve works just as well.
For color, you’ve got some great options depending on the look you’re going for. Translucent glass paint in squeeze bottles gives you crisp, vivid blobs with that satisfying stained-glass quality. Liquid watercolors are softer and blend beautifully. Tissue paper cut or torn into rounded shapes and sandwiched between the contact paper layers gives a more textured, collage-like feel. And if you want to get a little playful, drops of food coloring mixed with a tiny bit of dish soap actually mimic the chemistry of a real lava lamp — which is a fun detail if you’re doing this with kids.
Beyond that, you just need a handful of basic tools. Sharp scissors or a craft knife and cutting mat will help you trim everything into that perfect lava lamp silhouette. Suction cup hooks or a bit of clear fishing line are ideal for hanging it without leaving any marks. And definitely put down a sheet of parchment paper or a silicone mat before you start — your future self will thank you when cleanup takes about thirty seconds.
- Two sheets of clear contact paper, cut to your desired size (roughly 8×12 inches is a good starting point)
- Translucent glass paint, liquid watercolors, or colored tissue paper in your chosen palette
- Sharp scissors and a pencil or marker for tracing your lava lamp outline
- A ruler or straight edge for any geometric trimming
- Suction cup hooks, binder clips, or clear fishing line for hanging
- Parchment paper or a silicone craft mat to protect your work surface
- Optional: glitter, sequins, or iridescent cellophane for extra sparkle
Step-by-Step Instructions for Making Your Suncatcher
Start by getting your workspace set up and cutting your contact paper to size. If you’re going for the classic lava lamp shape, sketch the silhouette onto parchment paper first so you have a reusable template to work from. That iconic form — wide at the base, a gentle narrowing in the middle, then swelling back out into a rounded dome at the top — is basically a little hourglass that skipped the gym. Cut two identical pieces of contact paper to match, leaving about half an inch of border all the way around so everything seals up nicely.
Peel the backing off one sheet and lay it sticky-side-up on your parchment mat. This is your canvas. Now for the fun part: the blobs. Using your glass paint or liquid watercolor, squeeze or drop rounded, organic shapes onto the surface. Cluster most of them in the lower half of the lamp, with a few floating higher up — just like real lava lamp wax does. Go for a mix of sizes, some big and bold, some small and drifting, and pick two or three colors that work well together. Some combinations that look amazing in light: deep violet and coral pink, electric blue and lime green, amber and magenta.
Once your color arrangement feels right, peel the backing off the second sheet of contact paper and press it slowly over the first, sticky-side-down. Work from the center out, smoothing as you go to push out air bubbles. If a bubble sneaks through, just lift the nearest edge and smooth it back down — no big deal. The paint will spread and blend a little under the pressure, which actually creates some of the most beautiful effects in the whole piece. Trim any rough edges, cut your final lava lamp shape, and you’re done. Ready to hang.
- Sketch and cut your lava lamp silhouette from parchment paper as a reusable template.
- Cut two matching pieces of clear contact paper using the template.
- Peel the backing from one sheet and lay it sticky-side-up on your work mat.
- Apply translucent paint or watercolor blobs in organic, rounded shapes across the surface.
- Add any glitter, sequins, or additional layers of cellophane before sealing.
- Carefully press the second sheet of contact paper sticky-side-down over the first.
- Smooth out air bubbles from the center outward, then trim to your final shape.
- Punch a small hole at the top or attach a suction cup hook and hang in a sunny window.
Color Theory and Palette Ideas for Maximum Impact
Color is really everything with this project, so it’s worth thinking about before you start squeezing paint. The light that passes through your suncatcher gets cast onto the walls and floor around it, which means you’re not just picking colors for the piece itself — you’re picking the colors of the little light show it’s going to put on every day. Warm tones like red, orange, and golden yellow throw energizing, cozy pools of color. Cool tones like cobalt blue, teal, and violet create something much calmer, almost like being inside a cathedral.
For the full lava lamp experience, you really can’t go wrong leaning into the bold, unapologetically saturated color pairings of the 1960s and 70s: hot pink with orange, deep purple with turquoise, cherry red with cream. If that’s a bit much for your space, a more contemporary take using dusty rose, sage green, and warm terracotta feels thoroughly modern and plays beautifully into the current love of retro-inspired, earthy interiors. Soft pastels — lavender, peach, pale mint — make a dreamy, gentle version that’s especially nice in a nursery or meditation space.
One thing to keep in mind: your colors will blend a little where the blobs overlap when you seal the layers. Yellow and blue make green; red and blue make purple; yellow and red make orange. Rather than trying to avoid this, lean into it. Plan for some overlap areas so your suncatcher ends up with a rich range of tones and gradients instead of flat, separate patches of color. When the sun hits it, all those layered, blended hues will be far more nuanced and alive than they look on your work mat — and that happy surprise is a big part of why this craft is so satisfying.
- Retro Lava Lamp: deep violet, coral orange, and warm yellow — bold and nostalgic
- Ocean Dreams: cobalt blue, aqua, and seafoam green — cool and serene
- Sunset Glow: cherry red, hot pink, amber, and soft peach — warm and luminous
- Botanical Garden: lime green, jade, golden yellow, and soft white — fresh and natural
- Cosmic Night: deep indigo, electric blue, silver, and magenta — dramatic and otherworldly
Creative Variations and Advanced Techniques
Once you’ve got the basic contact paper method down, there’s a lot of room to take it further. A popular next step is making a resin version — you pour UV resin tinted with alcohol ink or translucent resin dye into a custom silicone mold shaped like a lava lamp, building it up in stages to get those distinct layered blobs. Cure it under a UV lamp and what you end up with is rigid, durable, and honestly kind of gemstone-like in its clarity. Hung with a metal jump ring, it catches light with a sharpness and intensity that contact paper just can’t quite match.
Another really lovely variation is replacing the painted blobs with physical objects sealed between the layers. Thin citrus slices, pressed flowers, torn tissue paper, scraps of iridescent cellophane, candy wrappers — all of these can be sandwiched between two sheets of contact paper for something that feels more like a collage. This approach is wonderful with kids because they can collect the materials themselves: fallen petals, interesting leaves, small seed pods. That connection to real, found things makes the finished piece feel more personal and a lot more alive than something purely synthetic.
If you have a heat gun and some embossing powder, there’s a technique where you melt iridescent embossing powder between contact paper sheets that produces these shimmering, molten-looking blobs with a metallic sheen — the effect is genuinely stunning and looks far more complicated and expensive than it is. You can also get beautiful depth by cutting blob shapes from different colors of cellophane and stacking them in layers, letting the overlapping translucent sheets modify each other the way traditional stained glass does, with each layer deepening and shifting the color underneath it.
Displaying, Caring For, and Gifting Your Suncatcher
The sweet spot for hanging one of these is any window that gets direct sunlight for at least part of the day. South- or west-facing windows tend to give you the most dramatic effects, especially in the late afternoon when the sun sits lower and its light comes in at a shallower angle. Hang it at eye level or just above, using a suction cup hook rated for the weight of your piece. For lightweight contact paper versions, a loop of clear fishing line through a small punched hole at the top works perfectly and practically disappears against the glass.
Contact paper suncatchers hold up really well as long as you keep them away from moisture. They’re not meant for outdoors, but inside they’re quite tough. If yours hangs in a very hot, sunny window, the paint between the layers might shift a little over time — which can actually look great, almost like the blobs are still moving. Some colors may fade after several months of UV exposure; if you want to keep things vibrant, just move it to a different window occasionally or store it flat when you’re not using it. Resin versions are considerably more durable and UV-stable if you use quality materials from the start.
These also make really wonderful gifts, and not just because they’re pretty. There’s something genuinely touching about receiving something handmade — a suncatcher for a housewarming brings personality and warmth to a new home in a way no store-bought item quite can. For a kid’s birthday, make it together and let them pick the colors; the making becomes part of the gift. Teachers, neighbors, grandparents, anyone with a home office that could use a little more color and light — they’re all great candidates. And because every piece depends on the specific way the paint flowed and the light hits it, no two are ever the same. Each one is a genuine original, which means something in a world full of identical, mass-produced things.
- Hang in a south- or west-facing window for the most dramatic light projection throughout the day.
- Use clear suction cup hooks or invisible fishing line to display without damaging walls or glass.
- Avoid prolonged moisture exposure; store flat if not in use for extended periods.
- Gift them for housewarmings, birthdays, teacher appreciation days, and holiday giving.
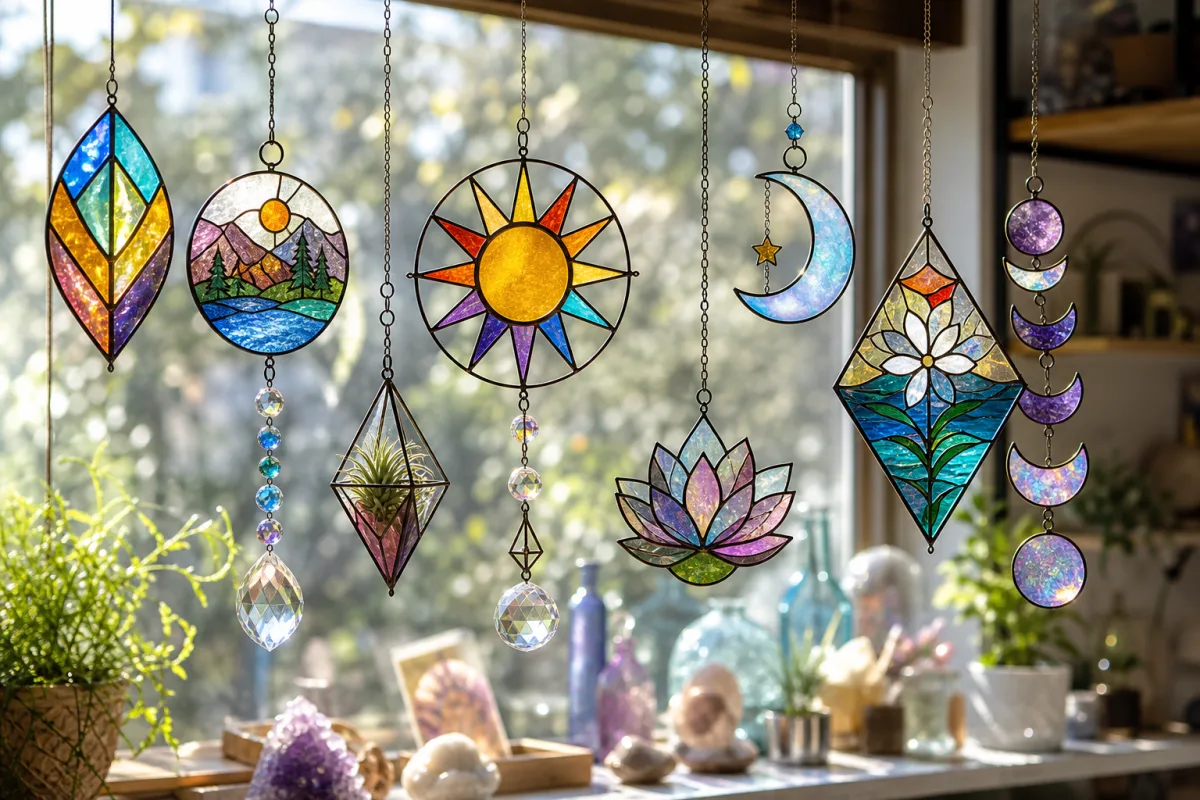
- Make multiples in coordinating color palettes and hang them at different heights for a stunning window installation.
- Photograph your finished suncatcher backlit against the window for a gorgeous image to share or print.
Why This Craft Matters: Creativity, Mindfulness, and the Joy of Handmade Beauty
There’s something quietly meaningful about spending an afternoon making something beautiful with your hands from a few dollars’ worth of materials, especially right now when so much of what we consume is digital, disposable, or factory-made. This project asks nothing of you except a willingness to play and experiment. You don’t need artistic training, fancy equipment, or even a tidy workspace. The best results usually come from happy accidents anyway — from a blob that spread in an unexpected direction or two colors that blended into something you didn’t plan but immediately loved. That’s a good lesson for the craft table and honestly for a lot of other places too.
The making process itself is naturally mindful. Squeezing paint into soft rounded shapes, watching colors bleed together at the edges, smoothing the layers and seeing the design come together — it’s slow and tactile and sensory in a way that tends to quiet a busy mind without you even noticing. A lot of people who make suncatchers describe falling into a kind of focused, calm flow, similar to what knitters and potters and watercolor painters talk about. And then the finished piece keeps delivering that same sense of calm after it’s done, catching light and throwing color around your room in patterns that are never quite the same twice.
There’s also real value in adding handmade objects to your home. Research backs up what most makers already know intuitively: surrounding yourself with things you created yourself tends to increase feelings of competence, pride, and genuine connection to your space. A lava lamp suncatcher costs almost nothing to make, takes a single afternoon, and then sits in your window doing its quiet, colorful thing every sunny day for months or even years. That’s a pretty remarkable return on a small investment of time and creative energy — and it’s exactly the kind of simple, joyful making that the best craft traditions have always been about. So grab your supplies, pick your colors, and let the light in.








What do you think?
It is nice to know your opinion. Leave a comment.