










DIY Air Dry Clay Fridge Magnets: A Complete Beginner’s Tutorial
Introduction to Air Dry Clay Crafting
If you’ve been looking for a craft that’s genuinely beginner-friendly, air dry clay might just be your new favorite thing. No kiln, no special equipment, no studio membership required — just you, your kitchen table, and a block of clay. You shape something, leave it to harden for a day or two, and that’s really all there is to it. It’s the kind of material that makes creativity feel accessible rather than intimidating, which is probably why so many people of all ages and skill levels have fallen for it.
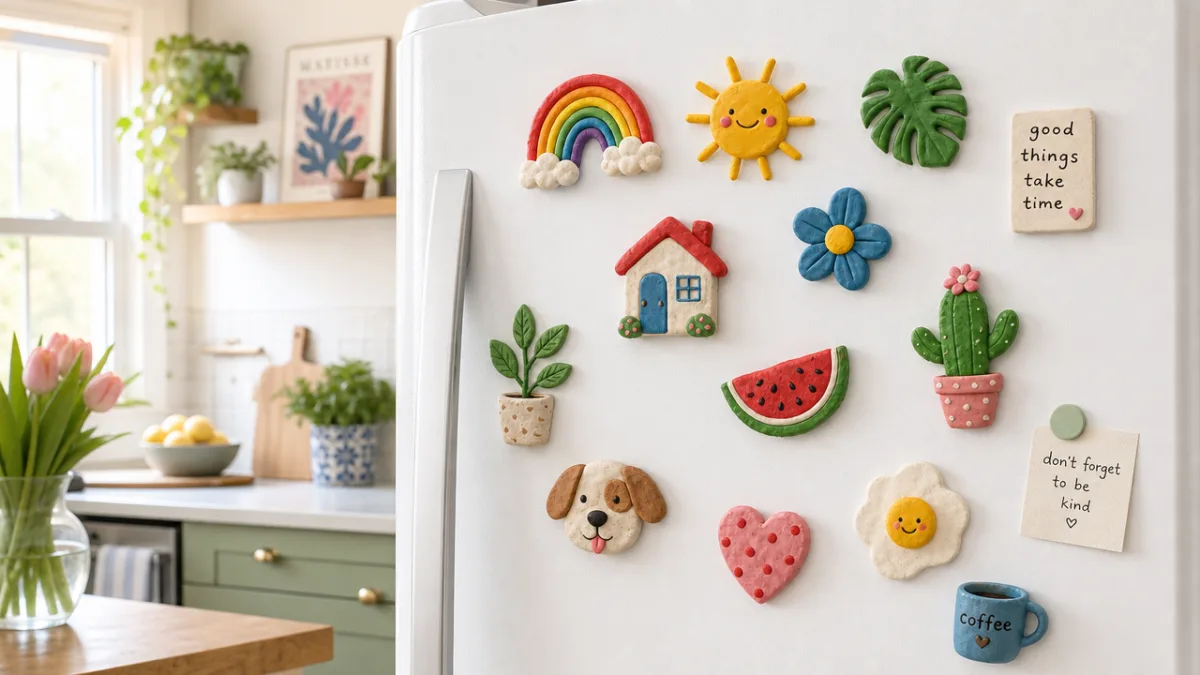
Fridge magnets are one of those projects that punch well above their weight. They’re small, so you don’t need much clay. They dry fairly quickly. And when you’re done, you’ve got something that’s actually useful and looks genuinely handmade in the best possible way — whether you’re using them to hold up a photo, pin a grocery list, or just add a little personality to your fridge. The results honestly look more impressive than the effort involved.
This tutorial walks you through the whole process from start to finish, and it’s written with complete beginners in mind. One of the nicest things about air dry clay is how forgiving it is — if a shape isn’t working, you can rework it. If the surface looks rough, you can smooth it out. There’s a relaxed, almost meditative quality to the whole process. By the time you’re done, you’ll have a little set of handmade magnets and a solid foundation for tackling bigger clay projects whenever you’re ready.
Materials and Tools You’ll Need
Before you dive in, it’s worth spending a few minutes pulling everything together and setting up your space. Having what you need within arm’s reach makes the whole experience much smoother, and the good news is that nothing on this list will break the bank. Most of it is probably already around your house, and whatever isn’t can be found at a craft store, dollar store, or online for just a few dollars.
The main ingredient, obviously, is the clay itself. Brands like Crayola Air Dry Clay, DAS Modeling Clay, and Activa Plus Natural Clay are all easy to find, affordable, and very beginner-friendly. Go with white or light-colored clay if you plan to paint your magnets — darker clay can make it hard to get bright, vibrant colors on top. Budget roughly one to two ounces of clay per magnet depending on how big you’re going. A standard package will easily cover a session where you make ten to fifteen magnets.
Beyond the clay, here’s what you’ll want to have on hand. Most of these items are either already at home or available for just a few dollars each at any craft or dollar store.
- Rolling pin or smooth glass bottle — for rolling out even slabs of clay to a consistent thickness
- Cookie cutters or craft knife — for cutting clean shapes out of rolled clay
- Acrylic paints and fine brushes — for adding color and detail once the clay is fully dry
- Strong adhesive glue (E6000 or super glue) — for attaching the magnets to the back of finished pieces
- Small disc or button magnets — neodymium magnets from a craft store work best for a strong hold
- Mod Podge or clear acrylic sealer — for sealing and protecting the finished painted surface
- Wax paper or silicone mat — to protect your work surface and prevent sticking
- Small sculpting tools or toothpicks — for adding texture, detail, and small decorative elements
A few optional extras worth grabbing if you can: small rubber stamps for pressing patterns into the clay, letter stamps if you want to add names or words, and watercolor paints if you like a softer, more translucent look. You’ll also want a small bowl of water nearby throughout the whole process — keeping your fingers lightly damp as you work helps prevent cracking and makes it much easier to get smooth, clean surfaces on your pieces.
Preparing and Shaping Your Clay
Start by conditioning your clay, which just means warming it up and working it in your hands until it’s soft and easy to shape. Take a little more than you think you’ll need — right out of the package, especially if it’s been sitting somewhere cool, clay can feel stiffer than you’d expect. Knead it firmly, folding it over itself a few times until it feels smooth and elastic. If it starts to crack or feels dry, just dampen your fingers slightly and keep going. It usually only takes a minute or two before it’s perfectly workable.
For flat magnets with a consistent shape, roll your clay out on wax paper using a rolling pin or a smooth bottle. Aim for about a quarter inch thick — roughly five to six millimeters. Too thin and the pieces will be fragile; too thick and they’ll take ages to dry and may crack as the inside and outside dry at different rates. A handy trick for getting even thickness: lay two pencils or wooden skewers of the same height on either side of your clay and rest your rolling pin on them as you roll. They act as built-in guides so you’re not accidentally rolling one side thinner than the other.
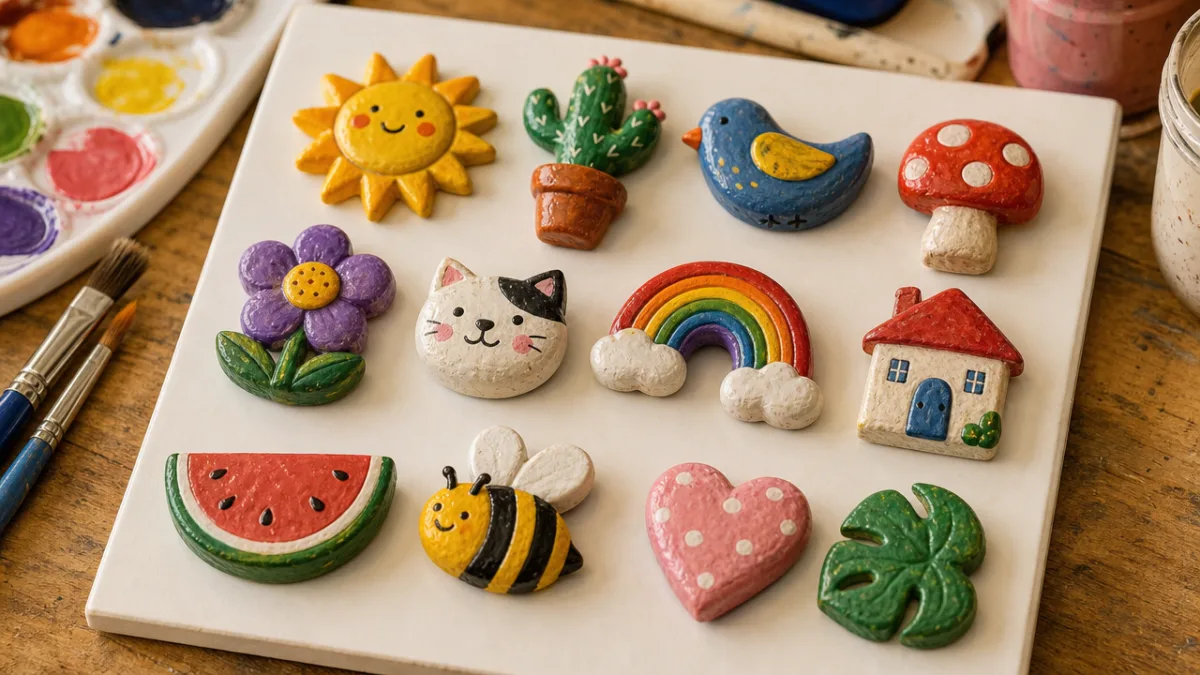
Once the clay is rolled out, go ahead and cut your shapes. Cookie cutters are the easiest route for beginners and give you consistently clean edges every time. Circles, stars, hearts, and simple geometric shapes are all classics that work really well as magnets. If you want something more creative or freeform, a toothpick or small craft knife lets you cut whatever shape you can trace. Simple food shapes like little donuts or watermelon slices are hugely popular, as are small cacti, animals, or abstract forms — really, the limit is just what you feel like trying.
Right after cutting is the ideal time to add any surface details or textures, before the clay starts to set. Press a rubber stamp into the surface for a patterned effect, use a toothpick to scratch in freehand designs, or gently press textured objects like lace, leaves, or netting into the clay to leave interesting impressions. If you’re building layered designs — say, a small flower sitting on top of a round base — a tiny dab of water between the two wet pieces of clay acts as a natural adhesive and creates a solid bond once everything dries.
Drying, Painting, and Finishing Techniques
Set your finished shapes carefully on a piece of wax paper or a smooth ceramic tile and let them dry. Depending on how thick your pieces are, how humid your home is, and which brand of clay you used, drying can take anywhere from twenty-four to seventy-two hours. The big thing here is patience — trying to paint or handle clay that isn’t fully dry all the way through is one of the most common beginner mistakes, and it leads to cracks, warping, and smeared paint. It’s genuinely worth waiting.
To help everything dry evenly and stay flat, flip your pieces gently after the first twelve hours so both sides get equal air exposure. If you’re in a particularly humid space, a spot with good airflow or near a gentle heat source will help. You’ll know the clay is completely dry when it’s turned a uniform color throughout, feels totally hard when you press it, and makes a faint hollow sound when you tap it. Any soft or cool spots mean it needs more time.
Painting is honestly the most fun part of the whole project. Acrylic paints are ideal — they stick well to clay, dry fast (usually fifteen to twenty minutes), and come in every color imaginable without costing much. Start with a base coat over the entire front surface, let it dry fully, then go in with details. For sharp, clean designs, use a fine-tipped brush and slightly thicker paint. For something softer and more watercolor-like, thin your paint with a little water and layer it in translucent washes.
When it comes to what to actually paint on them, you have a lot of options. Here are some popular approaches that work well at any skill level.
- Simple solid colors with minimal detail — a bold single color with a small accent like a gold dot or a white outline looks strikingly modern and sophisticated
- Illustrated food or nature themes — tiny painted fruits, vegetables, plants, and flowers are perennially popular and work at any skill level
- Hand-lettered words or initials — paint your magnets in a solid color first, then carefully letter names, quotes, or single words on top once dry
- Abstract geometric patterns — stripes, dots, simple chevrons, and color blocking require no artistic training and look wonderfully graphic and intentional
- Seasonal and holiday themes — pumpkins, snowflakes, flowers, and other seasonal motifs make wonderful gifts and keep your fridge feeling fresh year-round
Attaching Magnets and Sealing Your Work
Once your painting is done and fully dry, seal everything before you attach the magnets. This step protects the surface from chips, scratches, and any moisture exposure. Mod Podge works really well — brush on two thin coats over the front and sides of each piece, letting each coat dry completely before adding the next. A spray-on clear acrylic sealer is another great option if you want a more even finish with less effort. Matte sealer gives a soft, understated look; gloss sealer makes the colors pop and gives your magnets a more polished, finished feel.
Attaching the magnets is simple, but a little care here goes a long way. Flip your sealed piece face-down on a clean surface and put a small, generous dot of strong adhesive — E6000 is a great choice because it’s both flexible and very strong — right in the center of the back. Press a neodymium disc magnet firmly into the glue, hold it for about thirty to sixty seconds, then leave the whole piece face-down for a full twenty-four hours to cure properly. It’s tempting to test it sooner, but a fully cured bond will hold for years, while a half-cured one tends to give out at the worst possible moment.
The magnet itself matters more than most beginners realize. Cheap thin ceramic disc magnets are fine for holding a single lightweight piece of paper, but they often can’t handle anything more substantial, which feels a bit underwhelming. Neodymium (rare earth) magnets are much stronger for their size and are absolutely worth the small extra cost. A disc about ten millimeters in diameter and two millimeters thick hits the sweet spot for most clay magnets — strong enough to hold a few sheets of paper or a postcard without adding any noticeable weight or bulk to the piece.
Tips for Success, Troubleshooting, and Creative Variations
Your first batch of magnets might not be perfect, and that’s completely fine — it’s part of learning. The most common thing that trips beginners up is cracking, which usually happens when the clay dries too fast in a warm or dry environment, when pieces are rolled too thin, or when too much water is used during sculpting and the moisture distributes unevenly. If you catch small surface cracks while the clay is still slightly soft, you can often fix them by lightly dampening your fingertip and gently rubbing them smooth.
Warping — where flat pieces curl up at the edges as they dry — is another common issue. It happens because the top surface dries and shrinks a bit faster than the bottom. The fix is simple: flip your pieces regularly during drying, as mentioned earlier, and if you want to be extra cautious, lay a piece of wax paper over them with something light and flat on top (a small book works perfectly) for the first few hours. If a piece has already warped by the time it’s dry, try carefully dampening the concave side and letting it re-dry under gentle weight — it doesn’t always work, but it’s worth a shot.
Once you’ve got the basic flat magnet down, there are so many directions you can take things. Adding small three-dimensional sculptural elements to a flat backing piece immediately gives your work more character and depth. Mixing different colors of clay together before sculpting — instead of painting afterward — creates beautiful marbled or ombre effects that are completely one-of-a-kind. You can also press small objects like dried flowers, tiny shells, or colored glass beads into the wet clay before it dries for a mixed-media look that feels genuinely artisanal.
Handmade clay magnets also make wonderful gifts, especially because they’re so easy to personalize. A set of initial letter magnets for someone who just moved into a new home, a collection of little food-themed magnets for the friend who loves to cook, or a set of bright colorful shapes for a kid’s bedroom — all of these feel thoughtful without being expensive. Tuck them in a small kraft paper box with some tissue paper and a handwritten note, and you’ve got something that feels both personal and put-together. People genuinely love receiving handmade things, and these have the extra bonus of being useful every single day.
As you get more comfortable, you’ll probably find yourself naturally gravitating toward bigger and more ambitious projects — small figurines, decorative dishes, wall hangings, maybe even jewelry. The skills you’re building right now making magnets translate directly to all of those things. You’re already learning how to condition clay, smooth surfaces, prevent cracks, paint cleanly, and work with sealers and adhesives — all genuinely foundational skills that carry through every clay project you’ll ever do. What starts as a fun afternoon making a few magnets can very easily turn into a lasting creative practice that you keep coming back to.








What do you think?
It is nice to know your opinion. Leave a comment.