










Brighten Your Space with Easy DIY CD Suncatchers
There’s something almost magical about watching a plain window suddenly come alive with ribbons of dancing color. If you’ve ever caught a sunny morning doing that thing where rainbows ripple across your ceiling, you already get it. DIY CD suncatchers take that feeling and run with it — giving old compact discs a second life as shimmering, rainbow-scattering art pieces instead of sending them straight to a landfill. And honestly? They’re way easier and cheaper to make than you’d expect.
Whether you craft constantly or haven’t touched a glue gun in your life, this project will meet you where you are. The materials are cheap and easy to track down, the techniques are pretty forgiving, and the results can be genuinely stunning. No two suncatchers ever come out exactly the same, because light plays differently with each disc, bead, and crystal. That little bit of unpredictability is part of what makes it fun — even when you’re making a whole batch at once, each one feels like its own thing.
This guide covers everything from picking up your supplies and understanding why CDs do that sparkly thing, to decorating your discs and hanging them where they’ll really shine. By the end, you’ll have a solid plan for making suncatchers that look great in your home, make genuinely thoughtful handmade gifts, and bring a little extra joy to any room with decent afternoon light.
Understanding Why CD Suncatchers Work So Beautifully
Old CDs are, in a way, accidental works of art. The reflective surface is covered in millions of microscopic spiral tracks, and it’s that structure that splits white light into all its component colors. When sunlight hits the disc at different angles, each tiny track bends the light a little differently, producing that familiar rainbow shimmer. It’s the same phenomenon that makes soap bubbles and oil slicks so mesmerizing — scientists call it thin-film interference, but you can just call it beautiful.
The good news is that adding decorations to a CD doesn’t kill that effect, as long as you leave some of the reflective surface exposed to the light. In fact, layering on transparent elements like glass beads, crystal drops, and colored gemstones can actually make things more interesting. Each translucent piece refracts the already-scattered light again, multiplying the number of colored points dancing across your walls and ceiling. The whole display shifts and changes as the sun moves throughout the day, which means you get a slightly different light show every hour.
Once you understand this, your design decisions kind of make themselves. When you know the magic lives in those reflective tracks, you stop trying to cover the whole disc and start treating it like the main attraction it is. Decorations become the supporting cast — framing and enhancing what’s already there rather than hiding it. That shift in thinking almost always leads to prettier, more effective results.
Gathering Your Materials and Setting Up Your Workspace
One of the best things about this project is how little you have to spend to get started. The main ingredient — old CDs or DVDs — can often be sourced for free. Dig through your own collection, ask around with friends and family, or check thrift stores and garage sales, where bags of old software discs and music compilations sometimes go for next to nothing. Scratched discs work just as well as perfect ones here, since surface scratches barely affect the diffraction effect.
Beyond the discs, you’ll want to gather some embellishments. The most popular options are adhesive rhinestones or flat-back crystals in various sizes, small glass or acrylic beads, decorative wire in silver or gold, thin ribbon or fishing line for hanging, hot glue or a strong craft adhesive, and small charms or pendants. If you want to get a bit more creative, acrylic paint works nicely on disc edges, paint pens let you draw patterns, and iridescent or glitter nail polish gives a particularly eye-catching finish.
Before you dive in, take a few minutes to set up your workspace — it makes the whole experience more enjoyable. Cover your table with a silicone mat or parchment paper to catch glue drips and protect the surface. Sort your embellishments into small trays or an ice cube tray so you can see everything at once without digging through bags. Good lighting matters too, both for seeing your work up close and for holding each disc up to the light as you go to check how it’s coming together. A spot near a window is ideal.
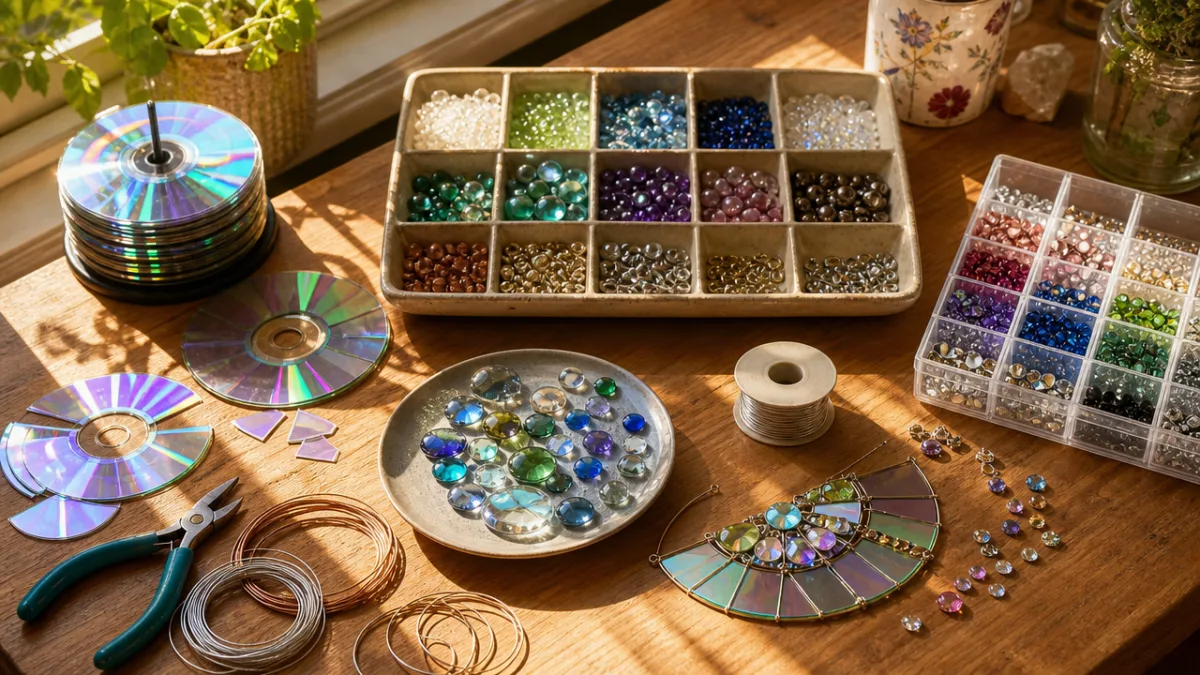
Step-by-Step Decorating Techniques for Every Skill Level
The easiest starting point — great for kids and anyone new to this — is using peel-and-stick adhesive rhinestones directly on the reflective side of the disc. No glue, no drying time, no special tools needed. You can arrange them in concentric circles following the disc’s natural shape, cluster them around the center hole for a sunburst look, or scatter them loosely for something more abstract and modern. Even a fairly simple arrangement of a dozen or so crystals can turn a plain old disc into something that looks genuinely intentional and beautiful.
Once you’re comfortable with the basics, adding a hanging cluster of beads and charms at the bottom is a great next step. Cut three to five lengths of clear fishing line or thin wire, each around four to eight inches long, and thread on an assortment of beads, small crystals, and charms. Knot the ends to hold everything in place, then attach the strands to the disc’s lower edge using a small wire loop through the center hole or a dab of strong adhesive at the edge. When the suncatcher catches a breeze, those dangling pieces catch light from below and give the whole thing a gentle, wind-chime-like movement.
If you want to take things further, try wrapping the disc’s edge and center hole with decorative wire to create an intricate frame that can hold extra beads and gives the finished piece a more polished, jewelry-like look. Use 20- or 22-gauge craft wire in a complementary color, work slowly, and tuck sharp ends inward as you go to avoid snags. This wire frame technique also lets you create a neat hanging loop at the top, which looks much more finished than ribbon taped to the back. As a bonus, the wire adds some structural stability along with the visual interest.
Creative Design Ideas and Themed Variations
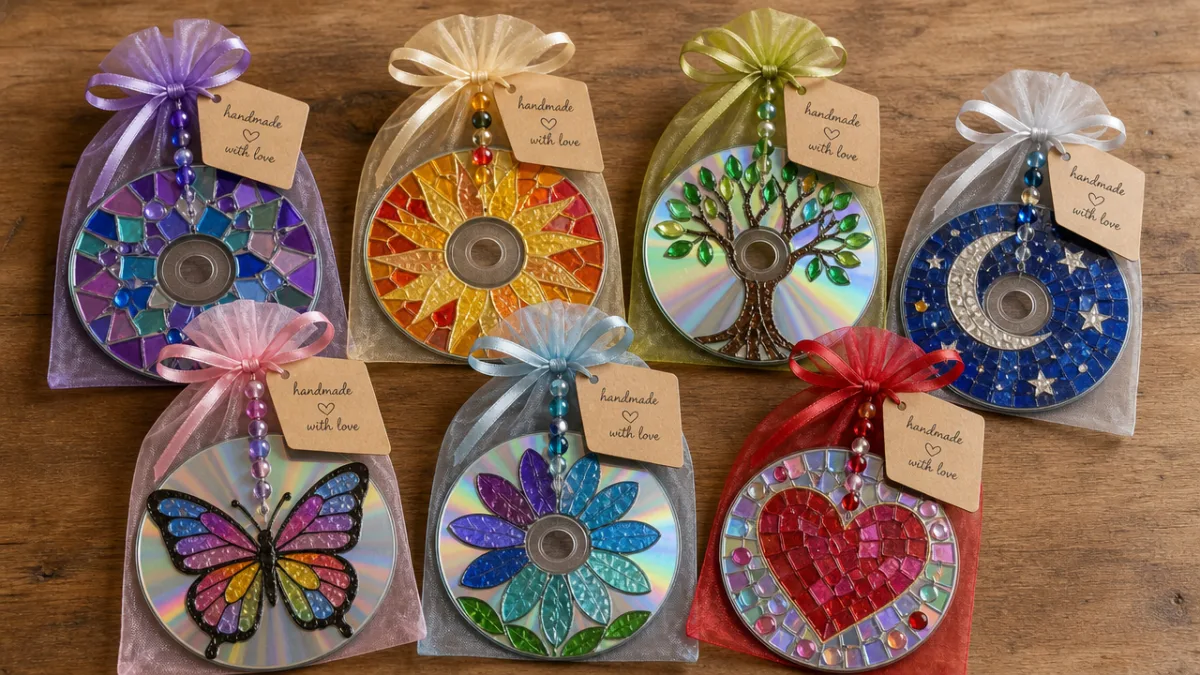
Once you’ve got the techniques down, the really fun part starts: picking themes and color palettes that fit your space or the person you’re making it for. A coastal vibe works beautifully with blue and aqua beads, tiny shell charms, and clear fishing line that reads almost like water. A garden theme might call for green and amber beads alongside little butterfly or dragonfly charms. For something celestial, silver wire with deep blue and purple crystals and star-shaped beads gives you the feeling of a night sky somehow captured in glass.
Holiday and seasonal variations are worth exploring too. For the winter holidays, deep red and gold rhinestones with a small bell charm at the bottom make a festive suncatcher that pulls double duty as a tree ornament or window piece. For spring, soft pink and yellow beads with tiny flower charms feel exactly right. Making a set of four — one for each season — and rotating them throughout the year is a lovely way to keep your space feeling fresh and in tune with what’s happening outside your window.
Suncatchers also make really personal, meaningful gifts when you tailor the design to the person you’re making it for. A few ways to make it feel genuinely custom:
- Use their favorite colors as your main bead palette — it’s a small detail that immediately signals you were thinking about them specifically.
- Pick charm motifs tied to their hobbies or interests, whether that’s music notes, animals, sports symbols, or little globes and airplanes for the traveler in your life.
- Match the bead colors to their birthstone for a birthday gift, then round it out with complementary tones for a cohesive look.
- Add a small initial charm or letter bead to put their name on it in a subtle but unmistakable way.
- Tuck in a short note explaining the light-scattering science behind the disc — it turns a pretty gift into a little moment of wonder too.
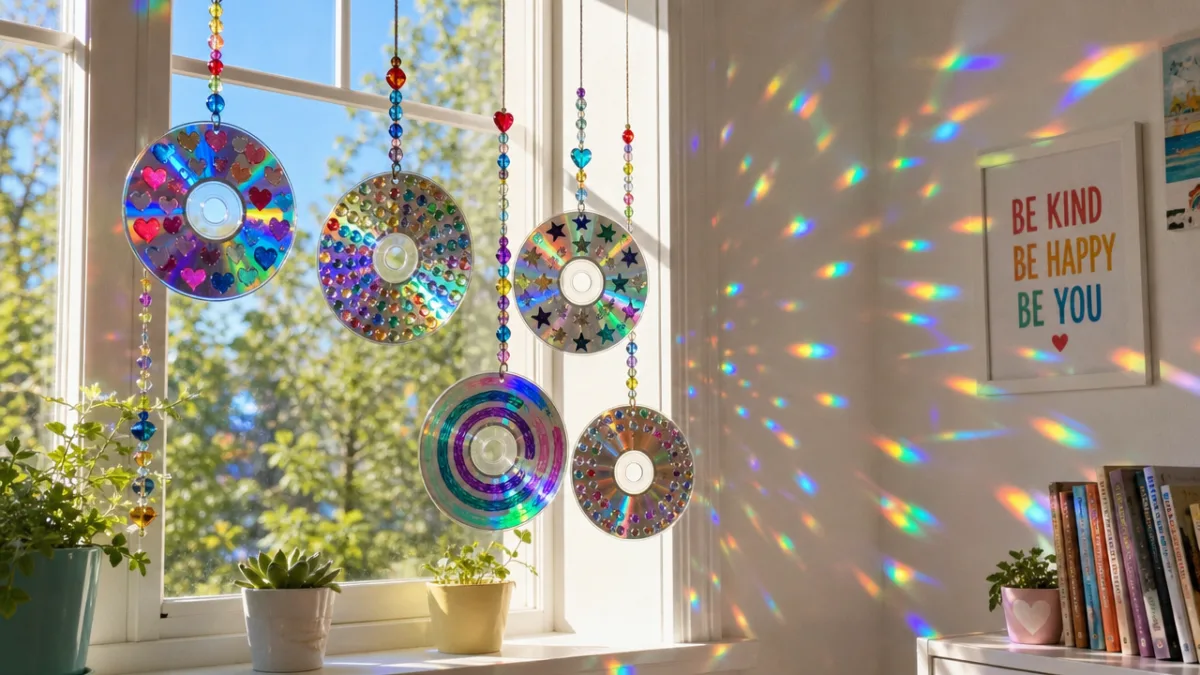
Hanging and Displaying Your Suncatchers for Maximum Impact
Where you hang your suncatcher matters just as much as how you decorated it. To get that full rainbow effect, you need direct or near-direct sunlight hitting the disc, so east-facing windows are your best bet in the morning, south-facing windows get the strongest light through midday, and west-facing windows come alive in the late afternoon. North-facing windows are lovely for soft, diffused light, but they won’t give you the dramatic light-scatter effect that makes these so satisfying. It’s worth moving the disc around and testing a few spots before you settle on a permanent home for it.
For the actual hardware, you have options depending on your window situation and how committed you are to not putting holes in things. Suction cup hooks made for glass are a great renter-friendly choice — no marks, easy to reposition whenever you want. A tension rod across the window frame can hold multiple suncatchers at different heights using loops of ribbon or wire, giving you a layered, gallery-style display. For something more permanent, a small screw hook in the window frame or a nail above the window will hold the disc securely even when you’ve got a window open and a breeze moving through.
Grouping several suncatchers together, rather than hanging just one on its own, really amplifies the effect. When multiple discs hang at different heights and distances from each other, their rainbows overlap and interact on your walls and ceiling in a way that feels almost like a private light installation. Try clustering three to five at varying heights, or running a series of them across the full width of a large window for a dramatic shimmering curtain effect. In good morning or afternoon sun, it’s genuinely breathtaking.
Making This a Sustainable and Community-Minded Craft
Part of what makes this project so satisfying is knowing it’s doing a small bit of good beyond just looking pretty. CDs are made from polycarbonate plastic, which is technically recyclable but almost never accepted by regular curbside programs because of the specialized equipment required. The result is that millions of old discs end up in landfills every year. Turning them into decorative pieces designed to last for years is a genuinely meaningful way to divert a little plastic waste and give it a second life that’s actually beautiful.
This craft is also a natural fit for community settings — classrooms, senior centers, scout groups, library programs. The basic version requires no sharp tools, no heat if you use adhesive-backed embellishments instead of a glue gun, and not a lot of fine motor precision. That makes it accessible to kids as young as five and adults across a wide range of ability levels. Organizing a group session where everyone brings their own old discs and shares a communal supply of beads and decorations creates a nice sense of collective creativity, and everyone goes home with something they actually made themselves.
You might also think about turning suncatcher-making into a small fundraising or giving initiative. Schools and community groups can collect donated CDs, hold a crafting session, and sell the finished pieces at a craft fair or holiday market to raise money for a cause. Or make batches to donate to hospitals, care facilities, or community centers — spaces that can often feel sterile or institutional get a small but real lift from a suncatcher catching afternoon light in a window. Giving a patient or a resident that daily little reminder that light and color are still out there doing their thing is, honestly, not a bad thing a simple craft project can do.
Troubleshooting Common Issues and Refining Your Technique
Even simple craft projects have their frustrating moments, and suncatchers are no exception. The most common issue is adhesive failure, especially in warm, sunny windows where heat softens certain glues and embellishments start sliding or dropping off. The fix is choosing the right adhesive from the start: a two-part epoxy or a UV-resistant jewelry glue holds up in warm conditions far better than standard hot glue, which tends to get brittle and let go after repeated heating and cooling cycles. If you’ve already used hot glue and things are coming loose, reinforce the problem spots with a thin ring of clear-drying jewelry adhesive around the base of each embellishment.
Another common challenge is getting the arrangement to look balanced without going too sparse or too crowded. A helpful trick: work in odd numbers. Groupings of three, five, or seven decorative clusters tend to feel more visually dynamic and naturally balanced than even-numbered arrangements. Step back often as you work, and hold the disc up to the light regularly to see how the composition is reading. It’s always easier to add something than to cleanly remove it once glue has set, so build your design gradually rather than going all-in at once.
If your finished suncatcher isn’t producing the vivid rainbow effect you were hoping for, the most likely culprit is not enough direct sunlight — not anything wrong with the design itself. Try moving the disc to a sunnier window, or hanging it a little lower so it’s catching more of the sun’s direct rays rather than light that’s been filtered through curtains or blocked by nearby buildings. You can also try tilting the disc slightly instead of hanging it perfectly flat and vertical — a gentle angle changes how light strikes the surface and can dramatically increase the spread and intensity of the rainbow. A little experimentation goes a long way, and almost any placement can be tweaked into something genuinely spectacular.








What do you think?
It is nice to know your opinion. Leave a comment.