










How to Make DIY Citronella Candles: A Complete Guide to Natural Mosquito Repellent Candles
Introduction: Why Make Your Own Citronella Candles
Citronella candles are basically a summer tradition at this point — you’ll find them at every backyard cookout, patio dinner, and evening bonfire worth attending. That familiar lemony scent pulls double duty: it smells genuinely pleasant while quietly telling mosquitoes and other biting insects to go find someone else to bother. The thing is, most store-bought versions are loaded with synthetic fragrances, paraffin wax, and chemical additives that don’t exactly scream “natural living.”
When you make your own DIY citronella candles, you’re in complete control of what goes into them. You get to pick natural soy wax or beeswax, use real essential oils instead of synthetic fragrance, and play around with the scent by blending citronella with things like lemongrass, eucalyptus, or lavender. The end result is a candle you actually feel good about — one that works, smells great, and fits your values.
And honestly? Beyond the bug-repelling part, candle making is just a really satisfying hobby. There’s something almost meditative about melting wax, blending your oils, and watching everything set into a smooth, glossy finish. Make one batch and you’ll probably find yourself itching to try new containers, different wax types, and all kinds of scent combinations — and handing them out to every person you know.
Gathering Your Materials and Ingredients
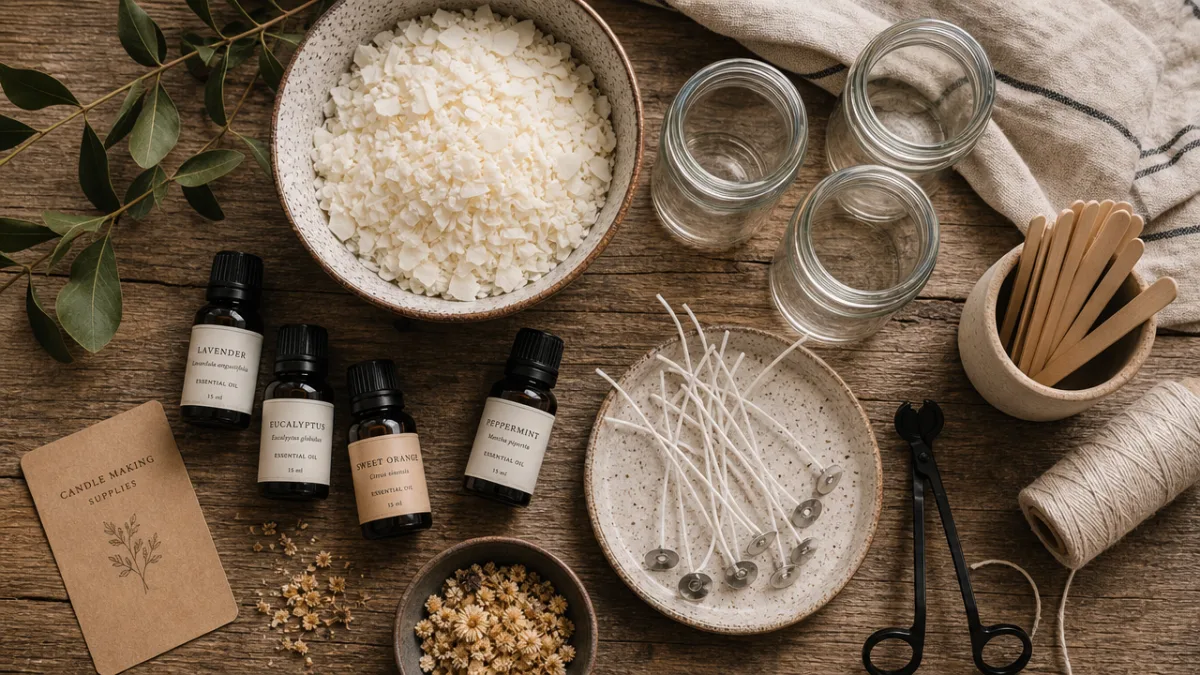
Getting everything laid out before you start will save you a lot of scrambling mid-pour. Your main ingredient is wax, and for a natural candle, soy wax is the go-to choice — it comes from soybean oil, burns cleaner than paraffin, and does a great job holding onto fragrance. Beeswax is another solid option if you want something that burns even longer, carries a natural honey-like sweetness, and is completely biodegradable. Coconut wax and blends of these are worth trying too, each bringing slightly different burn characteristics to the table.
For this particular project, citronella essential oil is the star of the show. Make sure you’re buying 100% pure citronella oil (look for Cymbopogon nardus or Cymbopogon winterianus on the label) — not some synthetic “citronella scent” fragrance oil. Pure essential oil contains the natural compounds, mainly citronellal and geraniol, that are thought to actually deter insects. To bump up the repellent effect and make the scent more interesting, a lot of candle makers blend citronella with lemongrass, peppermint, or cedarwood.
You’ll also want cotton wicks — pre-tabbed ones are the easiest when you’re starting out — along with wick centering bars or a couple of clothespins, a pouring pitcher or heat-safe measuring cup, a double boiler setup, a thermometer, and your containers. Classic Mason jars are a great choice, but old tin cans, ceramic pots, or even terracotta planters all make wonderfully charming vessels for outdoor candles.
- Soy wax flakes or beeswax pellets (enough to fill your containers)
- Pure citronella essential oil (and optional complementary oils)
- Pre-tabbed cotton wicks sized for your container diameter
- Glass Mason jars, tin cans, or other heat-safe containers
- Double boiler or heat-safe bowl over a pot of water
- Candy or candle thermometer
- Wooden stirring spoon or craft stick
- Wick centering bars or clothespins
- Rubbing alcohol and paper towels for cleanup
Understanding the Science Behind Citronella as an Insect Repellent
Citronella oil is extracted from the leaves and stems of certain Cymbopogon grasses, tropical plants originally from Asia. It’s been registered as a biopesticide in the US since 1948, and the way it works is actually pretty clever — rather than killing mosquitoes, it masks the scents (carbon dioxide, lactic acid) that they use to zero in on you. When you burn a citronella candle, those aromatic compounds drift into the air around you and create an environment that insects find genuinely confusing and unpleasant.
That said, how well citronella candles actually work depends a lot on your setup. Burn one on a still, enclosed porch and you’ll notice a real difference. Take that same candle out into a breezy open yard and the aromatic compounds scatter before they can do much. Research suggests citronella candles can cut mosquito landings by roughly 42% — not a forcefield, but a meaningful improvement. For better coverage, try burning multiple candles spaced around your seating area so the scent zones overlap.
Blending citronella with other oils is a popular move, and for good reason. Lemongrass contains similar aromatic compounds and amplifies the repellent effect nicely. Lemon eucalyptus oil has actually been recognized by the CDC as an effective natural repellent, and it adds a clean, airy quality to the scent. Lavender brings a soft floral note while still being potent enough to bother insects on its own. Peppermint and cedarwood are other favorites worth experimenting with.
Step-by-Step Instructions for Making Citronella Candles
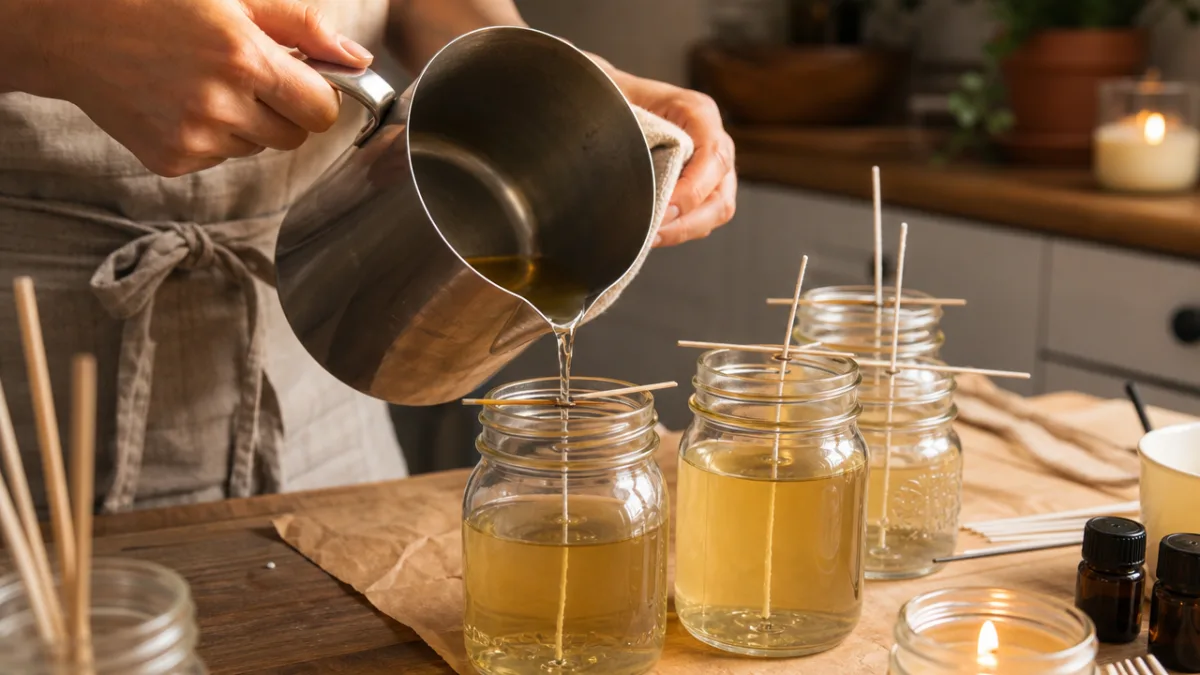
Start with your containers. Give your jars or tins a good wash and dry, then wipe the insides down with rubbing alcohol to get rid of any residue. Press a pre-tabbed wick into the center of each one, making sure the metal tab is firmly stuck to the bottom. To keep the wick standing straight and centered while you pour, rest it across a wick centering bar, or just lay a clothespin across the mouth of the jar and loop the wick through one of its grips. It takes about ten seconds and makes a surprisingly big difference in how evenly your candle burns.
Now measure out your wax. The easiest approach is to weigh it rather than measuring by volume, since wax flakes pack differently depending on how they settle. A quick trick: fill your container with wax flakes to get a rough visual estimate, then use roughly double that amount by weight once melted. Set up your double boiler over medium heat, add the wax, and stir gently while keeping an eye on the thermometer. Soy wax is fully melted and clear somewhere around 170–180°F. Take it off the heat and let it cool down to around 135–145°F before you add your essential oils — adding them while the wax is too hot will just cook off the fragrance.
Once you’ve hit the right pouring temperature, it’s time for your oils. The standard fragrance load for soy wax sits at about 6–10% by weight — so for every 100 grams of wax, you’re working with roughly 6–10 grams of essential oil (about 1.5 to 2.5 teaspoons). A nice starting blend for a citronella candle is 60% citronella, 20% lemongrass, and 20% eucalyptus or lavender. Stir slowly but really thoroughly — at least two full minutes — to make sure the oils are fully worked into the wax. Then pour in a slow, steady stream into your prepped containers, stopping about half an inch from the top.
- Prepare and clean your containers, then secure pre-tabbed wicks at the center bottom.
- Measure your wax by weight and melt it using a double boiler, monitoring with a thermometer.
- Remove from heat and allow wax to cool to the recommended pouring temperature.
- Add your essential oil blend and stir thoroughly for at least two minutes.
- Pour wax slowly and evenly into prepared containers, leaving half an inch at the top.
- Allow candles to cure at room temperature undisturbed for 24–48 hours before trimming wicks.
- Trim wicks to approximately one quarter of an inch before the first burn.
Don’t be surprised if a small sinkhole forms around the wick as your candle cools — soy wax contracts as it sets, and that’s totally normal. You can fix it easily with a second pour of a little reserved melted wax once the first layer is fully solid. After that, let your candles sit undisturbed at room temperature for at least 24 hours, though 48 is better. That curing time lets the fragrance fully bond with the wax, which means a much stronger, more consistent scent when you actually burn them.
Tips for Customizing and Troubleshooting Your Candles
One of the best parts of making candles at home is how much room there is to make them your own. Beyond the oil blend, you can add color with natural candle dye chips, or tuck dried botanicals like lemon slices, rosemary sprigs, or lavender buds against the inside of the glass before pouring. Just keep botanicals pressed to the outer edge of the jar rather than floating in the center — anything too close to the flame could be a fire hazard, so think of them as decoration rather than a functional ingredient.
Containers are another place to get creative. Terracotta pots have a wonderful rustic look for outdoor candles — just seal the inside with a couple coats of Mod Podge first so the wax doesn’t seep through the clay. Stripped tin cans have a great farmhouse-industrial vibe, especially when you group a few different heights together. And wide-mouthed Mason jars remain the classic for a reason — they’re heat-safe, easy to find, affordable, and show off the candle beautifully as it burns.
If your candles develop a white, powdery film after they set, don’t stress — that’s frosting, and it’s just something soy wax does naturally. It won’t affect the scent or how the candle burns. An uneven top surface can be smoothed out with a heat gun or hair dryer on low. If your scent throw feels weak once you’re burning the candle, the usual culprits are either adding the essential oils when the wax was still too hot (they evaporate before the wax sets) or not using enough oil to begin with.
Caring for Your Candles and Maximizing Burn Performance
The first burn matters more than most people realize. Candle makers call it the “memory burn,” and the goal is to let the candle burn long enough that a full pool of liquid wax forms across the entire surface, all the way to the edges of the container. Skip this step and your soy candle will tunnel — burning straight down the middle and wasting all that wax on the sides. For a standard Mason jar candle, plan on two to four hours for that first burn session.
Wick trimming is probably the single most important habit to get into for safe, clean-burning candles. Before every single burn, trim the wick down to about a quarter of an inch. A long wick produces a big, wobbly flame that throws off too much soot, overheats the wax, and burns through your fragrance too fast. Wick trimmers with their angled blades make it easy, but regular scissors do the job just fine. Seeing black soot on the inside of your jar? That’s almost always the wick telling you it needs a trim.
When you’re not using your candles, keep them somewhere cool and dry, away from direct sunlight — UV exposure can yellow soy wax and slowly degrade your essential oils over time. Covered with a lid or plastic wrap, a homemade soy citronella candle should hold its fragrance and repellent properties well for around 6 to 12 months. For outdoor burning, always set candles on a stable, heat-resistant surface, keep them clear of anything flammable, and never walk away from a lit candle — it’s easy to forget about one when you’re caught up in a good conversation on the patio.
Gifting, Scaling Up, and Making Candle Making a Hobby
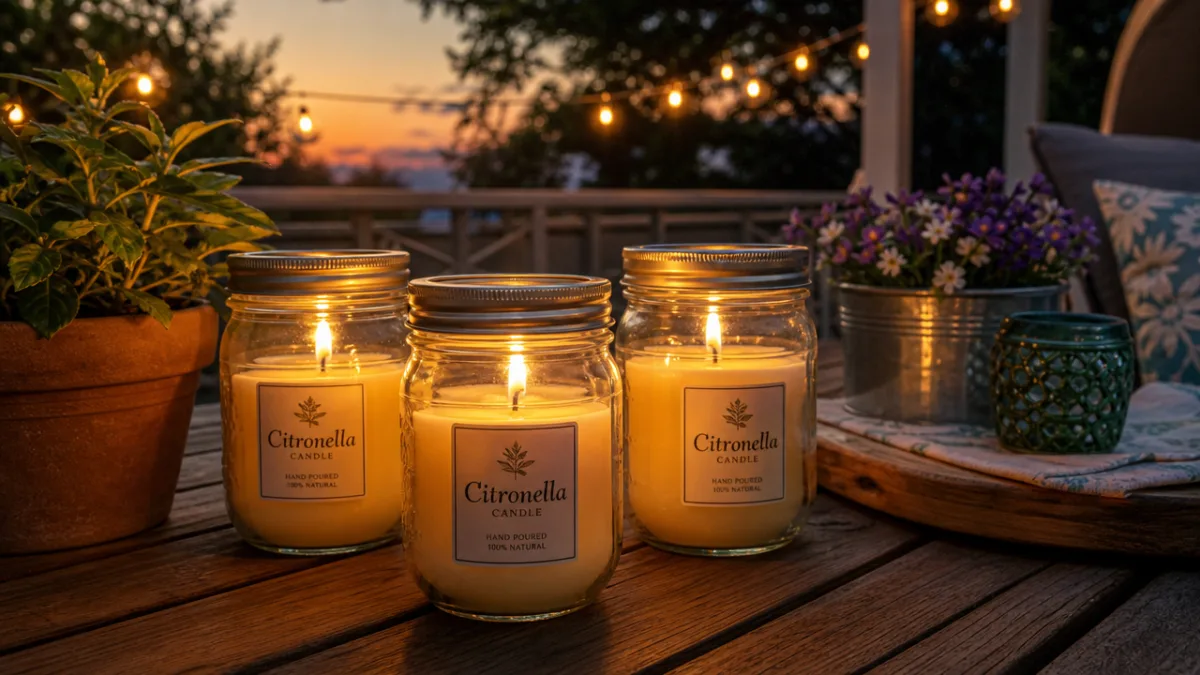
Homemade citronella candles are one of those gifts that people actually get excited about, especially friends who love spending time outside. Bundle three small Mason jar candles together with some twine, add a handwritten label with the oil blend you used, and tuck in a little card with burn instructions — it feels personal and thoughtful in a way that a store-bought candle just doesn’t. And since supplies are pretty affordable in bulk, you can put together a beautiful set for a fraction of what you’d pay for comparable candles at a boutique or farmers market.
Once you’ve got a few batches under your belt and you’re feeling confident, it’s worth looking into buying supplies in larger quantities. Ten- or 25-pound bags of wax, bigger bottles of essential oils, and packs of 50 or 100 wicks bring the cost per candle way down — and suddenly the idea of selling at a craft fair, opening an Etsy shop, or taking custom orders for outdoor weddings and summer events starts to feel pretty realistic. A lot of small candle businesses started exactly this way: a personal project that got an unexpectedly enthusiastic reception from friends.
Whether you stick with making candles for your own porch or turn it into something bigger, the skills transfer in all kinds of directions. The same basic techniques apply to seasonal soy candles, beeswax pillars, holiday wax melts, and lotion candles. The citronella candle is just a perfect place to start — it’s practical, it’s seasonal, everyone loves it, and there are endless ways to make it your own.








What do you think?
It is nice to know your opinion. Leave a comment.