










6 Alpine Stitch Textured Blanket Crochet Patterns: Your Complete Guide
What Is the Alpine Stitch and Why Crocheters Love It
The alpine stitch is one of the most beloved textured stitches in the crochet world, and for very good reason. It creates a beautifully dimensional fabric that looks intricate and complicated but is surprisingly approachable once you understand the rhythm of the pattern. The stitch produces rows of raised clusters that alternate to form a striking woven or basket-weave appearance on the finished fabric, giving any project an impressive, professional look that draws compliments from everyone who sees it.
At its core, the alpine stitch combines front post double crochets with standard double crochets to build that characteristic raised texture. The front post stitches wrap around the post of the stitch below rather than inserting through the top loops, which is what pushes the texture forward and creates those satisfying ridges. This technique is not difficult to learn, but it does require a little patience in the beginning as your fingers and hook develop the muscle memory for moving around posts rather than through loops.
Blankets made with the alpine stitch have a wonderful weight and drape to them. Because the stitch uses more yarn than a standard single or double crochet fabric, alpine stitch blankets feel substantial and cozy, making them ideal for snuggling on a couch or layering on a bed. The resulting fabric also has a slight stretch without being floppy, meaning it holds its shape beautifully over years of washing and use. It is no wonder that this stitch has become a staple in the portfolios of crochet designers everywhere.
Choosing the Right Yarn and Hook for Alpine Stitch Blankets
Selecting the right materials is the first major decision you will make before casting on an alpine stitch blanket, and it has a dramatic effect on the final outcome. The texture of the alpine stitch shows best in smooth, plied yarns rather than fuzzy or hairy ones. A yarn with a tight twist and a clean surface allows the raised post stitches to stand out clearly, ensuring that all your careful work is visible and defined in the finished piece. Bulky and super-bulky weight yarns are particularly popular for blankets because they work up quickly and create a thick, plush fabric.
Fiber content matters as much as texture and weight when it comes to alpine stitch blankets. Acrylic yarns are a top choice for many crafters because they are machine washable, widely available, and come in an enormous range of colors. However, wool blends bring a natural elasticity that helps the post stitches pop even more prominently, and cotton yarns produce a crisp, cool-weather alternative that works beautifully in solid or tonal colorways. If you are making a baby blanket, look for yarns specifically labeled as soft and hypoallergenic, as the textured ridges of the alpine stitch can feel scratchy against delicate skin if the wrong fiber is chosen.
Hook size plays a critical role in how your alpine stitch blanket turns out. Most patterns recommend going up at least one hook size from what is listed on the yarn label, because the post stitches can tighten the fabric considerably. A slightly larger hook keeps the fabric from becoming stiff and allows the blanket to drape softly. Ergonomic hooks with cushioned handles are especially valuable for alpine stitch projects because the repeated motion of wrapping around posts can strain the wrist and hand over long crochet sessions. Investing in a comfortable hook from the start will make the process far more enjoyable from beginning to end.
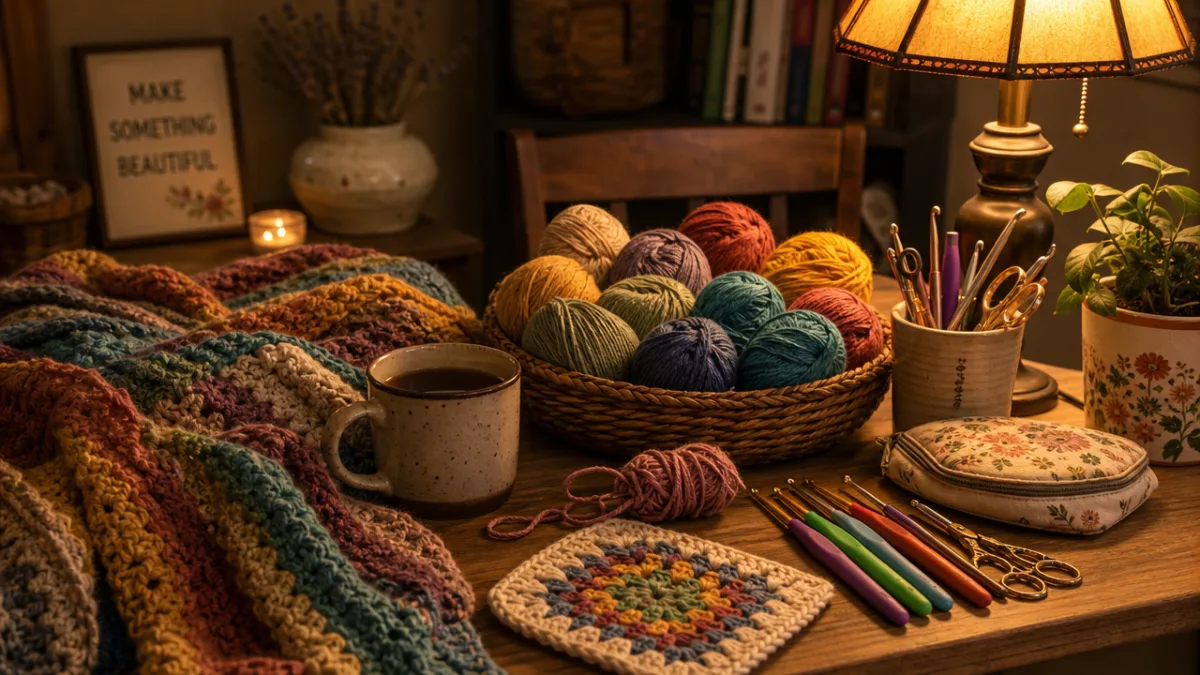
Pattern 1: The Classic Alpine Throw
The classic alpine throw is the foundational pattern that most crocheters turn to when they want to learn this stitch for the first time. It features a simple, repeating sequence of front post double crochets and standard double crochets worked over a multiple of two plus one stitches, making it easy to size up or down for any desired dimensions. The pattern typically begins with a foundation chain, followed by a row of standard double crochets to establish the base, after which the alternating post stitch rhythm begins and continues for the full length of the blanket.
What makes the classic version so appealing is its versatility. You can make it as a lap blanket, a generous throw, or even a full bed-sized blanket simply by adjusting your starting chain and the number of rows you work. Many designers recommend making a gauge swatch first and then calculating the chain length based on the desired finished width divided by the number of inches per stitch. This small upfront investment of time can save hours of frustration later if your blanket ends up dramatically larger or smaller than you intended.
Color choices can transform the classic alpine throw dramatically. A single solid color lets the texture take center stage and creates a sophisticated, timeless look suitable for any home decor style. Two-color versions, where you alternate between a light and a dark shade every few rows, create a striking striped effect that emphasizes the dimensional ridges beautifully. Some adventurous makers even work the classic alpine throw in gradient or ombre yarn to achieve a soft color transition across the entire blanket surface, producing a result that looks complex but requires no color changes at all.
Pattern 2: The Alpine Stitch Baby Blanket
Alpine stitch baby blankets have become enormously popular gift items for baby showers and newborn celebrations, and it is easy to understand why. They look breathtaking, feel luxuriously soft when worked in the right yarn, and come together much faster than they appear to because the stitch builds height quickly. A standard baby blanket measuring approximately 30 by 35 inches can often be completed in just a weekend of focused crocheting, making this an achievable project even for crafters with busy schedules.
When designing or selecting an alpine stitch baby blanket pattern, softness and safety are the two most important considerations. Choose yarns that have been specifically designed for babies, looking for labels that mention softness testing or hypoallergenic certifications. Many designers recommend DK or worsted weight yarn for baby blankets rather than bulky weights, as the resulting fabric is lighter and more appropriate for wrapping around small newborns. The scaled-down stitch height in lighter weight yarn also means the texture is more delicate and refined, which suits the baby aesthetic particularly well.
Pastel color palettes have traditionally dominated baby blanket crochet, but modern makers are pushing the boundaries with bold primaries, gender-neutral earth tones, and sophisticated neutral combinations. A cream and sage combination has become a favorite in recent years, offering a natural, organic feel that fits beautifully into contemporary nursery aesthetics. Whatever palette you choose, the alpine stitch will add a visual richness and thoughtfulness to the finished blanket that elevates it above a simple stockinette-style project and makes it feel truly special as a handmade gift.
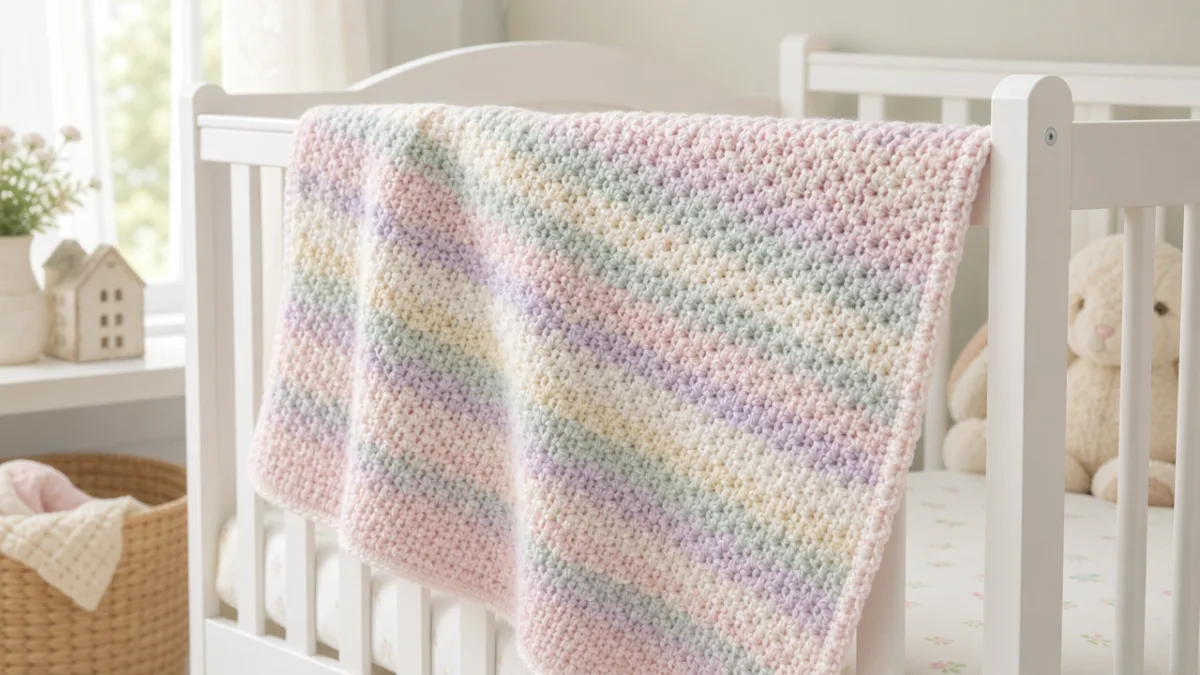
Pattern 3: The Colorwork Alpine Blanket
Taking the alpine stitch into colorwork territory opens up an entirely new world of creative possibilities. Unlike traditional colorwork that relies on carrying multiple strands at once, alpine stitch colorwork typically involves working simple color changes at the end of rows, allowing you to introduce new shades cleanly and without the complexity of stranded knitting techniques. Each color block or stripe takes on a new dimension because the textured stitches catch light differently depending on the hue, making even simple two-color combinations look spectacularly dynamic and intentional.
Chevron and geometric colorwork patterns pair particularly well with the alpine stitch because the strong lines of color contrast sharply with the softer, undulating texture of the post stitches. Some designers create stunning blankets by working color changes every two rows in a repeating sequence of three or four colors, producing a rainbow-striped effect that reads almost like a woven textile when viewed from a distance. Others create planned color blocks by working larger sections in each shade, creating a patchwork or color-blocked appearance that is bold and modern in its visual impact.
Managing yarn tension during color changes in alpine stitch colorwork requires a little extra attention. When you introduce a new color at the beginning of a row, it is important to leave a tail long enough to weave in securely without distorting the edge of the blanket. Using stitch markers to keep track of color sections is also highly recommended, especially in more complex designs. Weaving in ends as you go, rather than waiting until the blanket is finished, keeps the project manageable and prevents the daunting task of dealing with dozens of loose ends all at once when you reach the final row.
Pattern 4: The Alpine Granny Square Blanket
Combining the beloved granny square format with the alpine stitch results in one of the most visually striking blanket designs in contemporary crochet. Rather than working the entire blanket in one piece, this approach involves crocheting individual alpine-textured squares and then joining them together to form the finished blanket. The modular nature of this project makes it wonderfully portable, as each square requires only a small amount of yarn and can be worked on during commutes, lunch breaks, or other stolen moments throughout the day.
The construction process for an alpine granny square blanket typically involves three main stages. First, each square is worked individually following a repeating alpine stitch pattern adapted to be worked in the round or in a series of short flat rows that are then seamed. Second, all the completed squares are blocked and laid out in a pleasing arrangement to determine the final color placement and composition of the blanket. Third, the squares are joined using one of several methods, including the flat slip stitch join, the join-as-you-go technique, or the classic single crochet join that creates a raised ridge between squares, adding yet another layer of texture to the finished piece.
One of the great advantages of the alpine granny square format is the ability to use up stash yarn in a meaningful and organized way. Because each square is a small, self-contained unit, you can use a different yarn for each one, provided the weight and gauge remain consistent, and the resulting scrappy blanket will have a collected, curated quality that is deeply personal and unique. Many makers also use a single neutral joining yarn to tie all the varied colors together visually, creating a cohesive finished piece out of what might otherwise seem like a chaotic mix of colors and textures.
Pattern 5: The Oversized Alpine Stitch Blanket
For those who want to make the boldest possible statement with the alpine stitch, the oversized blanket is the ultimate project. These generous creations, which can measure anywhere from 60 by 80 inches up to a full king-size 108 by 108 inches, are weekend-marathon projects that reward sustained effort with a breathtaking result. The scale of the finished piece allows the repeated alpine stitch pattern to develop its full visual rhythm, with the textured ridges building into a rich, almost architectural surface across the entire expanse of the blanket.
Working an oversized alpine blanket requires some logistical planning that smaller projects do not demand. You will need to calculate your yarn requirements carefully, typically adding at least 20 percent to any estimated yardage to account for the extra yarn consumed by the post stitches. Many crafters order an extra skein or two as insurance, knowing that running out of yarn mid-project with a discontinued or dye-lot-specific color can be heartbreaking. Storing the growing blanket in a large project bag that can be moved easily prevents it from dragging on the floor and picking up lint, pet hair, or debris during the long weeks it takes to complete.
The finishing process for an oversized alpine blanket deserves as much care as the main body of the project. A border worked in a complementary stitch, such as a simple single crochet edging or a shell stitch frame, gives the blanket a polished perimeter that prevents the edges from curling. Blocking an oversized blanket is also a significant undertaking, often requiring a clean floor covered with interlocking foam mats and dozens of T-pins to stretch the piece to its final dimensions. However, the transformation that blocking produces, opening up the stitches, evening out the tension, and adding a beautiful softness to the entire surface, is well worth every effort involved.
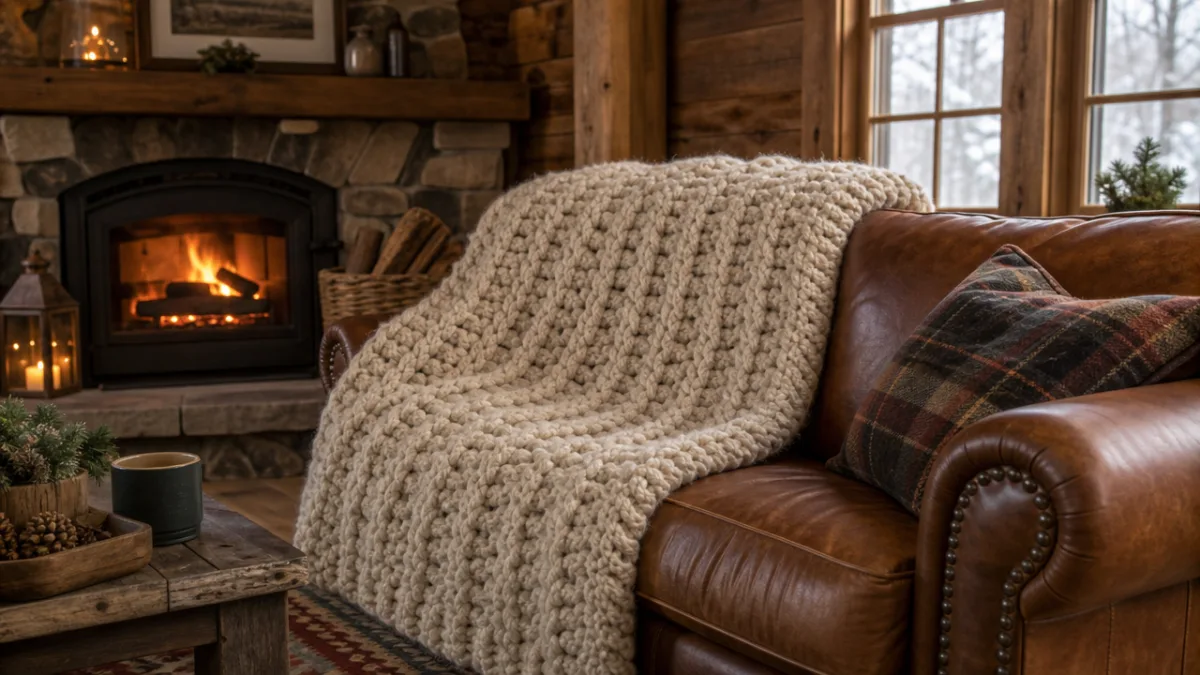
Pattern 6: The Alpine Stitch Striped Blanket
The striped alpine stitch blanket is perhaps the most beginner-friendly of all the pattern variations, because the stripe format provides a built-in rhythm for color changes that takes the guesswork out of colorwork design. Stripes in an alpine stitch blanket can be worked in equal widths for a classic, orderly look, or varied in width to create a more playful and modern asymmetric design. Even a simple two-color stripe pattern produces a result that looks genuinely sophisticated because the dimensional texture of the alpine stitch gives every row depth and visual weight that flat single-crochet stripes simply cannot achieve.
Planning your stripe sequence before you begin is a small investment of time that pays dividends throughout the project. Lay out your chosen yarns and experiment with different orderings and proportions, perhaps photographing different combinations with your phone so you can compare them side by side. Wide stripes of a neutral shade interspersed with narrow stripes of a bold accent color can create a look that feels contemporary and intentional. Alternatively, a repeating sequence of three to five colors worked in equal widths produces a classic, rainbow-adjacent palette that reads as joyful and energetic no matter what specific hues are chosen.
The striped format also makes it easy to control your yarn budget with great precision. Because you know in advance how many rows each stripe requires, you can calculate exactly how much of each color you need and purchase accordingly, avoiding waste. Some makers deliberately work their stripes to use up specific quantities of yarn they already own, designing the stripe sequence around what is in their stash rather than making new purchases. This approach gives the project a wonderfully sustainable quality and produces a blanket that tells the story of the maker’s yarn collection in a tangible, beautiful way.
Tips for Finishing and Caring for Your Alpine Stitch Blanket
No alpine stitch blanket is truly complete until it has been properly finished, and the final steps make an enormous difference to the professional quality of the result. Weaving in all yarn ends securely is the first priority, using a blunt tapestry needle to work each tail back and forth through the post stitches of several rows. Because the three-dimensional texture of the alpine stitch provides so many natural places to anchor yarn ends, this task is actually easier than weaving in ends on flatter crochet fabrics, and well-secured ends will not work their way back out even after repeated washing.
Blocking your finished blanket is a step that many beginner crocheters skip but experienced makers consider non-negotiable. For acrylic yarns, steam blocking or wet blocking works well to even out tension inconsistencies and open up the stitches to their full intended size. Natural fiber blankets benefit from wet blocking, in which the piece is soaked in cool water, gently squeezed to remove excess moisture without wringing, and then laid flat to dry in its desired shape. The transformation that blocking produces is remarkable, softening the fabric, straightening the edges, and giving the entire surface a smoother, more refined appearance.
Caring for your alpine stitch blanket properly will ensure it remains beautiful for years or even decades. Always check the yarn label for washing instructions before cleaning your blanket, as fiber content determines the appropriate method. Most acrylic blankets can be machine washed on a gentle cycle in cool water and tumble dried on low heat, which is a significant practical advantage for household items used frequently. Wool or natural fiber blankets require more gentle handling, typically a hand wash or delicate machine cycle followed by flat drying to prevent stretching. Store your blanket folded rather than hung, as the weight of a large blanket can distort the shape of the fabric over time if it is kept on a hanger or hook.
- Always check your yarn label for specific washing and drying instructions before cleaning your blanket for the first time, as improper washing can cause irreversible shrinkage or damage to the fibers.
- Use a mesh laundry bag when machine washing your blanket to protect the textured surface from snagging on other items in the wash cycle and to reduce pilling over time.
- Store finished blankets folded in a breathable cotton bag or linen closet to protect them from dust and light exposure, which can fade colors gradually over months and years.
- Refresh the appearance of a flattened or compressed alpine stitch blanket by giving it a light steam with a garment steamer held several inches above the surface, which raises the post stitches back to their original height without the need for a full wash.
- Repair any snags or pulled stitches promptly using a crochet hook to ease the distorted yarn back into position before the issue spreads to neighboring stitches and creates a larger problem in the fabric.
With proper care and thoughtful construction, an alpine stitch blanket is not merely a craft project but a lasting heirloom. The combination of beautiful texture, generous warmth, and the visible investment of time and skill that goes into every row makes these blankets deeply meaningful objects, whether you keep them for yourself or give them as gifts to people you love. Whichever of the six pattern styles speaks most to your personal aesthetic, the alpine stitch offers a rewarding and endlessly creative path into the world of textured crochet that you will return to again and again throughout your crafting life.








What do you think?
It is nice to know your opinion. Leave a comment.