










Easy Made Wall Decor DIY: Transform Your Space with Creative Handmade Art
Why DIY Wall Decor Is the Ultimate Home Upgrade
There is something deeply satisfying about looking at a wall in your home and knowing that what hangs there was made with your own two hands. DIY wall decor has surged in popularity over the past decade, and for good reason — it offers a level of personalization that no store-bought piece can ever replicate. Whether you live in a compact apartment or a sprawling family home, handmade wall art allows you to express your unique aesthetic without spending a fortune on gallery pieces or mass-produced prints.
Beyond the aesthetic appeal, creating your own wall decor carries genuine emotional and psychological benefits. The process of making something from scratch engages your creative mind, reduces stress, and gives you a tangible sense of accomplishment. Many crafters describe their DIY sessions as meditative, a time when everyday worries fade away and the focus narrows to color, texture, and form. When you finally step back and see your finished piece hanging on the wall, that feeling of pride is something money simply cannot buy.
Cost savings are another compelling reason to explore DIY wall art. Professional artwork and quality home decor accessories can cost hundreds or even thousands of dollars. With a little creativity and access to affordable craft supplies, you can produce stunning pieces for a fraction of that price. Many of the most popular DIY wall decor projects use materials you may already have at home — canvas, old wood pallets, twine, paint, or even recycled paper — making this a genuinely budget-friendly pursuit that also supports sustainable living.
Perhaps most importantly, DIY wall decor grows with you. Your tastes will evolve, your living space will change, and the walls of your home can change right along with them. Unlike expensive art purchases that you feel locked into displaying indefinitely, handmade pieces can be refreshed, repainted, or reimagined whenever the mood strikes. This flexibility makes the DIY approach not just economical but genuinely practical for anyone who loves a home that feels fresh and evolving.
Essential Materials and Tools to Get Started
Before diving into your first project, it helps enormously to gather the right materials and understand what each one brings to the table. The beauty of wall decor DIY is that your supply list can be as simple or as elaborate as your project demands. At the most basic level, you will want a sturdy surface to work on, good quality adhesive, and some form of paint or pigment. From there, the possibilities truly are limitless, shaped only by your imagination and the specific look you are going for.
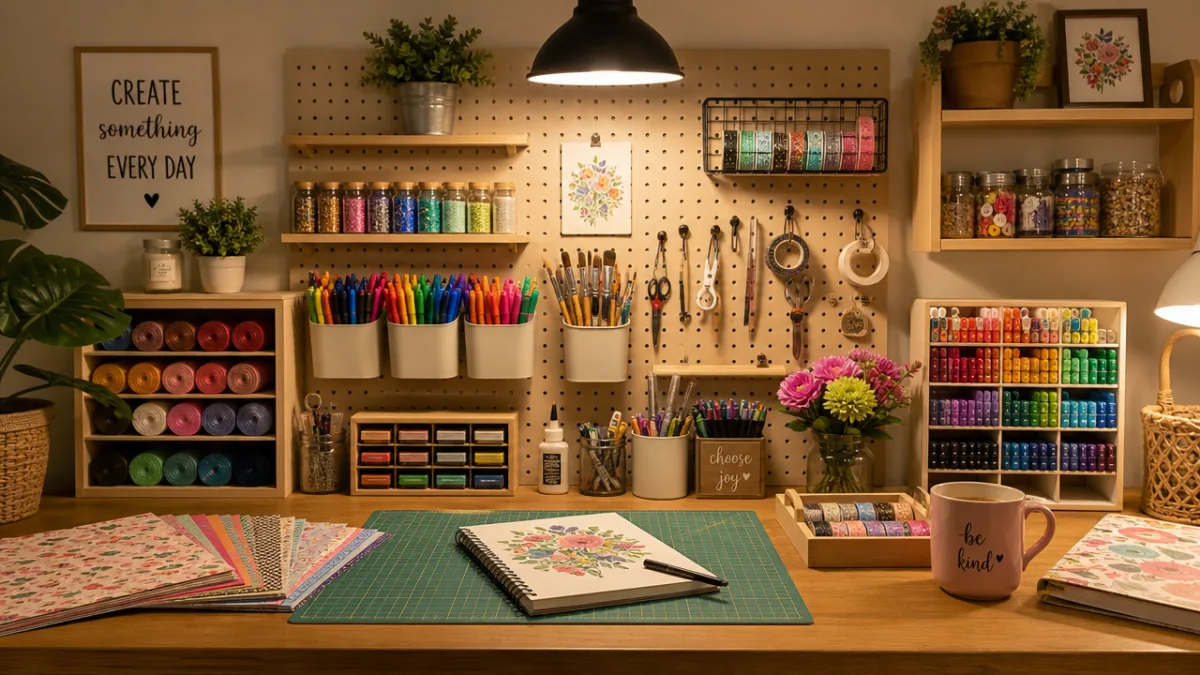
For beginners, a good starter toolkit might include stretched canvas panels in a variety of sizes, acrylic paints in a core palette of colors, foam rollers and a set of artist’s brushes, a hot glue gun with plenty of glue sticks, scissors, a craft knife, a self-healing cutting mat, and a ruler or measuring tape. These foundational items will support a wide range of projects from abstract painting to fabric art and geometric designs. Investing in decent quality brushes from the start will make a noticeable difference in your results and save you frustration caused by shedding bristles or uneven application.
Beyond the basics, there is a world of specialty materials worth exploring as your skills develop. Macramé cord and wooden dowels open up the world of fiber arts, which produces beautifully bohemian wall hangings. Air-dry clay can be molded into sculptural wall pieces that add incredible three-dimensional texture. Metallic foils and leafing products create luxurious effects for minimal cost. Reclaimed wood, sourced from old pallets or timber offcuts, gives rustic pieces an authentic character that is impossible to fake with manufactured materials.
- Canvas and paper: Stretched canvas, watercolor paper, and cardstock form the backbone of most painted and printed wall art projects.
- Natural materials: Driftwood, branches, dried botanicals, and feathers add organic texture and bring an earthy, grounded quality to handmade pieces.
- Fabric and fiber: Cotton rope, jute twine, yarn, and fabric scraps are the core supplies for textile wall art including macramé and weaving.
- Hardware: Picture hooks, command strips, sawtooth hangers, and decorative nails ensure your finished pieces are displayed safely and attractively.
- Finishing products: Mod Podge, varnish, and sealant sprays protect your work and give it a polished, professional appearance.
Organization is an underrated aspect of a successful DIY practice. Keeping your supplies sorted and easily accessible means you can dive into a creative session without wasting time searching for materials or losing momentum while your inspiration is fresh. Simple storage solutions like labeled mason jars for brushes, stackable bins for paper and canvas, and a pegboard for tools can transform your crafting space into an efficient and inspiring studio environment.
Five Beginner-Friendly DIY Wall Decor Projects
Starting with accessible projects builds your confidence and teaches you fundamental techniques that carry over into more complex work. The five projects outlined here are chosen specifically because they require minimal prior experience, use affordable materials, and produce results that look impressive even for a first attempt. Each one can be completed in a single afternoon, making them perfect for a weekend crafting session or a creative evening at home.
The first project is abstract canvas art using acrylic paints. This is wonderfully forgiving because abstract art, by definition, has no rules about what the finished piece should look like. Begin with a primed canvas, choose two to four colors that complement your room’s palette, and experiment freely with brushstrokes, palette knife marks, and even stamping with household objects like bubble wrap or the rim of a cup. The key is to layer colors while some are still wet to create blending effects, and to trust your instincts. No two pieces will ever turn out the same, which makes every canvas genuinely original.
The second project is a simple macramé wall hanging. Using basic knots — primarily the square knot and the lark’s head knot — you can create a stunning piece of fiber art on a wooden dowel with nothing more than cotton rope and a pair of scissors. Tutorials for beginner macramé are widely available, and the craft is extremely forgiving since small irregularities in your knotting actually add to the handmade charm of the finished piece. Macramé works beautifully in boho, Scandinavian, and coastal interior styles and can be scaled up or down depending on your wall space.
- Abstract canvas painting — Great for all skill levels, endlessly customizable, and completed in a single session.
- Macramé wall hanging — A fiber art staple that looks complex but uses only a handful of basic knots.
- Pressed botanicals in frames — A nature-inspired project that turns dried flowers and leaves into elegant framed art.
- Geometric wood wall art — Using craft sticks, balsa strips, or reclaimed wood to build angular, modern decorative panels.
- Quote art with hand lettering — Paint or print a meaningful quote and frame it for personalized typographic wall art.
Pressed botanical art deserves particular mention for its elegance and simplicity. Collect flowers, leaves, ferns, or herbs from your garden or a local park, press them between the pages of heavy books for two to three weeks until completely dry, then arrange them artfully on watercolor paper or card and frame them. The results are genuinely beautiful — delicate, natural, and timeless in a way that suits almost any interior style. You can create a single large statement piece or a cohesive gallery wall of smaller botanical frames for an even more striking effect.
Geometric wood wall art appeals to those who prefer a more structural, contemporary aesthetic. By cutting or snapping craft sticks, balsa wood strips, or reclaimed timber into precise lengths and gluing them into chevron, hexagon, sunburst, or grid patterns, you can produce pieces that look architectural and intentional. Stain the wood in varying tones or leave it natural for a warm, organic effect. Paint it in a single bold color for something more graphic and modern. The geometry of the design does most of the visual work, so even simple arrangements look sophisticated on the wall.
Advanced Techniques for Stunning Wall Art
Once you have built confidence with beginner projects, the world of advanced DIY wall decor opens up with genuinely exciting possibilities. These techniques require more patience, practice, and sometimes a small additional investment in tools or materials, but the results are proportionally more dramatic. Many crafters find that graduating to more complex methods deepens their passion for the craft and produces pieces that are truly gallery-worthy — artwork they are proud to display and that guests consistently admire and ask about.
Resin art is one of the most visually spectacular techniques available to home crafters today. By pouring epoxy resin mixed with pigment powders, alcohol inks, or acrylic paint onto a canvas or wooden panel, you create fluid, luminous effects that resemble ocean waves, geodes, or abstract marbling. The resin self-levels as it cures, creating a glassy, professional finish that is almost impossible to achieve through painting alone. Safety precautions are important — work in a well-ventilated space, wear gloves and a respirator mask, and carefully follow the manufacturer’s instructions for mixing ratios and curing times.
Relief art and textured wall panels represent another advanced direction worth exploring. Using joint compound, modeling paste, or air-dry clay applied to a wooden panel or thick canvas, you can build up three-dimensional surfaces that play beautifully with light and shadow. Patterns can be created by pressing objects into the wet compound — lace, leaves, textured fabric, bubble wrap — or by sculpting deliberately with palette knives and tools. Once cured and painted in a single tone (white or cream over white is particularly elegant), the textural depth of the finished piece is genuinely breathtaking.
String art is a technique that sits at the intersection of mathematical precision and visual beauty. By hammering nails into a stained or painted wooden board in a predetermined pattern — a shape, letter, or geometric figure — and then weaving colored embroidery thread around them in intricate sequences, you produce pieces with a distinctive mid-century modern aesthetic. The repetitive nature of the weaving process is deeply satisfying, and the finished designs have a graphic quality that photographs beautifully and looks impressive on any wall. Patterns are widely available online for free, making it easy to start even without strong drawing skills.
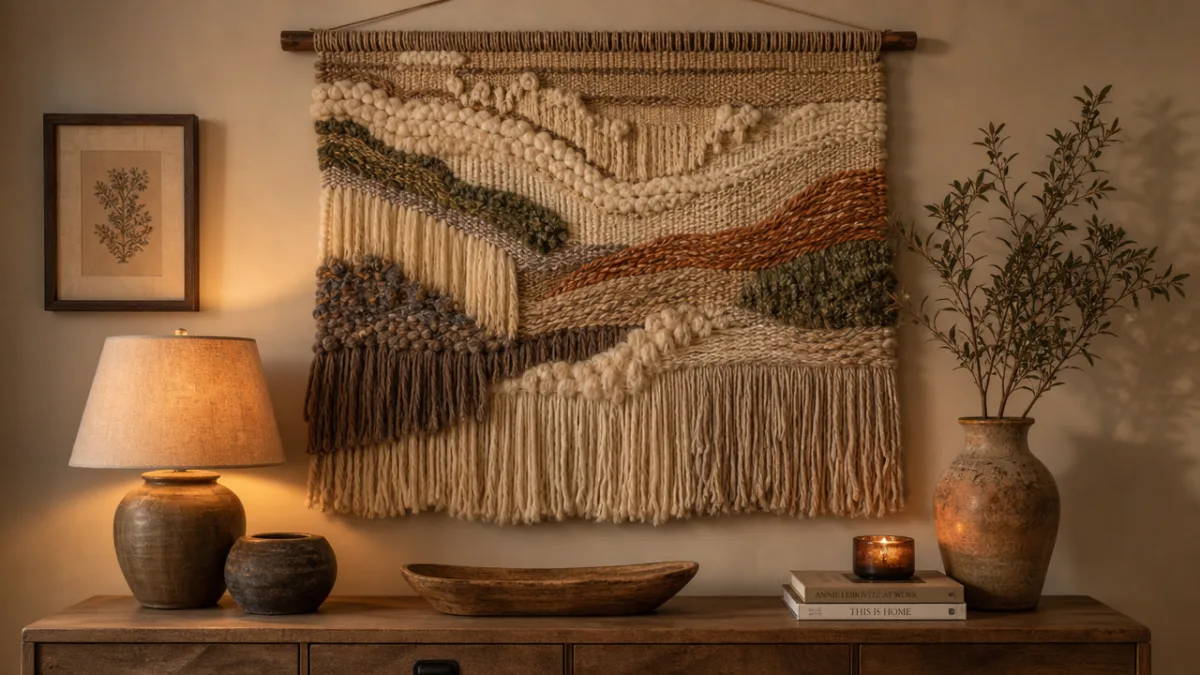
Woven wall hangings on a handmade loom take textile art to a new level of sophistication. Unlike macramé, which is primarily knot-based, weaving allows you to incorporate a broader range of materials — yarn, ribbon, strips of fabric, feathers, dried grass — and create more varied textures and patterns within a single piece. Building a simple cardboard or wooden loom is itself a rewarding starter project, and the weaving process, once learned, opens up an almost infinite variety of possible designs. Finished weavings have a rich, artisanal quality that brings warmth and handcrafted character to any interior space.
Styling and Displaying Your DIY Wall Art
Creating beautiful wall decor is only half the journey — displaying it thoughtfully is what transforms individual pieces into a cohesive interior design statement. The way art is hung, grouped, and lit can make the difference between a wall that looks curated and intentional and one that feels haphazard and unfinished. Developing an eye for display is a skill in itself, but it is one that anyone can cultivate with a little knowledge and practice, and the rewards in terms of your home’s overall atmosphere are genuinely significant.
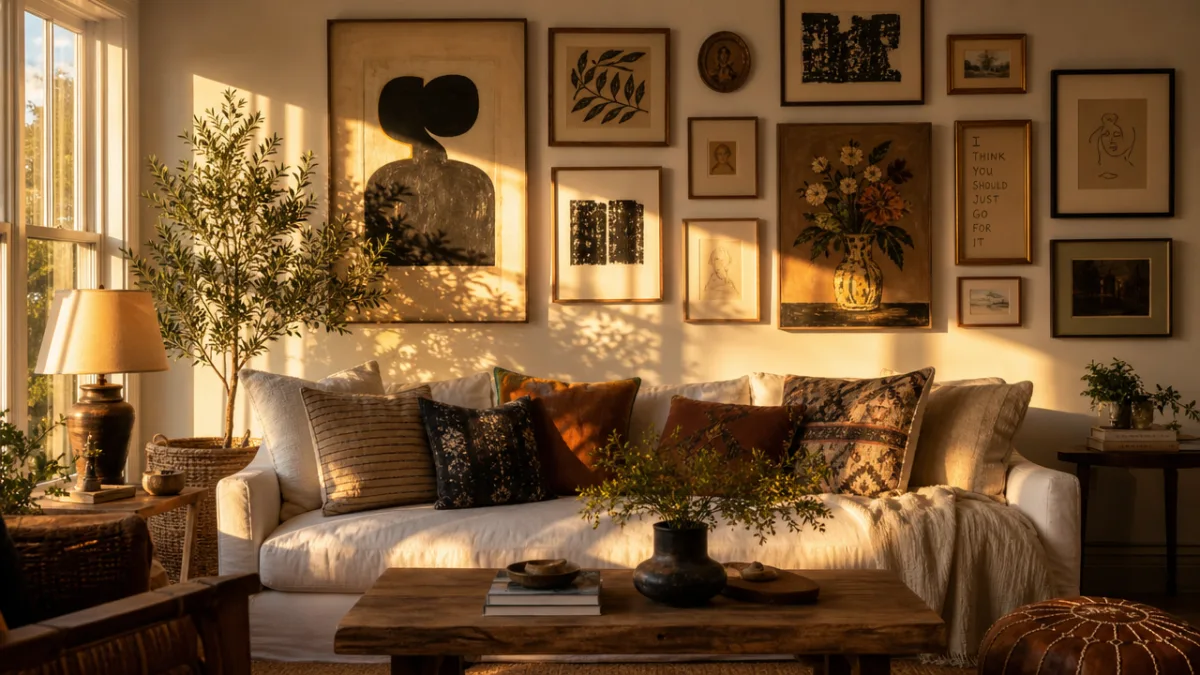
Gallery walls are one of the most popular and effective ways to display a collection of DIY pieces. The key to a successful gallery wall is finding a unifying element — consistent frame color, a shared color palette in the artwork itself, or a cohesive theme such as botanicals, abstract art, or typographic pieces — that ties the disparate elements together visually. Before hammering a single nail, lay all the pieces out on the floor in roughly the shape and proportion of your intended wall arrangement and experiment with different configurations until the composition feels balanced. Photograph it for reference before moving anything to the wall.
Single statement pieces work best when they have plenty of breathing room. A large abstract canvas, an oversized macramé hanging, or a dramatic resin panel should ideally be centered on a wall with at least a foot of clear space on either side to allow the eye to appreciate the full impact of the work. Hanging height matters enormously — the general guideline is to position the center of the artwork at approximately eye level, which for most adults means the midpoint of the piece sits around 57 to 60 inches from the floor. This rule applies whether the piece is hanging above furniture or on a bare wall.
Lighting is the secret weapon of skilled interior stylists, and it can dramatically elevate the impact of your handmade wall art. Picture lights — small fixtures that mount directly above or below a piece — draw the eye and create a sense of importance and intention around displayed artwork. Adjustable track lighting or directional spotlights give you flexibility to illuminate pieces at flattering angles. Even something as simple as positioning a floor lamp or table lamp nearby to cast warm ambient light across a textured wall hanging can transform how the piece reads in the room, especially in the evening when overhead lights tend to flatten everything.
- Use command strips for lightweight pieces in rental spaces — they hold securely and remove cleanly without damaging walls.
- Vary the scale of pieces in a gallery wall arrangement to create visual interest and a more organic, collected feel.
- Consider the wall color — light art pops against dark walls and vice versa, so plan your display with your existing wall color in mind.
- Rotate pieces seasonally to keep your space feeling fresh without the cost of buying new art.
- Group odd numbers of pieces together — trios and groupings of five tend to look more naturally balanced than even-numbered arrangements.
Building a Sustainable and Ongoing DIY Practice
The most rewarding DIY wall decor journey is not a one-time weekend project but an ongoing creative practice that grows and evolves alongside your skills and your home. Building this kind of sustained creative habit requires a little intentionality — setting aside dedicated time for crafting, continuing to learn new techniques, connecting with a community of fellow makers, and approaching each project with curiosity rather than pressure to produce a perfect result. The more you make, the better you get, and the more your own distinctive creative voice begins to emerge in your work.
Community is an invaluable resource for DIY crafters at every level. Online platforms like Pinterest, Instagram, and YouTube are treasure troves of tutorials, inspiration, and technique demonstrations, and they also host vibrant communities of makers who generously share their work, their methods, and their encouragement. Local craft groups, community college workshops, and maker spaces offer in-person connection and the chance to learn hands-on from experienced crafters. Sharing your own finished pieces online — even imperfect early attempts — invites connection, feedback, and motivation to keep going.
Sustainability is an increasingly important consideration for conscientious crafters. Choosing eco-friendly materials wherever possible — natural fibers over synthetic, water-based paints over solvent-based, reclaimed wood over new timber — reduces the environmental footprint of your creative practice. Repurposing and upcycling materials that would otherwise be discarded, such as old picture frames, fabric scraps, wine corks, or cardboard packaging, is both environmentally responsible and creatively stimulating, since constraints often lead to the most inventive solutions. A commitment to sustainability also tends to align naturally with the handmade ethos: valuing quality, intentionality, and longevity over cheap disposability.
Documenting your creative journey is a practice that many crafters find deeply rewarding when they look back on it over time. Keep a simple sketchbook or craft journal where you record ideas, paste in swatches of materials you want to try, sketch rough designs, and note what worked and what you would do differently next time. Photographing your finished pieces in good natural light creates a portfolio of your work that is genuinely gratifying to review as it grows, and it gives you a record of your own artistic development that is both humbling and encouraging in equal measure.
Ultimately, DIY wall decor is an expression of the belief that beauty does not have to be purchased — it can be made, discovered, and shared. Every piece you create carries a story: where you found the materials, what you were thinking about while you made it, the moment you stepped back and felt the quiet satisfaction of something brought into existence through your own effort and imagination. These stories accumulate over years into walls that are genuinely personal — not showrooms or catalog pages, but living spaces that reflect who you are and how you have grown. That is the deepest reward that any creative practice can offer, and it begins with something as simple as picking up a brush, tying a knot, or bending a piece of wire into a shape that pleases you.








What do you think?
It is nice to know your opinion. Leave a comment.