










Create Creative Home Decor With These Easy DIY Wood Projects
Why Wood Projects Are the Perfect Starting Point for Home DIY
Wood has been our go-to crafting material for thousands of years, and honestly, it’s easy to see why. It’s approachable, forgiving, and you can do just about anything with it. Whether you’ve never touched a saw in your life or you’re a seasoned crafter looking to try something new, wood is one of the friendliest places to start with DIY home decor. And the warmth a wooden piece brings to a room? No mass-produced item from a big-box store comes close.
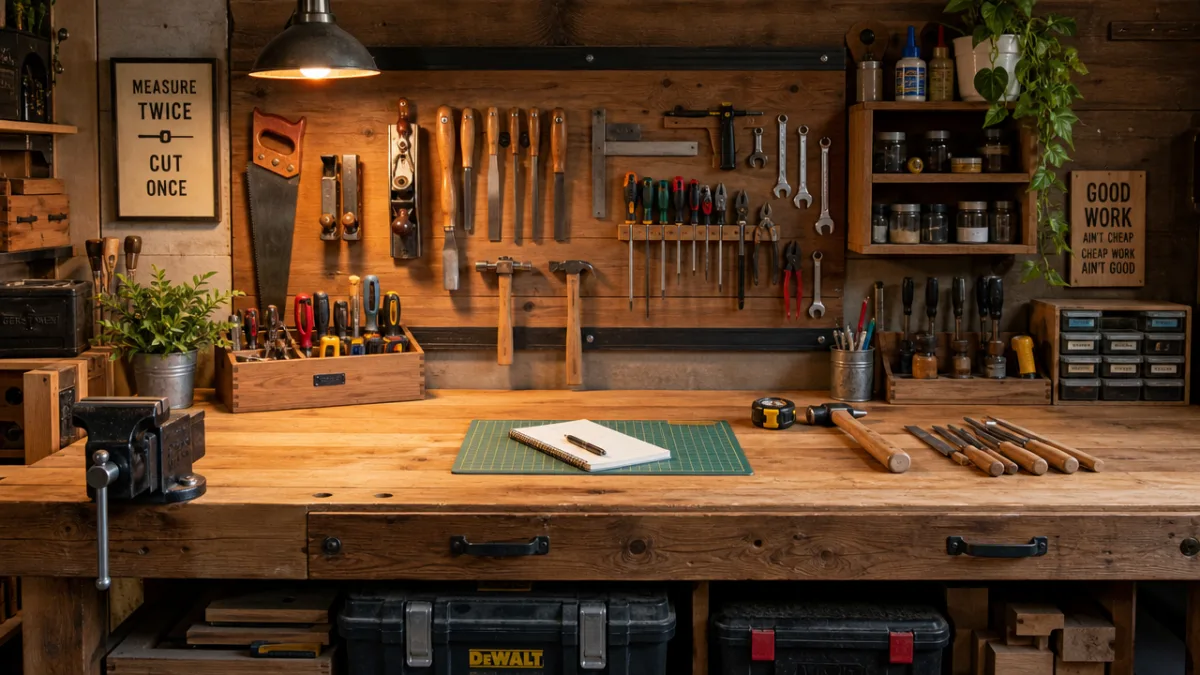
Another thing that makes wood so appealing is how low the barrier to entry really is. Basic lumber from your local hardware store won’t break the bank, and a lot of projects only need a handful of tools. A handsaw, a hammer, some sandpaper, and wood glue can honestly take you pretty far. You can always add more specialized tools as you go, but the great thing about starting out is that you don’t need a fully kitted workshop to make something genuinely impressive.
There’s also something deeply satisfying about building things with your own hands that’s hard to put into words. When a guest notices your floating shelf or a rustic picture frame and you get to say “I made that” — that feeling is something you just can’t get from buying a decoration. DIY wood projects make your home more beautiful while also building a skill set that keeps getting better the more you use it.
Essential Tools and Materials You Will Need Before You Begin
Before you jump into your first project, it’s worth taking a few minutes to gather the tools and materials you’ll actually need. You don’t have to buy everything at once, but having the basics on hand means you won’t find yourself halfway through a build and scrambling to make a hardware store run. Start with measuring and marking: a tape measure, a carpenter’s square, and a pencil are non-negotiables if you want clean cuts and pieces that actually fit together.
For cutting, a handsaw will handle most beginner projects just fine. If you end up working with larger lumber or want to make faster, more precise cuts, a miter saw or circular saw is worth considering down the line. You’ll also want sandpaper in a range of grits — somewhere between 80 and 220 — to smooth out rough edges and get surfaces ready for staining or painting. An orbital sander is a nice time-saver on bigger pieces, but hand sanding works perfectly well for smaller decorative projects.
On the materials side, it helps to know a bit about the wood types you’ll encounter most. Pine is cheap and easy to work with, which makes it a great starting point. Oak and walnut have richer grain patterns and look stunning in statement pieces, though they do cost more. Plywood is another solid option, especially when you need large flat panels. Beyond your wood, make sure you’ve got wood glue, finishing nails or screws, wood filler, primer, and whatever stain or paint finish you’re going with.
- Tape measure, carpenter’s square, and pencil for accurate measuring and marking
- Handsaw or power saw for cutting lumber to size
- Sandpaper in multiple grits (80, 120, and 220) for smooth finishing
- Wood glue and clamps to hold pieces together while drying
- Hammer and nails or drill and screws for assembly
- Wood stain, paint, or sealant for the final protective finish
Five Beginner-Friendly DIY Wood Decor Projects to Try at Home
Alright, tools gathered and materials in mind — now for the fun part. Floating wall shelves are probably the most popular starting project for a reason: they’re practical, they look great, and they’re really not that hard to pull off. All you need is a plank of wood, some wall-mounted hardware, and a finish that works with your room. The result ends up looking way more expensive than it actually is.
Wooden picture frames are another project that’s a lot more achievable than it might seem. Cut four pieces of trim at 45-degree angles, join them at the corners with wood glue and small nails, sand everything smooth, and finish them however you like — a warm walnut stain, a bold painted color, whatever suits the space. Make a few in coordinating finishes and hang them together as a gallery wall and the effect is genuinely stunning.
Ladder shelves, wooden serving trays, small side tables made from crates, and geometric wall art panels are all well within reach when you’re just starting out. These projects don’t ask much of you in terms of cuts or assembly. The main thing is to pick something you’re actually excited about, because that enthusiasm is what’ll get you through the moment when a joint doesn’t quite fit or a finish needs another coat. Choose a project that solves a real problem in your home and you’ll have all the motivation you need to finish it.
- Floating wall shelves — minimal tools, maximum visual impact in any room
- Rustic wooden picture frames — practice your miter cuts and finishing skills
- Geometric wall art panels — use thin plywood shapes to create modern abstract designs
- Wooden serving tray with handles — a practical and elegant kitchen or coffee table accent
- Ladder bookshelf — a leaning display piece requiring only basic straight cuts and assembly
Finishing Techniques That Elevate Your Wood Projects From Basic to Beautiful
Here’s something a lot of beginners learn the hard way: the difference between a decent DIY wood project and one that looks genuinely professional usually comes down to the finishing. It’s easy to put real effort into the cutting and assembling, then rush through the final stage — and it really does show. Slowing down for sanding, priming, staining, and sealing is what takes a rough-looking piece and turns it into something you’d expect to find in a boutique furniture shop. This is where patience pays off the most.
Sanding is where it all starts. Work your way from a coarser grit around 80 to 100 to knock out the rough spots and any imperfections, then progress to finer grits and finish with 220 for a smooth, almost silky surface. Always sand with the grain — going against it leaves scratches that’ll show right through your finish. Once you’re done sanding, wipe everything down with a tack cloth or damp rag to get rid of all that sawdust before you touch the stain or paint.
When it comes to the actual finish, you’ve got some great options to choose from. Wood stain brings out the natural grain while adding color, and there are dozens of shades from pale honey all the way to deep espresso. If you’re after a more weathered, rustic feel, a white or gray wash technique is worth trying. Paint gives you the most color freedom and works especially well on pine, which doesn’t have the most exciting grain on its own. Whatever you go with, finish the job with a coat or two of polyurethane, wax, or a water-based topcoat to protect the surface from everyday wear and moisture.

Incorporating Your DIY Wood Pieces Into Your Existing Home Decor
Making the piece is only half of it — the other half is knowing how to actually style it so it feels like it belongs. A handcrafted wooden shelf doesn’t exist in a vacuum; it becomes part of the bigger visual story of your room. Think about the colors you’re already working with when you choose your finish. Warm walnut or honey oak tones tend to pair really nicely with neutral walls, cozy textiles, and earthy accents, while a white-painted piece fits right into a Scandinavian or coastal vibe.
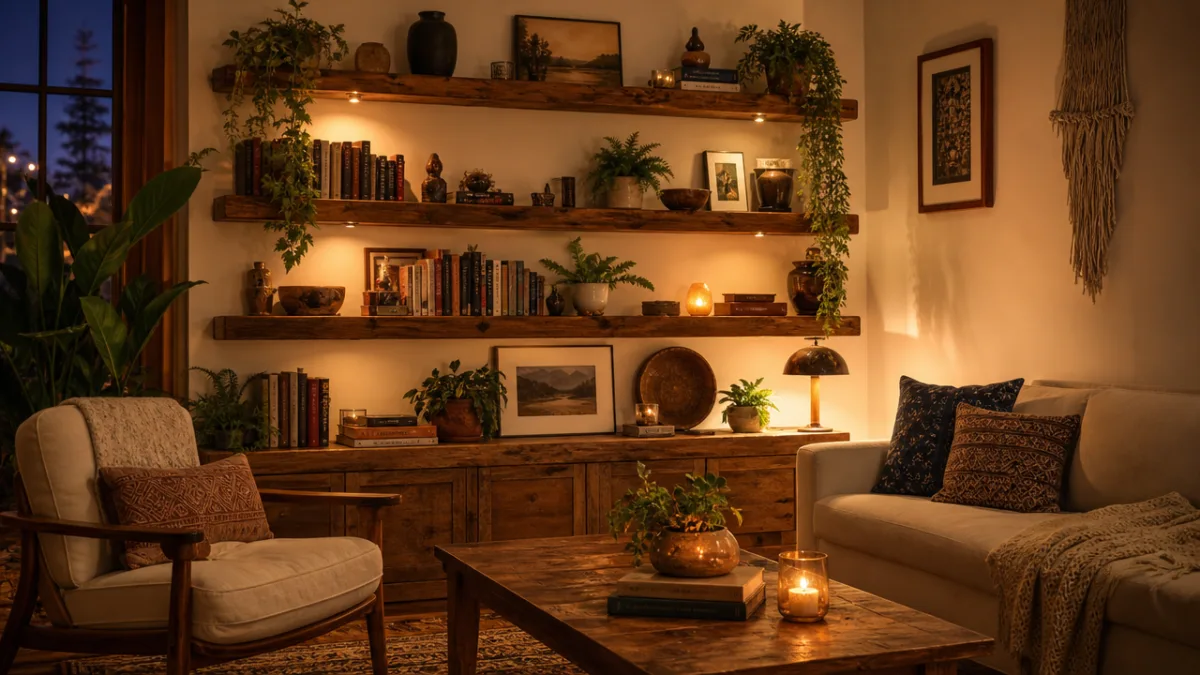
Layering textures is one of those interior design moves that makes a huge difference, and wood is perfect for it. A wooden shelf styled with a small potted plant, a stack of books, a ceramic vase, and a framed photo creates the kind of layered, lived-in look that actually draws your eye. The organic texture of wood plays off smooth ceramics, soft fabrics, and the green of living plants in a way that just works. And don’t worry about mixing your handmade pieces with store-bought ones — honestly, that combination often looks more interesting than either would on its own.
Bringing several DIY wood pieces together across different rooms can also create a really satisfying sense of cohesion. Floating shelves in the living room, a wooden serving tray on the kitchen counter, and a small plant stand in the bedroom — finish them all in the same stain or paint color and suddenly there’s a visual thread running through your whole home. That kind of intentional consistency makes a space feel thoughtfully designed rather than thrown together, and it’s one of the things that really transforms a house into somewhere that feels personal and welcoming.
Building Your Confidence and Growing Your DIY Wood Skills Over Time
Every skilled woodworker started in exactly the same place you’re standing right now: looking at a plank of lumber and trying to figure out where to make the first cut. Skills in any craft tend to follow a pretty familiar curve — early projects feel hard, intermediate ones start feeling satisfying, and eventually the advanced stuff starts to feel within reach as your knowledge and muscle memory build up. The most important thing is just to start. Your first project isn’t going to be perfect, and that’s not just okay — it’s completely expected and very much part of the process.
As you build more things, you’ll naturally start noticing what you want to get better at. Maybe your cuts aren’t quite as straight as you’d like, which might nudge you toward learning how to use a guide or fence with your saw. Maybe your joints leave little gaps, which leads you to study more careful measuring and fitting techniques. That kind of organic learning — driven by your own curiosity and what you actually care about improving — tends to stick a lot better than trying to study every technique before you’ve ever picked up a tool.
The DIY community is also genuinely one of the best resources out there for anyone who wants to grow. Pinterest, YouTube, and dedicated woodworking forums are packed with free tutorials, project plans, and people who are really excited to share what they know. You might also look into a local makerspace or community workshop, where you can get your hands on more advanced tools and learn from experienced makers in person. Over time, what started as wanting to build a simple shelf might turn into a real passion for woodworking — and your home will have the beautiful, one-of-a-kind pieces to show for it.
- Watch YouTube tutorials specific to each new technique before attempting it for the first time
- Join online communities and forums to share your work and get feedback from other makers
- Keep a project journal to track what worked, what did not, and what you want to try next
- Challenge yourself with one slightly more advanced project every few builds to keep growing
- Visit local lumber yards and talk to staff — they are often a wealth of practical knowledge
Going from first-time DIYer to confident wood crafter is one of the most rewarding creative journeys you can take. Every project adds to your skills, your collection of tools, and the character of your home. Start small, be patient with yourself, lean into the learning process, and enjoy the whole ride. Your home deserves decor that actually tells your story — and nothing does that more authentically than something you made yourself.








What do you think?
It is nice to know your opinion. Leave a comment.